
We can start learning to use a piece of software by reading through the User's Guide, watching tutorials, or even going on a course. Most of us, however, don't have the time, patience, or money to do so, and want to get going straight away.
Then, we get stuck when we want to try something new—we don't know how to do it or where to look for a solution.
For example, you may want to put an image on your photo to mark an occasion or to express support for a cause. If you haven't tried this before, it may look like a difficult task. But by breaking the process into small steps, you'll see that it is, in fact, quite simple—even if a multitude of tricks are involved.
To put a red poppy, the symbol of Remembrance in many countries, on your picture, follow these steps:
- Drop a photo of yourself into a Pages document.
You can do this by opening the Media Browser in the toolbar and dragging the photo from there. Click on the Photos tab and find your picture in iPhoto, or open iPhoto and drag the photo to the Pages document. If the photo is on the Desktop, drag it from there.
- Next, insert a photo of the red poppy.
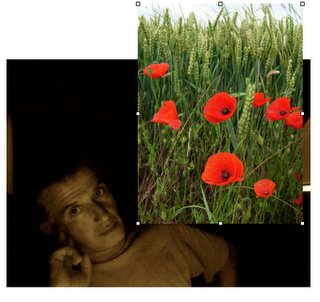
- In this photo, which was taken in a nearby field, there are many poppies. In order to leave just one, put a mask over the picture.
The Mask option is under the Format menu. Alternatively, you can add Mask to the toolbar (View | Customize Toolbar), and when needed, just click on the Mask icon.
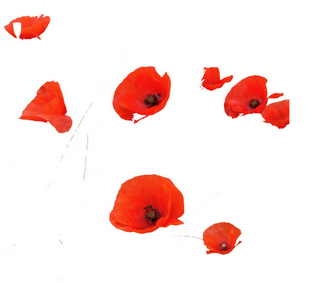
- Next, remove the green foliage around the flower with the Instant Alpha tool. Now, only the red poppy is visible. In Mac OS 10.7, the Alpha tool is also included in Preview. You can prepare the image there and then paste it into Pages.
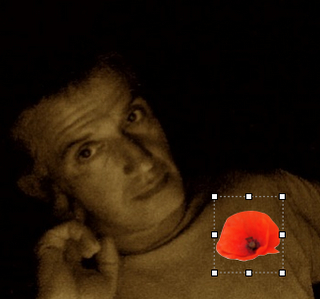
- Resize and position the poppy over your photo, so that it looks the way you want it to.
- Take a screenshot, print to PDF or JPEG, and use this as a profile picture, avatar, favicon, for example.
If you want the poppy to look like a badge or a pin, insert an Oval from the Shapes drop-down menu in the toolbar, or navigate to Insert | Shapes | Oval in the screen-top menu.
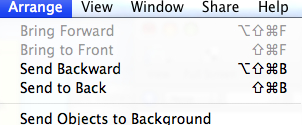
Give the oval a contrasting color, white for example, and then resize it. Now, you can instinctively slide your oval under the poppy, but you will find that you can't do this. This is because, when you move the oval to your poppy, it will go over the poppy, because each new image we add to a document in iWork is stacked on top of the previous one. So, to make the white badge go under the poppy, you need to use the Send Backward function under the Arrange menu. Alternatively, select the poppy and choose Arrange | Bring to Front.
Here, we've stacked three images to create a new one. The same method can be used to make collages, mosaics, and jigsaw puzzles, and to create frames.
When you work with multiple-layered images, you can add all the four functions—Bring Forward or Bring to Front and Send Backward or Send to Back—to the toolbar. Click on the icon to move the image layer by layer.
You can also use the keyboard shortcuts for these functions:
- Bring to Front: Command + Shift + F
- Bring Forward: Command + Option + Shift + F
- Send to Back: Command + Shift + B
- Send Backward: Command + Option + Shift + F
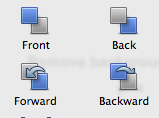
This way, you can move an image backwards or forwards without the distraction of looking at the menu—and you can watch it as it slides into position.