There are general shortcuts that work for anything we do on the computer, and there are application-specific shortcuts, the ones for specific operations in a particular program. For example, in iWork we have a set of shortcuts for moving objects from layer to layer.
To understand how it works, imagine having a stack of notes, magazine clippings, and photos on your desk. To arrange them in a logical fashion, you bring one note to the front, put a clipping at the back, and attach a note to the photo. That's what the Send to Back, Bring to Front, Send Backward, and Bring Forward functions do when you arrange Text Boxes and graphic objects in your iWork project.
There are four options under the Arrange menu. Send to Back puts the object into the last layer, Bring to Front places it in the first, and the Bring Forward and Send Backward options move the object forward and backward by one layer at a time, respectively.
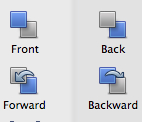
If you have a project where you are often moving objects from layer to layer, you can do these operations through icons in the toolbar. Under View, choose Customize Toolbar..., and when the dialog opens, drag the icons to the toolbar. Click on Done. To move an object, select it and click on the appropriate icon.
The shortcuts for layering objects are as follows:
- BringtoFront: Command + Shift + F
- SendtoBack: Command+ Shift + B
When moving the object by one layer at a time:
- BringForward: Command + Option + Shift + F
- SendBackward: Command + Option + Shift + B
Using three and four fingers for a shortcut may seem off-putting, but the advantage is that you can watch the objects moving into position as it happens, without being distracted by glancing at menus or icons in the toolbar. Try this combination of fingers—index finger on Command, middle finger on Option, and ring finger on Shift. Then, hit F or B with a finger on the other hand.
Here is a simple example of how it works.
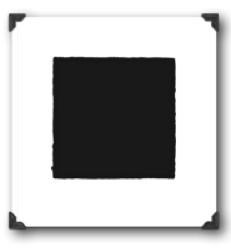
First, create a copy of Malevich's famous avant-garde painting, the Black Square, and put it on another object, the white square with a picture frame:
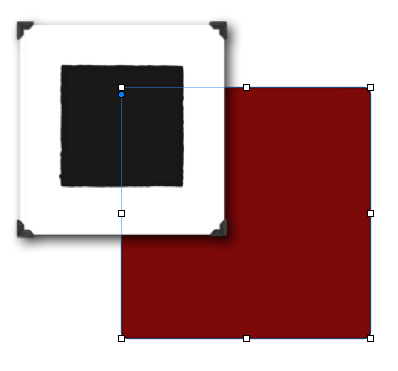
Then, you decide that you want a third, dark-colored frame. Add a dark red rectangle:
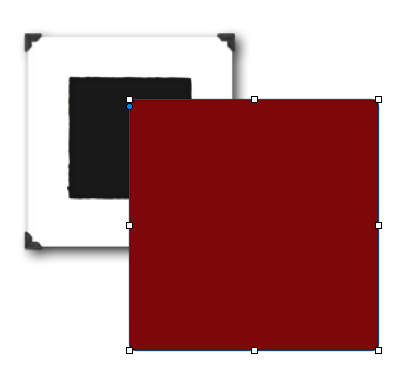
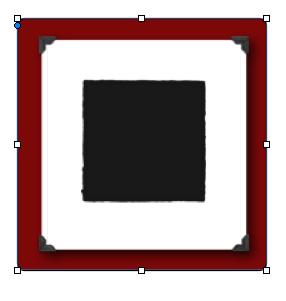
Type Command + Shift + B and see the red rectangle slipping behind the Black Square and its white frame:
Note that the red square is still selected. Move it so that it appears to look like a frame:
This is a relatively simple example with only three objects in the arrangement. When you put together a complex graphic image, for example a collage with multiple photos, lines, and colored shapes, you will have to use these functions a lot.
Tip
The Send to Back function is also one easy way to add background to a document. For example, if you want to have a colored page, not white, insert a colored rectangle, enlarge it so that it is slightly bigger than the page, and use the Send to Back function. Remember that it has to be a floating object without a wrap. Or, if after creating a graphic image, you decide that you want to use it as background, choose Send Objects to Background, under the Arrange menu, or click on the In Background button in the Wrap Inspector.
There are some little-known tricks where using the Bring to Front or Send to Back functions can help.
Here is one example.
When you put a photo in a document and make text flow around it at a certain distance, it is called wrapping. Wrapping distances and other ways to flow text around graphics are set in the Wrap Inspector. If you use Text Box to add the caption to a photo, the photo's wrapping may push this text out of the box.
Reducing the wrapping count of the photo will bring the text back inside the box. But the rest of the text on the page will also stick closer to the photo and spoil your design.
One easy way to solve the problem is to bring the Text Box to the front. To do so, select the Text Box and choose the Bring to Front option under the Arrange menu, or use the following keyboard shortcut: