
Chapter 15. Use Modules as Name Spaces
There comes a time when every successful software project outgrows its shoes: You start with a simple utility, something that fits in one source file and that you can explain in a single elevator ride. Sprinkle in some success in the form of eager—and demanding—users, and before you know it you end up with a mass of code that you couldn’t describe on a Washington to Tokyo flight, complete with the stopover in Chicago.
This is why big programs usually look a bit different from little programs. That original, elevator-sized utility needs very minimal defenses against complexity, perhaps a few comments and some well-named methods. It’s the massive, trans-Pacific systems that need to pull out every complexity-reducing trick in the book1 to give the engineers that work on it a fighting chance.
In this chapter we will look at one of those tricks, using modules to organize your classes and constants (and modules) into a nice, human brain-friendly hierarchy.
A Place for Your Stuff, with a Name
Sometimes even the most complicated things can start to seem simple if we hang around them long enough. Take the idea of a class. We generally think of the class as a simple, more or less indivisible thing. Step back a bit and you realize that classes are actually a conglomeration of several different ideas. They are the factories that produce our objects—you say Date.new and the Date class manufactures a new instance for you. But classes are also containers. Most of the effort that goes into creating a new class actually goes into putting things like methods and constants into the class.
A Ruby module is the container part of a class without the factory. You can’t instantiate a module, but you can put things inside of a module. Modules can hold methods, constants, classes, and even other modules.
Here, for example, is a module that groups together a couple of related classes:
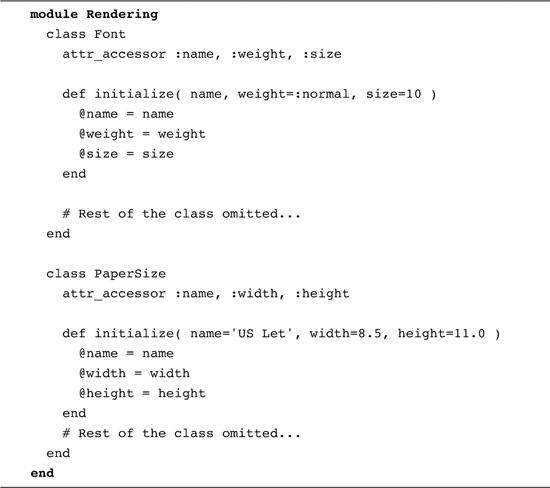
Getting at the classes in a module is as simple as pasting the module name on the front of the class name with a couple of colons. To get at that font class above you just say Rendering::Font. Wrapping a module around your classes in this way gives you a couple of advantages. It allows you to group together related classes. Looking at the last example leaves you with no doubt that the Font and PaperSize classes have something to do with Rendering. Second, when you put the Font class inside of a module, you are dramatically reducing the probability that your Font class and someone else’s Font class will be injured in a name collision.
Modules can also hold constants, so we might add a default font and paper size to our Rendering module:
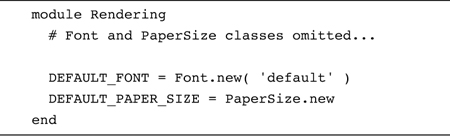
You can access your constants in the same way that you access the classes,2 so that the default paper size becomes Rendering::DEFAULT_PAPER_SIZE. If you get tired of all this Render:: typing, you can include the module:3

Finally, modules can be nested, so that if your rendering module was, say, part of some larger word-processing package, you might have:
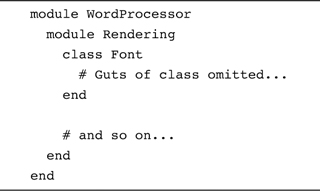
Naturally, if you do nest your modules you will need to dig deeper to find the stuff inside: Nest the Font class two modules deep and you will either have to include the WordProcessor::Rendering module or utter WordProcessor::Rendering::Font in one breath.
A Home for Those Utility Methods
Along with classes and constants and other modules, you can use modules to enclose individual methods. Modules make great homes for those pesky methods that just don’t seem to fit anywhere else. For example, the printing business has traditionally used a unit of length called the point, where 72 points will fit into an inch.4 We can certainly imagine that our document code might need a couple of unit conversion methods to deal with points, and a convenient place to put these might be the WordProcessor module:
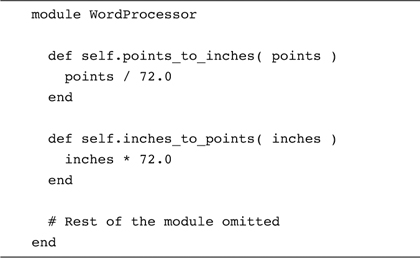
Notice that we wrote the two conversion methods as module-level methods. Defining them this way—analogous to class-level methods—allows us to call them directly from the module:
an_inch_full_of_points = WordProcessor.inches_to_points( 1.0 )
We can also get at module-level methods with the double-colon syntax (that is WordProcessor::inches_to_points), but generally Ruby programmers tend to stick to the period.
Building Modules a Little at a Time
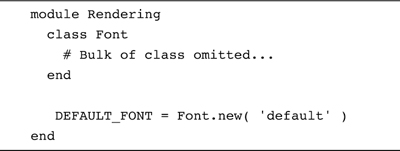
Don’t let the end at the bottom of a module fool you. As we will see in Chapter 24, nothing is Ruby is ever really done. One of the most visible aspects of this “always open” policy is that you can define your modules in several pieces, spread over a number of source files. The first file defines the module and the rest of the files simply add to it. So, returning to our first, single-level Rendering module example, we might have the Font class in font.rb:
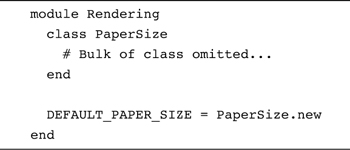
And the PaperSize class in paper_size.rb:
If we then pull both files into our Ruby interpreter with suitable require statements:
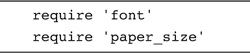
We will have a single Rendering module, complete with fonts and paper sizes.
Treat Modules Like the Objects That They Are
So far we have treated modules as relatively static containers. In our earlier example we created a Rendering module and stuck the Font class in it. If we wanted to get at Font we either spelled out Rendering::Font longhand or we explicitly included the Rendering module. One key idea in Ruby is that just about everything is an object, and everything includes modules. Since modules are just objects, we can treat them like any other object. In particular, we can point a variable at a module and then use that variable in place of the module. For example:

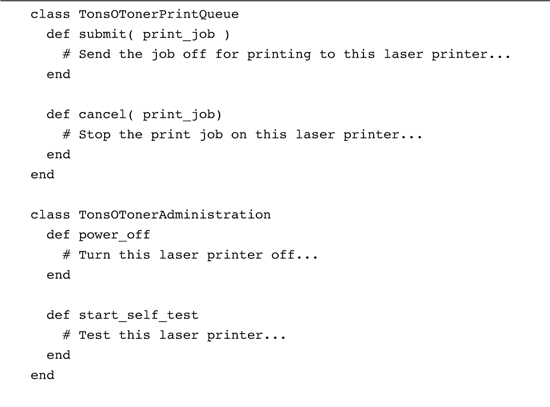
You can take advantage of the object-ness of modules to swap out whole groups of related classes and constants—and even sub-modules!—at runtime. To see how this might work, imagine that we are trying to cope with two different types of printer, an ink jet printer and a laser printer. Further, let’s pretend that we have two classes for each printer type: one class to submit and cancel jobs, and another class that does administrative things such as turning the power off or running diagnostic tests:
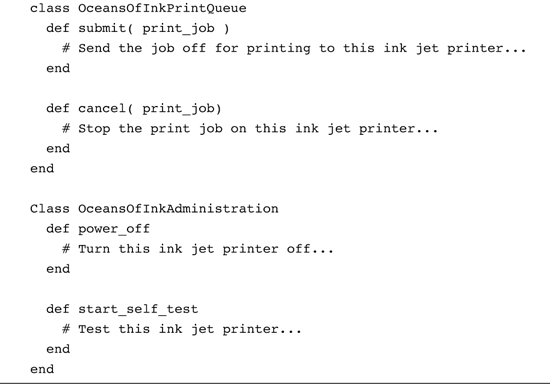
The trouble with this code is that we need to manage four classes, two per printer type. We could simplify that by merging the print queue management and administrative methods into a single, massive class for each printer type. This will reduce the number of things we need to manage, but simply jamming things together seems like a bad idea.
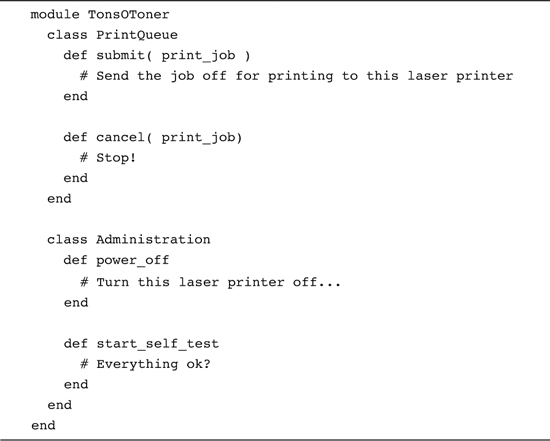
A better solution is to package the bits we need for each type of printer into a single module. We can then have a module for the laser printer:
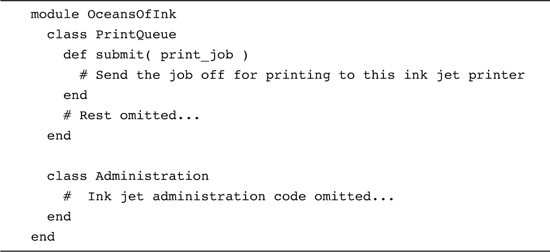
And a second module for the ink jet printer:
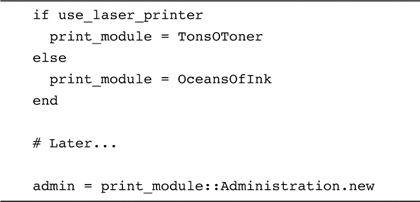
Now for the pay-off: We can set a variable to the correct printer-type module and from then on forget about which kind of printer we are dealing with:
Staying Out of Trouble
So when should you create a name space module and when should you let your classes go naked? An easy rule of thumb is that if you find yourself creating a lot of names that all start with the same word, perhaps TonsOTonerPrintQueue and TonsOTonerAdministration, then you just may need a TonsOToner module.
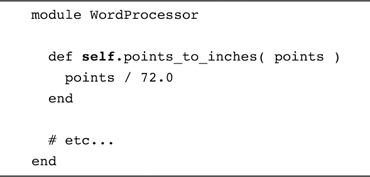
Most of the dangers involved in actually creating name-space modules are easily avoidable. For example, if you want to enclose stand-alone utility methods in a module, make sure that you define those methods as module-level methods. Do this:
Not this:
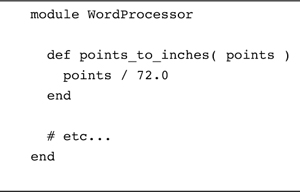
The first version of WordProcessor creates a module-level method that any code can use. The second version creates a method that might be great when mixed into a class but is useless as a widely available utility method.5
Another, more alluring, danger lies in going hog wild with your modules. Think about our original module example:
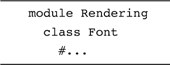
This two-level organization is fine, but if you think about it, it is not really complete. After all, a font is a set of glyphs:
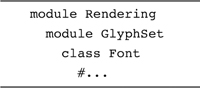
And rendering is just one part of creating output, and creating output is a major subsystem:
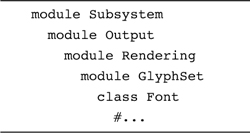
This is all very logical, but now your users will have to type this monstrosity simply to get to the Font class:
Subsystem::Output::Rendering::GlyphSet::Font
And they will (justifiably) hate you for it. Remember, the goal is clear and concise code.
In the Wild
To underscore the idea that a little bit of module goes a long way, consider DataMapper. DataMapper is a database interface library similar to ActiveRecord. In about 7,500 lines of pretty heavy-duty code, the core of DataMapper uses primarily a three- and occasionally four-level module hierarchy. If DataMapper can limit itself to a very shallow, manageable module structure and still talk to MYSQL, Postgres, and SQLite, chances are pretty good that a modest handful of modules will work for your project too.
In fact, of the larger Ruby projects that do encase themselves in modules, most manage to fit everything very comfortably into a very small number of modules. The code that reads YAML, everyone’s favorite XML alternative, consists of exactly four modules, with the vast bulk of the code living right in the YAML module. The URI code that comes with Ruby weighs in at about 2,500 lines of code and consists of a grand total of five modules, again with most of the code concentrated in a single module. Finally, we have RubyGems, all of 14,000 lines and just over a dozen modules.
Wrapping Up
In this chapter we have seen how you can use modules to divide your code into manageable bits and avoid the dreaded name collisions. We saw how you can put classes and constants, individual methods, and even other modules inside of modules, as well as how to access the things inside of a module. We also saw how you can treat a module just like any other object, which can be a boon when you are trying to manage a group of related classes.
We aren’t done with modules either. Modules have one other talent that we only touched on in this chapter, a talent that allows Ruby programmers to share code between unrelated classes. But for that, you are going to have to turn the page.