
14 > Fearless Drawing
SHADING
Shading is used to describe light and shadow. Look up now and try to determine
where the light and dark areas of your view are. This might be hard to see since we are
distracted by colors and textures, so screw up your eyes and squint. This will cancel out
much of the additional information allowing you to see more clearly where the lightest
and darkest areas are. For example if a lamp is shone against the left-hand side of a
football, then the lightest side will be the left and the side in shadow, the right side, will
be the darkest.
I often use shading, stylistically adding dots at whim to provide areas of dark interest,
drawing the eye to particular areas. I never enjoyed the endless academic lessons where
we were supposed to accurately and consistently depict light and shadow, and so I
have settled on a mixture of real and imagined. My shading is informed by reality but
supplemented by my imagination; I add light and shadow wherever I choose. I’m not
a camera and so I can create my own version of a world which can be as close or as
opposed to reality as I choose. You, in turn, can shade as close or as opposed to reality as
you desire, combining both real and imagined light and dark to create the effect you seek.
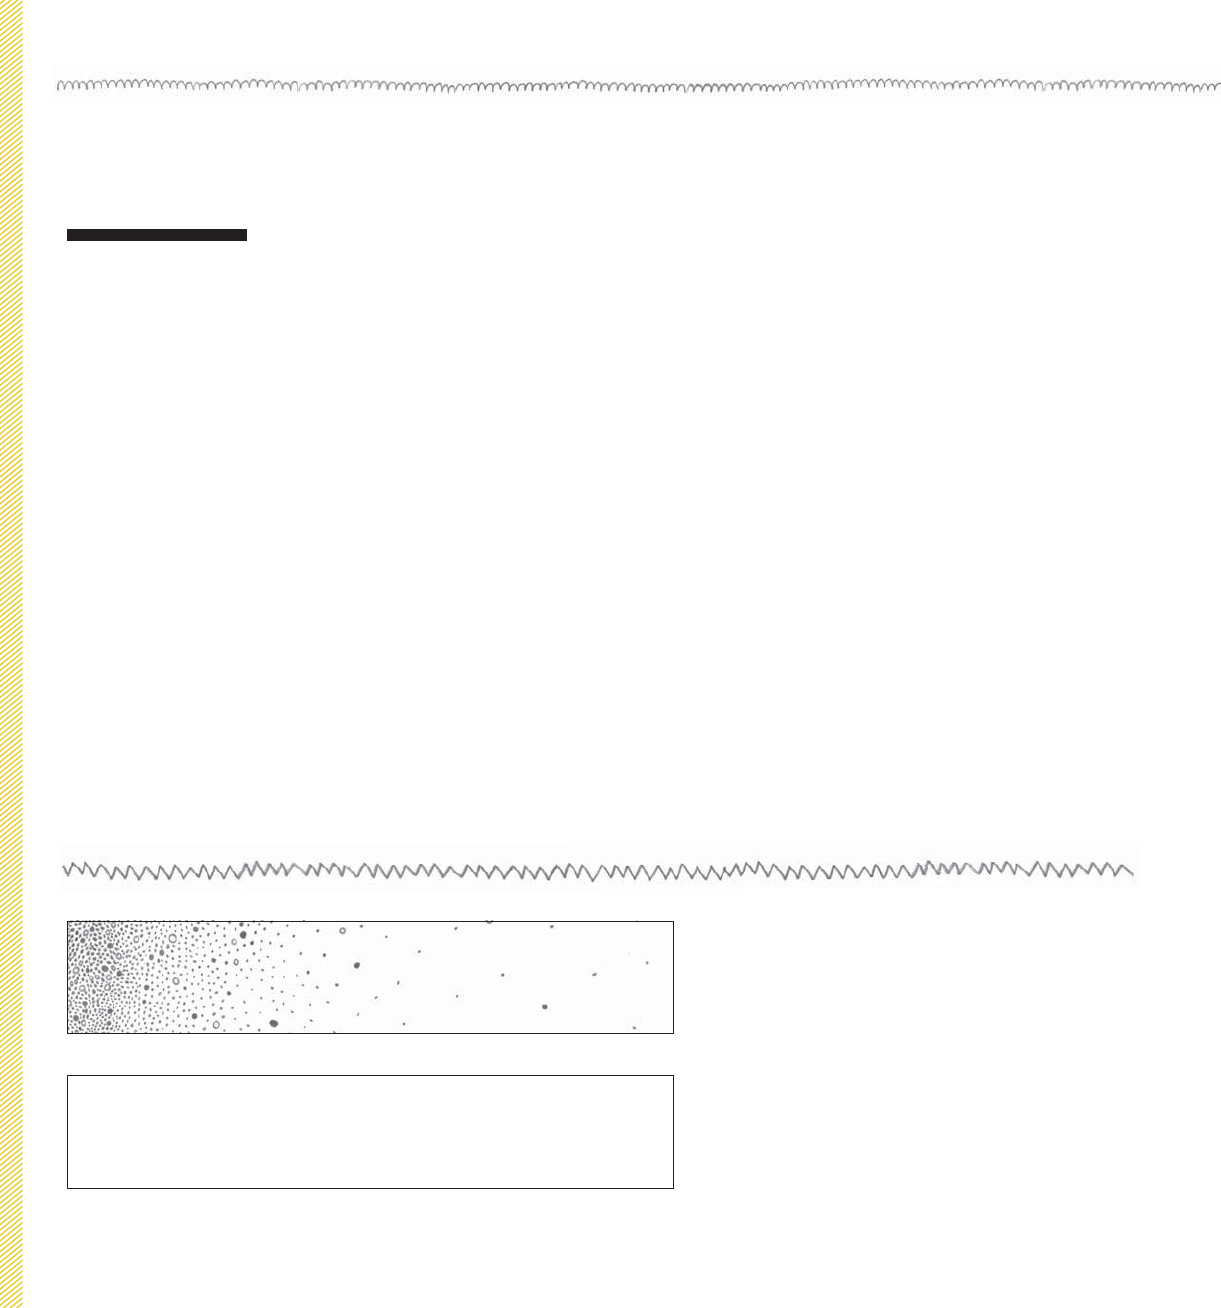
There are lots of different ways to shade. My
preference is the use of lots of tiny dots packed
closely together for the darker areas and further
apart for the light areas, so let’s start with dots.
You can see variation in the size of the dots,
adding both colored and empty circles for
added interest. Use the space below each of
these shading examples to try for yourself and
work out which method you prefer.
Mine:
Yours:
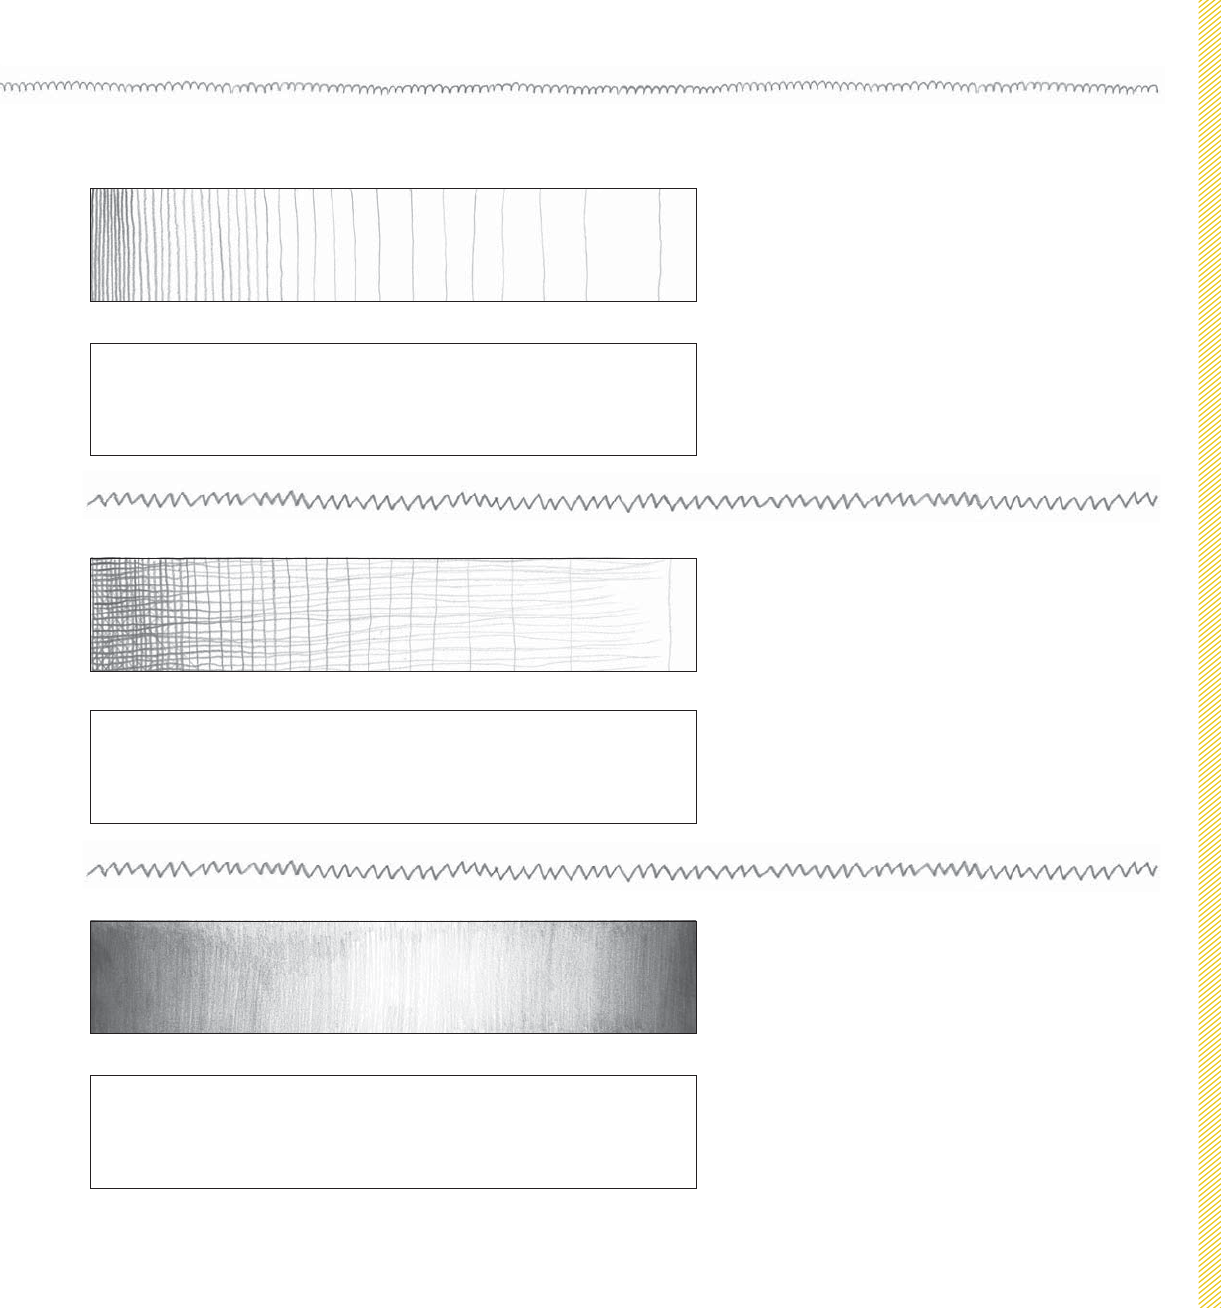
Hatching is another way to shade, creating
parallel lines close together for darker areas,
and further apart for the light sections.
Colored shading allows for smooth graduated
tones, pressing lightly for the palest gray and
hard for black. It takes practice to smoothly
move between dark and light areas without
creating harsh lines, but it’s a fun exercise to do
on the phone, commuting, or in front of the TV
and you will quickly improve.
Cross-hatching allows you to create more
depth. You can cross diagonally, vertically, and
horizontally, adding more and more lines at
different angles to create the darkest tones.
Here I adjusted the pressure used to create paler
lines and darker lines as required.
Mine:
Yours:
Mine:
Yours:
Mine:
Yours:
Hello Pencil > 15

..................Content has been hidden....................
You can't read the all page of ebook, please click here login for view all page.