
Catalyst projects are imported into Flash Builder 4, where you or a Flex developer add the necessary coding to create connections to back-end services, add additional ActionScript, and otherwise finalize the project.
The finalized project is compiled into an SWF for viewing in Flash Player. You may already be familiar with SWF files, as it is the same file type that results from publishing a movie in Flash Professional. A Catalyst or Flex project is really nothing more than a Flash movie, and just like Flash movies created in Flash Professional, these projects can contain multimedia assets.
While no direct round-trip editing capabilities exist between Flash Catalyst and Flash Professional, any SWF created in Flash Professional can be imported into Catalyst (see Figure 13.1).
Note
The Flex framework only supports ActionScript 3.0, the most current version of the language. Flash Professional supports the creation of projects that use ActionScript 2.0, as well as ActionScript 3.0. ActionScript 2.0 projects may be imported into Catalyst, but you will be unable to control them from your Catalyst project. Therefore, it is recommended that any movie from Flash Professional that you plan to use in a Catalyst or Flex project be created using ActionScript 3.0.
Flash Professional relies on two primary file types:
FLA
SWF
FLA files are editable and are the files you use while you work in Flash Professional to create the movie or project. SWF files, on the other hand, are the final product and are not editable.
This distinction exists in Catalyst as well. The project file you work on during production is an FXG; when the project is finalized for publishing, either Catalyst or Flash Builder will create an SWF.
You may only import SWF files, not FLAs, from Flash Professional into Catalyst. Therefore, you must publish your movie in Flash Professional before attempting to import it into Catalyst. As noted previously, there are currently no round-trip editing capability between Catalyst and Flash Professional. Therefore, if the Flash Professional movie needs to be edited after import, you need to return to Flash Professional, edit the FLA, and republish the SWF.
Note
It is perhaps a slight misnomer to refer to the process of including SWFs in a Catalyst project as importing, as this might be taken to imply that the SWF becomes a part of the Catalyst project. In fact, Catalyst merely links to the SWF. Therefore, if the SWF is changed from within Flash Professional, there is no need to reimport it into Catalyst since Catalyst automatically detects the changes from the linked file.
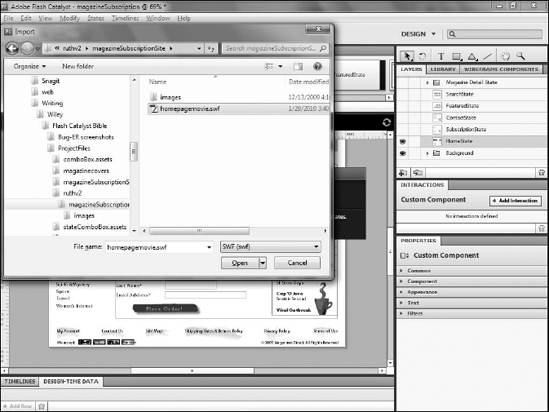
To import an SWF into Catalyst, follow these steps:
Choose File

Navigate to the folder that contains the SWF file to be imported (see Figure 13.2).
Click Open.
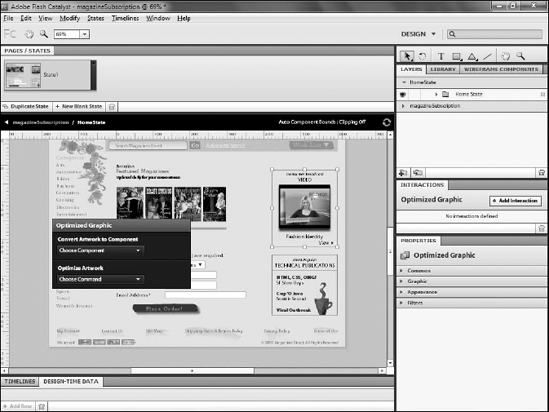
The imported file is placed in the upper-left corner of the art board. In addition, it will be placed in the Media folder of your project Library.
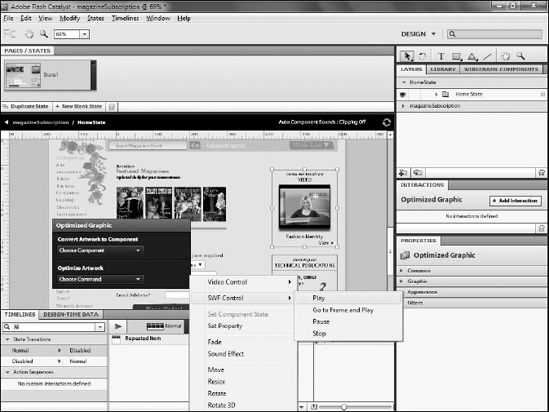
You can control ActionScript 3.0-based SWFs through action sequences. You can allow your user to start, stop, or pause the SWF's animation and jump to specific spots in the animation when they interact with it. Follow these steps to add an action sequence:
Select the SWF on the artboard.
Use the Interactions panel to create a Play Action Sequence interaction.
On the Timeline, use the Actions menu (see Figure 13.3) to add Play, Go to Frame and Play, Pause, or Stop actions from the SWF Control submenu.
Note
At this time, it is not possible to have other components, such as buttons, control an SWF.
One of the most important innovations in the Flash Platform was the introduction of Flash Video.
Because of its huge install base, Flash Player quickly became the video player of choice for many Web sites, including YouTube. Flash Video files tend to be small, they support streaming for seamless playback, and the Flash PLATFORM allows designers complete freedom to add playback controls and other visual elements on and around the video itself.
Catalyst supports two formats for imported video: FLV and F4V. Both are Flash video formats; F4V is simply a later version of the format.
FLV and F4V, like SWF, are not editable formats. Therefore, you would begin the process of creating a video component by shooting the video and editing it in any one of the hundreds of available video-editing tools.
The video-editing software you use will almost certainly generate video in one of a few common formats, such as the following:
Once the video file is created, you need to convert it to FLV using Adobe Media Encoder (see Figure 13.4). Media Encoder is a stand-alone application included with any of the Creative Suite bundles, as well as stand-alone installations of Flash Professional or any of Adobe's video-editing tools.
Media Encoder is, fortunately, also included with the installation of Flash Catalyst. Therefore, if the person responsible for creating the video doesn't have Media Encoder, you can still convert the file.
To encode your video in the FLV format, follow these steps:
Launch Adobe Media Encoder. On Windows, it will most likely be in the Start Menu folder that contains the rest of your Adobe programs. On Mac OS X, you will find it in the Dock or the Applications folder.
Click Add.
Navigate to the folder that contains your video file.
Click Open.
Choose Format
From the Preset menu, select the preset you wish to use for your video.
If necessary, click the Output File link and navigate to the folder into which you want your FLV file to be saved.
Click Start Queue.

Note
Depending on the size of the video file, the conversion process may take quite some time.
Once converted, you can import your FLV file into your Catalyst project by following these steps:
Choose File
Navigate to the FLV.
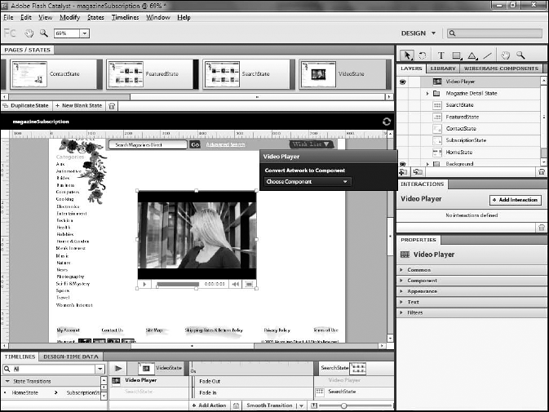
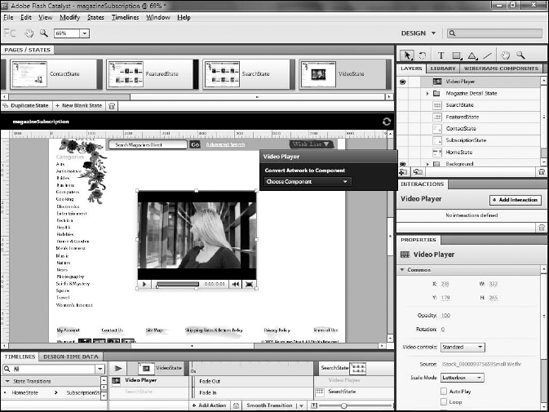
Click Open. Catalyst automatically creates a video player component and link to the FLV (see Figure 13.5).

An instance of the video player component is automatically created for each video you import into your project. The component contains two unique interactions and provides the ability for the video to be controlled by other components.
The video player has two unique interactions:
The first allows you to set up interactions that occur once the video is done playing. The second gives you control over the video as soon as it loads in the project.
With either interaction, you have the same set of actions as you do with other components:
Play a transition to a state
Play an action sequence
Go to a URL
Play a video
Stop a video
Pause a video
You can apply the final three options to the current video player or to any other video player in your project; you can set up your project so that a second video plays as soon as the first finishes.
The video player component includes a default skin that provides playback controls along the bottom of the component (see Figure 13.6). This skin has buttons to play or pause the video; scrub forward or backward while the video is playing; mute the video's audio; and switch the video to full screen.
The skin has two default appearances:
Wireframe
Standard
The buttons on both are the same. The difference is that the Wireframe's buttons have a blue background, while the Standard is white (see Figure 13.7). You can switch between them using the Video controls drop-down list in the Common category on the Properties panel.
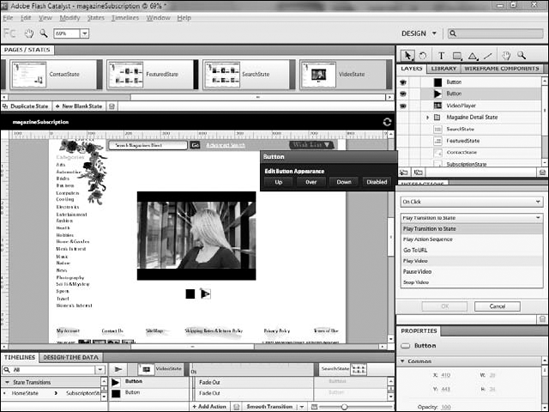
You can create your own controls for the video if you want. When providing your own controls, first turn off the default skin by selecting None from the Video controls drop-down list in the Common category on the Properties panel. Then add your own custom button components, which are created just as you would any other button component in the project (see Figure 13.8), using these steps:
Note
See Chapter 9 for details on creating buttons.
The Properties panel provides a set of controls for your video. From the Common category, you can set the video to play automatically, loop so that it plays back repeatedly and have its audio muted by default.
The Component category contains a set of controls shared by all components: Accepts mouse events, Tab to focus, and Tooltip. It also contains a control unique to the video component, Volume. Volume allows you to set the default volume for the video's audio. The Appearance and Filters categories are the same as for other components.
Note
See Chapter 9 for details on Appearance and Filters settings.
Sound, if used appropriately, can enhance your projects. You can add sound effects to buttons or other components and trigger them via action sequences.
You can import a sound by following these steps:
Choose File
Select the appropriate sound.
Click Open. Unlike other imported assets, sound files cannot be placed directly on the artboard, so your imported sound is placed in the Media folder of your Library.
Sounds can be played in your project through an action sequence. To associate a sound with a button click, follow these steps:
Select the button.
From the Interactions panel, click Add Interaction.
Select On Click.
Select Play Action Sequence.
Click OK.
On the Timelines panel, click Add Action.
Click Sound Effect.
From the Select a Visual Asset dialog box, choose the sound file you want to use.
Click OK.
From the Properties panel, set the duration for the sound, the delay before the sound begins, and whether to repeat once the sound is finished.