Importing Catalyst projects into Flash Builder
Running a project from Flash Builder
Merging changes from Catalyst into an existing Flash Builder project
In order to finish the Magazines Direct project, you will need to import it into Flash Builder, where either you or a Flex developer will add any additional functionality that cannot be handled by Catalyst. You can also run the project from Flash Builder to preview it.
Once the project has been opened and edited in Flash Builder, you will no longer be able to open it in Catalyst. However, if you keep a backup copy of the original project, you can open that in Catalyst, make needed changes, and then merge those changes back into the Flash Builder project.
Catalyst creates FXP files. An FXP file is actually nothing more than a zipped Flex project, which can be opened directly in Flash Builder. Therefore, there is nothing special you actually need to do in order to export your file to Flash Builder; it will automatically be in a file format supported by Flash Builder.
However, it is a good idea to make a back-up copy of the project so that it can be opened later by Catalyst if changes need to be made.
Note
The exercises in this chapter assume that you have completed the exercises in Chapter 24. If you have not, you can download a version of the project as of the start of this chapter from the book's Web site (www.wiley.com/go/flashcatalystbible).
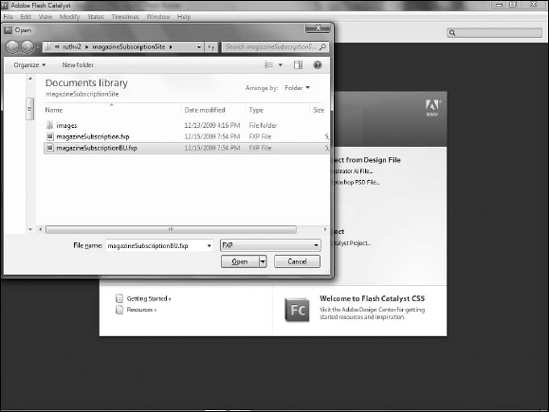
In Catalyst, choose File

Navigate to the folder into which you wish to save the back-up copy of the project.
If necessary, rename the project.
Click Save (see Figure 25.1).
Open Flash Builder. On Windows, choose Start
Note
If you do not have a copy of Flash Builder, you can download a free trial version from
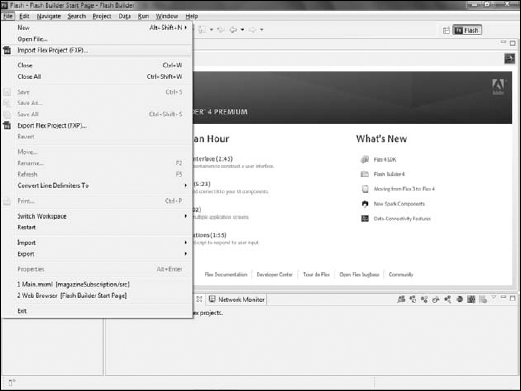
www.adobe.com/products/flex. The trial is fully-functional, but will eventually time-out and stop working.In Flash Builder, choose File
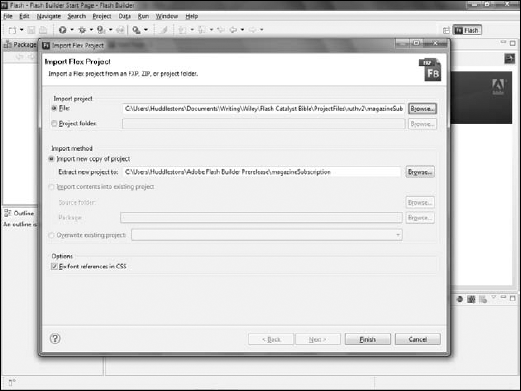
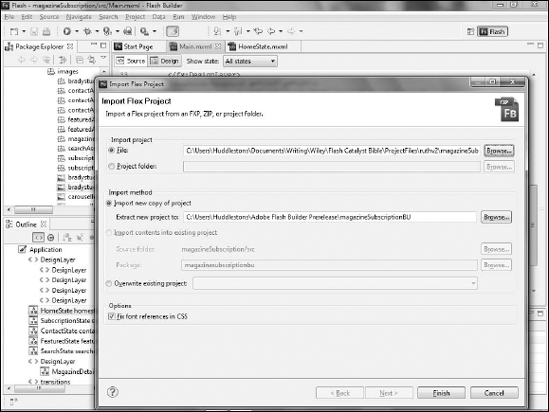
Click the Browse button to browser for a file to import.
Navigate to the directory that contains the original FXP project from Catalyst.
Click Import.
On the Import Flex Project dialog box, click Finish (see Figure 25.4). The project will be imported into Flash Builder.
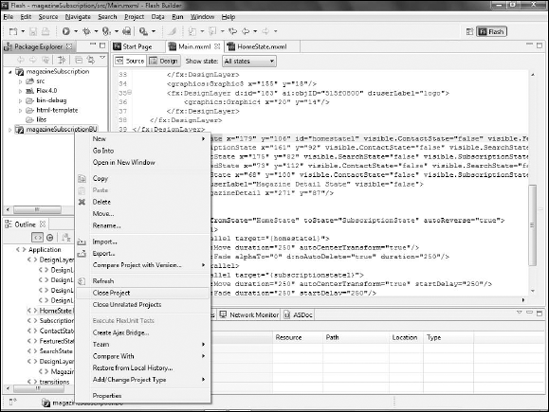
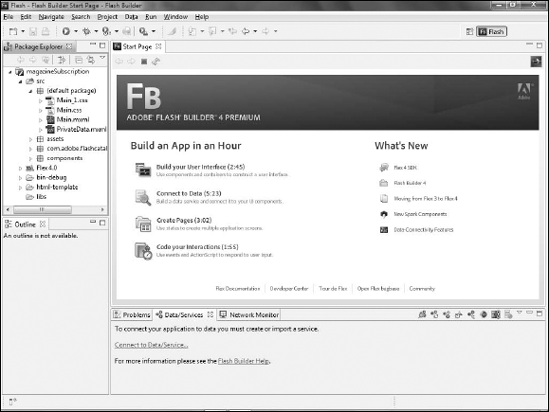
Expand the package in the Package Explorer in Flash Builder to examine the project's files (see Figure 25.5).
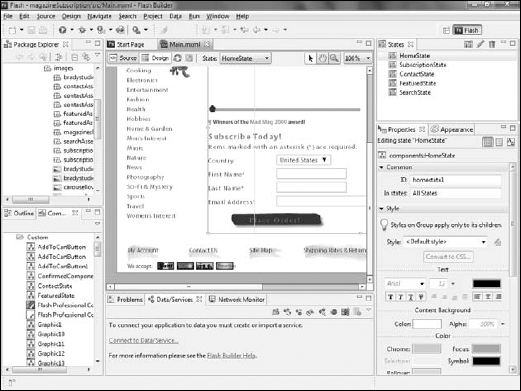
Open
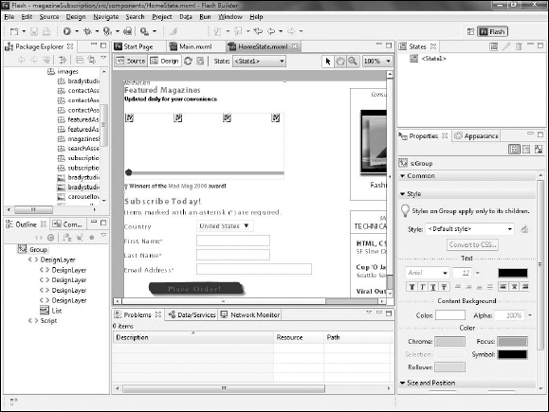
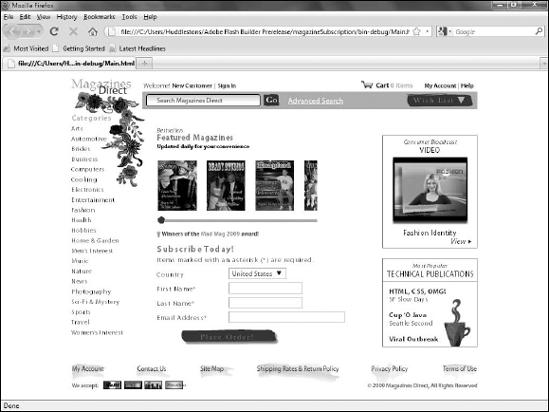
Main.mxmlfrom the Package Explorer. This is the primary file created by Catalyst, and represents the starting file for the project.If necessary, click Design to view the project in Design mode. The view of the project in Design mode should closely resemble Catalyst's view (see Figure 25.6).
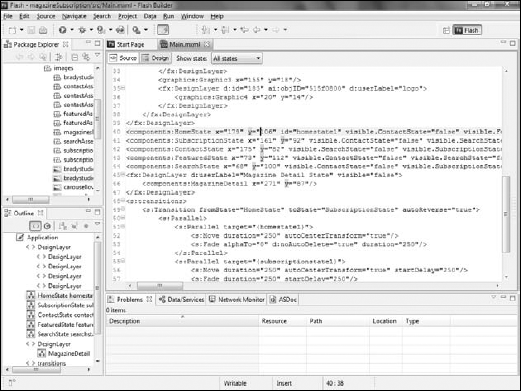
Click Source. This switches to Flash Builder's code view, where you can edit the code for the project.
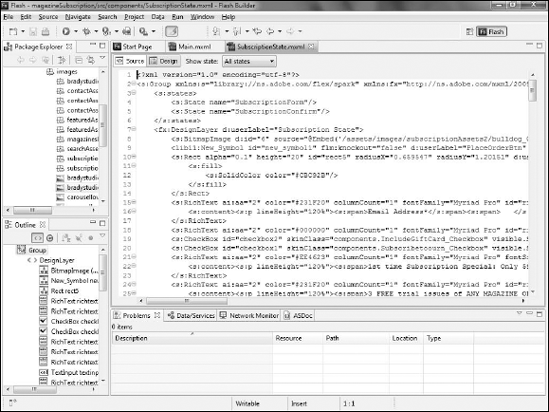
Examine the code that was created by Catalyst (see Figure 25.7).
There will likely be less code in this file than you may have anticipated, as it does not contain all of the code for the project. Every component is contained within its own, independent MXML file.
In the Package Explorer, click the arrow to open the CustomComponents folder.
Double-click one of the custom components to open it. In this example, the SubscriptionAssets component has been opened.
Examine the source code of the component (see Figure 25.8).
Click Design to switch back to Design mode. Again, the component appears in Flash Builder in a manner very similar to what you saw in Catalyst (see Figure 25.9).
You have now imported your Catalyst project into Flash Builder and examined some of the elements of the project.
Just as you can run a project in Catalyst to view how it will appear to your user, you can do the same in Flash Builder. The key difference is that, by default, Catalyst opens the project in a stand-alone version of Flash Player, while Flash Builder defaults to opening the project in a Web browser.
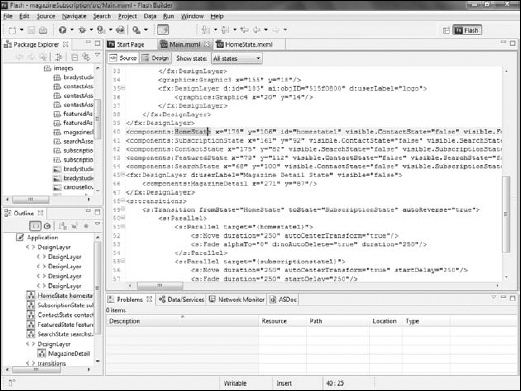
In Flash Builder, ensure that you are viewing the project's main file. When you have multiple files open in Flash Builder, you can switch between them by clicking the tabs in the top-left corner of the editing window (see Figure 25.10).
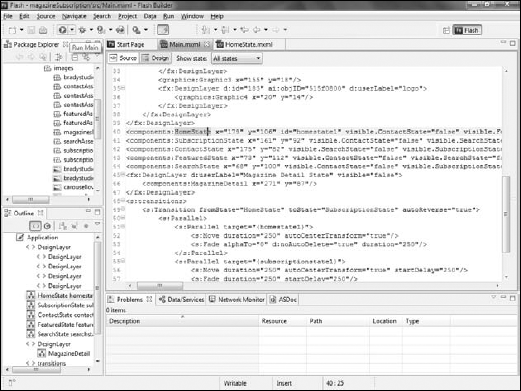
From the Flash Builder toolbar, click the Run button (see Figure 25.11). Its icon is a green circle with a white arrow. You can also choose Project
Depending on the size and complexity of the project and your computer's resources, this process may take some time. A Build dialog box will display the progress while the project is built, or compiled (see Figure 25.12).
Once the build is complete, the project will open in your computer's default Web browser. It should be fully functional, so you can click buttons, change states, fill out forms, and otherwise use the project. When you finish testing the application, you can return to Flash Builder to continue working on it.
Once a project has been opened and edited in Flash Builder, you will no longer be able to open it in Catalyst. In an ideal workflow, this would not be necessary; the design phase of the project will have been completed in Catalyst, and all that will remain will be editing it in Flash Builder.
However, ideal workflows rarely, if ever, apply in the real world. The unfortunate fact is that there will be times when edits need to be made to the visual interface of the project, and it may be easier to complete those edits in Catalyst rather than in Flash Builder. Therefore, you can open a back-up copy of the project in Catalyst, edit it, and then merge those changes into Flash Builder. Follow these steps:
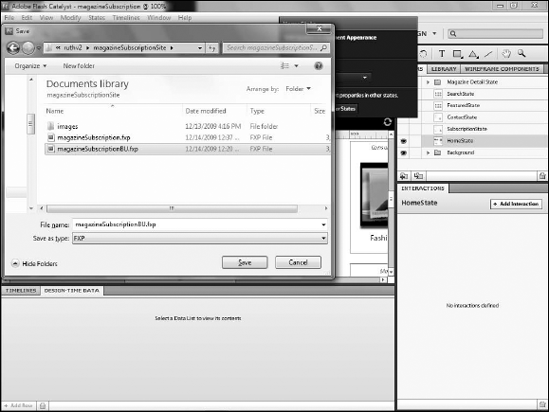
In Catalyst, choose File
Select the back-up copy of the project.
Click Open (see Figure 25.13).
Make any needed changes to the project. In this example, the heading text in the HomeState component is being changed (see Figure 25.14).
Choose File
Choose File
Type a new name or navigate to a new location to save the back-up (see Figure 25.16).
Choose File
Click Import new copy of project (see Figure 25.17).
Navigate to the location of the new file from Catalyst. The changes will be opened in Flash Builder as a new project.
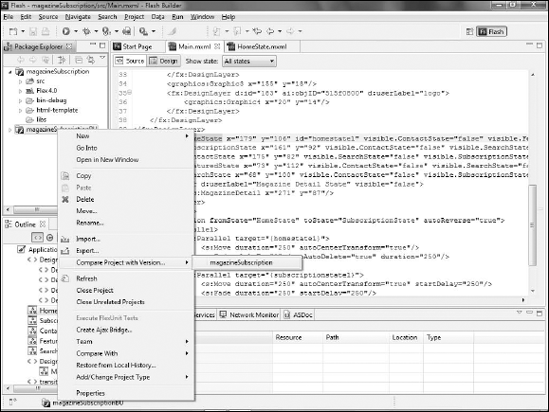
To merge those changes into the existing project, right-click (

Select Compare With (see Figure 25.18), than select the original project. If it is the only other project currently open in Flash Builder, it will be the only item on the list.
Flash Builder examines the code in both projects and display a dialog box detailing the differences it discovers between the two. Depending on the size and complexity of the files and your computer's resources, this process might take some time to complete.
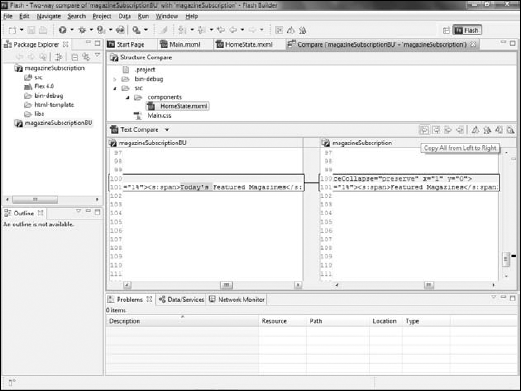
Expand the src folder, then the components folder, and then double-click
HomeState.mxml. The component opens and the first difference between the files is highlighted.Click Next Difference to move to the next change. If necessary, scroll to the right to see the highlighted differences (see Figure 25.19).
Click Copy All from Left to Right (see Figure 25.20).
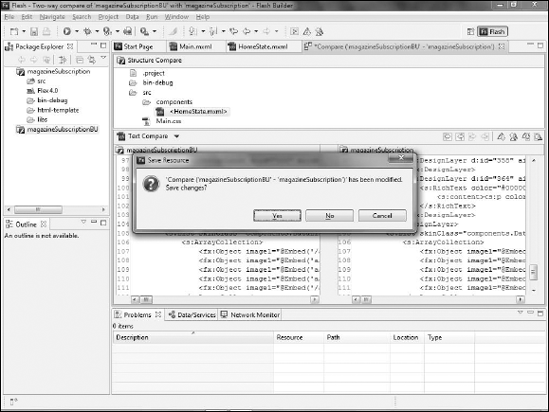
Click Close on the Compare window's tab (see Figure 25.21).
Click Yes to save the comparison (see Figure 25.22).
Right-click (


Closing the project ensures that you will not accidentally begin editing it, instead of the other version of the project. You may want to actually delete the project from Flash Builder by right-clicking (
Should you find yourself making multiple edits in Catalyst that need to be merged with Flash Builder, you will need to develop a clean naming convention for the new projects to avoid confusion. You may also want to treat the files to be merged as temporary files, deleting them immediately after merging into Flash Builder, so that you only keep two copies of the project:
The copy being edited in Flash Builder
The back-up for editing in Catalyst
You should also work with your Flex developer to attempt to limit the number of times changes need to be merged; for example, you may not want to send the developer a new copy of the project for every change, but instead wait to try to combine several changes together.