
The Shopping List app we'll build in this chapter is made of two screens. The first screen, which the user will see when they open the app, shows a shopping list, as illustrated in the following screenshot:

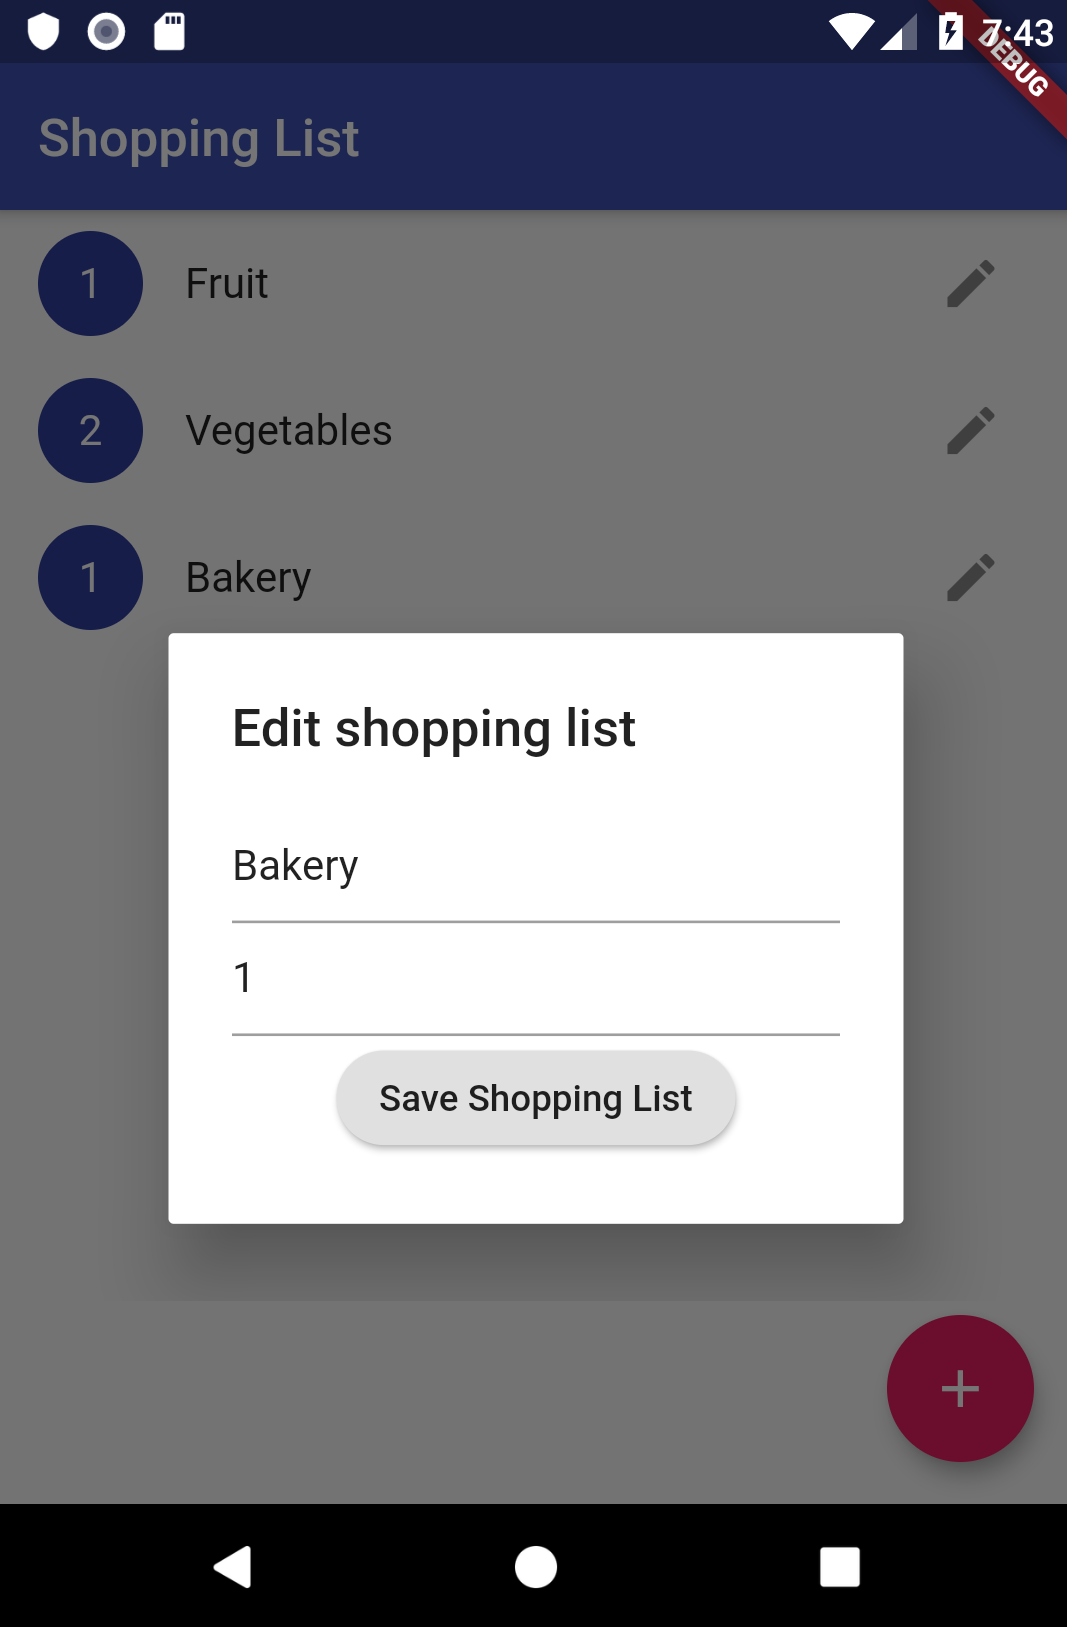
Each item on the list has a priority, which is the number you see on the left of the preceding screenshot, a name (Bakery, Fruit, and so on), and an edit button on the right. When you swipe on any of the items in the list, the item will be deleted, and when you tap on the edit button, the app will show an edit dialog screen, allowing you to edit the Shopping List name and priority, as illustrated in the following screenshot:
When you tap on one of the shopping lists, you'll get to the second screen of the app, which shows another list: the items contained in the shopping list you selected. For example, if you tap on the Fruit shopping list, you'll see the items: Oranges and Apples, as shown in the following screenshot:

Each item on the list will have a name, a quantity, and a note. The functionality of the screen will be similar to the first screen: you'll be able to add new items by tapping on the Floating Action Button (FAB), edit items by tapping on the edit button, and delete items from the list by swiping any element of the list.
As usual, we'll create a new project from scratch, and in the next section, you'll see how to add a SQLite database to your Flutter app.