
As mentioned before, Firebase is a set of tools that you can use to build applications in the cloud. As it's a cloud service, you won't need to install any software on your device. Firebase is operated by Google, so you will need a Google account to create your first project.
What are the advantages of using Firebase, instead of following the traditional approach of writing a client-side app, and a server-side (or backend) service?
The tools that are available within Firebase cover most of the services that you would typically have to build yourself, including authentication, databases, and file storage, just to name a few. The client that connects to Firebase—in our case, a Flutter app—interacts with these backend services directly, without any middleware server-side service. This means that, when you use the Firestore database, you'll write queries directly in your Flutter app! This is totally different from traditional app development, which usually requires both client and server software to be written, and it's probably the main advantage of using Firebase when developing an app that requires a backend service. You won't need to write, install, or maintain a web service using PHP, or Java, or C#. You'll deal with Firebase directly from your Flutter app.
Every project that involves the use of Firebase begins with the Firebase console. You can reach it at the following address: https://console.firebase.google.com/.
You will be asked to authenticate yourself before accessing the console. In the remote chance that you do not have any Google accounts, you can create one for free from the authentication page. So, let's begin, as follows:
- The container of all services in Firebase is a project. So, we'll begin building our app by creating a new Firebase project.
- Once you click on the Add Project button (or New Project, depending on the console interface), you'll need to choose a project name. Let's call it Events, as shown in the following screenshot:
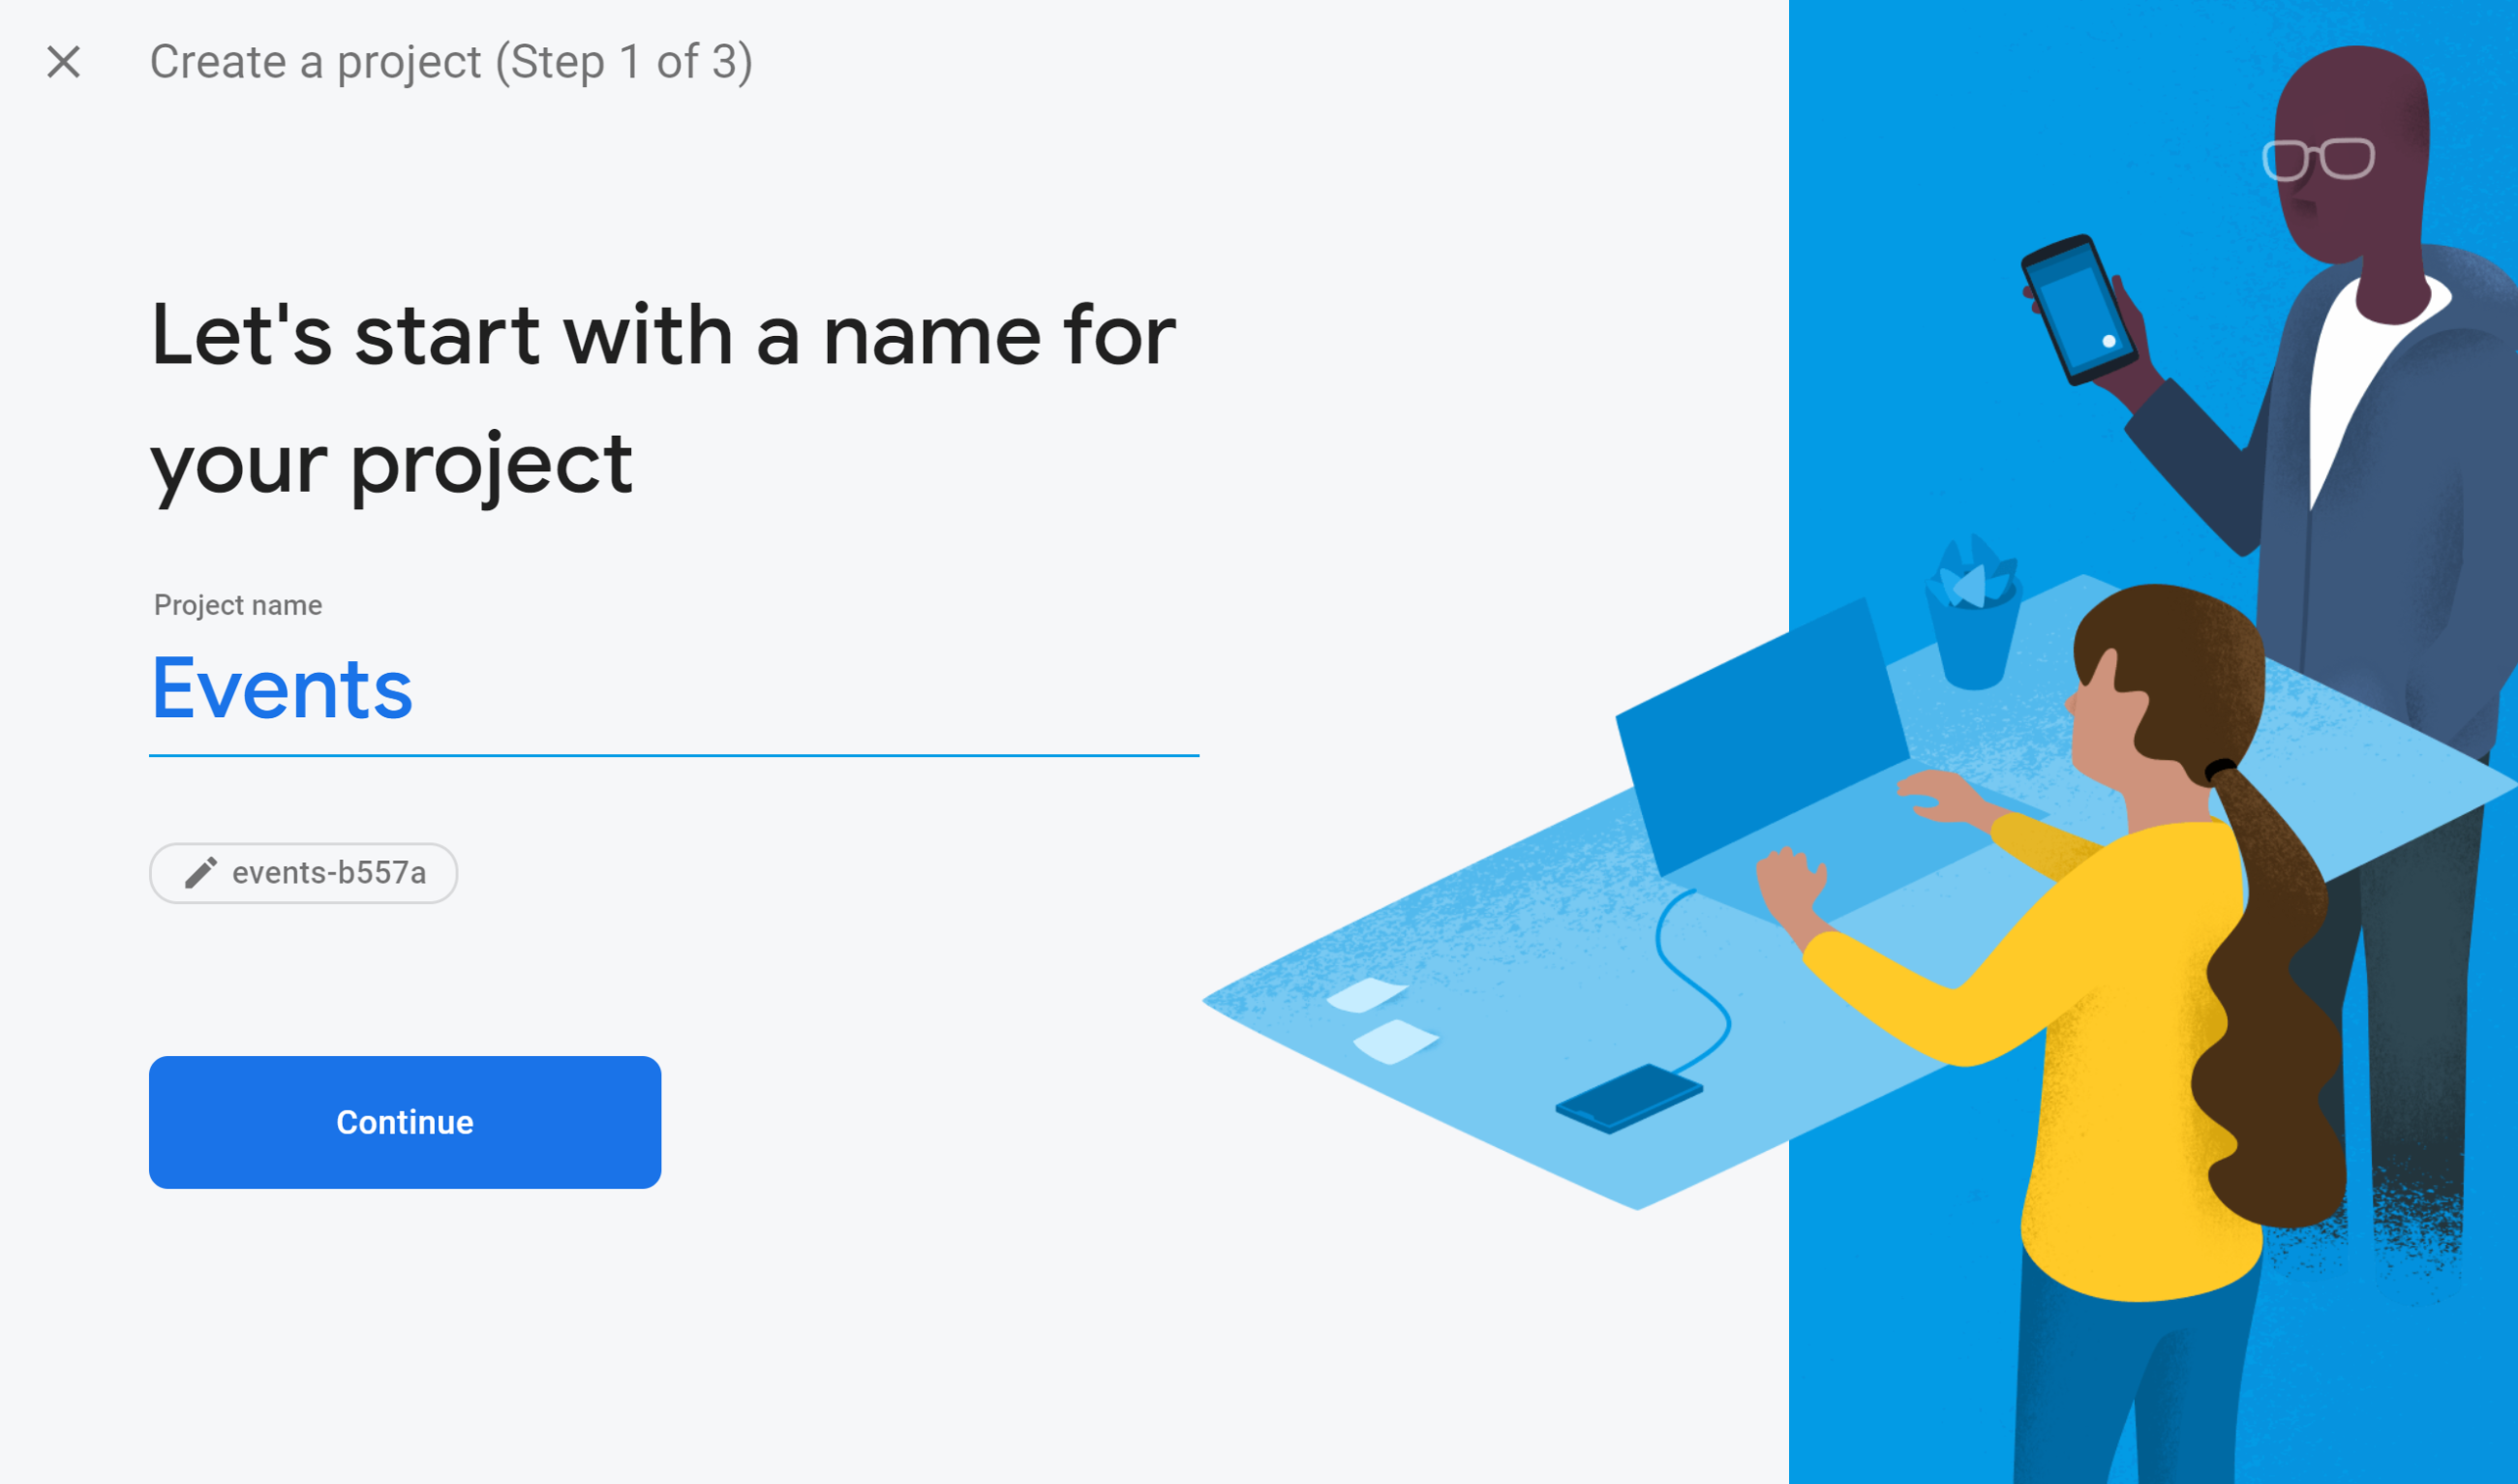
- Next, just press Continue to keep configuring the new project and accept the Terms and Conditions.
- In the next screen, you'll be asked to set up Google Analytics for your Firebase project. In the context of this chapter, this is not necessary as we won't use it, but it's generally recommended or real-world projects.
- Click Continue again, and after a few seconds your project will be created. We now have the Firebase project that we'll use in our app. At the end of the process, you should see a page similar to the one in the following screenshot:

This is the Firebase Project Overview page, which contains the name of the project (Events, in this case) and the billing plan (Spark plan means that it's a free plan); on the left side of the page, you have the main tools you can add to your project.
Now that our Firebase project has been built, let's create a Firestore database and add some data that we'll read in our app.