
In your Mac, from your favorite editor, open the Flutter project that you have created, and make sure you update the main.dart file, as shown at the beginning of the previous section.
Next, we'll need to change the bundle Id of our Flutter project. This is the value that identifies your iOS app. Let's see how to do this here:
- Open the app in Xcode (you may just open the iOS folder of your app), then access the General tab in the top-level Runner directory.
- Next, change the Bundle Identifier value to a string that uniquely identifies your project, as shown in the following screenshot:

If you have a domain name, you can use that (for example, mine is it.softwarehouse.events). This is needed to register the app with Firebase and to eventually publish the app to the App Store if you wish to do so later on.
- Save your project and get back to the Firebase console.
- Next, let's get to the Project Overview page in Firebase. There, under the Project Name, click on the Add App button, and select iOS.
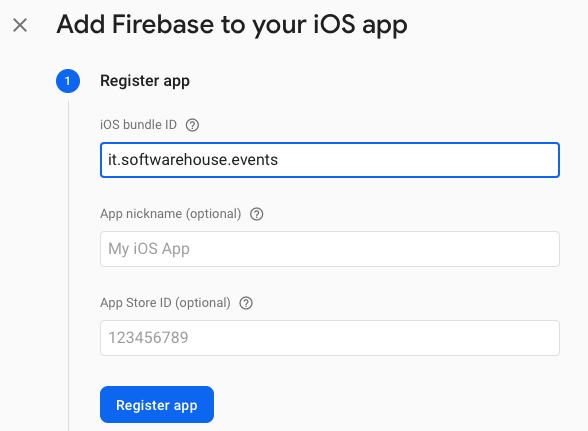
- You'll be asked to insert the iOS bundle ID. Insert it, as shown in the following screenshot, then press the Register app button:
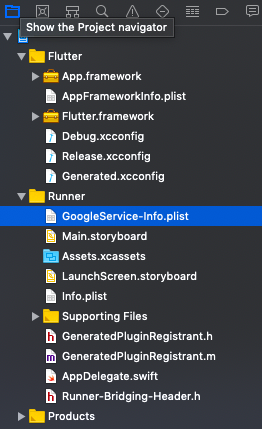
- Click Download GoogleService-Info.plist to get the Firebase iOS configuration file, named GoogleService-Info.plist.
- Next, from Xcode, move the downloaded file into the Runner directory of your Flutter app, as shown in the following screenshot:
Back in the Firebase console, click Next. You can skip the remaining steps of the configuration.