
When you enter a new project in Flare, you see your Stage. The Stage is the working area where you create all your designs, and where you place Artboards.
An Artboard is the top-level node of a Flare hierarchy, and this is where you place all your objects and animations. The Hierarchy is a tree view that shows the parent/child relationships between the items on the stage. So, you have an Artboard, and everything you put into it is its child. You can add items to the hierarchy by adding other objects and making them children of their ancestors.
Each Flare project requires at least one Artboard, but you can create as many as you like.
Flare has two modes of operations: Design and Animate. In Design mode, you create graphic objects, and in Animate mode, you animate the objects that you have designed. Flare's interface and tools will change based on the mode in which you are working.
In the following screenshot, you can see the interface, as follows:
- On the left Current View mode, the hierarchy, and the assets
- In the center, the Create tool button and the Artboard
- On the right, the properties and Options pane
In order to rename the artboard, just double-click on its name in the Hierarchy pane, as shown in the following screenshot:

We will now design the dice surface, as follows:
- From the Design mode, click on the Create tool button, and add a Rectangle to the Artboard, as you can see in the following screenshot:

- After drawing the rectangle on the Artboard, you can select it, so that its properties appear on the right.
- Change the position to 500 for X and 400 for Y.
- Change the size to 600 both for Width and Height.
- Set the Corner Radius to 25. This will smooth the angles of our dice.
- Change the Fill color to be white (Hex #FFFFFF).
- Remove the Stroke. The Stroke is the border of the shape.
The shape should now look like the one in the following screenshot. Note that, when an object is selected, it's light blue, even if the selected Fill color is white:

Now the surface of our dice is complete, we need to add the numbers for each side of the dice. We'll use the classic six-sided dice, and we'll design the numbers with the shapes, as you can see in the following image:

In order to achieve this, we'll design seven black circles that will cover all the possible combinations of values for the dice, as follows:
- Add a new shape to the Artboard, of type Ellipse. It will be the first circle for the dice.
- Place the shape at the top-left corner of the dice.
- Make the Ellipse shape a child of the Rectangle shape, by dragging it under the rectangle in the hierarchy pane.
- Double-click the Ellipse shape and rename the shape as TopLeft.
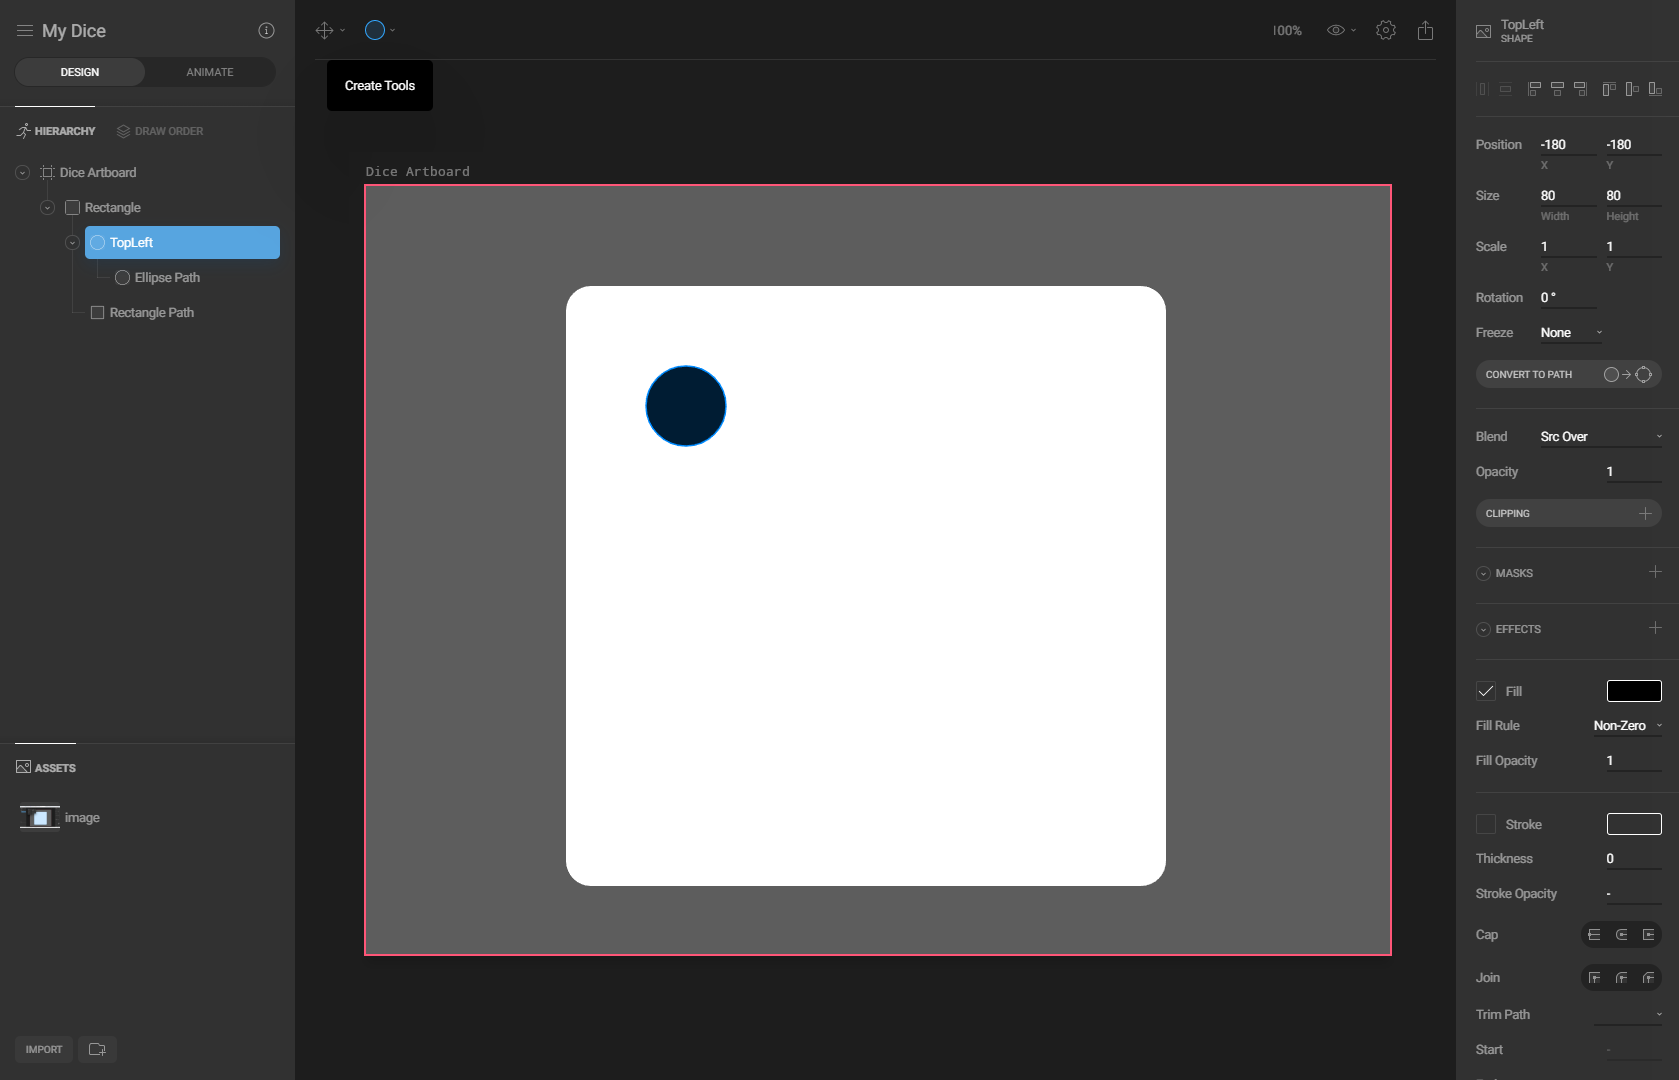
- Change the properties of the TopLeft shape.
- Position: -180 for X and Y.
- Size: 80 for Width and Height.
- Fill: Black color (Hex: #000000).
- Remove the Stroke.
The final result is shown in the following screenshot:
Now, let's copy TopLeft six times. All the Ellipse shapes should be children of the rectangle. This is because, in that way, we are grouping all the objects together, and when moving the rectangle, we'll be able to also move all its content.
For each of the circles, we'll change name and position, based on the following values:
| Name | Position |
| CenterLeft | -180 0 |
| BottomLeft | -180 180 |
| TopRight | 180 -180 |
| CenterRight | 180 0 |
| BottomRight | 180 180 |
| CenterCenter | 0 0 |
The final result is shown in the following screenshot:
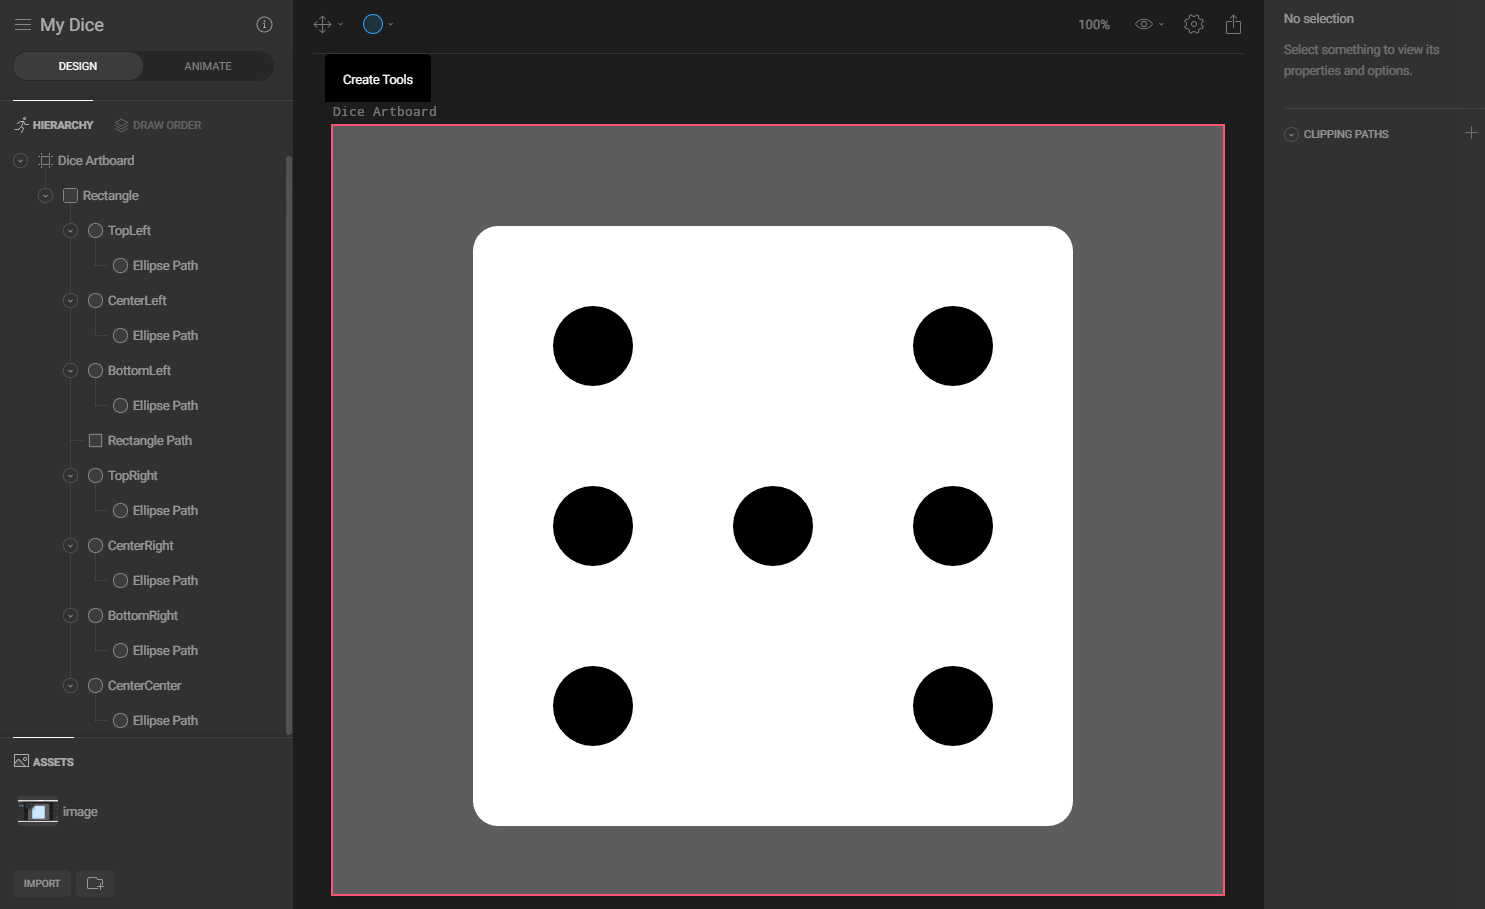
This completes the design process of our dice. Next, the fun part: we will create animations that will make our app more interesting to use.