
Let's switch from Design mode to Animate mode. You'll notice that a timeline appears at the bottom of the page. You'll probably find the timeline familiar if you've used other animation tools, or you've produced video or audio content. A timeline is where you control the progression of your animation. In Flare, you can also specify the duration of the animation and the number of frames per second (FPS).
In the following screenshot, you can see the animation page for our project. Notice the timeline and the duration, and the FPS settings:
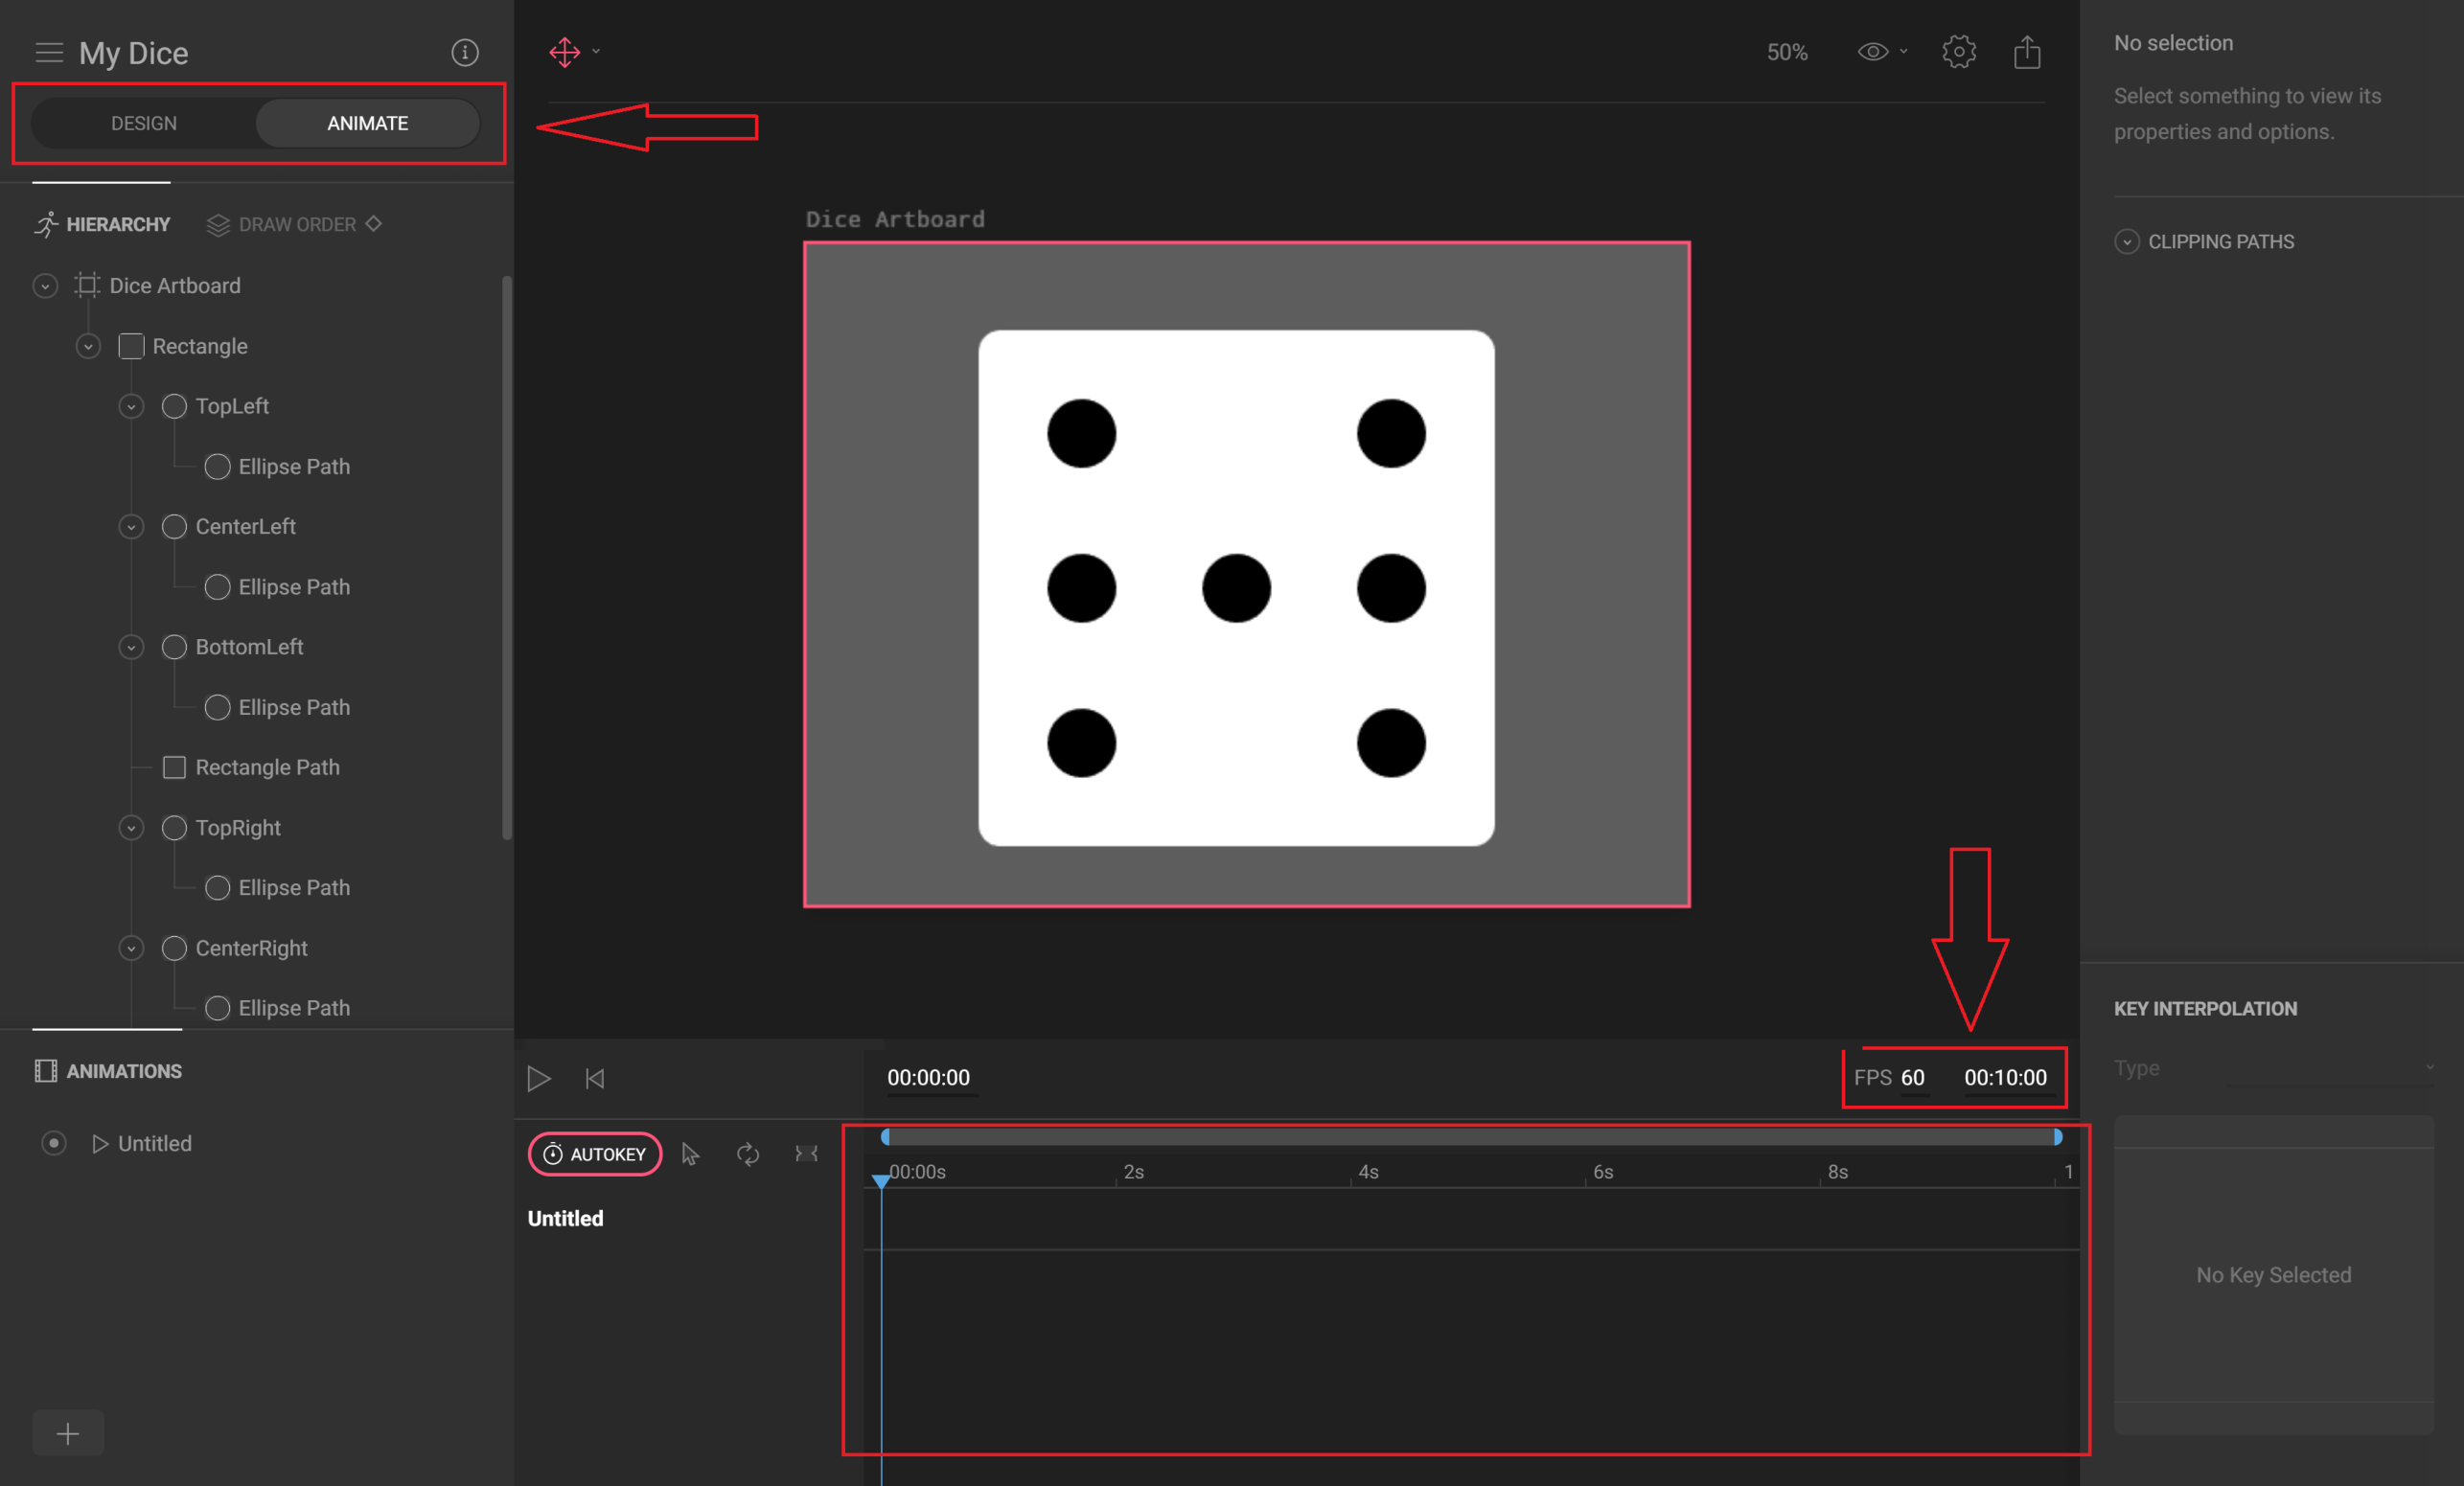
Now, we'll see how to create our first animation so that we can get familiar with the timeline.
If you select the rectangle, in the Properties pane on the right of the page, you will see all the settings that can be changed in order to perform the animation. For example, you could change the Size/Position of the rectangle. Let's look at the steps, as follows:
- Let's say we want to rotate the square 90 degrees. Select the square in the Dice Artboard.
- Check that the playhead is positioned at the beginning of the animation (00.00.00 seconds).
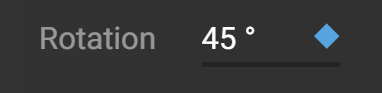
- The timeline displays objects and properties that have been "keyed". Keying in Flare means adding an object to the animation sequence. Press the diamond shape near the Rotation property of the square—this will key the rotation in the timeline at the beginning of the animation. The diamond changes color and the rectangle appears on the timeline. In the following screenshot, you can see a detail of the result in the Properties pane:

- Move the playhead in the timeline to 2 seconds, as shown in the following screenshot:

- Set the rotation of the square to 45° and key the square again, as shown in the following screenshot:
- If you press the spacebar, you will see that the square is rotating from the initial position to 45 degrees, and it's taking 2 seconds to do that. Flare is "magically" filling all the frames to get there in the 2 seconds that we specified as the duration from the first to the second key.
- Repeat the process according to the following table:
| 0:00 | 0° |
| 2:00 | 45° |
| 4:00 | 90° |
| 6:00 | 135° |
| 8:00 | 180° |
- Set the duration of the animation to 8 seconds.
- Rename the animation by double-clicking on its name (untitled). Let's call it Rotate.
- Press the Loop button so that the animation will automatically restart as soon as it finishes, and try the animation: you should see the dice rotating endlessly.
You have now created your first animation and, hopefully, familiarized yourself with the Flare interface. Unfortunately, we won't be using this specific animation in our app, but we can keep it here for reference. Next, we'll create the real animations that will be needed in our app.