
You can also choose to run and test your apps on a physical device, and I'd especially recommend this option if you have an older PC, as an emulator takes its toll on system memory and resources.
Depending on your Android device, you may need to download a driver.
If you have a Nexus device, you will need to install the Google USB Driver, available at https://developer.android.com/studio/run/win-usb.html.
Before debugging, you should enable the developers' options on your device. The process may depend on the version of Android that you are using, but if you have a recent version of Android, the process is as follows:
- Open the Settings app.
- Select System.
- At the bottom of the screen, select About Phone.
- At the bottom of the screen, tap seven times on the Build Number.
- On the Settings screen, you'll find the Developer options. From there, make sure that USB Debugging is enabled.
- In order to test whether the setup of your device worked as expected, from the Command Prompt, type flutter devices.
- You will see your device listed on the screen, as shown in the following screenshot:
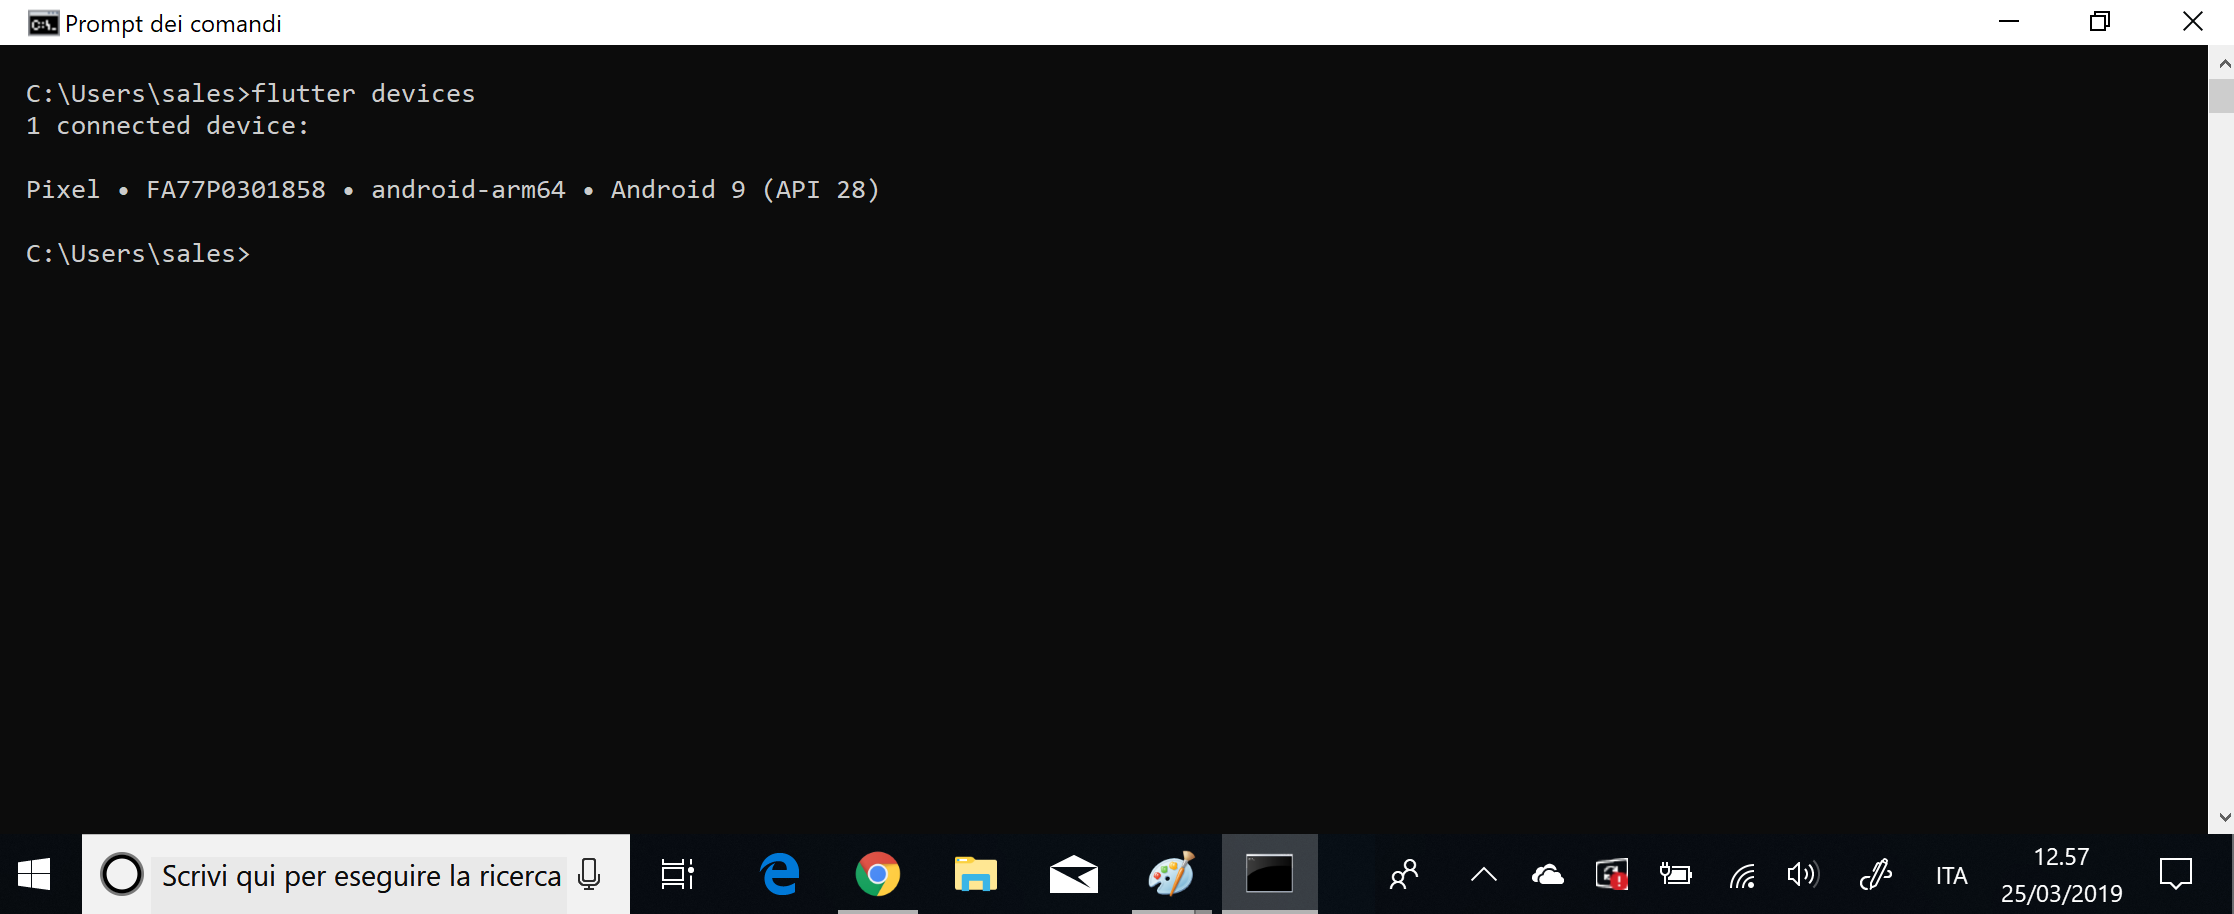
In case something didn't work as expected during this setup process, make sure to review the preceding steps, and have a look at the following page: https://flutter.dev/docs/get-started/install/windows.
The last step you need to complete before creating your first app is choosing your editor. The recommended choices are Android Studio, IntelliJ IDEA, or VS Code.