For this first project, we'll be using the Flutter CLI to create the app. So, to get started, let's make sure everything's ready in your system:
- Open your terminal window and type flutter doctor.
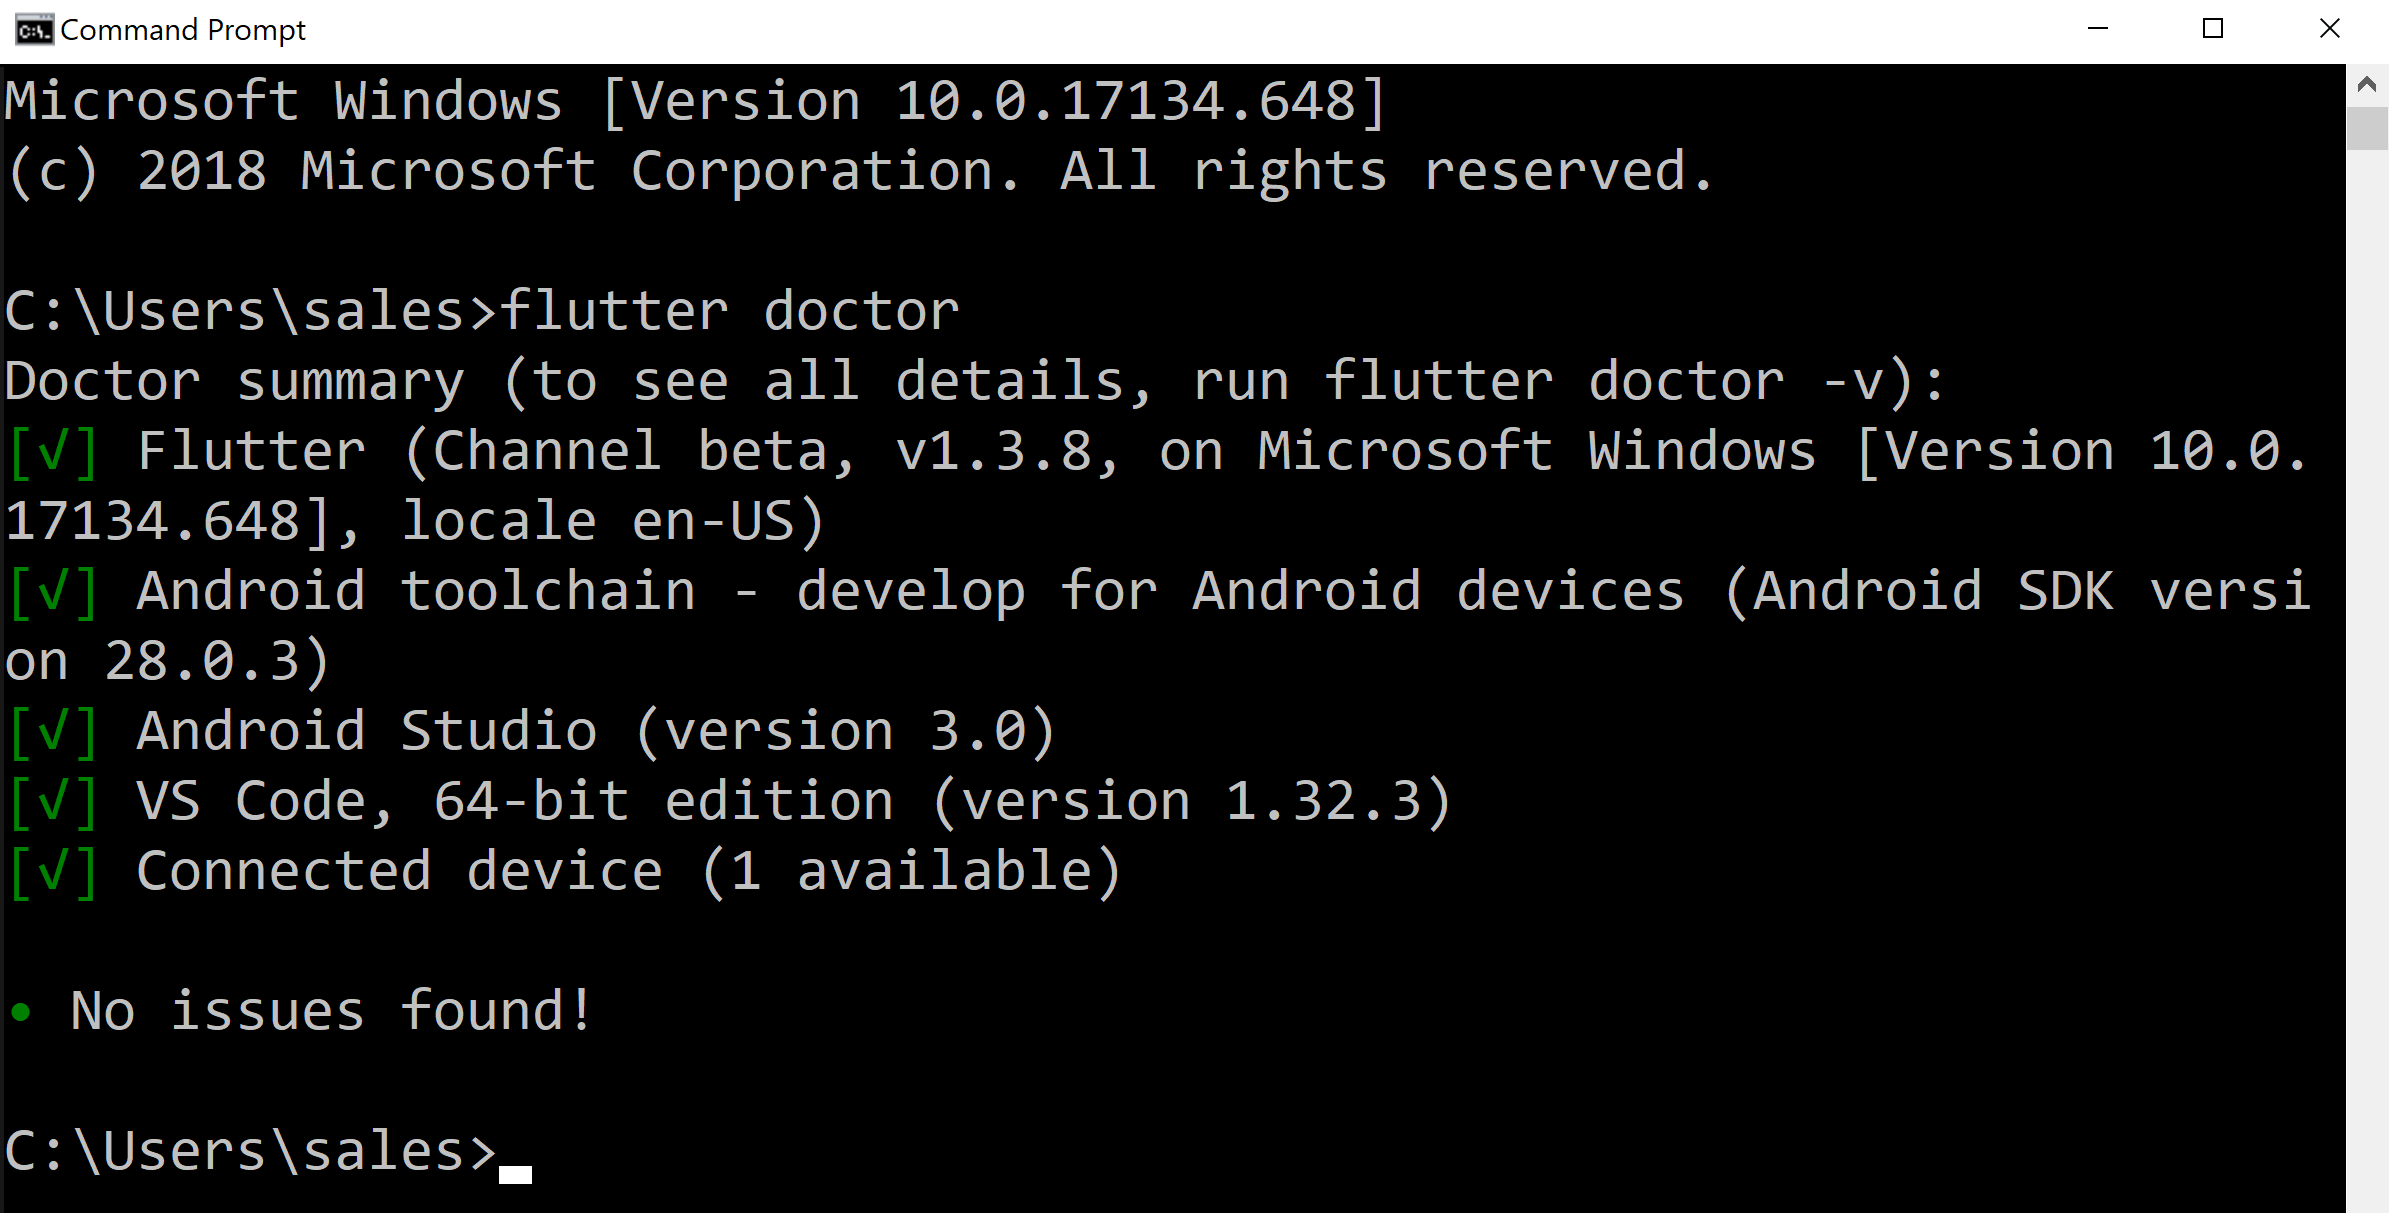
You should see a few messages, such as in the following screenshot (this is from a Windows machine that was set up for Android):

If you see some errors here, please make sure that an emulator/simulator is currently loaded, or that a physical device is correctly connected. If that doesn't solve your issues, please review the installation steps in the appendix.
- Then, type the flutter create CLI command in order to create a new app:
flutter create hello_world
flutter create creates a new project, called hello_world. The rule for naming projects is lowercase_with_underscores. The flutter create command should have created a new folder, called hello_world, which contains all the default project's files that are required for the execution of your app.
- To see the result of this step, from your terminal, type the following code:
cd hello_world
flutter run
After a few seconds, you should see the Flutter default app, similar to the following screenshot:

Now, we need to change this project so that it serves our Hello World Travel agent. In order to do this, continue with the following steps:
- Let's stop the project by typing, Ctrl + C on your terminal, and then Y.
- Next, open your editor. For this chapter, we'll use Android Studio.
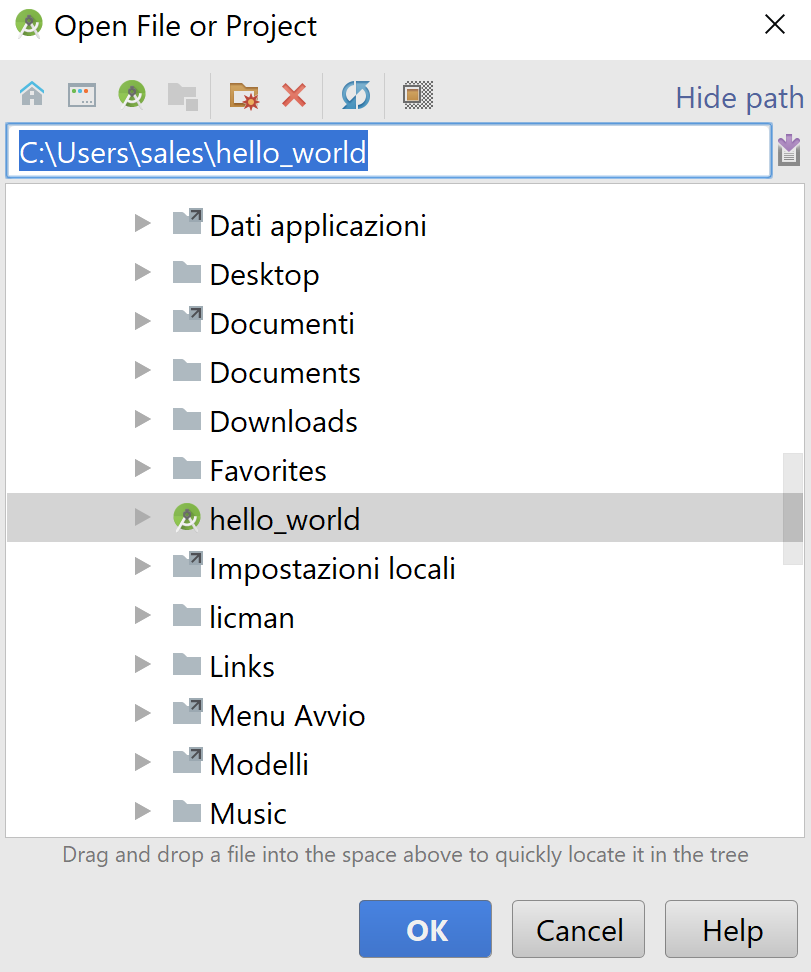
- From the Android Studio File menu, select Open..., then navigate to the project folder and click the OK button:

This will open the Flutter project in the IDE.
- In the editor, you should see a file called main.dart, which contains the code of the default app. Let's delete all the content of the main.dart file, and type the following code:
import 'package:flutter/material.dart';

void main() => runApp(MyApp());

class MyApp extends StatelessWidget {
  @override
  Widget build(BuildContext context) {
    return Center(
          child: Text('Hello World Travel',
          textDirection: TextDirection.ltr,),
    );
  }
}
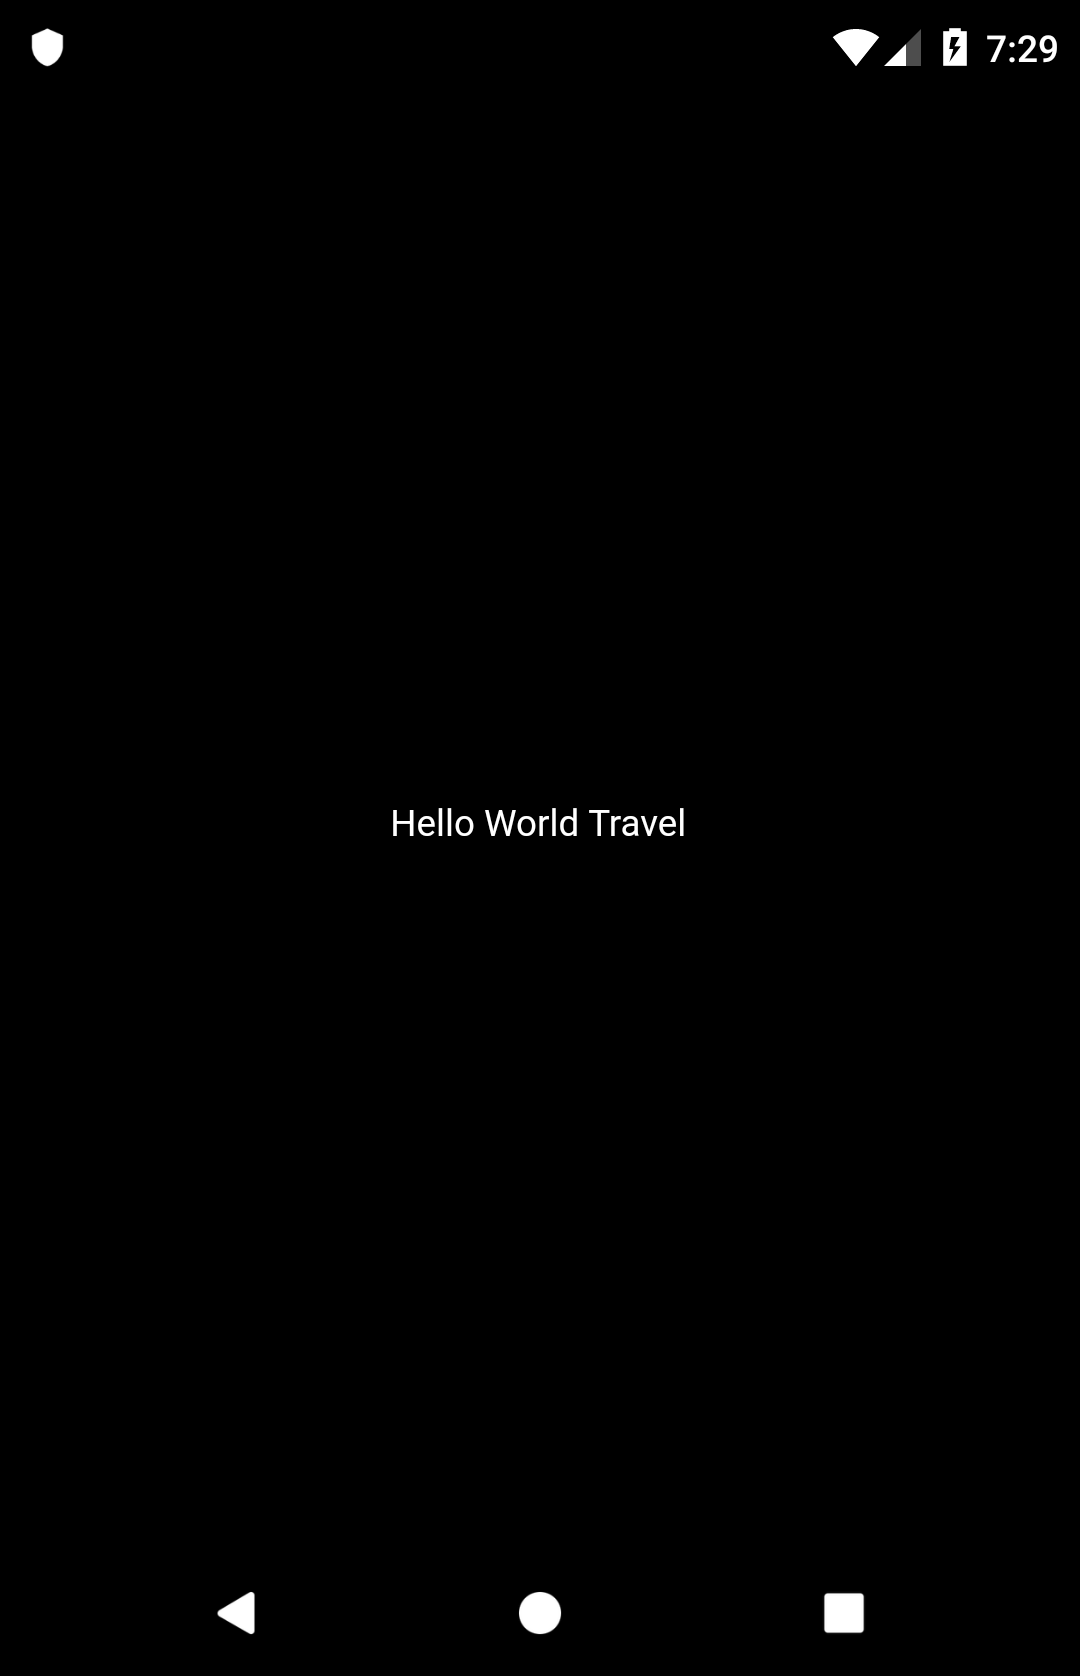
You can try out this code by pressing the Run button on the Android Studio toolbar, or by using the Shift + F10 keyboard shortcut. You should see that the app now looks like the following screenshot:

Let's see the code that we have written, line by line:
import 'package:flutter/material.dart';
In the first line, we import the material.dart package. A package is a library that contains reusable code. The material.dart package is a container of widgets, and in particular, material widgets that implement Material Design. Material Design is a visual design language that was developed by Google.
Next, we create a method, called main:
void main() => runApp(MyApp());
As you've seen in the Dart examples, this is the entry point of any Dart app, and this is the same for Flutter apps.
For the main() method, we use the arrow syntax to call runApp(). The runApp() method inflates a widget and attaches it to the screen. To put it simply, the runapp() method will show the widgets that you have placed inside the app on the screen.
The following line states that MyApp is a class that extends StatelessWidget:
class MyApp extends StatelessWidget {
In Flutter, there are two kinds of widgets: stateless and stateful. You use stateless widgets when you do not need to change the widget after its creation. In this case, the text in the screen ("Hello World Travel") will never change during the app lifecycle, so a stateless widget is enough for this app. On the other hand, you'll use stateful widgets when their content (or state) needs to change.
While HTML pages have the DOM, or Document Object Model, Flutter calls the hierarchical list of widgets that makes the UI a "widget tree."
The build() method in the following line of code is automatically called by the Flutter framework when a widget is inserted into the widget tree:
Widget build(BuildContext context) {
In our example, the widget tree is made of only two widgets: the Center widget and the Text widget. The build() method returns a widget.
Center is a positional widget that centers its content on the screen:
return Center(
So, whatever you put inside a Center widget will be centered horizontally and vertically.
child is a property that allows you to nest widgets inside other widgets. Text is a widget to show text:
child: Text('Hello World Travel',
          textDirection: TextDirection.ltr,),
Note that in this case, you also need to specify a textDirection instruction. ltr means left to right. So, you are using the child property of the Center widget, to put a Text widget in the center of the screen. By default, the background color of the screen is black.
This is probably not the most beautiful app that you've ever seen, but we'll keep working on it, and, most importantly, congratulations! You have written your first Hello World app!
