
A black screen with small white text doesn't really look like a real app. We'll try to fix that by taking the following steps:
- Let's introduce the MaterialApp widget, which is the container that you'll use when creating Material Design apps. Material Design is a design language that Google developed in 2014, based on "materials," such as ink or paper, with an implementation that was even more advanced than physical materials. Flutter fully supports Material Design.
If you are interested in learning more about Material Design, have a look at the material.io (https://material.io/) website. It's full of examples and ideas that you can use for the web, mobile, and of course, your next wonderful app in Flutter!
- For most of your apps, you'll probably wrap your content in a MaterialApp widget. This also allows you to give a title to your app. So let's change our code like this:
import 'package:flutter/material.dart';

void main() => runApp(MyApp());

class MyApp extends StatelessWidget {
  @override
  Widget build(BuildContext context) {
    return MaterialApp(
        title: "Hello World Travel Title",
        home: Center(
          child: Text('Hello World Travel')
        ));
  }
}
- Instead of returning a Center widget, we are now returning MaterialApp, which has two properties: title and home. Home is what the user will actually see on the screen of the app. You may notice that when you use MaterialApp, you don't need to specify the text direction, as the text direction is chosen based on the device's locale information.
Currently, languages that use the right-to-left text direction are Arabic, Farsi, Hebrew, Pashto, and Urdu. All other languages use left to right.
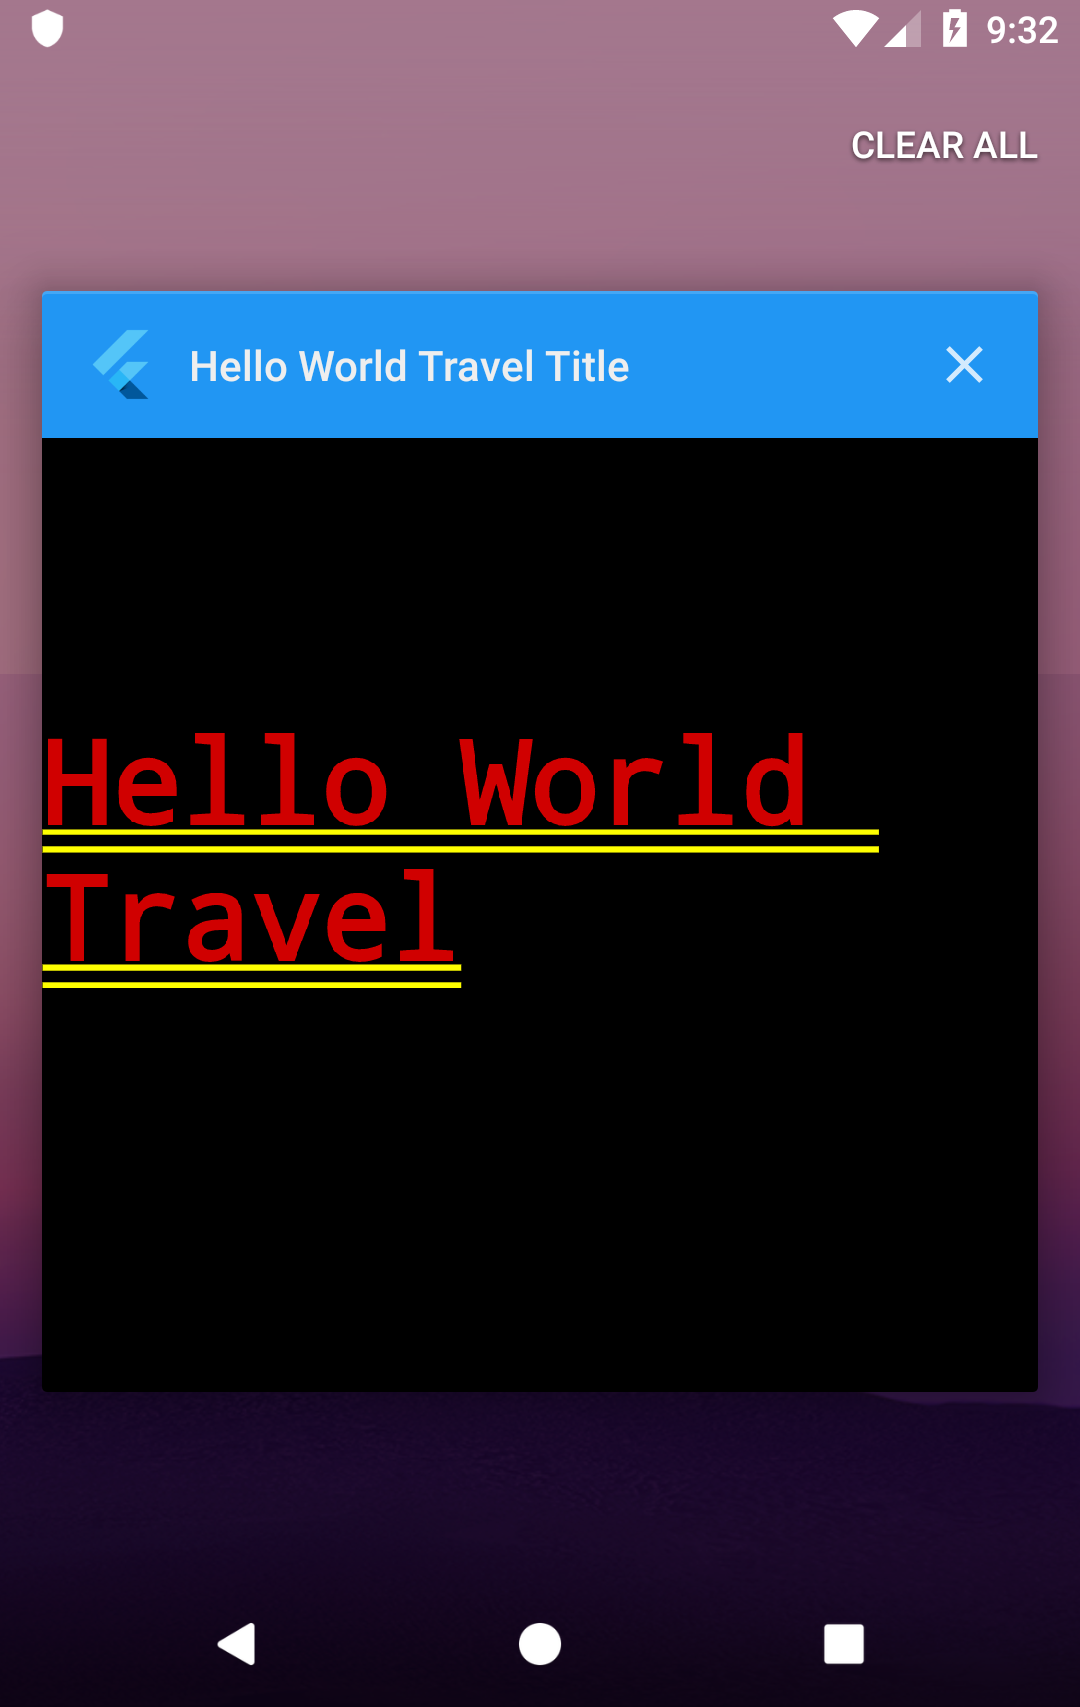
- If you run the app, you'll see that a couple of things changed in it. If you are using Android, you will now see the app title if you scroll through your apps, and the font size has changed:
- It looks even worse than before. Let's quickly add a Scaffold widget. A Scaffold widget represents a screen in a MaterialApp widget, as it may contain several Material Design layout widgets, including AppBar, a bottom navigation bar, floating action buttons, and the body of the screen. We'll use those widgets extensively throughout the book.
- A Scaffold widget allows you to add an application bar to your app. In the appBar property, we'll place an AppBar widget, which will contain the text that you want to show in the application bar.
- Let's set the text to be added to the Hello World Travel App, as shown in the following code block:
class MyApp extends StatelessWidget {
  @override
  Widget build(BuildContext context) {
    return MaterialApp(
        title: "Hello World Travel Title",
       home: Scaffold(
            appBar: AppBar(title: Text("Hello World Travel App")),
            body: Center(
              child: Text('Hello World Travel')
        )));
  }
}
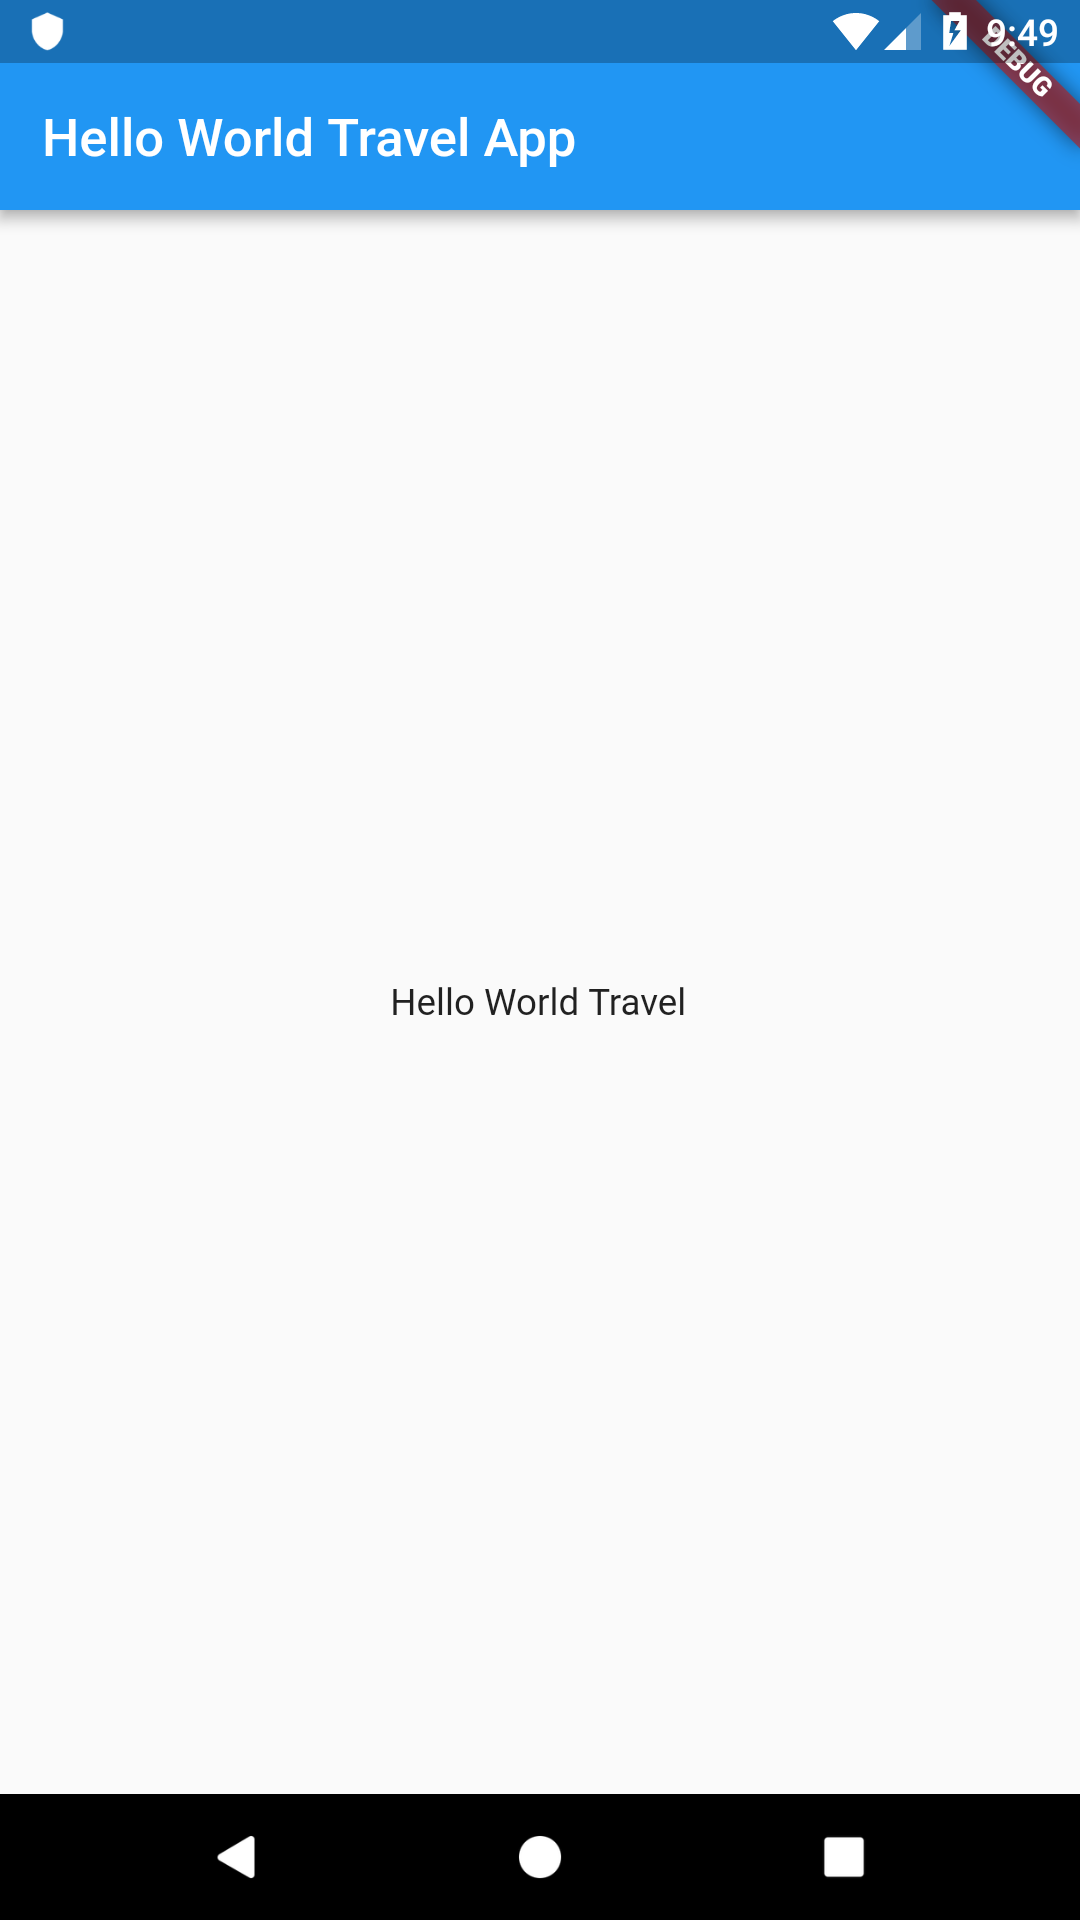
The Scaffold widget has two properties that we used: appBar, which contains an application bar, and body, which contains the main content of the screen.
So, our app now definitely looks more like an app, even though it only contains a small amount of text:
Let's now add a few more widgets to make our app more interesting.