
As we did for the ProductivityButton, in order to avoid unnecessary code duplication, we can create a button that we can reuse several times within the Settings screen. This button has some properties that are different from the ProductivityButton, so we'll create a new widget using the following steps:
- In the widgets.dart file, let's create a new stateless widget called SettingButton, like this:
class SettingButton extends StatelessWidget {
  @override
  Widget build(BuildContext context) {
    return Container(
    );
  }
}
This class will have a few properties that we will use in the constructor method, as follows:
final Color color;
final String text;
final int value;
SettingsButton(this.color, this.text, this.value);
- Next, instead of returning a Container, we'll return a MaterialButton that will use the properties that were set in the constructor, as follows:
return MaterialButton(
 child:Text(
 this.text,
 style: TextStyle(color: Colors.white)),
 onPressed: () => null,
 color: this.color,
 );
}
For now, the method in the onPressed property just returns null, but we will change that later.
- Let's get back to the settings.dart file, so that we can place it in the GridView.
- At the top of the build() method of the SettingsState class in the settings.dart file, let's create a TextStyle that we will use to specify the font size, as follows:
TextStyle textStyle = TextStyle(fontSize: 24);
- Next, in the children parameter of the GridView.count() constructor, let's insert all the widgets we need to place on the screen, as follows:
children: <Widget>[
   Text("Work", style: textStyle),
   Text(""),
   Text(""),
   SettingsButton(Color(0xff455A64), "-", -1),
   TextField(
      style: textStyle,
      textAlign: TextAlign.center,
      keyboardType: TextInputType.number),
   SettingsButton((0xff009688), +", 1,),
   Text("Short", style: textStyle),
   Text(""),
   Text(""),
   SettingsButton(Color(0xff455A64), "-", -1, ),
   TextField(
      style: textStyle,
      textAlign: TextAlign.center,
      keyboardType: TextInputType.number),
   SettingsButton(Color(0xff009688), "+", 1),
   Text("Long", style: textStyle,),
   Text(""),
   Text(""),
   SettingsButton(Color(0xff455A64), "-", -1,),
   TextField(
      style: textStyle,
      textAlign: TextAlign.center,
      keyboardType: TextInputType.number),
   SettingsButton(Color(0xff009688), "+", 1,),
],
- When you create a GridView, each cell has the same size. As we set the crossAxisCount property to 3, for each row of the grid there are three elements: in the first row, we just place three texts, one containing "Work", and two empty. The two empty texts are just to make sure that the following widget will end up in the second row:
          Text("Work", style: textStyle),
          Text(""),
          Text(""),
In the second row, we have two buttons and a TextField.
A Textfield is a widget that you can use to interact with your users, as they can enter text with a hardware keyboard or with an onscreen keyboard, and you can then read the values that they typed.
- This pattern is repeated for the next rows: basically, we use this screen to read and write three time settings: the work time, the short break time, and the long break time, as illustrated in the following code block:
SettingButton(Color(0xff455A64), "-", -1),
TextField(
   style: textStyle,
   textAlign: TextAlign.center,
   keyboardType: TextInputType.number),
SettingButton(Color(0xff009688), "+", 1,),
- Finally, let’s call the Settings() widget from the build() method of the SettingsScreen widget: instead of returning a Container, we'll return our Settings class, as follows:
return  Scaffold(
   appBar: AppBar(
      title: Text('Settings'),
   ),
   body: Settings()
);
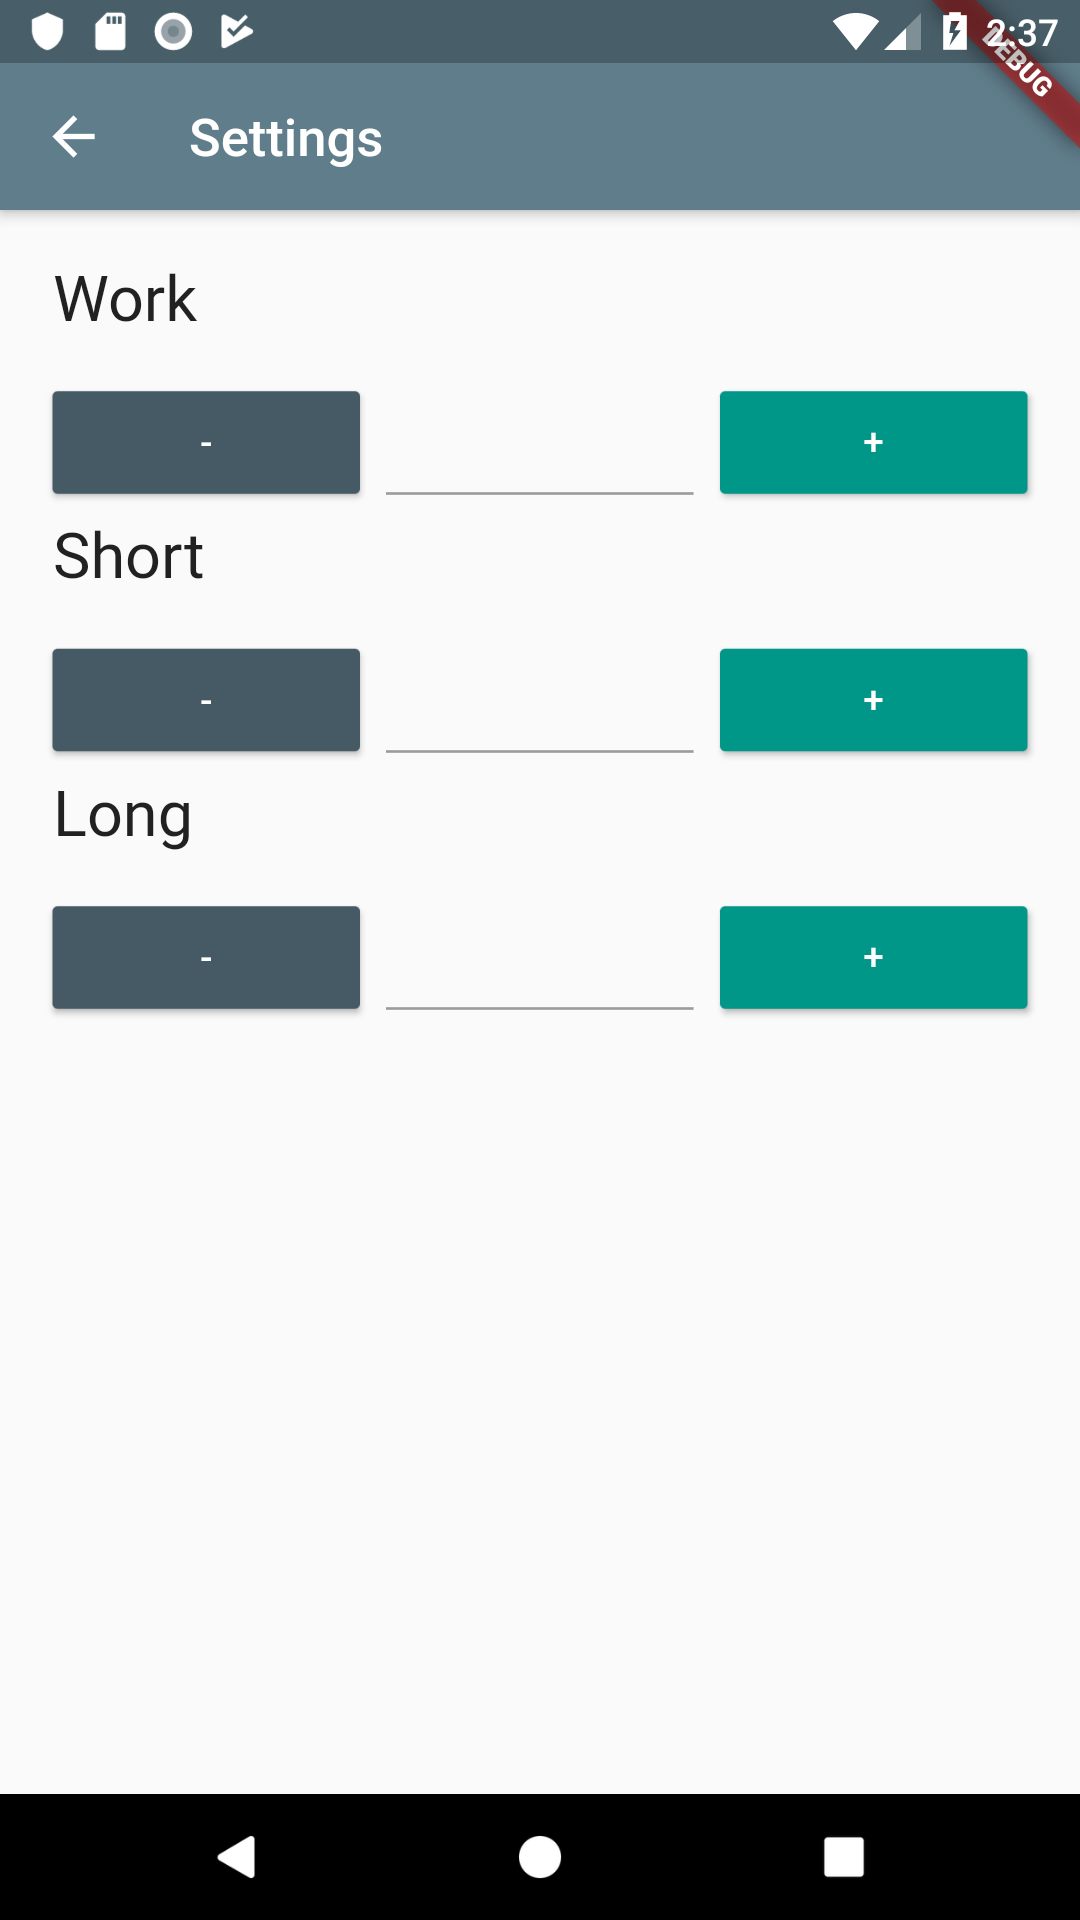
- If you try the app right now, the Settings screen should look like the following screenshot:
Now that we have the layout for the second screen, we need to add the logic, as we want to read and write the settings of our app.