
The next step is to configure the Eclipse IDE so it knows about Oracle WebLogic Server's installation, the domain we created, and PrimeFaces' shared library.
First, we're going to tell Eclipse where to find WebLogic's runtime environment:
- Launch the Eclipse IDE by running the following command:
$MW_HOME/oepe/eclipseOr open the shortcut created by the installation process.
- Enter
/opt/packt/workspaceon the Workspace Launcher screen. - Open the Preferences screen using the menu – Window → Preference.
- In the filter field, type
server, click on the Runtime Environment entry and then the Add... button. - In the new window, type
12cin the filter field, select the entry Oracle WebLogic Server 12c (12.1.2) and click on Next. - Fill the field WebLogic home with the path where you installed the server—
$MW_HOME/wlserver—and the other fields should be filled automatically: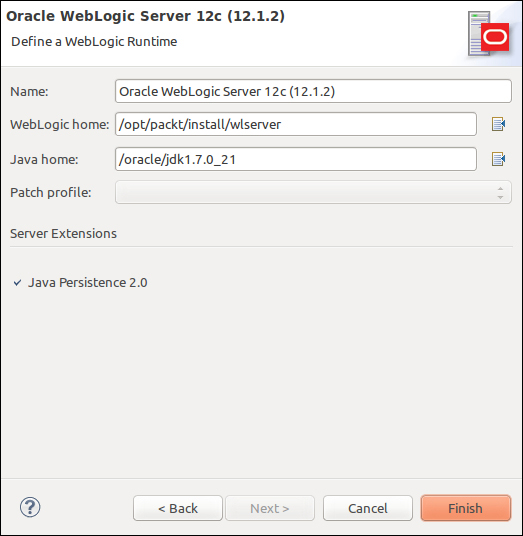
- Click on Finish to close this window and return to the Preferences screen.
Now we're going to set up the PrimeFaces shared library, so we can reference it from our projects:
- On the Preferences screen, type
sharedto filter the entries, and click on Shared Libraries. - The list of configured shared libraries is going to show up. Click on Add... to insert a new one.
- On the pop-up window, type in the full path of your
primeSL.warfile, or find it using the Browse... button. - The information we entered in the
MANIFEST.MFfile will be shown along with the JAR files that compose the shared library:
- Click on OK to confirm the procedure, and then click on OK again on the Preferences window to close it.
In order to start and stop the server from within Eclipse, along other actions such as package, deploy, and debug applications using the environment, we must inform the IDE about WebLogic's configured domain and server. To accomplish this, perform the following steps:
- Navigate to Window | Show View | Other... and type
serverin the Filter field; now double-click on the Servers entry. - The Servers tab is going to show up. Click on the No servers are available. Click this link to create a new server… link inside it to open the Define a New Server window.
- As we only have one runtime environment configured, Eclipse suggests it at the first screen. Just click on Next.
- Now, enter your domain path—the whole value of
/$DOMAIN_HOME—and click on Finish. Here's the final configuration: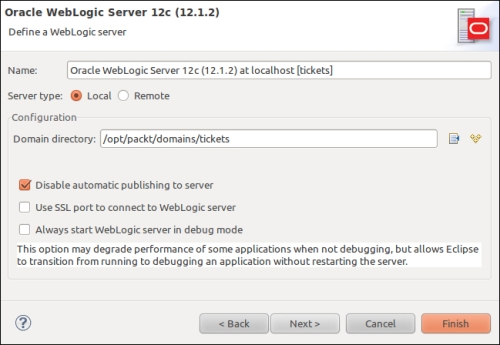
Tip
We left the Local server type on this screen, meaning that OEPE has direct access to the server. If you need to connect to a development server, for instance, Remote is the way to go. Remember that OEPE still needs to access WebLogic Server's modules and libraries to compile your projects, so a local copy of it must be present, even though you will deploy them to a remote server.
- The new server is going to appear at the Servers tab. Right-click on it and select the Properties entry from the context menu.
- On the Properties window, click on Weblogic then Publishing, and select Publish as an exploded archive from the Publishing mode group:
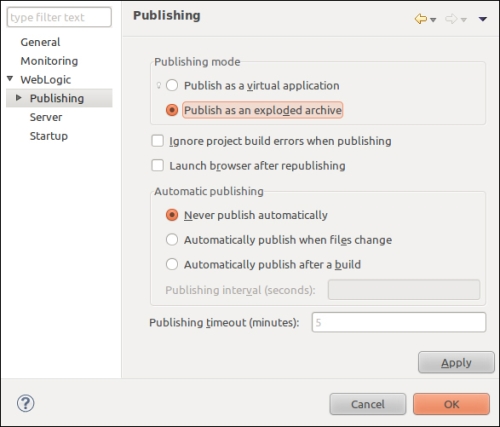
- Click on OK to close the window, and it's done.