Chapter 4
Using Animation and Events with the Canvas
Placing shapes on the canvas, drawing on the canvas, and having text appear on the canvas offer many ways to use the canvas for a variety of image-based applications. However, all these techniques are static. You see them, and they can appear very creative or very functional, but they don’t move. Animation is a long-time standard item for web pages, and it is imperative that the canvas carries its weight in this arena. And you know what—it does!
This chapter focuses on animation and effects used with the canvas. You can do a lot, and what is shown here is by no means exhaustive. It’s more on the side of the tip of the iceberg. The Internet is filled with incredible examples. Searching for “canvas effects” in your favorite search engine is sure to bring up some gems.
Note that the greater the amount of animation, or the more complex the animation, the more JavaScript is involved—perhaps pages of it, including hooks into specialized libraries or even common ones, such as jQuery. The code examples shown here are purposely not overly long. Consider this an exposé of techniques and a guide to get you on your way. That being said, let’s go for it.
Circles, Revisited
In Chapter 3, Figure 3-11 shows a field of circles on a canvas. They are stationary. They do change color when you refresh the page, but that’s the catch: You need to take an action. What if the color changing just occurred on its own? That’s easy enough.
The trick to much animation is that JavaScript has timing statements, the subjective biggie of these being setTimeout. This JavaScript goodie repeats a function endlessly, at a pace that is set with a parameter.
Code Listing 4-1 is a variation of Code Listing 3-9. In Code Listing 3-9, the circles are created and randomly colored, once. In Code Listing 4-1, the circles keep changing.
Code Listing 4-1 Animated circles
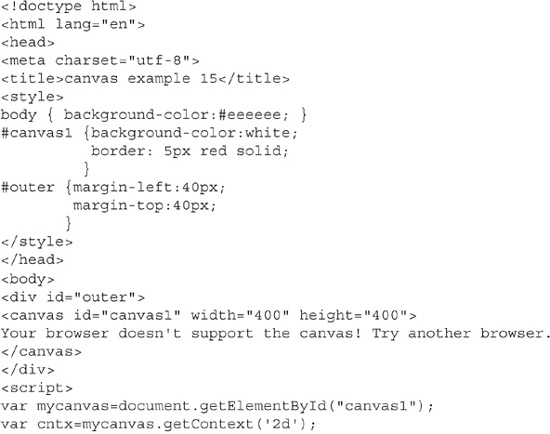
Code Listing 4-1 is the same as Code Listing 3-9 except that the portion of the code that makes the circles has been put into a function, and setInterval repeatedly calls the function:
![]()
TIP
Use setInterval to repeatedly call a JavaScript function.
There is no figure to show for the animated circles. A snapshot of the animated circles would look the same as Figure 3-11. You can visit www.webbingways.com or www.mhprofessional.com/computingdownload to see the example for Code Listing 4-1.
A Moving Gradient
The example in this section shows an interesting radial gradient that moves within the canvas. The gradient appears 3D in a way, as if you’re looking into a tunnel. Then with the added motion, the effect is intensified. Figures 4-1 and 4-2 show the gradient at two stages of its animation. The gradient moves up and down, which provides an appearance similar to moving your position around a tunnel opening to get a better look of what is inside it.
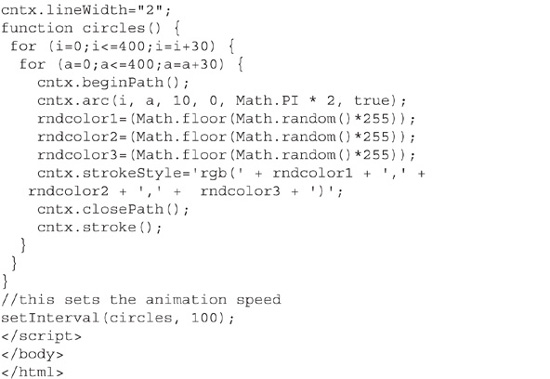
In the code for this example, the following gradient() function sets a value to the variable z, which is used in the createRadialGradient method to alter one coordinate that designates the position of the second circle used in the gradient. The function tests to see if z has been incremented up to a value of 300 or decremented down to a value of 0. When either condition is hit, another variable, direction, is given a value of 0 or 1, and this controls whether z is incremented or decremented.
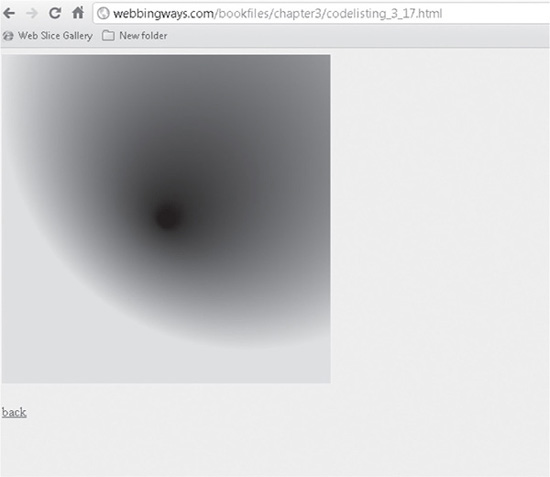
Figure 4-1 Animated gradient, snapshot 1
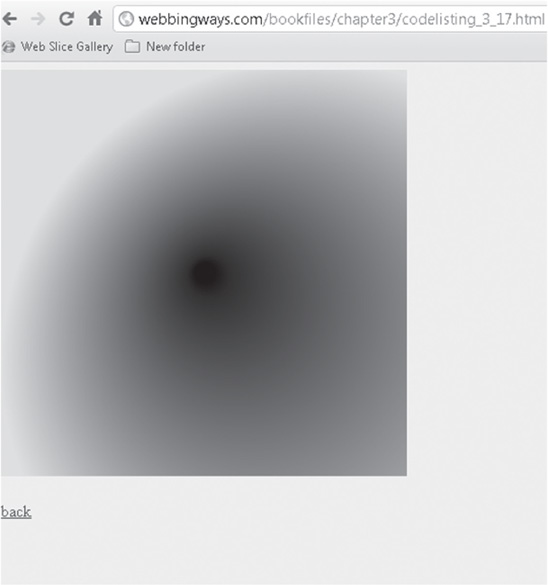
Figure 4-2 Animated gradient, snapshot 2

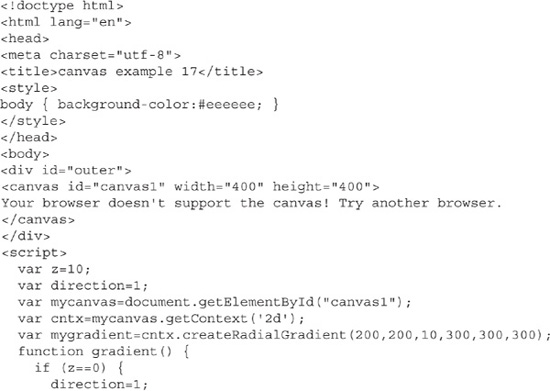
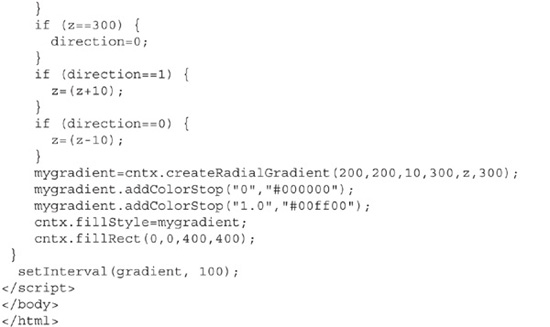
The full code for this example is shown in Code Listing 4-2.
Code Listing 4-2 A radial gradient that looks like a tunnel
Using Events
So far, you’ve seen some examples of animation techniques. However, a key piece has not been introduced: the use of events. In a sense, this is a continuation of animation; however, the following examples are not self-running. User interaction is required.
The examples in this section use the click event, as well as three mouse events: mousedown, mouseup, and mousemove. Events are “fired.” Many other events are available. Some other common events are fired when an element gets the focus or loses the focus (blur), on the page load, and when a form is submitted. Indeed, the load event happens whenever a page is loaded in your browser; in other words, it is not user-driven.
Mondrian-Inspired Art
Piet Mondrian was an artist who lived and worked in the early part of the twentieth century. He went through periods of different art styles. One of them is quite unique and is instantly recognizable as being his forte. These art pieces typically are on a white canvas, or at least have large light-colored areas. They have solid black lines, both horizontal and vertical, as well as blocks filled with color. The blocks are dimensioned by the black lines.
The example in this section lets you create Mondrian-inspired art. Each click produces a unique mix of lines and filled corner rectangles. Figure 4-3 shows what the canvas might look like after being clicked.
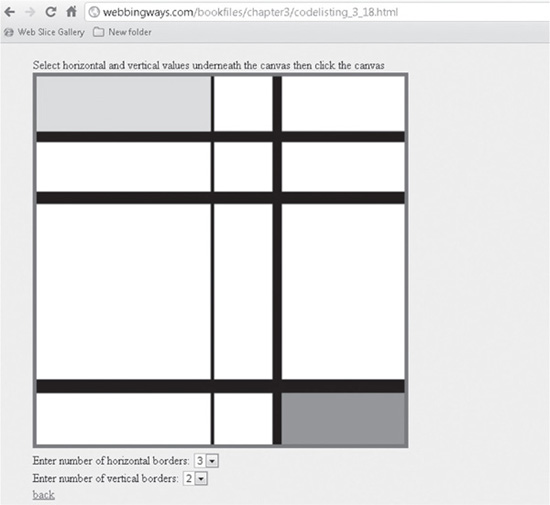
Figure 4-3 Computer-generated art
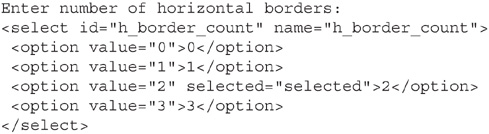
You select the number of black lines from drop-down lists. The code contains a form with two selects (drop-downs): one for setting the number of horizontal lines and the other for setting the number of vertical lines. Here is the code snippet for one of the drop-downs:
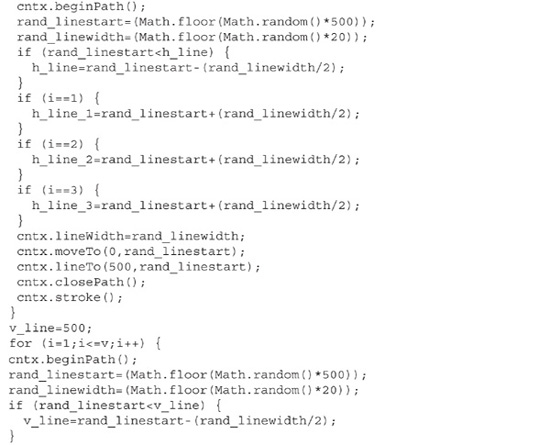
On the canvas, the lines are randomly placed, as well as randomly sized in regard to their thickness. The random value of the line thickness is determined with this line of code:
rand_linewidth=(Math.floor(Math.random()*20));
A number of equations and limits, such as 500 to match the canvas, are used to ensure that the lines appear in a way that is similar to how the painter painted.
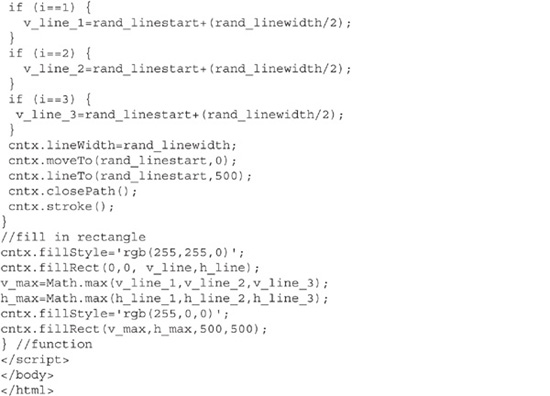
Another section of code always fills the top-left box with yellow and the bottom-right box with red. The dimensions of these boxes are dependent on the randomly placed lines, but the code keeps track of the line placement and fills what is effectively a set of correctly sized rectangles.
The final piece to this example is the event. The canvas itself has a click event, which creates a work of art. In other words, you must click on the canvas to create the image. When first rendered in a browser, the canvas is empty. One click on the canvas, and a “painting” appears. Each successive click provides a variation because of the randomness. Selecting different amounts of lines to appear affects the image as well.
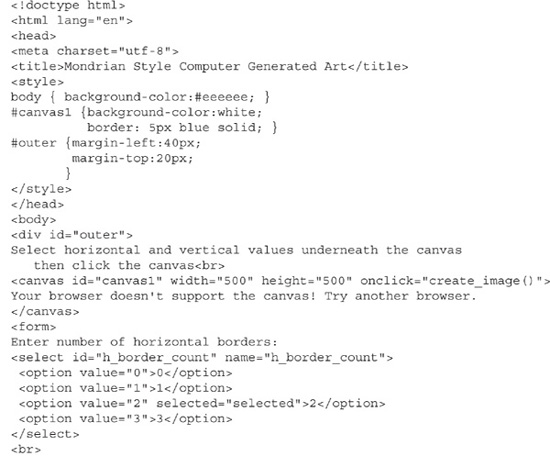
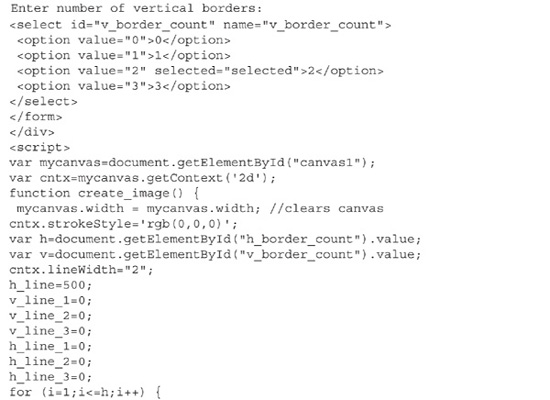
Code Listing 4-3 shows the full code for this example.
Code Listing 4-3 Mondrian-inspired art
A Drawing Tablet
The canvas is an ideal element for creating free-form artwork. After all, it is a “canvas.” The example in this section lets you draw free-form lines. Figure 4-4 shows the canvas before any drawing has commenced. Notice the small palette of colors to select from, and a drop-down menu to select the width of the line.
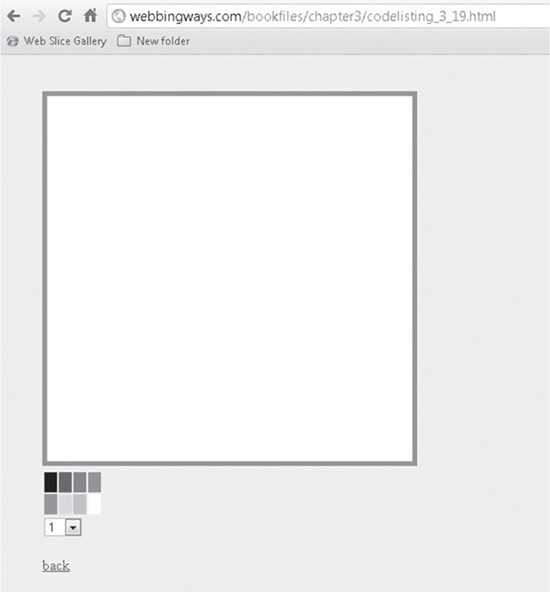
Figure 4-4 The blank drawing tablet
Figure 4-5 shows the selection of line widths, which range from 1 (a thin line) to 20 (on the thick side). Besides the artistic possibilities with the thick lines, another reason I included them is to erase parts of the picture. This example does not offer an eraser or way of clearing the canvas. If you need to erase something, select the color white and an appropriate line width. The canvas is white, so drawing white onto the canvas achieves the same result as using an eraser.

Figure 4-5 Possible line widths
The code for the drawing tablet involves using the three mouse events:
![]() The mousedown event determines where drawing begins.
The mousedown event determines where drawing begins.
![]() The mousemove event draws as the mouse moves, as long as the mouse button is still held down. This example draws a line wherever you move the mouse. The lines are not limited to being straight.
The mousemove event draws as the mouse moves, as long as the mouse button is still held down. This example draws a line wherever you move the mouse. The lines are not limited to being straight.
![]() The mouseup event stops the drawing; in other words, it ends the line.
The mouseup event stops the drawing; in other words, it ends the line.
These make up the drawing of one line. You can draw many lines; there is no effective limit (perhaps an artistic one, but not a technical one).
The events here are set up using event handlers. This is a technique to tell an element to watch for an event. What occurs when the event fires depends on what is coded. These lines set up the listeners:

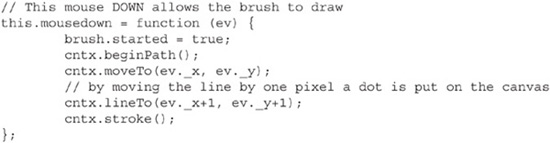
Overall, the code used in creating the drawing tablet differs from other code in this chapter in that a bit of object-oriented JavaScript comes into play, like this:
![]()
This snippet is called when mousedown is fired. Of note here is the lineTo method. In practice, the lineTo method does not need to be in this event. However, I put it here to serve a particular need. Note how lineTo adds just 1 pixel of color to the spot that mousedown touched. This allows making dots—1-pixel dots, which is as small as a dot can be. With a steady hand, you could create a picture out of dots. Admittedly, this would be tedious, but if you’re in a creative mood, you could try it.
The following snippet is the mousemove piece:
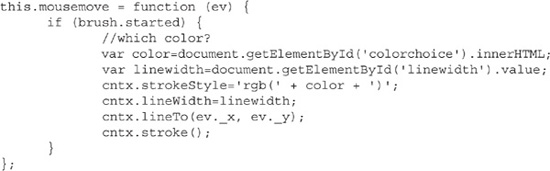
This is where lineTo is needed. The selected color and line width are set into variables and used with the lineTo to draw the line. It will keep on drawing wherever you move the mouse as long as the mouse button is still pressed.
The following snippet is what fires when the mouse button is released (mouseup).
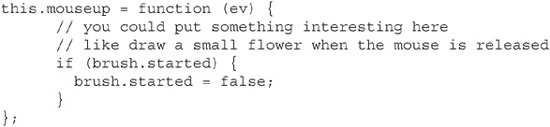
In this code, the brush is turned off to end drawing the line. This is really just a flag used throughout to indicate whether drawing should occur.
Code Listing 4-4 shows the code used to create and use the drawing tablet.
Code Listing 4-4 The drawing tablet
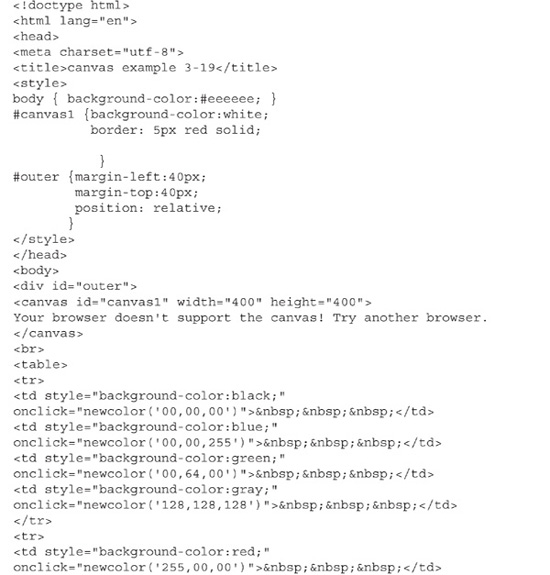
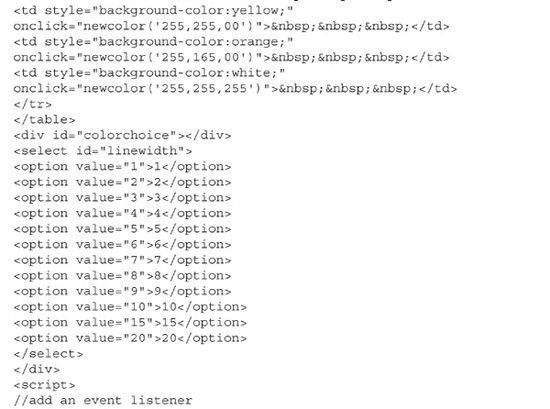
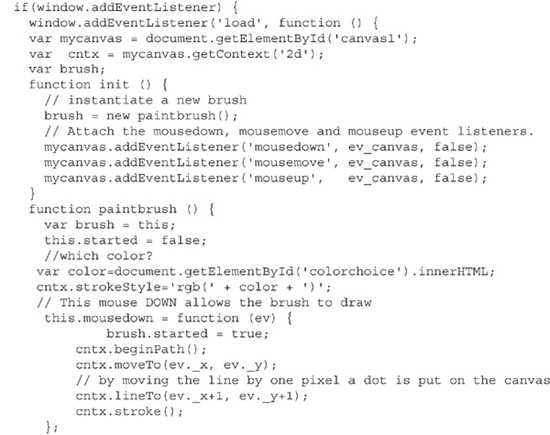
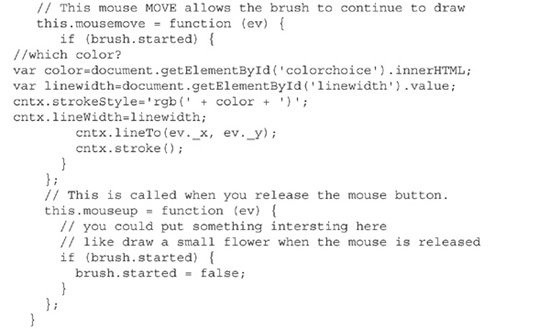
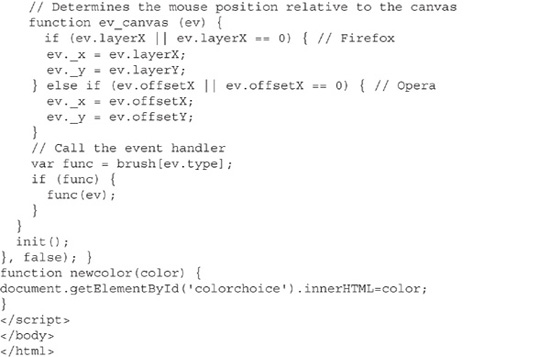
Figure 4-6 shows a picture drawn on the tablet.
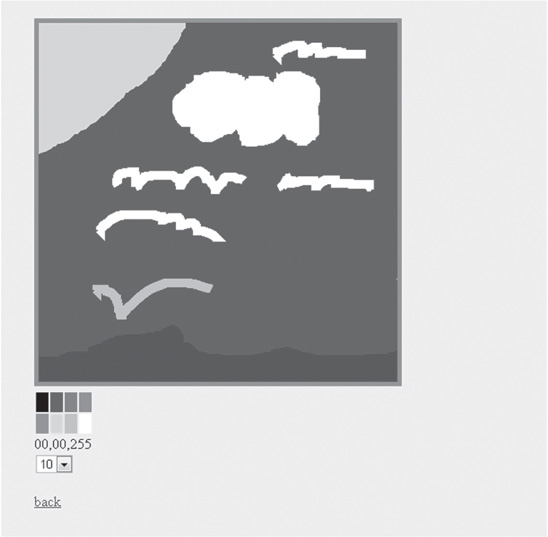
Figure 4-6 A work of art
Summary
The canvas is a powerhouse of technical prowess and creative possibilities. This chapter built on the introduction of the canvas in the previous chapter, showing how to use animation and events. The canvas is capable of much more. A thorough coverage of the canvas would take up an entire book.
I encourage you to find out more about the canvas on the Internet, look at what others have done (some of which is amazing), and also consider ramping up both your JavaScript and math skills. Yes, math—in particular, geometry and trigonometry. I can almost hear the groans from some readers. The reason for this suggestion is that much animation is achieved with the use of sine waves and other items associated with trigonometry, and knowing coordinates, angles, radius, radians, and more of these geometry-based items helps when working with arcs and lines.