Chapter 10
HTML5 Document Structure
Web designers have been struggling with layout since the first version of HTML. Originally, layout was accomplished using tables. This practice, while still appropriate in some cases, lost favor to CSS and the div element, which is HTML4’s method of placing elements on the page. The div element allows developers to chop the page into as many logical sections as they want. CSS classes can then set custom formats for each div. However, the div element presents a couple of problems. In this chapter, we’ll first look at those problems and then describe how HTML5’s new layout tags help to solve them.
The Problems with Div
There are two big problems with the div element. The first problem that new developers encounter is the arbitrary use of divs. They seem to appear everywhere in HTML markup. Developers use them for headings, columns, footers, and random callouts. The only way to track their use is to create clever class names for them.
The second problem with divs lies in how they interact with screen readers. Screen readers—such as Microsoft Narrator, Fire Vox, and Apple’s VoiceOver—can be confused by divs. The screen reader often identifies a div element has been entered, but its relationship on the page can be hard to describe.
The div element is still supported in HTML5. However, it has been augmented by several new semantic layout tags. Seasoned web veterans probably remember when the <strong> and <em> tags entered the HTML tag lexicon. The <strong> tag was to replace the <b> tag, and <em> to replace the <i>. The argument was that the <i> tag was used for both a title of a book and to emphasize a point. For sighted readers of the web page, the distinction was quite clear. The Lord of the Rings is clearly a book title, while holy cow is an emotional statement. Holy cow should be screamed, while The Lord of the Rings should be spoken in normal voice. A screen reader, encountering the <i> tag surrounding these entries, would speak both louder.
Sighted web users often have a hard time understanding why the semantic tags are so important. To demonstrate, I have my students perform an activity. They pair up at a computer. One places a blindfold over his eyes and grabs the mouse. The other reads the page as it is written. The blindfolded person attempts to navigate the page to a desired point. This is always a fun and instructive lesson that helps the students understand the need for semantic tags.
For those developers who have not had such a good lesson, the United States and other countries have enacted laws protecting differently abled people. The American laws are stated within Section 508 of the US Rehabilitation Act. Basically, these laws guarantee that all Americans, regardless of physical ability, should have equal access to technology. Professional web designers should understand how these laws apply to their work.
TIP
Visit www.section508.gov/ for information about Section 508 of the US Rehabilitation Act.
HTML5’s new layout tags help to solve both of div’s problems. The tags are named by their function. For example, <header> and <footer> obviously refer to their location on the page. Both designers and screen readers can identify that the footer is at the bottom of a section. The W3C did a very good job with the new tags. For the most part, they follow the naming convention that most web developers use on modern web pages.
HTML5 Layout Tags
The new HTML5 layout tags were developed with both the designer and the programmer in mind. As mentioned, the tag names match with the current div names used by most modern web developers. In addition, the tag names correspond with divisions created within content management systems like Joomla and WordPress. Content managers allow a developer to create a site and let regular users submit articles. The system will place the posted article within <div class="article">.
TIP
For an up-to-date description of browser support, visit http://caniuse.com/. Select the index, and click the tag in question.
Layout Tag Overview
Table 10-1 lists and defines the new layout tags. Most of the names indicate their usage.
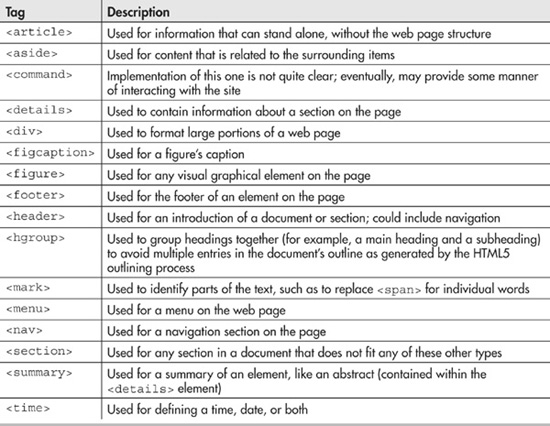
Table 10-1 The HTML5 Structure Tags
Table 10-1 shows quite an extensive list. Unfortunately, at the time of this writing, not all of the tags are fully supported by browsers. Eventually, the HTML5 tags should be supported in some fashion by all browsers.
Each new HTML5 tag supports the standard attributes, as listed in Table 10-2.
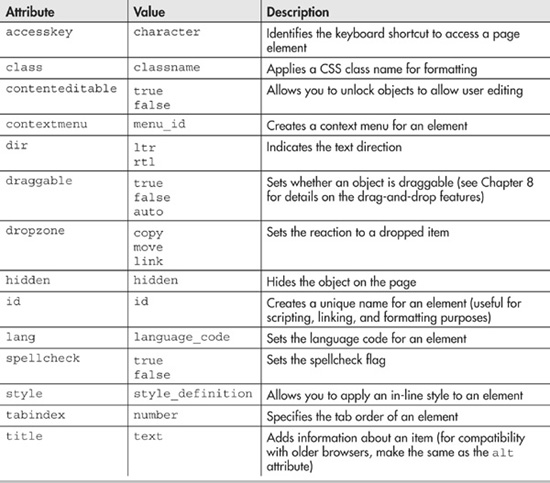
Table 10-2 Standard Attributes for All HTML5 Elements
Using the New Layout Tags
Now let’s look at when to use each tag. These tags are so new that there are no best practices associated with them yet, so I have spent a lot of time looking at how other developers are using the tags.
<div>
I know what you are thinking. The <div> tag is older than dirt. Why is it listed as a new tag in an HTML5 book? The <div> tag is here because W3C more clearly defined when not to use it.
You use a <div> tag to create sections for styling or grouping main content, or for use when scripting. Use the <div> tag if a more appropriate semantic tag is not available.
Other than being more clearly defined, the <div> tag acts the same as it always has.
TIP
While the <div> tag is for generic styling, you are allowed to apply styles to the semantic tags.
<header>
You use the <header> tag to provide a header for a document or another section of a page. Traditionally, web developers have created a masthead section using a div. This is fine on pages with only one main piece of content, but starts to break down on sites controlled by a content management system. Quite often, content-managed sites have several pieces of content per page. Each large piece of content can have its own header. Thus, the <header> tag is used to identify the header for each content piece.
The header element typically has the title of the content and perhaps the author and date of creation. It is always placed at the top of a layout element. Code Listing 10-1 in the next section shows an example of its use.
As with <div> tags, it is suggested that you use the id attribute to name each header element. This will help both screen readers and yourself track the header.
<footer>
The <footer> tag usually falls at the end of the document or large piece of content. Footers often contain copyright information, links to contact the author and web designer, the last modification date, and perhaps badges the page has earned. You will typically have one footer per page, and perhaps one per content item.
Code Listing 10-1 shows a good use of the <header>, <footer>, and <div> tags on a web page. The page could be formatted using whatever style elements you feel are appropriate. I formatted the header and footer as an example.
Code Listing 10-1 A simple page layout
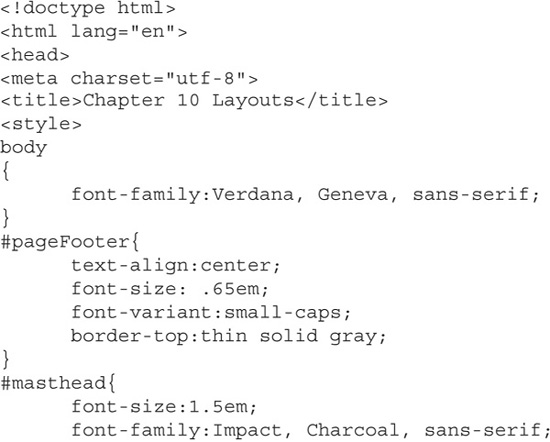
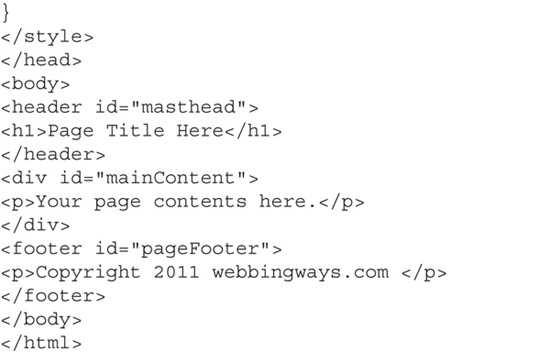
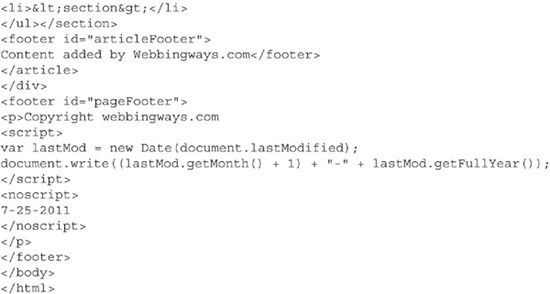
Code Listing 10-1 creates a simple page layout. The traditional header, content, and footer areas are represented. In CSS, I named the classes #mastHead and #footer, allowing me to use the id attribute of each tag to apply formatting. Alternatively, you could name the classes .mastHead and .footer, and use the class attribute instead.
The complete code for this and the other listings in this chapter is available on www.webbingways.com or www.mhprofessional.com/computingdownload.
<article>
The <article> tag is used to enclose a portion of your page that could stand by itself. It is closely related to the article that content managers like Joomla and WordPress place onto web pages. Use the <article> tag when styling Joomla’s user-generated content.
The W3C specification gives <article> broad uses. The list of suggestions includes forum posts, magazine articles, blog entries, user-submitted comments, and interactive objects or any other independent content. Your article elements can be independent content. They have meaning outside your site.
Your articles will typically be major components of your page. As such, the article may have several additional layouts, such as a header, a footer, details, a summary, and figures. Code Listing 10-2, in the next section, demonstrates the use of the <article> tag.
TIP
Remember the acid test for <article>: The content should be able to stand on its own.
<section>
The <section> tag is probably the most confusing layout tag. W3C describes it as a generic section of a document, usually with a heading. These tags often enclose items that cannot stand on their own.
The section makes sense only within some larger context. Examples include chapters of a book, tabs for a tabbed interface, portions of a really large table, and small portions of your web site (such as your greeting, personal quote, or joke of the day). You should not use <section> to separate pieces of content or styling. In these cases, use the <div> tag.
There is much debate over how to best use the section element, if at all. In general, use what makes the most sense for your page. And make sure your sections have heading elements and content that needs additional structure for readability.
Code Listing 10-2 adds a section and an article to the web page started in Code Listing 10-1. The only change is the addition of the <section> and <article> tags inside the body.
Code Listing 10-2 Using sections and articles
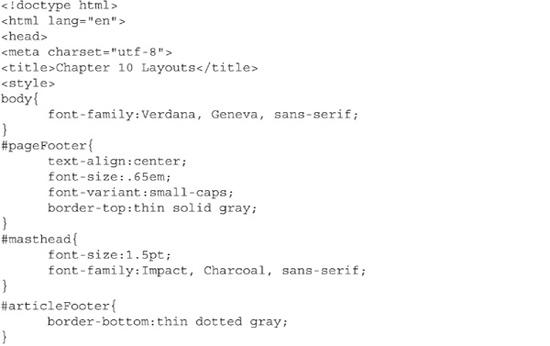
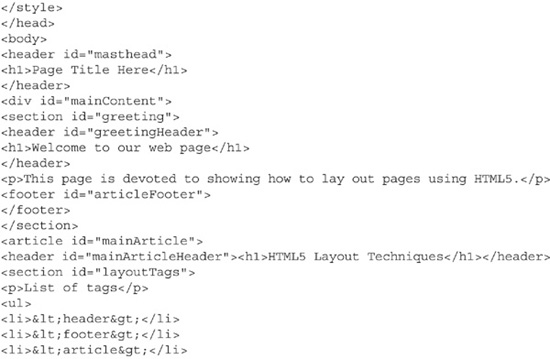
Code Listing 10-2 provides a complete article. The article has a header, content section, and footer. The article header and footer are separate from the page headers and footers. Reusing the header here allows you to include more <h1> tags in your document. Without these sections, multiple <h1> tags would be considered inappropriate because they would lead to confusion regarding the title of the content. With the sections, both sighted and vision-impaired readers will clearly see the relationship of the headers to their content.
<aside>
The <aside> tag has many uses. W3C suggests the tag should hold information that is somehow related to the main content, such as sidebars, tips, related information, and pull quotes. (Pull quotes are the primary knowledge that you want readers to absorb.) Generally, you can use the <aside> tag to discuss information that adds or clarifies the main content. Code Listing 10-3, in the next section, demonstrates the use of the <aside> tag.
<nav>
The <nav> container will hold navigation elements for the web page. It can contain links for site navigation, page navigation, or navigation within a section. Common uses for the <nav> tag are menu bars in the header or sidebar of a page.
Most pages currently use a <div id="menu"> tag to build a navigation menu. Replacing this with <nav id="menu"> will retain the same formatting and functionality in your site but add the semantic information necessary to help screen readers.
Code Listing 10-3 shows a <nav> tag and an <aside> tag used properly. The <nav> tag creates a menu bar within the header of the page, and the <aside> tag adds a pull quote. In this code, I removed the placeholder text.
Code Listing 10-3 Using an aside and a nav container
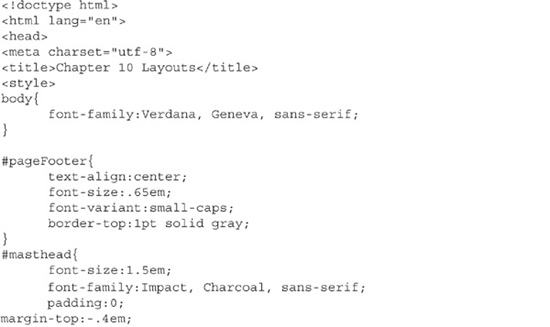
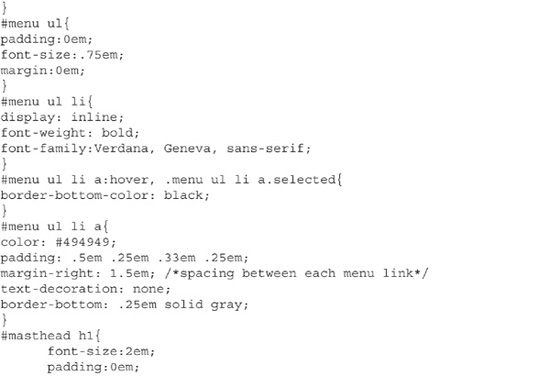
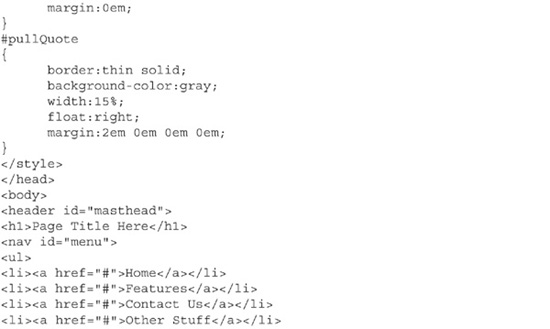
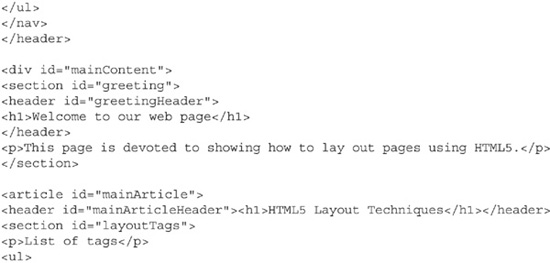
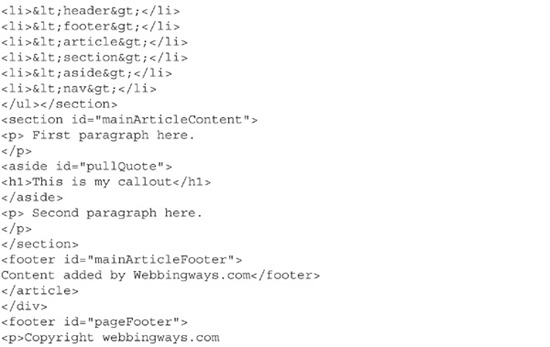
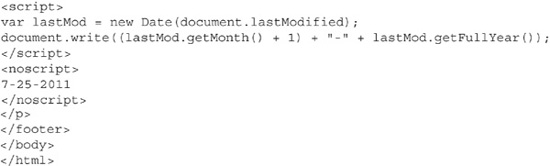
Figure 10-1 shows the output from Code Listing 10-3. I added more formatting in this example than earlier. The #pullQuote right-aligns and shades the pull quote. I placed the pull quote between paragraphs simply because it looked better. For the menu, I changed the <li> tags to be on the same line, using display:inline; inside the #menu ul li entry. I then applied some common link-formatting tricks. I removed the normal underline and replaced it with a thick border. For rollover, I changed the color of the border to black. Finally, the #masthead h1 formats the <h1> tag in the header to have no padding or margins. This places the <h1> very close to the top left of the page, and places the menu bar close to the bottom of the <h1> tag.
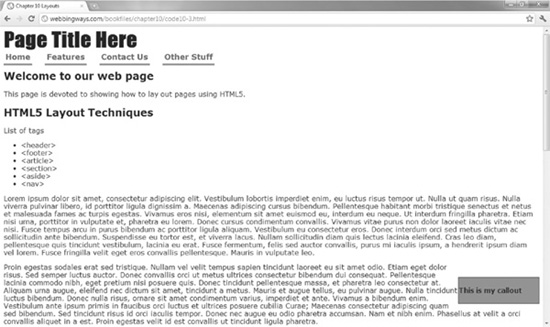
Figure 10-1 A pull quote and menu bar added to a web page
<figure> and <figcaption>
At first glance, the <figure> tag seems the easiest to understand. Obviously, figures are the intended content. However, what constitutes a figure is debatable. Pictures and videos are obvious entries. W3C also recommends using figures for illustrations and code blocks. The geolocation maps presented in Chapter 9 could also be figures.
Recall that the <article> tag can hold interactive widgets. Thus, videos, audio controls, and the maps from Chapter 9 could be enclosed in either an <article> or a <figure> tag. My suggestion for resolving this problem lies in the definition of the article element. The <article> tag is used for content that can stand on its own. So, if your video could stand alone without the site describing it, use an <article> tag. If your video needs the surrounding text to be meaningful, use the <figure> tag.
The optional <figcaption> tag places a title with the figure. To use the <figcaption> tag, place it within the <figure> tag, either above or below the content. The placement of the <figcaption> tag controls where the caption appears. Putting it below the image will result in the caption appearing under the image on the browser.
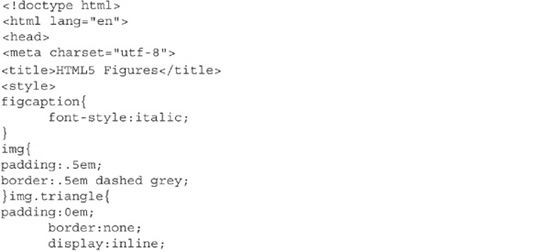
Code Listing 10-4 shows the <figure> and <figcaption> tags in action. Figure 10-2 shows the result.
Code Listing 10-4 Using the <figure> and <figcaption> tags

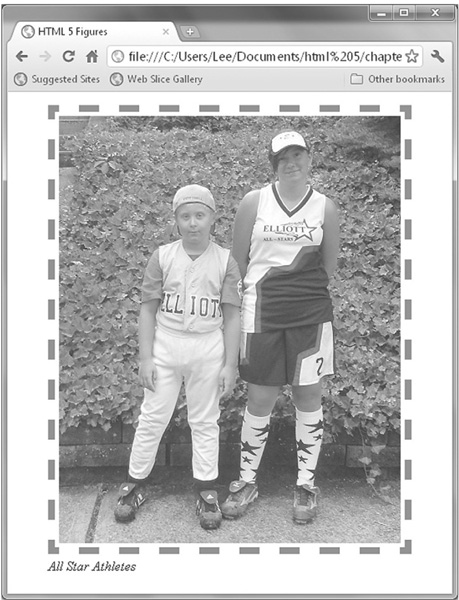
Figure 10-2 The figure and figcaption tags on a web page
<details> and <summary>
The <details> tag holds metadata about the content. The author, creation date, abstract, and other important facts could be stored here. W3C intended this tag to be an expandable box that shows the details on command. Even though this functionality is easily replicated in JavaScript, the developers of HTML5 introduced this tag to simplify a developer’s job.
NOTE
Currently, only Google Chrome supports the <details> tag.
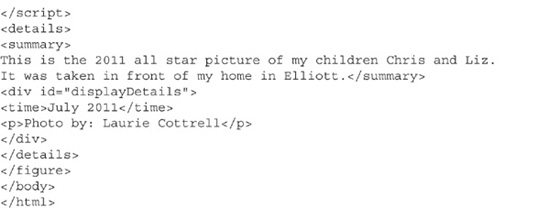
The details section can hold other tags. The <time> tag is exceptionally useful to display the content-creation date of the article. Any tag, except for <summary>, will be hidden by default. If you include a <summary> tag, this will be visible at all times, and the rest of the details section will be hidden.
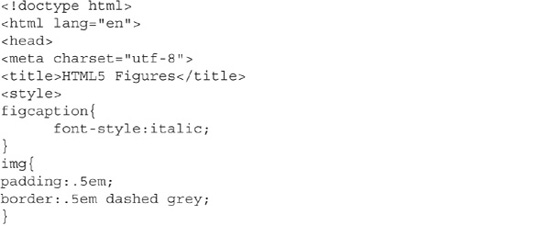
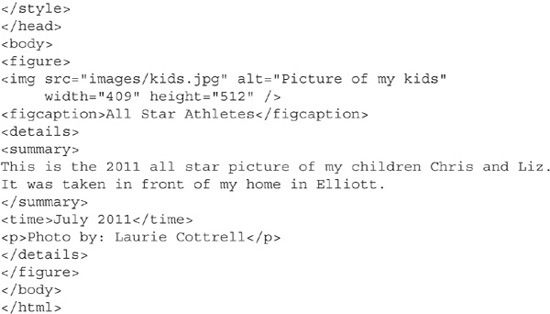
Code Listing 10-5 adds details to the image shown in Code Listing 10-4. In the details section, I added the descriptive paragraph as a summary. As Figures 10-3 and 10-4 show, the summary is visible on page load, while the details are shown on demand.
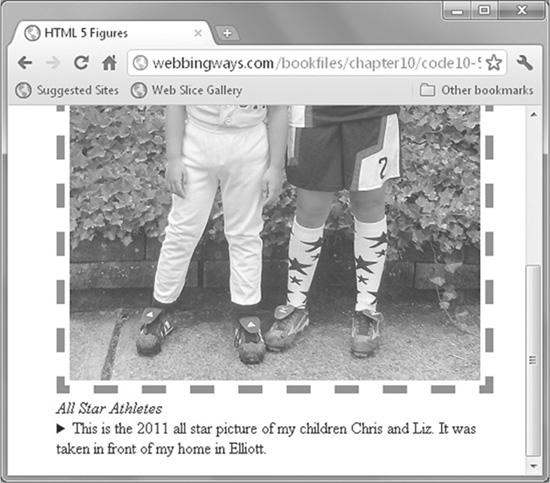
Figure 10-3 The details are hidden when the page loads.
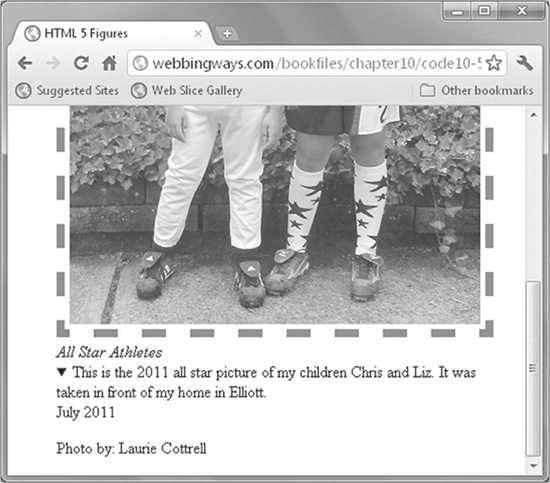
Figure 10-4 The details are shown on demand.
Code Listing 10-5 Using the <details> tag
As of the time of this writing, only Google Chrome fully supports the <details> tag. For other browsers, you still need to code the JavaScript to create an expanding box. Code Listing 10-6 includes an example of the JavaScript needed to show and hide the details. The functionality is not perfect, but its results are similar to the previous example.
Code Listing 10-6 Simulating the details functionality in other browsers
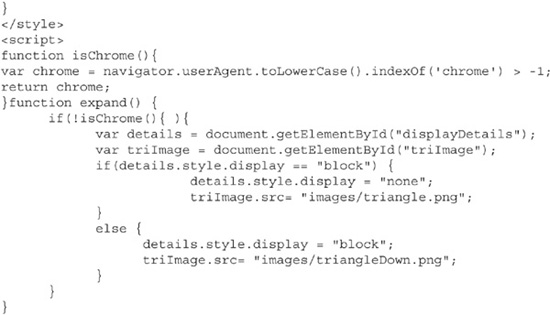
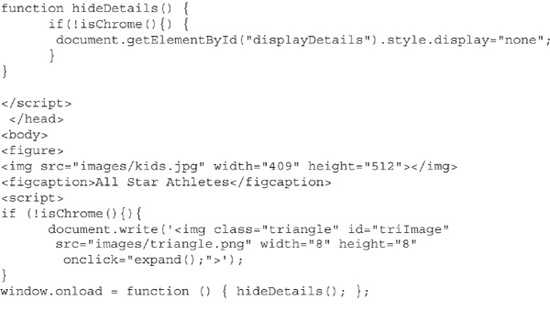
Code Listing 10-6 adds a <div> tag around the portion of the details section I wish to hide. Recall that <div> tags are to be used for styling or scripting. Loading the page calls the hideDetails function, which determines the browser in use. If the browser is Chrome, the JavaScript functionality across the entire page is ignored. For other browsers, hideDetails will set the div display style to none, effectively hiding the details.
Inside the <figure> tag, a JavaScript function displays a triangle image in browsers other than Chrome. This image is clickable. When clicked, the image calls expand(), which shows or hides the div.
<hgroup>
The <hgroup> tag is designed to allow you to create a series of headings, which are not intended for page structuring. Typically, a heading on a page signifies a change in content, or at least subcontent.
A good use of the <hgroup> tag is to create a section listing all of the sections in a chapter. This can either be at the top of a section as a preview of coming attractions or at the end of the code as a summary.
Summary
HTML5 has added several new sectioning tags to the designer’s toolbox. These new tags complement the trusty <div> tag. In addition to helping with layout, the new tags provide semantic meaning to your divisions. These semantic tags help you organize your markup more logically to reflect the meaning of content, provide hints for search engines, and help the vision-impaired to better navigate your site. The <div> tag still hangs around, as an object for styling and scripting, or to use if none of the new tags suits your needs.