Chapter 1. Introducing Swift: Apps, web, AI, and beyond!

Swift is a programming language you can rely on. It’s a programming language that you can take home to meet your family. Safe, reliable, speedy, friendly, easy to talk to. And, while Swift is most well known for being the programming language of choice for Apple’s platforms (such as iOS, macOS, watchOS, and tvOS), the open source Swift project also runs on Linux, and is gaining ground is a systems programming language, as well as on the server. Swift for Windows is even in the works. You can build everything from mobile apps, to games, to web apps, to frameworks and beyond. Let’s get started!
Swift is a language for everything

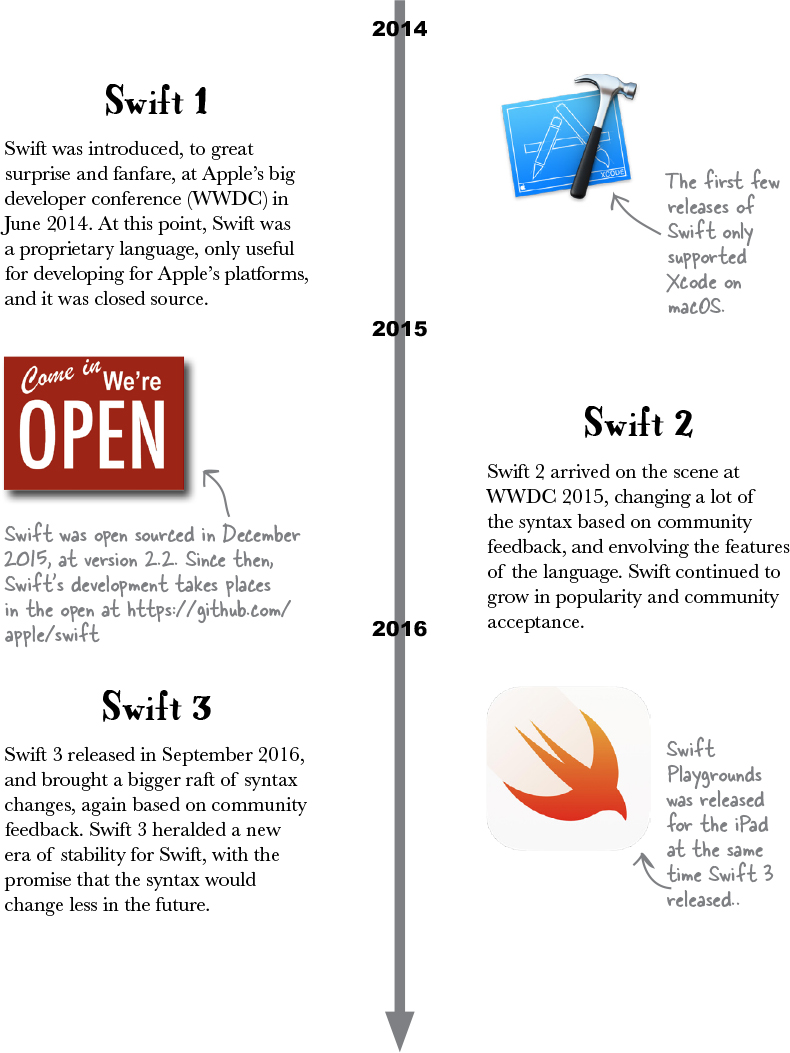
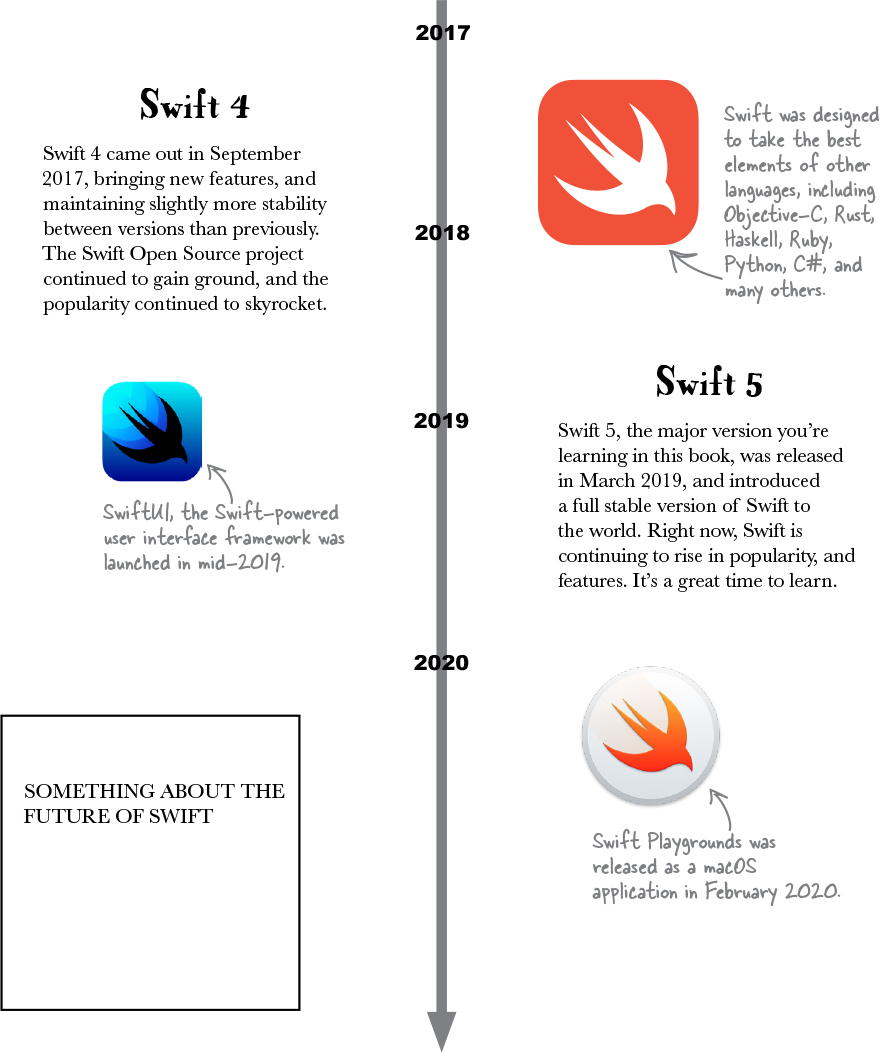
Swift has evolved fast.
From humble begins with Swift 1, all the way through to today, with Swift 5.x. Each major Swift update has added new language features, as well as deprecating certain syntax elements. Since its announcement and release in 2014, Swift has been one of the fastest growing, and most popular, languages in programming language history.
Swift has been placed in the top 10 programming languages for the past few years, and continues to grow in popularity, amount of projects using Swift, and userbase. Swift skills are also in high-demand, so don’t forget to add it your résumé when you’re finished with this book.
Swift originally started as a language solely for Apple’s platforms—iOS, macOS, tvOS, watchOS—but has grown and expanded its possibilities since it was open sourced in 2015.
The swift evolution of Swift
How you’re going to write Swift
Every programming language needs a tool for you to program in and use to run the code you’re writing. Basically, you can’t do much with Swift without running some Swift code.
So, how’s that done? We’ll be using an app developed by Apple called Playgrounds!

Playgrounds are just like (collections of) big old-fashioned text files, where it also turns out you can run each and every line written through the Swift compiler, and see the result.
Much of the Swift you’ll be writing via this book will involve Playgrounds.
Note
But not all of it. We’ll explain more, a bit later.
Working with Swift in Playgrounds involves three stages:

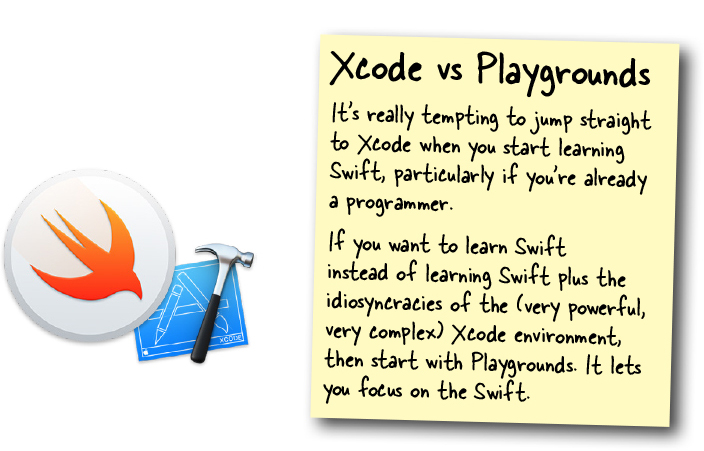
It’s easier, and better, to learn Swift in a Playground.
By working in a Playground now, you don’t have to worry about all the boilerplate code that comes with building an app, as well as compiling and running your code into an app, testing it on an iOS device simulator, testing it on a physical iOS device, and troubleshooting your code for the slight differences between all the various pieces of iOS and iPadOS hardware.
A Playground lets you focus on the Swift code, and not worry about any of the other things that come with building an app (or writing a website backend, or doing data science, or any of the other things you might want to do with Swift). That’s why we start in Playgrounds.
It removes all the distractions.
It’s not lesser in any way, and it’s real, actual Swift code, and lets you work up to building apps and more, using Swift.
Note
If you’re here because you want to write iOS apps (that’s awesome, by the way!) then please stick with us through the Playgrounds. It really is the best way to learn.
The path you’ll be taking

Getting Playgrounds
Swift Playgrounds is an app that’s available for macOS and iPad OS. You use the Playgrounds app to write, run, and tweak your Swift code.

Downloading and installing Playgrounds on macOS
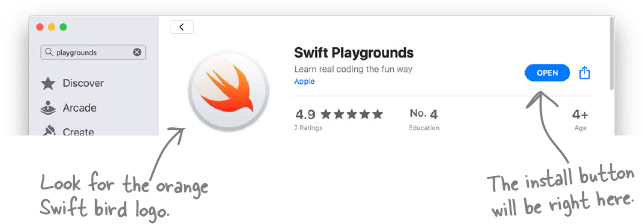
Open the App Store app on your computer, find the search field, select it, and enter “Playgrounds”. Press return on your keyboard.
Wait for the App Store to load the search results page, and then click on the Swift Playgrounds entry in the list (the icon has a blueprint and a hammer.)
Click the install button and wait for Xcode to download and install on your computer.
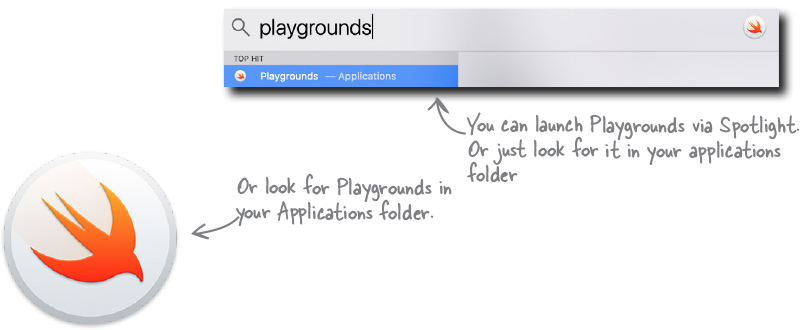
To launch Swift Playgrounds, browse to your Applications folder, and double click on the Swift Playgrounds icon.
If you prefer to use Launchpad or Spotlight to launch your other apps, you can do that with Swift Playgrounds too.
Creating a Playground
Once you’ve launched Swift Playgrounds, you can create a blank playground to work with, or open an existing Playground that you’ve previously created:

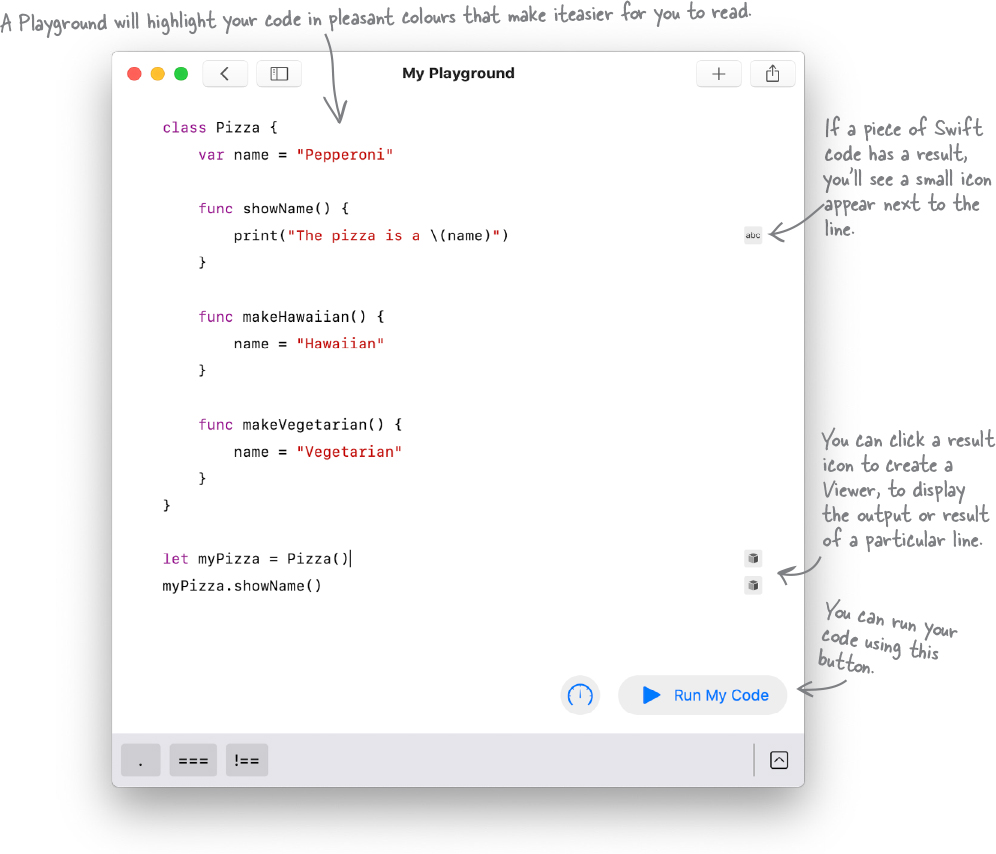
Using a Playground to code Swift

Basic building blocks
Our journey through Swift will take a while, but we can get up to speed on the basics pretty fast. We’re going to speed through the basics of Swift to give you a taster of many areas of the language.
After this, we’ll come back and take a chapter-by-chapter approach to unpack each and every feature of Swift.
There are certain basic building blocks that make up almost every programming language on the planet (and probably any programming languages that might exist off the planet, too; programming is pretty universal).
Those basic building blocks consist of things like operators, variables and constants, types, collections, control flow, functions, enumerations, structures, and classes.
You don’t need a main method, or anything else (like semicolons).
In Swift, you can just start your code however you like. In the case of the Playgrounds we’re working with at the moment, execution starts at the top of the file and proceeds from top to bottom.
Some of the building blocks that we’ll be learning about, like Classes, won’t be executed in a way that lets you see them working immediately, because they rely on have an instance of them created elsewhere in the code. We’ll get to that though.
In general, though, you don’t need main method, or any specific starting point.
When we move on from Playgrounds to building apps using Swift, we’ll look at the various potential starting points an app can have. For now, though, push it from your mind.
You also don’t need semicolons at the end of your lines, and whitespace has absolutely no effect on anything.
Note
If you’re coming from other languages, you might be used to ending lines with a semicolon (;) or whitespace having some substantive meaning to your code’s logic. None of these things matter, or apply, in Swift.
Swift the culmination of decades of programming language development and research.
It’s modern because it has incorporated the learnings of other programming languages, and refined the user experience— the user being the programming—to the point where it’s easier to read the code and easier to maintain the code. There’s less to type, compared with many languages, and Swift’s language features make the code cleaner and less likely to have errors. Swift is a safe language.
Swift also supports features that other languages often do not, such as international languages, emoji, Unicode and UTF-8 text encoding. You also don’t need to pay much attention to memory management. It’s kind of magic.
Swift is safe because it automatically does many things that other languages require code for, or make it challenging to do at all.
There’s a lot of reasons why Swift is often described as “safe”. For example, variables are always initialized before use, and arrays are automtically checked for overflow, and the memory your program uses is automatically managed.
Swift also heavily leans on the use of value types, which are types that are copied instead of referenced. so you know it won’t be modified anywhere else when you’re in the midst of using it for something.
Swift’s objects can never be nil, which helps you prevent runtime crashes in your programs. You can still use nil though, as and when you need it, via optionals.
A Swift Example
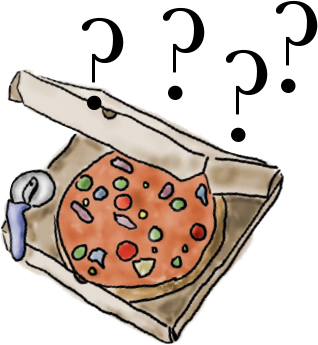
All this Swift is hard work. A pizza is required! It just so happens that the local pizza place heard you were learning Swift, and wants to put your new skills to work.

Here’s what you need to build
You’re going to make a quick, little Swift Playground that takes the list of all possible pizza ingredients the chef has available, and generates a random pizza with four of those ingredients. Got it?
There’s three things you’ll need to do to make this happen:
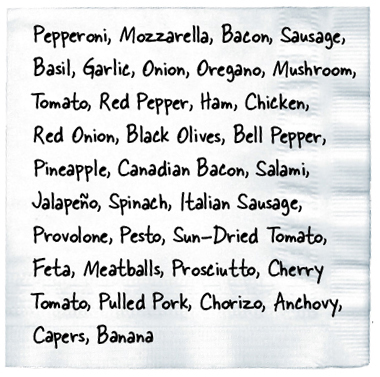
A list of ingredients
You’ll need a list of ingredients. The chef can help with the list, but we’ll need to store it somehow. A
String Arrayis probably the most sensible solution.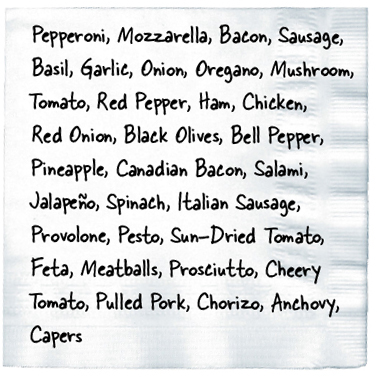
A random choice of ingredient
You’ll also need a way to pick a random ingredient from that list. Four times over (because our pizza needs four ingredients).
If we use an
Arrayto store our ingredients list, then we can use therandomElement()function on our array to get back a random ingredient.Displaying the randomly generated pizza
Finally, you’ll need to display the randomly generated pizza in the form of “ingredient 1, ingredient 2, ingredient 3, and ingredient 4”.
The print function

You might have noticed that sometimes our code contains a line that looks like this:
print(“Some text to get printed!”)
This is Swift’s print function. It tells Swift to display the given items as text. Sometimes you’ll see it used like this, too:
print(“The pizza is a (name)”)
Used like this, print will substitute the value of the variable wrapped in ( and ) into what’s printed. Handy, right? We’ll cover this more later in the book, when we talk about string interpolation.
 Building a list of ingredients
The first step is to store the list of ingedients that the chef provided in a useful data structure.
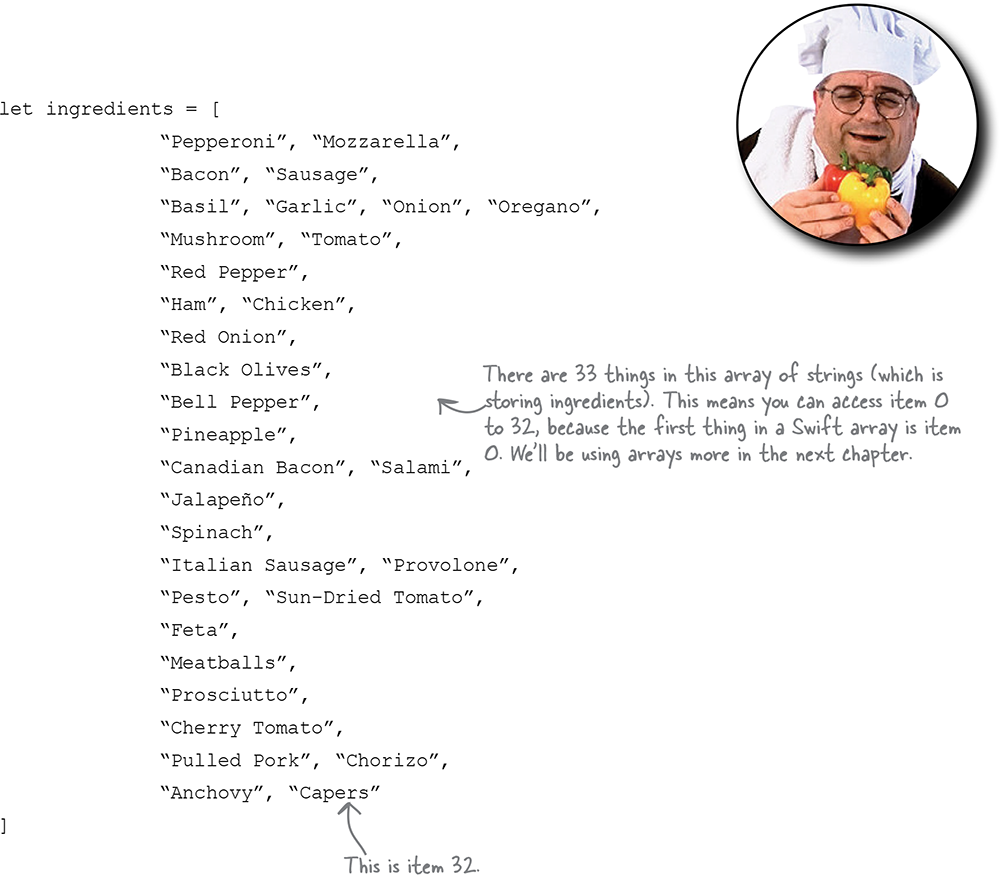
We’re going to use one of the collection types that Swift provides: specifically, we’re going to make an Array of Strings. Each String stored in the Array will be one of the ingredients.
We’ll create our array of ingredients like this:
 Picking four random ingredients
The second step is to pick a random ingredient four times over (from the list that we just put into an Array).
Swift’s Array collection type has a handy function, randomElement(), which returns a randomly selected element from the array it is called on.
To get a random element from the ingredients Array, we can do this:
ingredients.randomElement()!
We need to put the ! at the end, because this function returns an Optional. We’ll come back to what that means in a chapter or two, but the summary is: there might be a value there (if there are things in the array), and there might not (because an array can be empty, yet still perfectly valid).
So, to be safe, Swift has the concept of Optionals, which may, or may not, contain a value. The ! forces the possibility of an optional to be ignored, and if there’s a value it will just give us the value.
If there was any possibility of this Array changing (there’s not, because it’s been declared as a constant—which cannot ever change–using the let keyword) then this would be unsafe programming (because we’d be calling randomElement() and disregarding the possibility of an optional when, if it wasn’t a constant, the Array has the possibility of being empty).
randomElement is a convenience property that we can use on our array (and other Swift collection types). There are other properties and conveniences on arrays, including first and last (which return the first and last array element, respectively) and append, which adds something new to the end of the array.
Note
You’ll learn all about Swift’s collection types (which are ways to store collections of values) in the next chapter.
 Displaying our random pizza
Finally, we need to use our Array of ingredients, and the randomElement() function to generate and display our random pizza.
Because we want four random ingredients, we need to call this four times, so we may as well do it inside a call to the print function, like this:
print(“(ingredients.randomElement()!), (ingredients.randomElement()!),
(ingredients.randomElement()!), and (ingredients.randomElement()!)”)
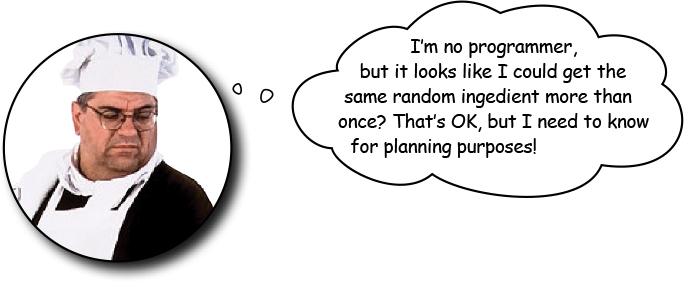
Yes, you might get the same random ingredient more than once.
Each call to randomElement() has no knowledge of how you’re using its returned element, or that you’re calling it multiple times. So yes, it is possible you might generate a pizza that’s nothing but Pineapple.
Note
Red Pepper, Ham, Onion, and Pulled Pork
Pineapple, Mozarella, Bacon, and Capers
Salami, Tomato, Prosciutto, and Meatballs
Pineapple, Pineapple, Pineapple, and Anchovy
Congrats on your first Swift steps
You’ve done a lot in this chaper. You’ve been dropped in the deep end, and been asked to decipher some actual, real Swift code as you became familiar with programming Swift in a Playground.
You’ve also built a little tool to help the pizza chef generate random names for his pizzas. Very useful!
In the next chapter, we’re going to write some longer-form Swift code. Some real, serious, actual code that does something useful (kind of). You’ll be learning all the Swift building blocks: operators, variables and constants, types, collections, control flow, functions, enumerations, structures, and classes.
Before you get there, we’ve got a few questions to answer that you might have, a crossword puzzle, and a tiny bit more sassy commentary. And don’t forget to get a nice cup of coffee, or some sleep.

There are no Dumb Questions
Q: Where are the semicolons? I thought programming was meant to be full of semicolons!
A: Swift doesn’t end lines with semicolons. If it makes you feel more comfortable, you can do it anyway. It’s still valid, it’s just not necessary!.
Q: How do I run my code on an iPhone or iPad? I bought this book so I could learn to make iOS apps and get filthy rich.
A: We’ll explain everything you need to know to use your Swift knowledge to make iOS apps much, much later in the book. We make no promises about getting rich, but we do promise that you’ll know how to build iOS apps by the end. Again, be patient.
Q: I’m used to Python. Does whitespace mean anything in Swift?
A: No, whitespace is not meaningful in Swift the same way it is in Python. Don’t worry about it!
Q: I still don’t really understand why everyone keeps going on about Swift being “safe”? I don’t understand how a programming language can be safe.
A: Safe is just a shorthand way of saying “it’s harder to make mistakes with”. Swift does everything it can to help you catch mistakes as early as possible. If it can throw an error when you’re compiling a program, instead of when it’s running (potentially causing a crash) then it will. Swift’s “safety” just means it tries its hardest to stop you writing code that could crash.
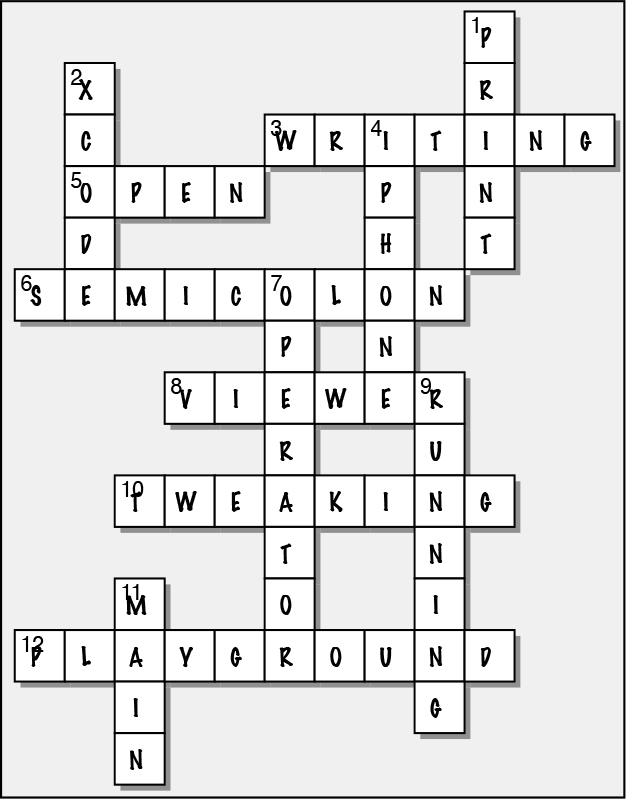
 Swiftcross
Put your brain to the test with some Swift terminology. Answer are over the page. Check back through the chapter if you get stuck!

Across
3) The first stage of working with a Swift in a Playground.
5) Swift is an _____ source project, which means its source code is available, and development is done in public.
6) Other programming languages use these to signify the end of a line. Swift does not.
8) A feature of Swift Playgrounds that allows you to look at the result or output of a line of code.
10) The third stage of working with a Swift in a Playground.
12) A Swift _______ is an environment for running code, and exploring Swift.
Down
1) This function is used to output text from Swift.
2) Apple’s big, powerful Swift integrated development environment (IDE).
4) The popular phone, made by Apple, that you can write Swift apps for.
7) Check, change, or combine a value with one of these.
9) The second stage of working with a Swift in a Playground.
11) A ____ method is the starting point for many programs in other languages, but isn’t needed in Swift.
 Exercise Solution
Swiftcross