In the previous chapter, we learned how to create a tic-tac-toe app with Tkinter. We also learned all about events and how to use them to make our app respond to external events (mouse click, keyboard key press, etc.).
In this chapter, we’ll learn all about “drawing” on your Tkinter screen using “canvas” and use that to make a paint app. You’ll be able to draw with a pen and draw circles/ovals, straight lines, and squares/rectangles. You’ll also be able to change the size of your pen and your shapes’ outline colors and fill colors. It’s a simple, but complete app!
Paint app – explanation
Our paint app is going to be awesome! You’re going to be able to do free-hand drawing and draw straight lines, squares, rectangles, ovals, and circles. You can also choose from hundreds of different color shades. Cool right?
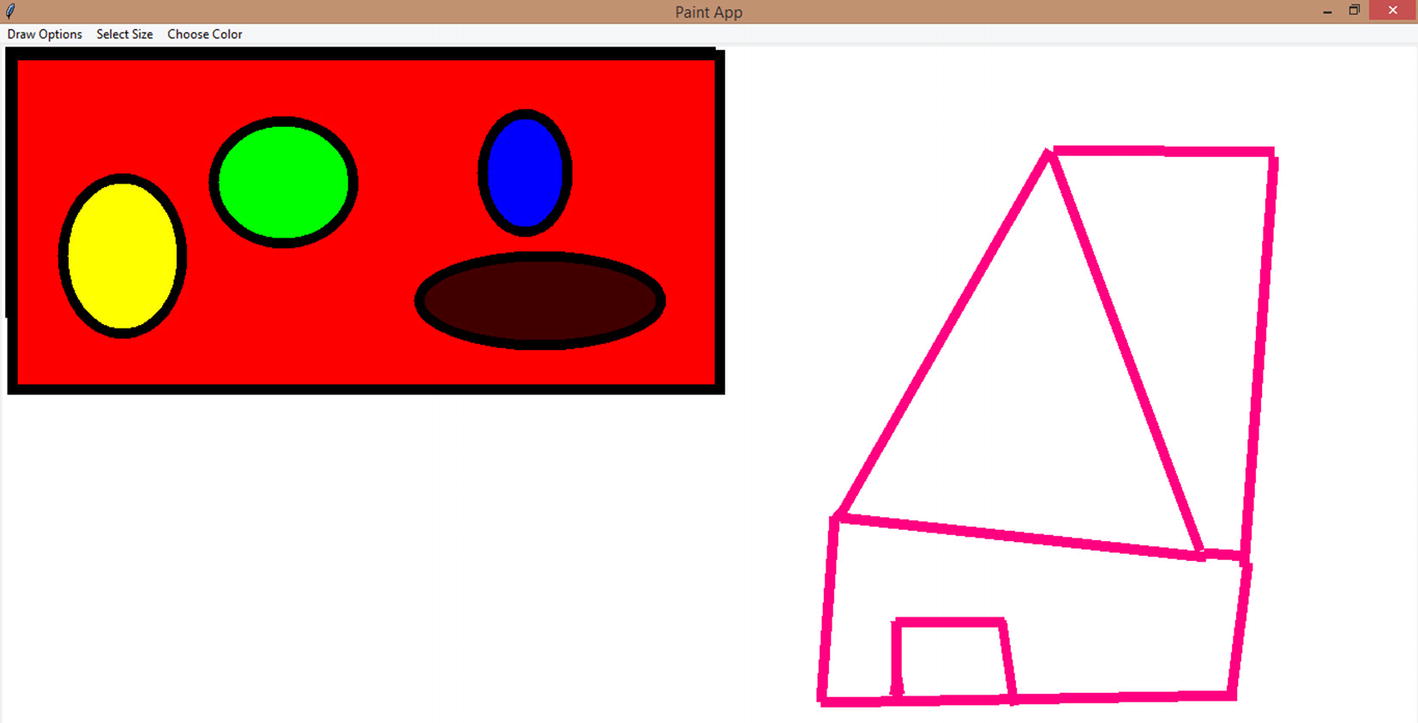
Once we’re done, it’ll look something like Figure 18-1.
Figure 18-1
Final app
I’m no artist, so please forgive my basic drawings, but you can see how powerful this app is, right? And the best part is that this is just the starting point. You can expand this app, add more features, and make it into anything you want.
Share it with your friends, have paint competitions, or just have fun!
Get started
Let’s start by importing Tkinter. Let’s import everything, as usual, but doing so will only import the “outer” classes. It won’t import the inner ones, like the colorchooser, for example. We need the color chooser to create color palettes for our app. So, let’s import that as well.
from tkinter import *
from tkinter import colorchooser
Now, let’s create and initialize our variables. To draw on the screen, you need coordinates, the x and y points of where your mouse pointer is clicking on the screen. Let’s create x and y variables and assign them 0 each to start with.
I’ve used a new way of assignment now. Makes things easy, doesn’t it?
x, y = 0,0
Next, let’s create a variable “color” and make it None (no value) to start with. You can make it an empty string as well. This variable will hold our shapes’ fill colors in the future. We also need a color for our “pen” or our shapes’ outline, so let’s create a variable “outline” and make it black as default. We also need a pen size. It’s going to be 1 by default.
color = None
outline = 'black'
sizeVal = 1
Set up the screen
Now, let’s set up our screen. We’re going to make the state of our screen “zoomed” by default, so it expands to the full screen. Also, we’re going to configure our rows and columns in such a way that the first cell (row 0 and column 0) is going to expand to the full width and height of the screen. We can place our canvas inside this cell, so it expands to the full screen as well.
w = Tk()
w.title('Paint Application')
w.state('zoomed')
w.rowconfigure(0,weight=1)
w.columnconfigure(0,weight=1)
We’ve given the weight as 1 to let our program know that this particular row and column should expand to its maximum capacity.
Let’s run our program, and we get this (Figure 18-2).
Figure 18-2
Our Tkinter screen
Great!
Create the canvas
Now, let’s create our canvas. We need to use the Canvas method to do that and place it in the window “w”. Let’s also make our canvas’ background “white” by default.
#create a canvas
canvas = Canvas(w, background="white")
Next, I’m going to place my canvas in the first row and column (0) and make it sticky in all directions (north, south, east, and west) so it expands in all directions and takes up the entire space (which is our entire screen as of now).
canvas.grid(row=0,column=0,sticky="NSEW")
Let’s run the program now, and we get this (Figure 18-3).
Figure 18-3
Canvas
Perfect! We have our white canvas now.
Create your first menu (shapes)
If you looked at the completed app, you’d have noticed that we had multiple menus to choose from. The first one is the shape menu. You’ll be able to choose between drawing with a pen and drawing a line, square, or circle. Let’s create that menu now.
You already know how to create menus. Let’s create a main menu that’ll hold all our menus. Our “Draw Options” menu is going to be the first submenu in our “main” menu. Let’s add a cascade to it and label it.
Finally, let’s add four commands, ‘Pen’, ‘Line’, ‘Square’ and ‘Circle’. But we need to send the selection values to the “select” function, which will in turn call the relevant function that’ll do the respective drawing. Let’s use a lambda to do that. We’re going to number our options, pen is 1, line is 2, square is 3, and circle is 4.
Finally, let’s configure our “main” menu to our window. In the future, this line should come after we’ve created all four of our menus.
w.config(menu=main)
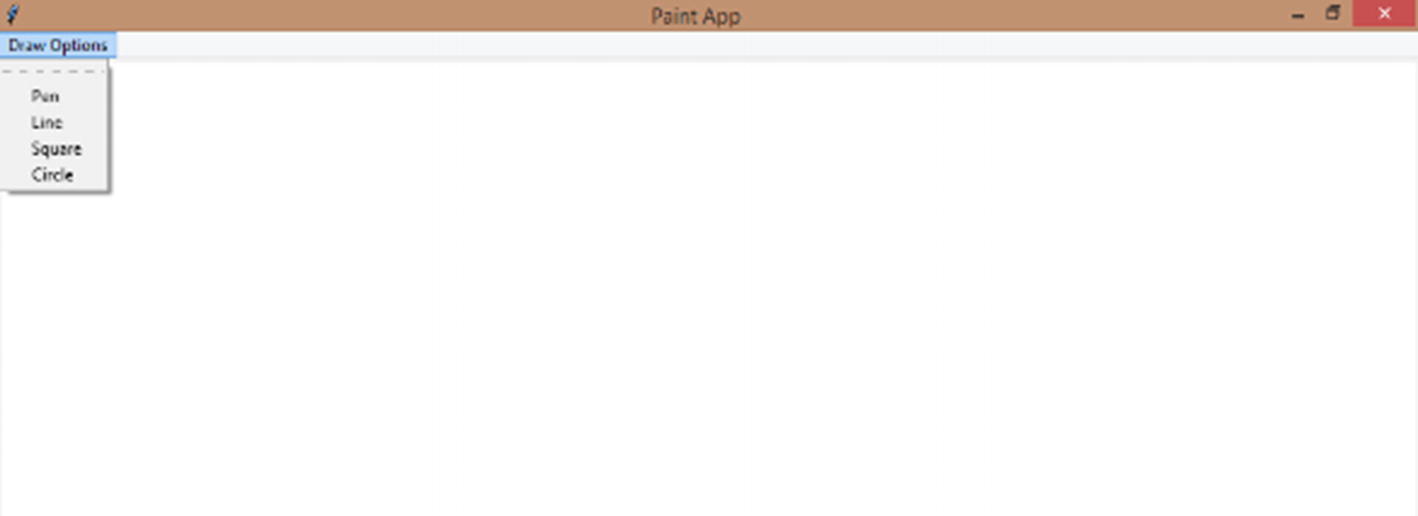
If you run your program now, and try clicking the menu items, you’ll get an error because your “select” function isn’t defined yet, but still, you’ll see your menu, like this (Figure 18-4).
Figure 18-4
First menu (draw options)
Whoa! First step is a success!
Let’s make our draw options work!
Now that we have our draw options menu, let’s make it work. Let’s first create the “select” function that binds the canvas with the relevant mouse clicks. Create this function above the menus (function calls). We need two kinds of binds.
For the free-hand drawing, we need a <B1-Motion> bind that draws a line every time our left mouse button clicks and drags on the screen. So, we’ll essentially get tiny lines between every 2 minute points, so essentially hundreds of tiny lines that join are joined together to make our free-hand drawing.
Then, we need a <ButtonRelease-1> bind that draws either a line, square, or circle whenever our left mouse button releases after it clicks and drags on the screen. So, the result would be a line, square, or circle from the point where it clicked to the point where it released.
Let’s do that now. Let’s receive our number as “options”. If options is 1, then unbind <ButtonRelease-1>, so if we’d previously selected the other options, it’ll be unselected now, and we won’t get a shape or line after we release the pen. Then, let’s bind <B1-Motion> and call the draw_line function.
def select(options):
if options == 1:
#selected Pen, create bind
canvas.unbind("<ButtonRelease-1>")
canvas.bind('<B1-Motion>',draw_line)
Similarly, for 2, unbind <B1-Motion> so the pen is no longer active and bind the <ButtonRelease-1> and call the draw_line function.
if options == 2:
#selected line, create bind
canvas.unbind("<B1-Motion>") #so pen is no longer active
canvas.bind('<ButtonRelease-1>',draw_line)
For 3, call the draw_square function.
elif options == 3:
#selected square, create bind
canvas.unbind("<B1-Motion>")
canvas.bind('<ButtonRelease-1>',draw_square)
For 4, call the draw_circle function.
elif options == 4:
#selected circle, create bind
canvas.unbind("<B1-Motion>")
canvas.bind('<ButtonRelease-1>',draw_circle)
Get the mouse position
Before we create the draw_line functions, we need to get our mouse position. We can do that using our “event”, as you know. So, let’s create another bind outside of our functions (right above our menus and below the function definitions) that binds any left mouse button click to the canvas.
So, every time your user clicks the canvas, we’re going to make note of the x and y positions of the same in the background.
We won’t draw anything until the user selects a draw option, but let’s still make note in anticipation of that, alright?
canvas.bind('<Button-1>',position)
Now, define the function above the bind. Receive “event” in the function definition. Let’s also load the global x and y values and assign the event.x and event.y values (x and y coordinate positions of the mouse click) to the x and y global variables.
Get the current position of the mouse on each left mouse button click on the canvas.
def position(event):
global x,y
x,y = event.x,event.y
That’s it! You could print out x and y and see this function in action. Let’s make that our little activity, shall we?
Let’s draw our lines
Now, let’s create the function that’ll draw both our mini lines for our free-hand drawing and our straight lines. What do we need here?
There’s a create_line function in canvas which can be used to, yup, you guessed it, draw straight lines! You just need to give the start and end coordinate points. You can also specify the “fill”, which is essentially the line’s color.
We’ll be using the “outline” color for this because we want line colors and shape outline colors to be uniform. You can also specify the width of the line. Let’s give sizeVal as the value for this property.
You need to be careful how you mention the coordinate values though. Mention the x and y coordinates of the starting point first and then the x and y coordinates of the ending point. More importantly, mention all four values inside of a tuple, or you’ll get an error.
def draw_line(event):
Let’s load our x and y values, which is the point where the mouse first clicked, which we calculate constantly using the position() function. Let’s also load sizeVal, which is currently at 1. It’ll automatically get updated once we write the lines of code that’ll let the user manually change the width of the lines.
global x,y,sizeVal
Now, the starting x and y positions are the x and y positions that contain the point where the mouse clicked (the position() function). The ending x and y positions are the event’s x and y positions.
In case of a free-hand drawing, every time the mouse is dragged (while the left mouse button is still pressed down), we get a new event, and new x and y positions, for every minute change.
For drawing a straight line, the end point is when the mouse button is released.
Finally, let’s update the x and y values with the event’s x and y values. We especially need this for the free-hand drawing, so we can start over.
x,y = event.x,event.y
Let’s run our program now.
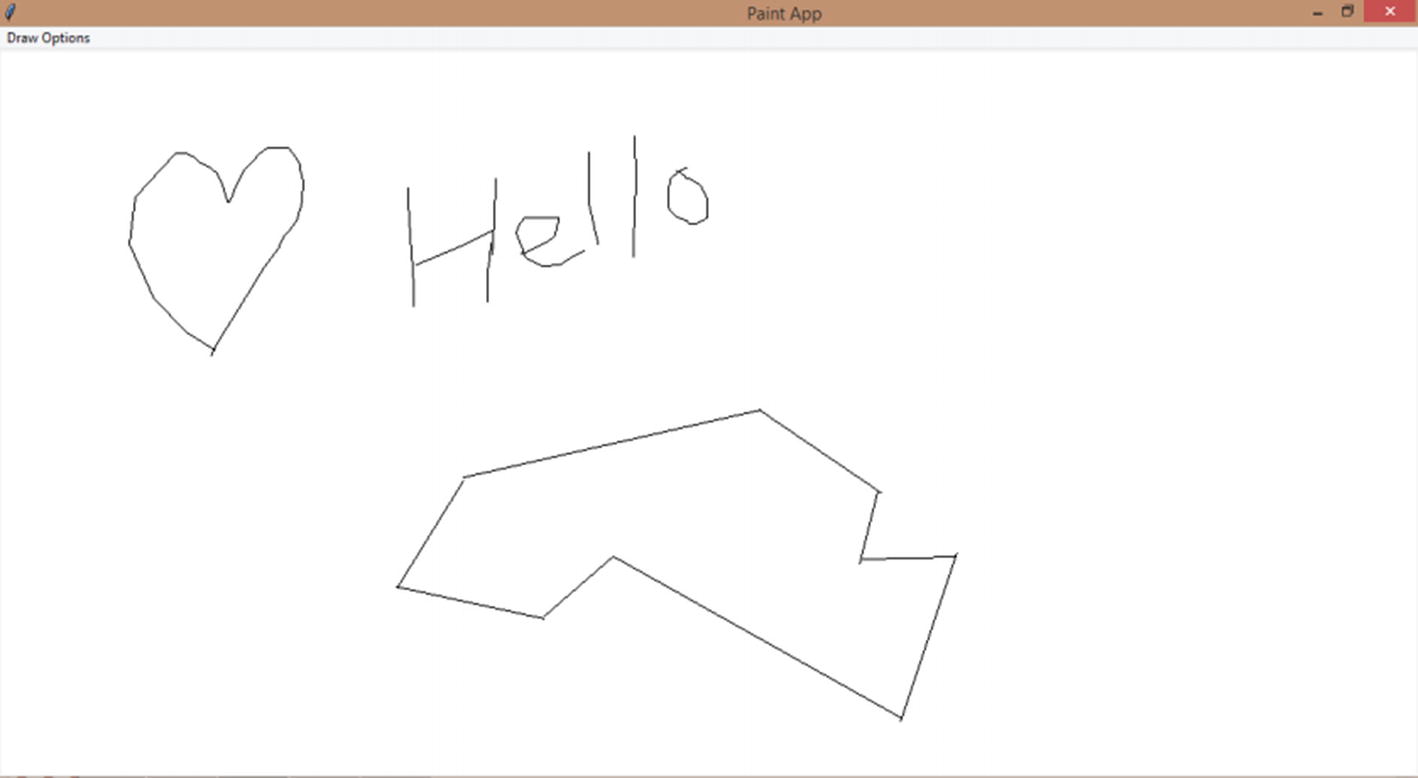
When we try to draw on the screen as such, nothing happens. Why? Well, we haven’t activated any of the options yet. But, if I select either pen or line (from the menu), I can draw on the canvas (Figure 18-5).
Figure 18-5
Free hand and straight lines
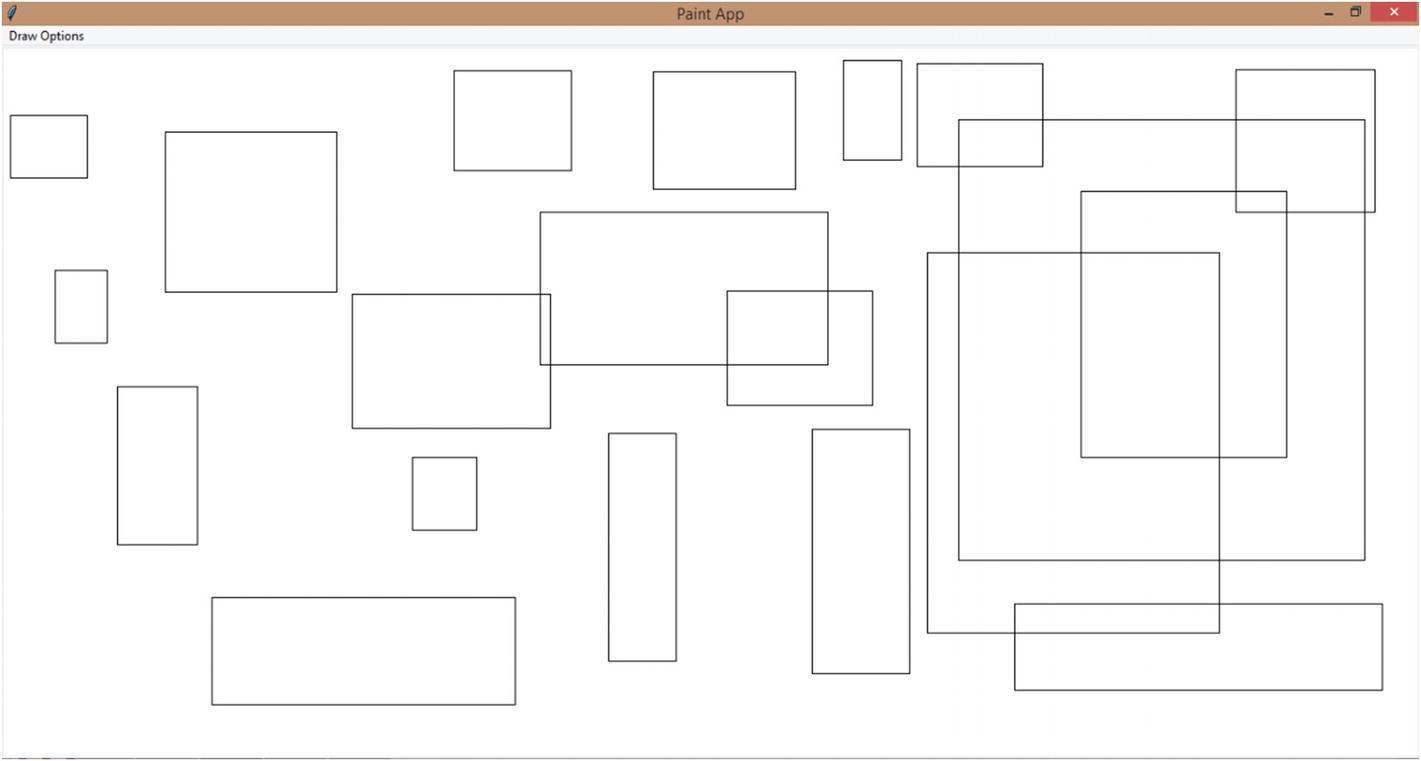
Squares and rectangles!
Let’s draw our squares and rectangles now. The process is similar. You have a create_rectangle method in canvas. Give the start and end coordinates within a tuple again. In this case, you can mention two kinds of colors, outline and fill colors, and finally the width of the shape.
Then, let’s assign the current event’s x and y values (mouse release) to the first x and y values (left mouse click).
That’s it! Let’s run our program now. Select “Square”, hold your mouse button down, drag it to the point you want, and release the button. You’ll get yourself a square or a rectangle. Try and see!
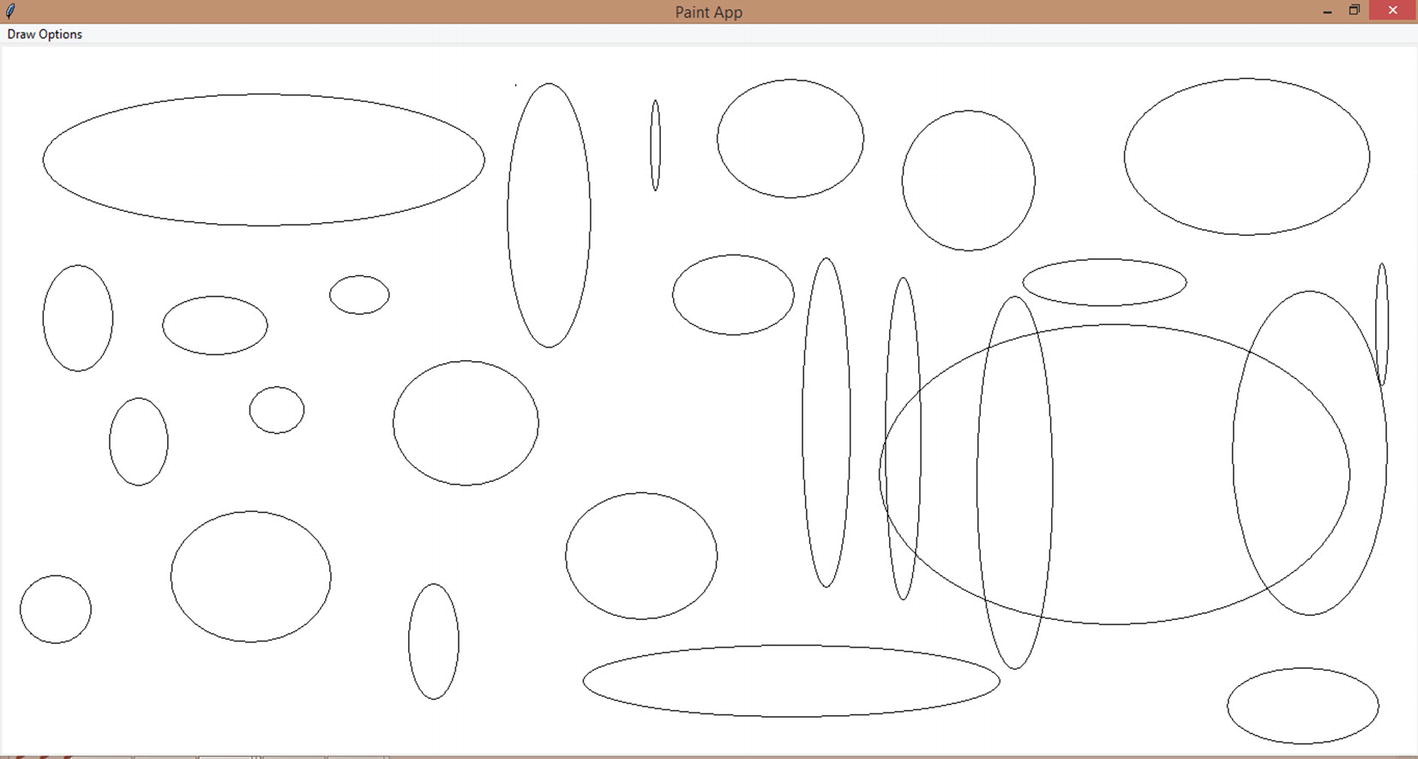
Finally, let’s draw circles and ovals. There’s another method called create_oval. A perfectly formed oval is a circle, am I right? You need to give the start and end points for this method as well.
Your start point is when you pressed the mouse button, and the end point is the x and y value of the point where you finally released the mouse button (mouse release event).
Let’s run the program, and we get this (Figure 18-7).
Figure 18-7
Circles
Nice! We’ve finished all our draw functions. We’re almost there!
Select size!
Now, let’s move on to the second menu in our program. So far, our lines and the outlines of our shapes are too narrow in width. What if we want them to be thicker? We need options for that as well. Let’s create them! I’m going to create sizes from 1, 5, 10, to 30. 1 is the default we’ve set.
Let’s create a new submenu, menu2, for the sizes. Place this after the menu1’s code, but before the menu configuration line of code. Every option is going to be a size, and I’m going to call the changeSize function for every option click. We’ll be sending the size as the parameter to this function.
menu2 = Menu(main)
main.add_cascade(label='Select Size', menu = menu2)
Now, define the function to change the size. You can place this function after the select() function, or anywhere you want, as long as it’s above menu2’s lines of code (function calls).
This is a very simple process. Let’s receive our size, load the global sizeVal, and assign our size to sizeVal. That’s it! Since sizeVal is global and loaded into all our draw functions, once we change the size, the next time we draw something, the new size will reflect in that drawing.
def changeSize(size):
global sizeVal
sizeVal = size
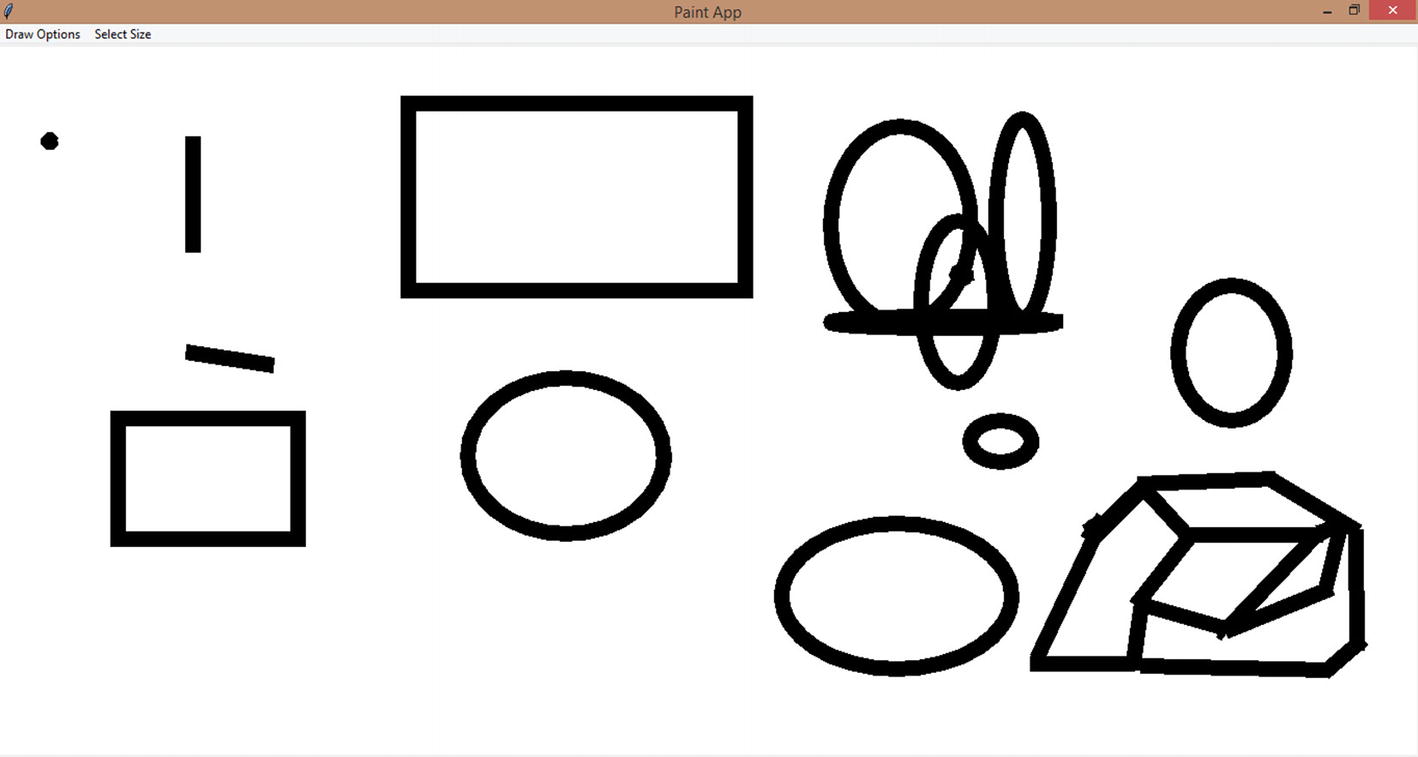
Let’s check if this works! I’m going to draw a bunch of lines after changing the size to 15 (Figure 18-8).
Figure 18-8
Change the width of your outlines
Those are some thick lines. :D
Lots and lots of colors!
Now, let’s create the third menu that’ll let us change the outline and fill colors of our drawings.
Let’s create a menu3 that holds just two options, one to change the line color and the other to change the fill color, each calling their respective functions.
menu3 = Menu(main)
main.add_cascade(label = 'Choose Color', menu = menu3)
Now, let’s define those functions. We’re going to use our colorchooser to create our color palettes. There’s an askcolor method in colorchooser that opens a palette when we need it (in this case, when the “Line color” option is clicked). This opens in a new window. Let’s also set a title for that window: Choose color.
Now, you can’t just use getColor as it is. When we choose a color, let’s say red, this is the format in which it gets registered in getColor:
((255.99609375, 0.0, 0.0), '#ff0000')
The first value in the tuple contains another tuple that holds the rgb color value (red, green, and blue shades of our color). The second value in the tuple contains the hexadecimal value of the color we just chose. They’re both the same, and you can just write it as “red”. These are just different formats in which you can mention a color. You don’t really need to know about them or memorize them. Just know that every shade there are hexadecimal and rgb values you can use and your computer recognizes.
Now, we can’t use the entire tuple. We just need one of its values. Let’s just retrieve the second value and use it, shall we?
outline = getColor[1]
Now, every time we change the “Line color”, the value of “outline” changes and it’ll be reflected in our next drawing.
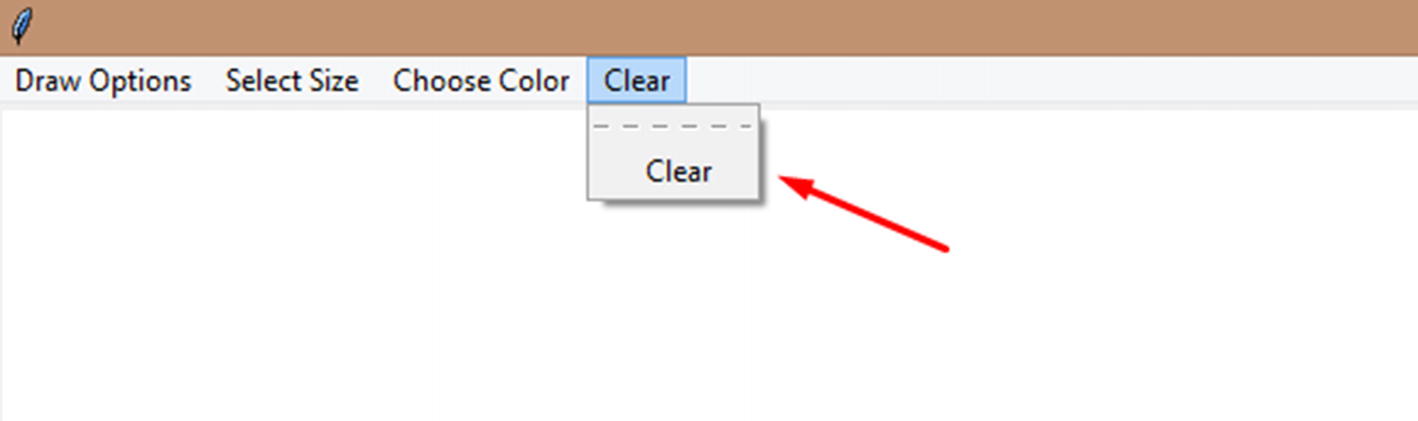
Okay, we have our little paint app. We’ve drawn to our heart’s content! But what if we want to start over? We need an option to clear the canvas. Let’s create that!
In this chapter, we learned about “drawing” on our Tkinter screen using “canvas” and used that to make a paint app. We drew with a pen and drew circles/ovals, straight lines, and squares/rectangles. We also changed the size of your pen and our shapes’ outline colors and fill colors.
In the next chapter, let’s go back to our original package, the Turtle package. Let’s create a full-blown snake app with Turtle, scoreboards, and all. It’s going to be a fun and interesting ride. Buckle up!