
In this recipe you will learn how to design and display a table formulation in the main body of your report. Table formulation includes the following steps:
- Placing column headings in the table.
- Linking your report to fields in your database.
- Placing data fields under their corresponding column headings.
Refer to the installPostgreSQL.txt file included in the source code download for this chapter to install and run PostgreSQL, which should be up and running before you proceed. The source code for this chapter also includes a file named copySampleDataIntoPGS.txt, which helps you to create a database named jasperdb2 and copy sample data for this recipe into the database.
The following steps take you through creating a table:
- Open the
SimpleTable.jrxmlfile from theTask2folder in the source code for this chapter. The Designer tab of iReport shows an empty report with a title (Monthly Customer Invoices) as shown in the following screenshot: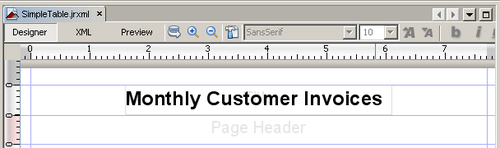
- Select a static text component from the palette and drag it into the Column Header section of your report, as shown in the following screenshot:

- Double-click on the static text component, and the text inside will be selected; type
Invoice Numberand press Enter. - While the static text component is selected, select the Left property from the Properties section of the Invoice Number - Properties window below the palette. Change the value of this property to
0, as shown in the following screenshot: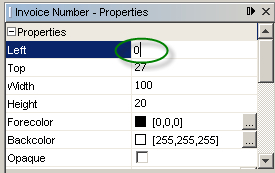
- Similarly, change the Top property value to
0. The static text component will be positioned to the top-left area in the Column Header section of your report, as shown in the following screenshot:
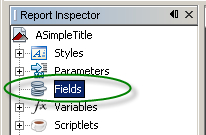
- From the Report Inspector window on the left side of the report window, try to expand the Fields node. You will notice that it is empty and, therefore, not expandable, as shown in the following screenshot:
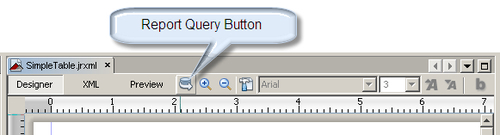
- Click the Report Query Button at the top of the report window.
- A Report query dialog will appear. While your cursor is in query editor, type
SELECT * FROM "public"."CustomerInvoices". Five field names of theCustomerInvoicestable (InvoiceID, CustomerName, ProductName, InvoicePeriod, and InvoiceValue) will appear in the bottom section, as shown in the following screenshot: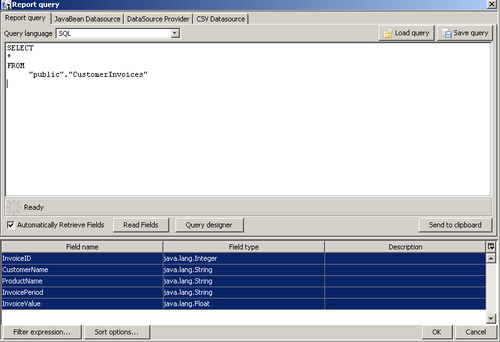
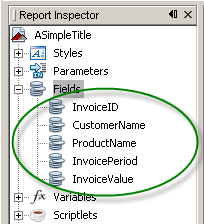
- Click the OK button to dismiss the dialog. From the Report Inspector window on the left side of the report window, expand the Fields node. You will notice that this time it contains InvoiceID, CustomerName, ProductName, InvoicePeriod, and InvoiceValue fields, as shown in the following screenshot:
- Drag-and-drop the InvoiceID field from the Fields node into the Detail 1 section of your report. A text field component with the expression
$F{InvoiceID}will appear in the Detail 1 section of your report, as shown in the following screenshot: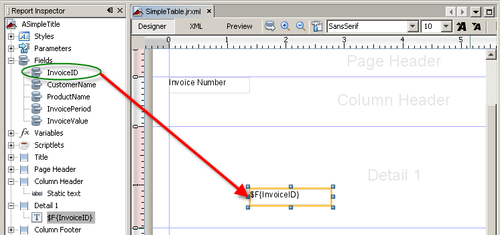
- Using the arrow keys, move your text field component, so that it appears immediately below the blue line that separates the Column Header and the Detail 1 sections.
- Now align this text field component using the arrow keys just below the static text component of step 2 (which is a label for the
InvoiceIDField), as shown in the following screenshot: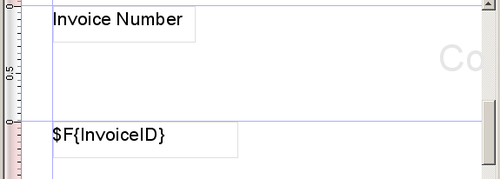
- Double-click the blue line that separates the Column Header section and the Detail 1 section. This will adjust the band height for the Column Header section, as shown in the following screenshot:

- Similarly, add the
CustomerName, ProductName, InvoicePeriod, andInvoiceValuetable fields along with their corresponding static text labels into your report. After adding these components your report will look similar to the one in the following screenshot:
- Switch to the Preview tab to see the result of your work, as follows:
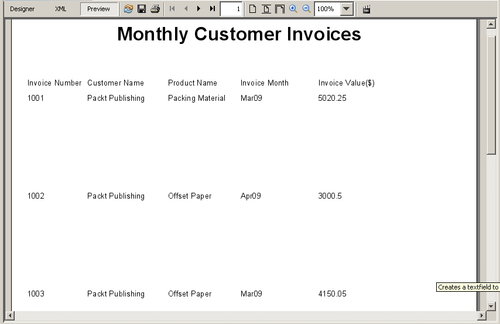
- Notice that in your table in the Preview tab there is a large whitespace between each record of your table.
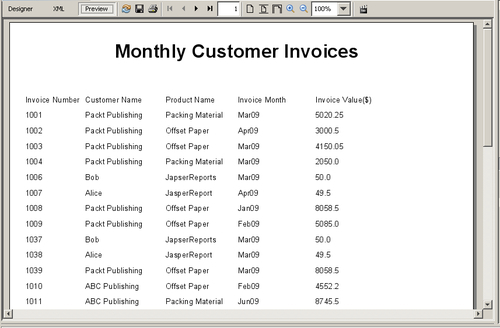
- Switch back to the Designer tab. Double-click on the blue line that separates the Detail 1 section and the Column Footer section. This will adjust the band height for the Detail 1 section, as shown in the following screenshot:

- Switch to the Preview tab to see the result of your work, as shown in the following screenshot:
Switch to the XML tab to see the following JRXML code:
<?xml version="1.0" encoding="UTF-8"?>
<jasperReport>
<!-- other JasperReports XML tags -->
<columnHeader>
<band height="20" splitType="Stretch">
<staticText>
<reportElement x="0" y="0" width="77" height="16"/>
<textElement/>
<text><![CDATA[Invoice Number]]></text>
</staticText>
<!-- other static text tags -->
</band>
</columnHeader>
<detail>
<band height="20" splitType="Stretch">
<textField>
<reportElement x="0" y="0" width="100" height="20"/>
<textElement/>
<textFieldExpression class="java.lang.Integer">
<![CDATA[$F{InvoiceID}]]>
</textFieldExpression>
</textField>
<!-- other text field tags -->
</band>
</detail>
<columnFooter>
<band height="45" splitType="Stretch"/>
</columnFooter>
<!-- other JasperReports XML tags -->
</jasperReport>
You can see the<columnHeader>, <detail>, and<columnFooter> tags in this code. These three tags form the report body (the table) that you designed in this recipe. I have omitted other tags for clarity.
Note that when you executed steps 2 to 5 of the recipe, iReport authored the<columnHeader> tag. Similarly, when you executed steps 10 to 12, iReport authored the<detail> tag.
As the recipe did not do anything with the column footer, the<columnFooter> tag is empty.