
This recipe teaches you how to create a report with data coming from two different database sources. The main report has six columns, five of which come from one database. The sixth column comes from a subreport, which fetches its data from the second database.
Refer to the installPostgreSQL.txt file included in the source code download for this chapter to install and run PostgreSQL, which should be up and running before you proceed.
The source code for this chapter also includes two files named copySampleDataIntoPGS.txt and copySamplePaymentStatusDataIntoPGS.txt. The copySampleDataIntoPGS.txt file will help you to create a database named jasperdb5 and create a table named CustomerInvoices with five columns (InvoiceID, CustomerName, InvoicePeriod, ProductName, and InvoiceValue) and copy sample data for this recipe. Similarly, the copySamplePaymentStatusDataIntoPGS.txt file will help you to create a database named jasperdb5a and create a table named PaymentDetails with two columns (InvoiceID and PaymentStatus) and copy sample data.
You will be using two JRXML files MultiDBReport.jrxml and PaymentStatusSubreport.jrxml in this recipe. You will find these files in the Task4 folder of the source code download for this chapter. The MultiDBReport.jrxml file is the master report, which uses the other file as a subreport. The master report has to refer to its subreport using a complete path (you cannot use relative paths). This means you have to copy the two JRXML files to the c:JasperReportsCookBookSamples folder on your PC. I have hardcoded this complete path in the master report (MultiDBReport.jrxml).
- Open the
PaymentStatusSubreport.jrxmlfile from thec:JasperReportsCookBookSamplesfolder. The Designer tab of iReport shows an empty report, as shown in the following screenshot: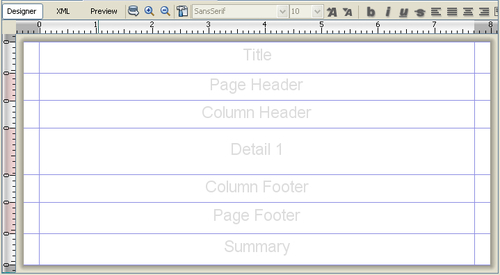
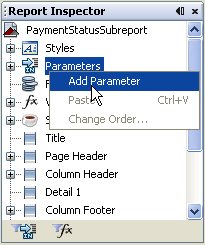
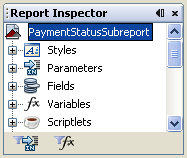
- Right-click on the Parameters node in the Report Inspector window on the left of the Designer tab, as shown next. Choose the Add Parameter option from the pop-up menu.
- The Parameters node will expand to show the newly added parameter named parameter1 at the end of the parameters list. Click on parameter1, its properties will appear in the Properties window below the palette of components on the right of your iReport main window.
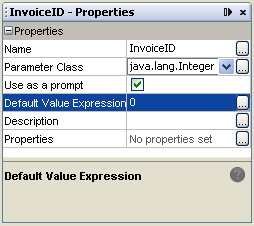
- Click on the Name property of the parameter and type InvoiceID as its value. The name of the parameter1 parameter will change to InvoiceID.
- Click on the Parameter Class property and select java.lang.Integer as its value.
- Click on the Default Value Expression property and enter 0 as its value, as shown in the following screenshot. Leave the rest of the parameter properties at their default values.
- Click the Report query button on the right of the Preview tab; a Report query dialog will appear, as shown in the following screenshot:
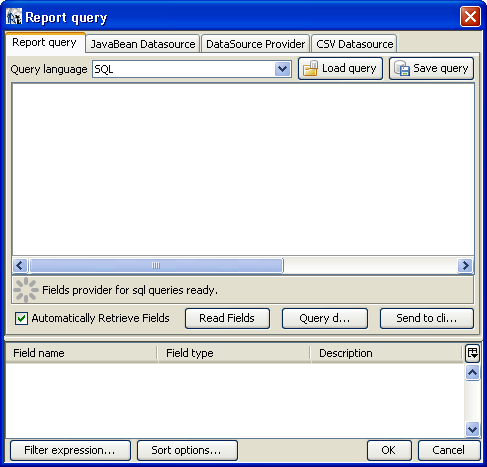
- Type
SELECT * FROM paymentdetails WHERE invoiceid = $P{InvoiceID}in the Query editor. The fields of thepaymentdetailstable will be shown in the lower-half of the Report query dialog. Click the OK button, as shown in the following screenshot: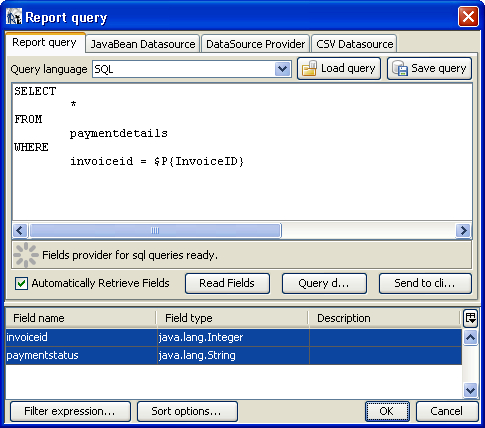
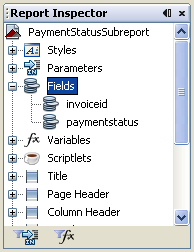
- Double-click the Fields node in the Report Inspector window. You will see that it contains invoiceid and paymentstatus fields, as shown in the following screenshot:
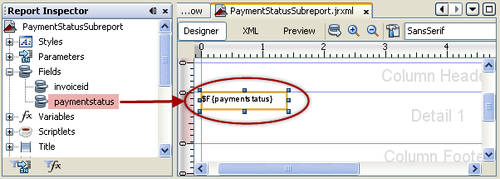
- Drag-and-drop the paymentstatus field from the Fields node into the top-left corner of the Detail 1 section, as shown in the following screenshot:
- Select PaymentDetails in the datasources drop-down list, as shown in the left image given below. Then switch to the Preview tab; a Parameter prompt dialog will appear, which will ask you for the invoice ID, as shown in the right image given below. Enter
1001as the value of the InvoiceID parameter. You will see a report containing a single record showing the payment status of the invoice having the ID1001.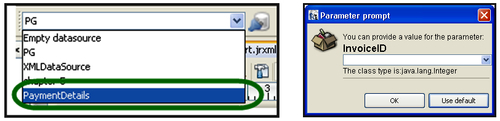
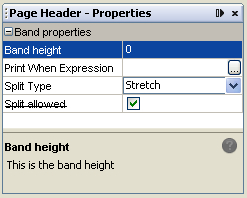
- Switch back to the Designer tab. Click anywhere in the Page Header section; its properties will appear in the Properties window below the palette. Select the Band height property and set 0 as its value, as shown in the following screenshot:
- Similarly, repeat step 12 for the Title, Column Header, Column Footer, Page Footer, and Summary sections and set 0 as the value of the Band height property. This will set all sections to zero height except the Detail 1 section.
- Double-click on the blue line at the bottom of the Detail 1 section. The height of the Detail 1 section will become equal to the height of the text field dropped into the Detail 1 section in step 10. The report in the Designer tab will look as shown in the following screenshot:

- Click on the name of your report in the Report Inspector window on the left of the Designer tab, as shown in the following screenshot:
- The report properties will appear in the Properties window below the palette. Set
0as the value of the Top margin and Bottom margin properties in the Margins section of the Properties window, as shown in the following screenshot: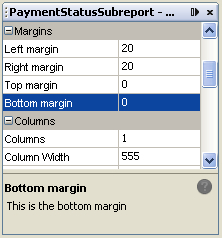
- Now open another report named
MultiDBReport.jrxmlfrom theC:JasperReportsCookBookSamplesfolder. The Designer tab of iReport shows a report containing data in the Title, Column Header, Customer Group Header1, and Detail 1 sections, as shown in the following screenshot: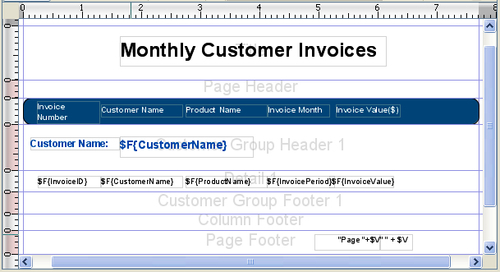
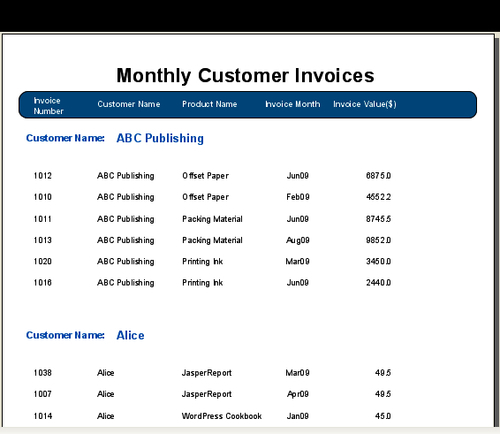
- Select PG in the datasources drop-down list. Then click the Preview button and you will see a report containing invoices grouped by customer names, as shown in the following screenshot:
- Copy-paste the Invoice Value column label and place the new copy of the Invoice Value label to the right of the existing label, as shown in the following screenshot:

- Double-click on the new copy of the Invoice Value label and type
Payment Statusas its value. - Drag-and-drop a Subreport component from the palette into the Detail 1 section, just below the PaymentStatus label. A Subreport wizard dialog will appear, as shown in the following screenshot:
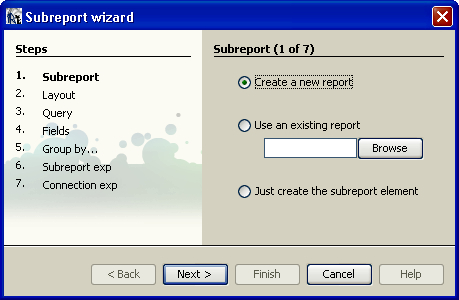
- Choose the Use an existing report option and click the Browse button to browse to the
PaymentStatusSubreport.jrxmlfile located in thec:JasperReportsCookBookSamplesfolder and click the Open button, as shown next. The browser dialog will disappear. Click the Next button in the Subreport wizard dialog.
- A Connection exp (2 of 4) dialog will appear, as shown in the following screenshot. Notice that now the left side of the Subreport wizard shows four steps (Subreport,Connection exp, Parameters, Subreport exp). You are at step 2 (Connection exp) which is shown in bold.
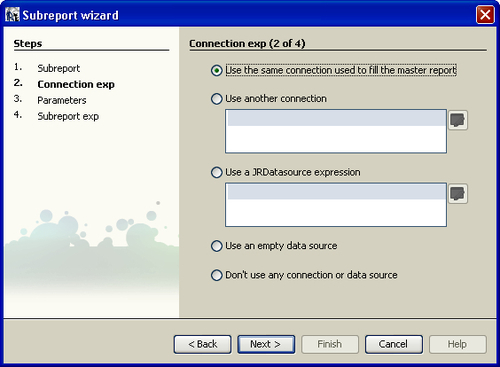
- Choose the Use another connection option and type the
java.sql.DriverManager.getConnection("jdbc:postgresql://localhost:5432/jasperdb5a", "postgres", "postgres")expression in the area below the Use another connection option, as shown next. Click the Next button at the bottom of the window.
- A Parameters (3 of 4) dialog will appear. This will show the
InvoiceIDparameter of thePaymentStatusSubreport.jrxmlsubreport and allows you to enter an expression to map it to elements (that is Fields or Variables) of the mainMultiDBReport.jrxmlreport.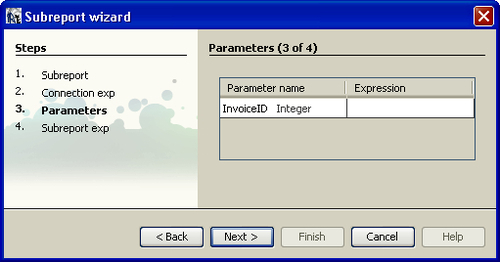
- Click on the Expression field beside the
InvoiceIDparameter. A drop-down list will open. This will show all elements of theMultiDBReport.jrxmlreport. Select theInvoiceIDfield from the list, as shown in the following screenshot: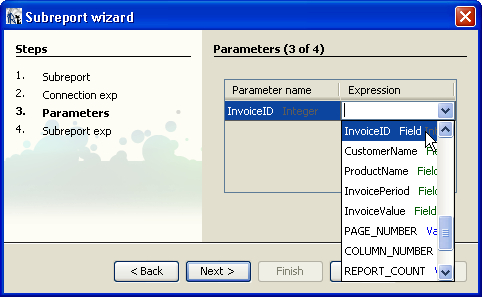
- Click the Next button.
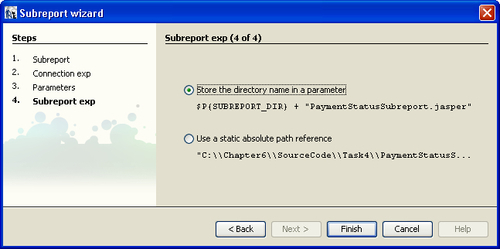
- A Subreport exp (4 of 4) dialog will appear. Continue with the Store the directory name in a parameter option selected and click the Finish button.
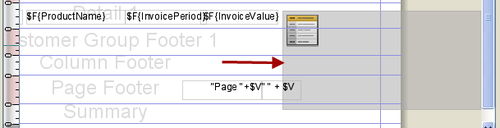
- The Subreport element will be placed in the Detail 1 section, as shown in the following screenshot:
- Click on the Subreport element; its properties will appear in the Properties window below the palette. Find the Width property and set 80 as its value.
- Click on the Height property and set 15 as its value, as shown in the following screenshot:
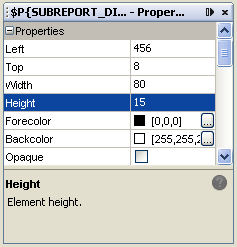
- The size of the Subreport element will become equal to the size of the other fields placed in the Detail 1 section, as shown in the following screenshot:

- Click the Preview button and you will see a report containing invoices with their status coming from the payment status subreport, as shown in the following screenshot:

In this recipe, you have done four things:
- First you made a subreport with a parameter named InvoiceID in steps 1 to 16. The subreport is a very useful feature that allows you to design a portion of a report as a separate, independent report and then insert the portion into the main report.
- Then you inserted the subreport into a main report in step 21.
- You configured a new database connection for the subreport in step 24. Note from the screenshot of step 24 that you used the
java.sql.DriverManagerclass to configure this database connection for the subreport.When I configured the database connection in step 24, the name of my database server was
postgresql, the network address of the machine hosting the server was localhost, the server was listening at port5432, the name of the database was jasperdb5a, and the username and password were both postgres. Putting all this together, I got the complete expression of step 24 as"java.sql.DriverManager.getConnection ("jdbc:postgresql://localhost:5432/jasperdb5a", "postgres", "postgres")". This way you can configure any database (for example MySQL) for your subreport. - You mapped the InvoiceID parameter of the subreport to the InvoiceID field of the main report in steps 25 and 26.
The result of these four steps is that the main report fetches its five columns from its own database connection. Then it asks the subreport to provide data for the sixth column (that is, Payment Status). The subreport fetches data for the sixth column from another database connection and returns the data to the main report, which eventually displays the data coming from the subreport in the sixth column.
This way you can design reports using multiple databases.