The normal tabular form of displaying data may not always be the most suitable presentation in a report. There are other options available. For example, you can display each record in a box, with all fields as name-value pairs. Such boxes of name-value pairs fit well in a multi-column report.
This recipe shows you how to display data as boxed name-value pairs in multiple columns.
Refer to the installPostgreSQL.txt file included in the source code download of this chapter to install and run PostgreSQL, which should be up and running before you proceed. The source code of this chapter also includes a file named copySampleDataIntoPGS.txt, which helps you to create a database named jasperdb7 and copy sample data for this recipe into the database.
- Open the
VerticalFillWithBox.jrxmlfile from theTask3folder of the source code of this chapter. The Designer tab of iReport shows a three-column report containing data in the Title and Column Header sections, as shown below: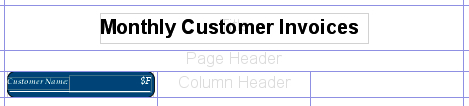
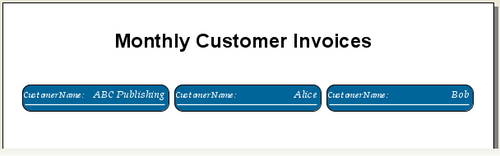
- Switch to the Preview tab and you will see a report with a title, a header, and an empty body, as shown below:
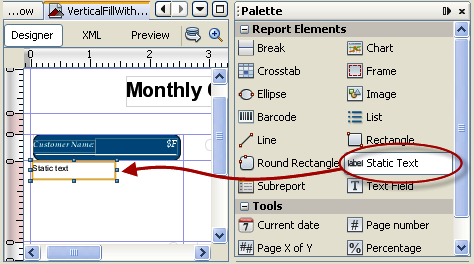
- Switch back to the Designer tab. Drag-and-drop a Static Text component from the Palette into the Detail 1 section of your report, as shown below:
- Double-click on the Static Text component in the Detail 1 section and type
Invoice Number:as its value. While the Static Text component is selected, you will see its properties appear in the Properties window below the Palette. Set70as the value of the Width property of the Static Text component. - Double-click the Fields node in the Report Inspector window on the left side of your report. The Fields node will expand to show InvoiceID, CustomerName, ProductName, InvoicePeriod, and InvoiceValue fields. Drag-and-drop a field named
InvoiceIDfrom the Fields node into the Detail 1 section on the right exactly beside theInvoice ID:static text component, as shown below: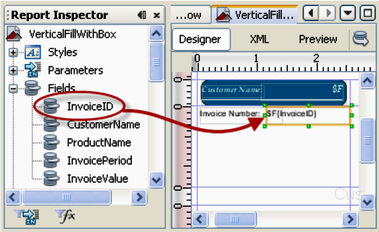
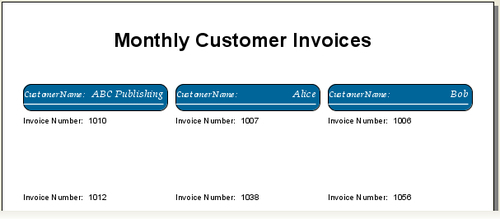
- Switch to the Preview tab and you will see that the report shows invoice numbers under customer names, as shown below:
- Drag-and-drop another Static Text component from the Palette into the Detail 1 section just touching the bottom of the
Invoice Number:static text component, as shown below. Double-click on it and typeProduct Name:as its value. Also set the Width property of the Static Text component to70.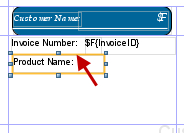
- Double-click the Fields node in the Report Inspector window. Drag-and-drop another field named
ProductNamefrom the Fields node into the Detail 1 section right beside theProduct Name:static text component, as shown below.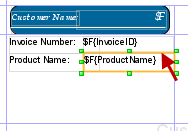
- Repeat step 7 to drag-and-drop another Static Text component, double-click on it, and type
Invoice Month:as its value. Also set the Width property of the Static Text component to70. - Similarly, repeat step 8 to drag-and-drop the
InvoicePeriodfield from the Fields node in the Report Inspector window into the Detail 1 section on the right exactly beside theInvoice Month:static text component, as shown below.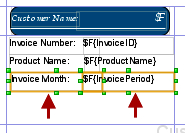
- Repeat steps 7 and 8 for the fourth pair (that is, Invoice Value) of the Static Text and Text Field components. Double-click the static text component of this pair and type
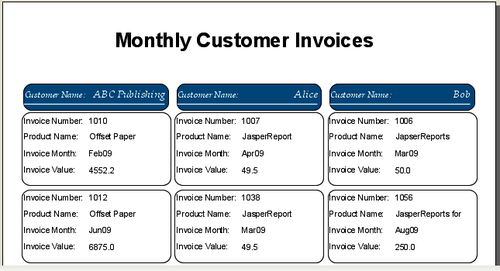
Invoice Value:as its value. Also set the Width property of the Static Text component to70. - Switch to the Preview tab and you will see that your report now shows complete invoice records as name-value pairs.
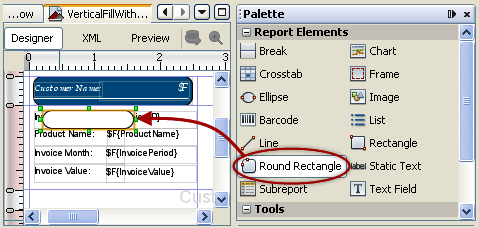
- Switch back to the Designer tab. Drag-and-drop a Round Rectangle component from the Palette into the Detail 1 section, as shown below. You will see that the Round Rectangle component is opaque, so it hides the components below it.
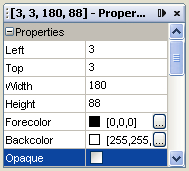
- While Round Rectangle component is selected, its properties appear in the Properties window below the Palette. Set 3, 3, 180, and 88 as values of the Left, Top, Width, and Height properties, respectively.
- Select the Opaque property and uncheck the box beside it, as shown in the following screenshot. The components below the Round Rectangle will now become visible.
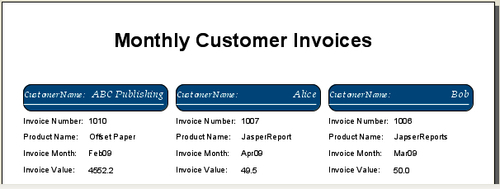
- Switch to the Preview tab. You will see that each invoice record now has a border, as shown in the following screenshot: