
JasperReports allows you to implement a nested hierarchy of groups in a report. A hierarchy means that a group will contain subgroups.
Subgroups are useful when you want to design a report with multiple levels of logical grouping. For example, a report showing all customer invoices for a particular month may contain a large number of records. You can segregate the records with customer names; that is, all invoices of a particular customer will be grouped together. This is one level of logical grouping.
Now you can introduce another level of logical grouping by further segregating all invoices of a particular customer into subgroups based on products sold to a customer. This will become the second level of logical grouping.
This recipe demonstrates how to design a report with two levels of logical grouping.
Refer to the installPostgreSQL.txt file included in the source code download for this chapter to install and run PostgreSQL, which should be up and running before you proceed. The source code for this chapter also includes a file named copySampleDataIntoPGS.txt, which helps you create a database named jasperdb2 and copy sample data for this recipe into the database.
- Open the
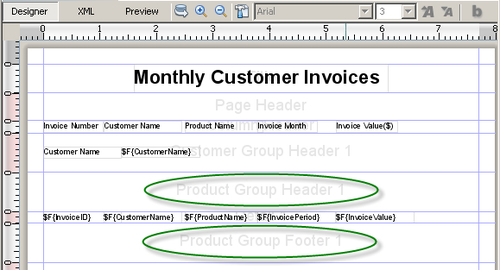
GroupInGroup.jrxmlfile from theTask5folder in the source code for this chapter. (This is the final form of the recipe Inserting a heading for a group of records of this chapter.) The Designer tab of iReport shows a report with a main title Monthly Customer Invoices, as shown in the following screenshot: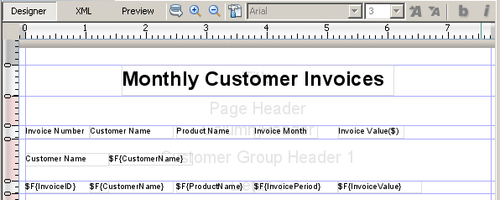
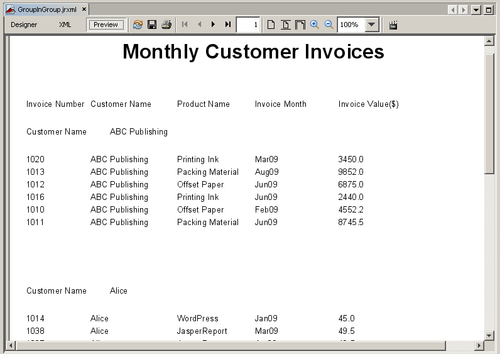
- Switch to the Preview tab to see the current preview of your report. You will see a table of records, which are grouped with customer names. The heading of each customer group is displayed before the start of each group. You will also notice that the records within a group are not arranged or grouped.
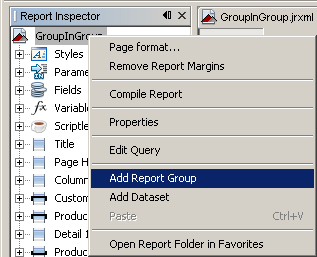
- Now we are about to arrange records within a group using a nested group. Switch to the Designer tab. Right-click on the top-most top element GroupInGroup in the Report Inspector. A pop-up menu will appear. Select the Add Report Group option from the pop-up menu, as shown in the following screenshot:
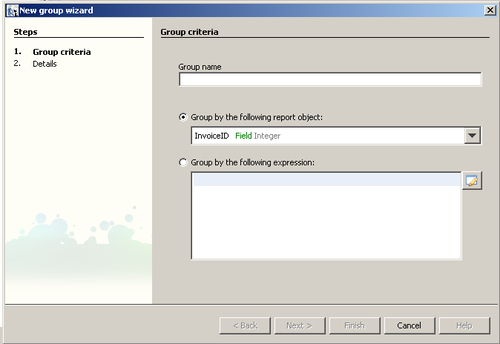
- A New group wizard dialog will appear, as shown in the following screenshot:
- Type
Productin the Group name and select ProductName Field in the Group by the following report object: option, as shown in the following screenshot:
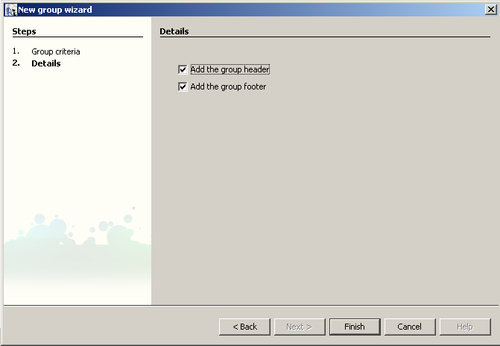
- Click the Next button, and the dialog will change, as in the following screenshot:
- Click the Finish button to dismiss the dialog. You will notice that Product Group Header 1 and Product Group Footer 1 sections have been added into your report, as shown in the following screenshot:
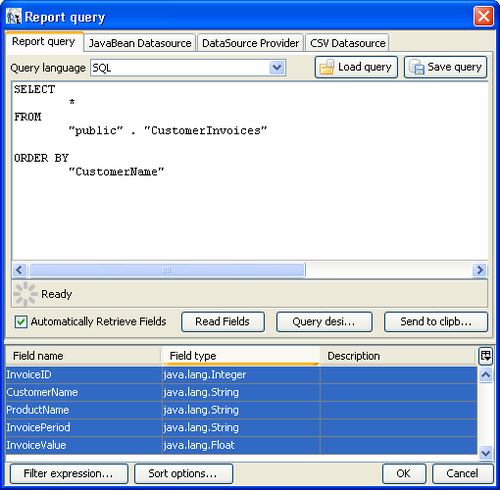
- Click the Report query button at the top of the report window (on the right side of the Preview tab). You can find it by its icon. It is similar in shape to a standard database icon As you click on this button, a Report query dialog will appear, as shown in the following screenshot:
- In the query editor bring your cursor to the end of the text
ORDER BY "CustomerName"and type, "ProductName". Click the OK button to dismiss the dialog, as shown in the following screenshot: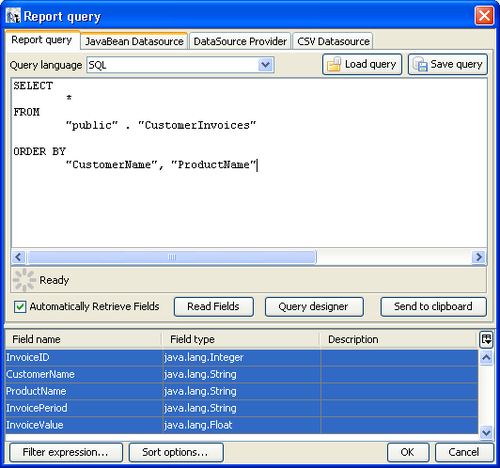
- Select the
ProductNametext field component from the Detail 1 section of your report and right-click on it and select the Copy option from the menu, as shown in the following screenshot: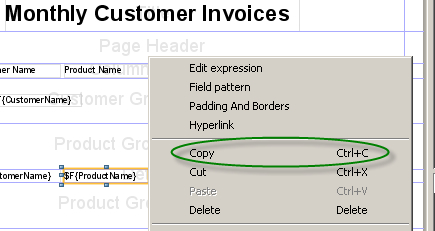
- Go to the Product Group Header 1 section of your report. Right-click anywhere on the whitespace of the section and select the paste option from the menu. A copy of the
ProductNametext field component will be generated in the section. Align the text field component to the top-middle position in the Product Group Header 1 section, as shown in the following screenshot: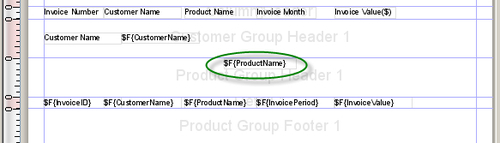
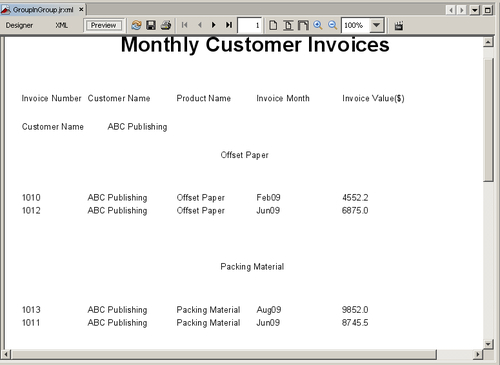
- Switch to the Preview tab to see a preview of your report. You will see a grouping of records based on customer names and inside the customer group a grouping based on product names. A heading for each product group is also used for distinction, as shown in the following screenshot:
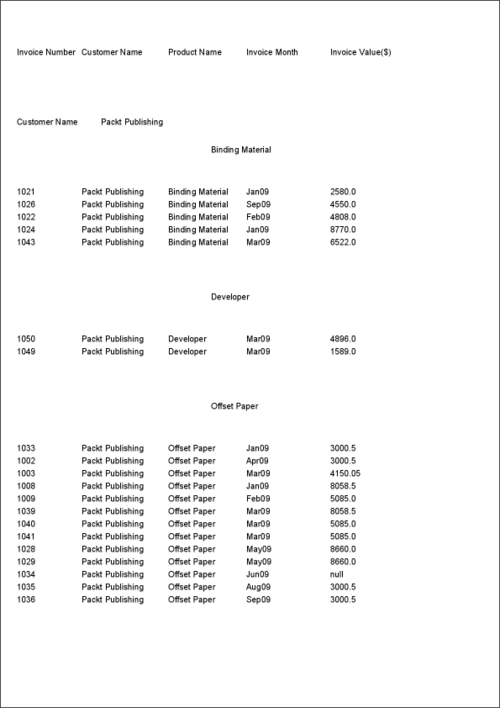
- Navigate through all the pages. You will notice that all product names are grouped under the main grouping of customer names, as shown in the following screenshot:
The nested group that you formed in this recipe is similar to the group described in the Inserting a heading for a group of records recipe of this chapter. The only difference is that the nested group formed in this recipe is based on product names, whereas grouping in the original (Inserting a heading for a group of records) recipe is based on customer names. This recipe actually fits product name grouping as a nested group inside customer name grouping.
You can learn how the grouping works from the earlier Inserting a heading for a group of records recipe.