Sometimes, you may want to present your report with a background image spanning the entire report, such as a company theme image or a watermark. Such background images are frequently used by companies for several purposes, such as to mark the status of a document (for example, whether the document is a draft or an approved version) or to avoid tampering of a document.
In this recipe, you will learn how to insert a background image into your report.
Refer to the installPostgreSQL.txt file included in the source code download for this chapter to install and run PostgreSQL, which should be up and running before you proceed. The source code for this chapter also includes a file named copySampleDataIntoPGS.txt, which helps you create a database named jasperdb3 and copy sample data for this recipe into the database.
- Open the
Background_Images.jrxmlfile from theTask6folder in the source code for this chapter. The Designer tab of iReport shows a report, as shown in the following screenshot:
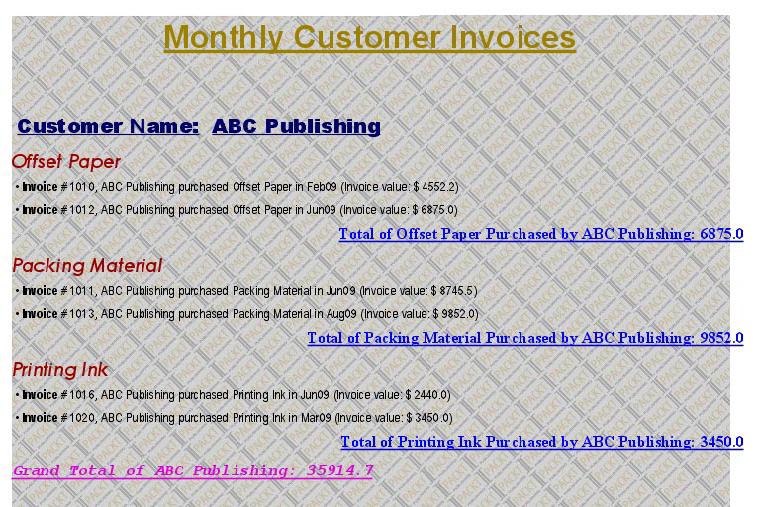
- Switch to the Preview tab. You will see a report with invoices grouped based upon customer names. For each customer, you will notice that invoices are grouped based upon product names, forming a nested hierarchy. In this way, the report categorizes all invoices by product for each customer.

- Now you will insert an image into your report, which will serve as the background. Switch back to the Designer tab.
- The left-most part of the main iReport screen is a Report Inspector window, which shows a tree with many nodes. The last node is named Background. Right-click on the Background node, and a pop-up menu will appear. Select the Maximize Background option from the pop-up menu, as shown in the next screenshot. A new section named Background will appear below your report in the Designer tab.

- Drag-and-drop an Image component from the Palette into the Background section of your report. The Select an image file. dialog will appear, from where you will browse to a background image named
PacktWaterMark.jpg, which you will find in theTask6folder of the source code for this chapter. After selecting the image file, click on Open. You will see a picture box with a background image added into the background section.
- To align the image component in the Background section, right-click on the Image component. A pop-up menu will appear; select the Size option from the pop-up menu, and a sub pop-up menu will appear. Select the Adapt to parent option from the sub pop-up menu, as shown in the following screenshot. The Image component will occupy all the available space in the Background section.

- Switch to the Preview tab. You will see a report with a background picture, as shown in the next screenshot. Note that the image you see in the background of your report can also serve as a watermark.