
Large multi-page reports normally require comprehensive pagination schemes. For example, a report may be split into sections and you may require complex pagination, which gives both section-specific and report-level page numbering.
This recipe teaches you how to implement two separate and independent page numbering schemes in the same footer. One scheme works on an individual section of a report, while the other works on the complete report. You will design the page numbering of a customer invoices report. The page numbering will cover the total report as well as page numbering for individual customers.
Refer to the installPostgreSQL.txt file included in the source code download of this chapter to install and run PostgreSQL, which should be up and running before you proceed. The source code of this chapter also includes a file named copySampleDataIntoPGS.txt, which helps you create a database named jasperdb6 and copy sample data for this recipe into the database.
- Open
2DPageCount.jrxmlfile from theTask5folder of the source code of this chapter. The Designer tab of iReport shows that the report contains a title, a page header, and an empty page footer, as shown: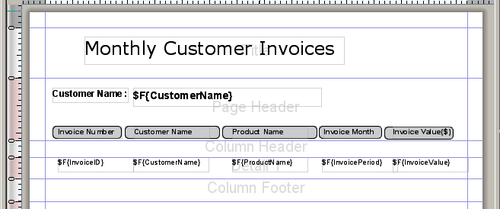
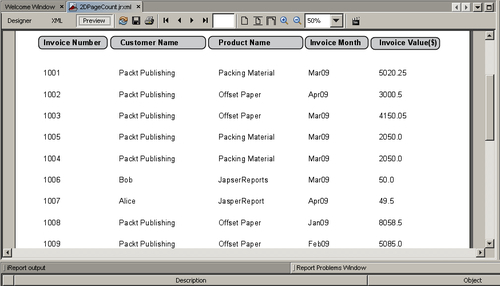
- Switch to the Preview tab to see the preview of your report. You will see a random arrangement of records, as shown in the following screenshot:
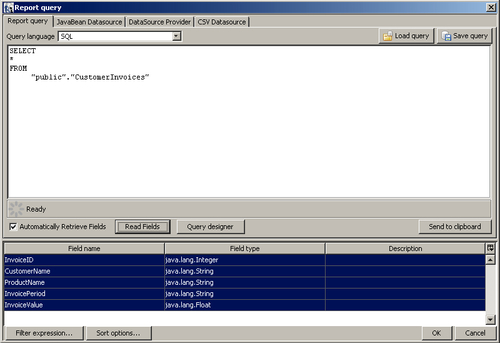
- Switch to the Designer tab. Press the Report query button at the top of the report window. A Report query dialog will appear.
- While your cursor is in Query editor, press the Enter key to bring it to the next blank line type
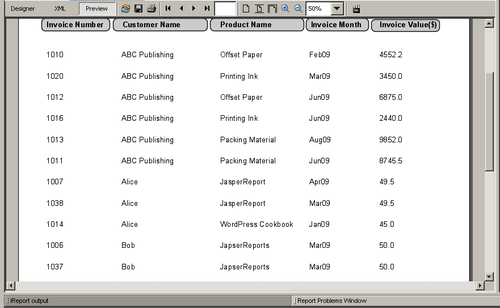
Order By "CustomerName,"and click the OK button. - Switch to the Preview tab to see the preview of your report. You will see that records are now arranged by order of Customer Name, as shown in the next screenshot:
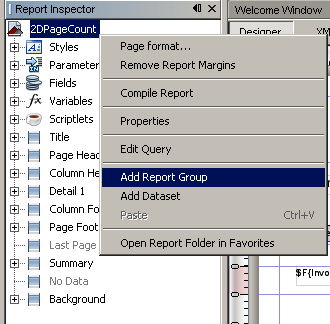
- Switch to the Designer tab. Right-click on the top-most element, 2DPageCount, in the Report Inspector and click on Add Report Group.
- A New group wizard dialog box will appear.
- Type
Customeras the Group name and selectCustomerName Fieldas the Group by the following report object: option.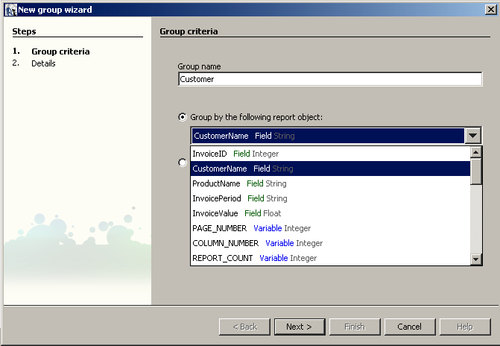
- Press the Next button and the dialog will change as below:
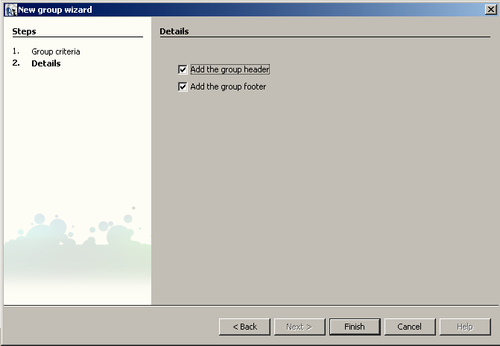
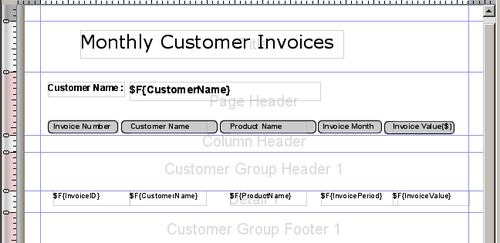
- Press the Finish Button to dismiss the dialog. You will notice that Customer Group Header 1 and Customer Group Footer 1 sections have been added into your report.
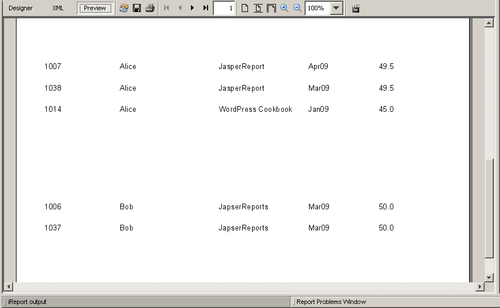
- Switch to the Preview tab to see the preview of your report. You will see clear grouping of records based on customer name separated by wide spaces, as shown in the following screenshot:.
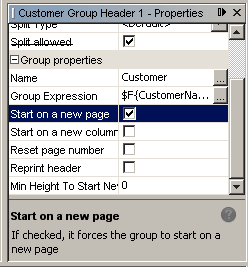
- Switch to the Designer tab. Click on the Group Header 1 section of your report, go to the Group properties section of Properties below Palette, and select the Start on a new page property. Mark the checkbox beside it.
- Switch to the Preview tab to see the preview of your report. Press the Next Page button at the top of your report to navigate through all pages of your report. You will notice that each customer group starts with a new page.
- Switch to the Designer tab. Right-click on the Variables section of the Report Inspector and click Add Variable.
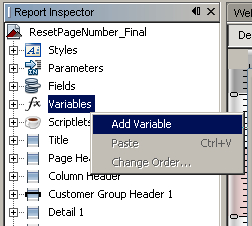
- A new variable, variable1, will be added to the variable list.
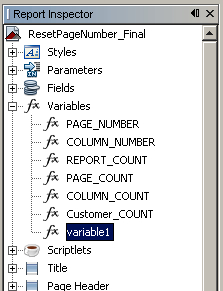
- While variable1 is selected, go to Properties below Palette to change the properties of variable1. Select Name and change it to
GroupPageCount. - Select Variable Class and change it to
java.lang.Integer. - Select Calculation and change it to
Count. - Select Reset Type and change it to
Group. - Select Increment type and change it to
Page.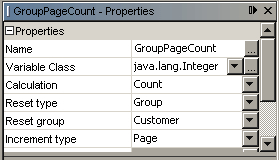
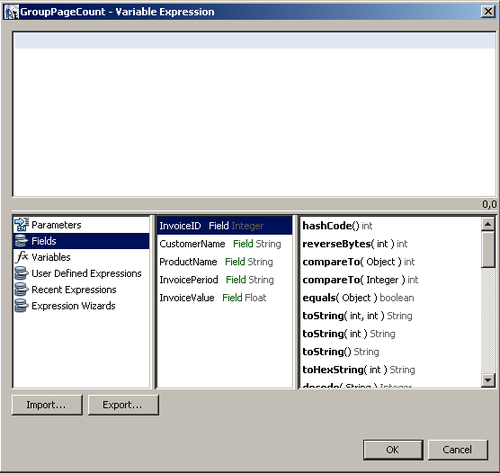
- Select the Variable Expression property (from the Properties window below the Palette of components) and press Ctrl + Space Bar. A GroupPageCount Variable Expression dialog box will appear, as shown in the next screenshot:
- Click Variables in the first column of the lower-half of the Expression editor window. This will list all variables in the adjacent second column. From the list of variables, select the
GroupPageCountVariable and double-click on it. This will set$V{GroupPageCount}in the Expression editor, as shown in the following screenshot: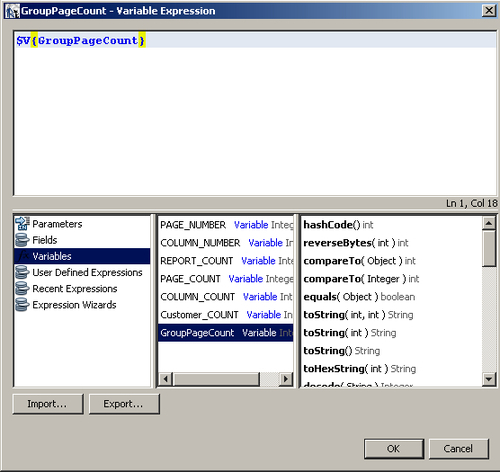
- Click the OK button to dismiss this dialog.
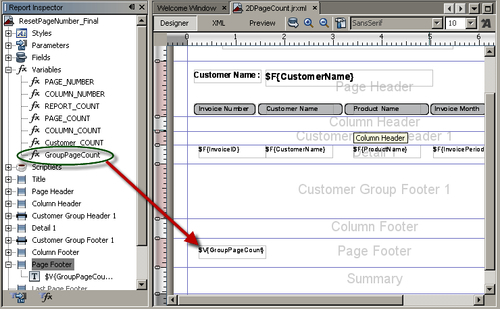
- From the Variables section of the Report Inspector, drag GroupPageCount and drop it into the Page Footer section of your report, as shown in the next screenshot:
- A Text Field component with an expression
$V{GroupPageCount}will appear in Page Footer section of your report. Double-click the Text Field component and replace$V{GroupPageCount}with"Page "+$V{GroupPageCount}+" of"+$F{CustomerName}. - Enlarge the rectangular boundary of the Text Field component by dragging one of its corners, as shown in the following screenshot:

- While the Text Field component is selected, go to the Text field properties section of Properties below Palette. Select the Expression Class property and change it to
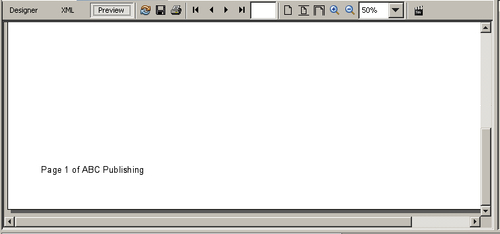
java.lang.String. - Switch to the Preview tab and scroll the vertical scroll bar down until you see Page 1 of ABC Publishing at the bottom-left corner of your report.
- Switch to the Designer tab. Drag a new Page X of Y component from the Tools section of the Palette and drop it into the Page Footer section of your report. This will add two Text Field components into the Page Footer section of your report. The first component will have an expression
"Page "+$V{PAGE_NUMBER}+" of"and the second component will have an expression" " + $V{PAGE_NUMBER}. - Select both the Text Field components you just dropped into the Page Footer section of your report by holding down the Ctrl key and left-clicking them one by one. Now release the Ctrl key and align the components horizontally and vertically to the top-right position in the Page Footer section of your report using the arrow keys of your keyboard, as shown in the following screenshot:

- Switch to the Preview tab to see the preview of your report. You will see Page 1 of ABC Publishing at the bottom-left and Page 1 of 5 at the bottom-right of your report.

- Press the Next Page button at the top of your report to navigate through all pages of your report. You will see page numbers Page 1 of 5, Page 2 of 5, Page 3 of 5, Page 4 of 5, and Page 5 of 5, respectively at the bottom-right of each page and Page 1 of ABC Publishing, Page 1 of Alice, Page 1 of Bob, Page 1 of Packt Publishing, and Page 2 of Packt Publishing, respectively at the bottom-left of each page. You will notice that your page count at the right-hand side counts pages for the complete report, while on the left-hand side, you are displaying the page count for a group.
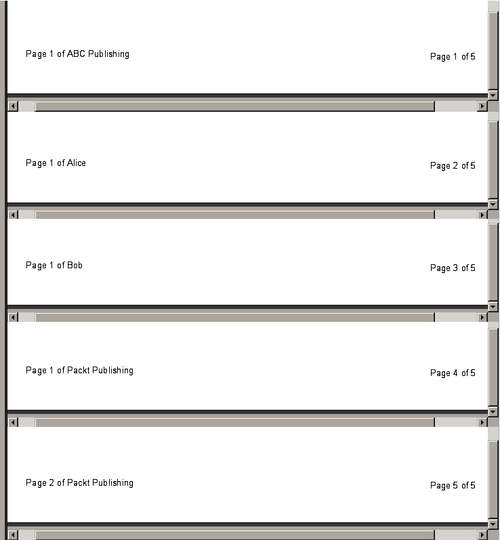
In this recipe you have used the Page X of Y component in step 29 for normal page numbering (displayed in the right-bottom corner of the report) and a user-defined variable GroupPageCount for counting page numbering for a group. This group page numbering starts from 1 each time a new customer group starts.
Page X of Y component is actually a collection of Page number and Total pages components. So when you dropped the Page X of Y component, iReport inserted two Text Field components into the Page Footer section of your report. The first Text Field component (Page number) had Now as the value of its Evaluation Time property, which means the value of this Text Field will be evaluated at the moment when the footer is being displayed. Therefore the first Text Field component will always hold the current page number.
On the other hand, the second Text Field component had Report as the value of its Evaluation Time property, which means the value of this Text Field will be evaluated at the end of the report. Therefore the second Text Field component will hold the total page count of the report.
For counting page numbers in a group, we used the GroupPageCount variable. In steps 18 and 20 you changed the value of its Calculation property to Count and Increment type property to Page, which together make a page counter. In this way the GroupPageCount variable increments itself with every page change. Moreover, we changed its Reset type property to Group, which makes it reset each time a group changes. For more details about using user-defined variables, refer to Chapter 9 of this book, where we have explained in detail the functionality of user-defined variables.