Chapter 2: Introduction to Sanity
Throughout this book, we will build a news and events website and make use of Sanity.io as a structured content framework. We will explore how to create and manage content and new types of content by adding custom fields, defining validation rules for the fields, and customizing Sanity Studio. We will also learn how to source our content to a frontend framework through the Graph-Relational Object Queries (GROQ) Sanity.io query language and GraphQL.
We will make use of JavaScript React-based Gatsby as our frontend framework and we will run through the components of the framework, showing how to manage routes, pages, and single components such as images, calendars, forms, listings, and more.
We will host the application on Netlify, which is a platform for automating the deployment of web projects. We will manage our code through the GitHub distributed source code versioning system and connect it to Netlify, in order to trigger automated deployment every time we add a new feature to our code repository.
This chapter will cover the following main topics:
- Account setup
- Introduction to Sanity.io
- Creating a project
- Introducing Sanity Manage
- Sanity Studio overview
Technical requirements
You will require the following things to understand this chapter:
- A GitHub account
- A Sanity Studio account
- A Netlify account
The code for this chapter can be found at https://github.com/PacktPublishing/Jumpstart-Jamstack-Development/tree/chapter_two.
Account setup
The first step required is to create an account on the Sanity.io website (https://www.sanity.io). A Sanity account may be set up at the start of the project creation. The three different methods for creating an account are with a Google account, a GitHub account, or simply with an email and password. Next, we create an account on the Netlify website (https://app.netlify.com/signup). There are four methods that may be used for account creation: GitHub, GitLab, a Bitbucket account, or email and password. We will be using GitHub as it is the most convenient option. Finally, if not already created, create an account on the GitHub website (https://github.com/join). A username, email address, and password are required.
At the time of writing, all three services use the freemium model and thus provide a generous free plan for use with small projects.
Introduction to Sanity.io
Sanity.io is a data storage service where you can manage content, making use of Sanity's Application Programming Interfaces (APIs), tools, and libraries. You can easily build a centralized content repository for your projects.
Sanity at its core is the data store and its query language is GROQ.
Since Sanity Studio is an open source single-page application, it can be freely modified and themed. Built using the JavaScript language, you can easily define your content structure. Then, using the ReactJS library, you are able to extend Sanity Studio's functionality with your own ReactJS components. Also, Sanity Studio enables workflow personalization for a project's content editors. Since Sanity Studio uses npm, you may contribute a plugin by creating a public package hosted on https://www.npmjs.com/, to extend its functionality.
Sanity's content is stored and accessed via its data store, which is accessible using either the Sanity.io client library or via a HyperText Transfer Protocol (HTTP) API call. Sanity.io manages the data store, which is cloud-hosted.
What is GROQ?
GROQ is a query language created by Sanity. It is used to retrieve information from the data store. GROQ is easy to learn and powerful—for example, different sets of documents can be queried into a single response.
Now that we have a high-level overview of Sanity.io, we will create our first project.
Creating a project
After you have successfully created accounts on Sanity.io, GitHub, and Netlify, we can begin with the project creation, using the Sanity.io Blog with Gatsby starter project.
The Uniform Resource Locator (URL) for Sanity.io project creation is https://www.sanity.io/create.
Click on the Create project link, as shown in the following screenshot:
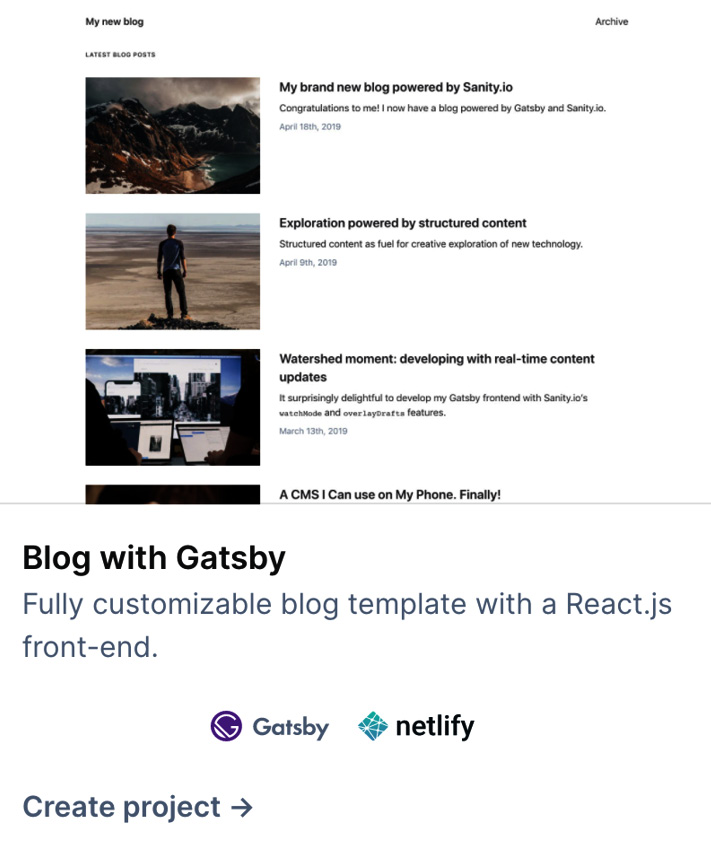
Figure 2.1 – Sanity create page
There are three steps to complete for creating our very first project, as follows:
- Log in to your Sanity.io account using one of the aforementioned methods, and add the Project title. Sanity needs this section to create a new Sanity project for you. We can set the Project title as <Your Name> hands-on Jamstack. The following screenshot shows an example of this:
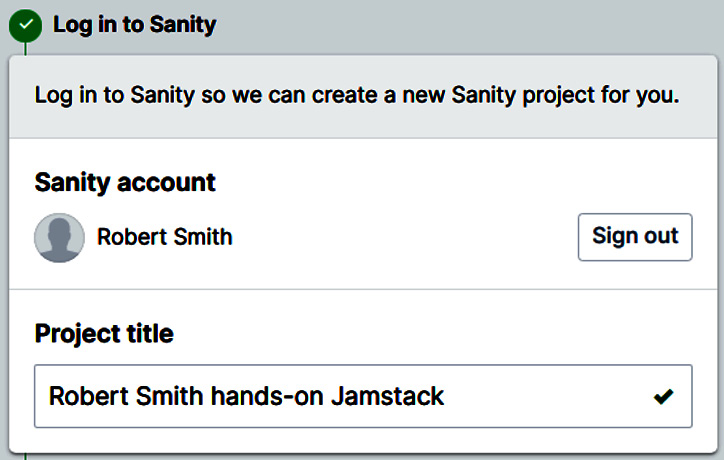
Figure 2.2 – Connect to Sanity.io
Sanity will create a repository for the project. Click the Sign In button to connect to your GitHub account and rename the repository as your-name-hands-on-Jamstack.
Note
You cannot have any spaces in the name.
Optionally, you may set it as a private repository. On each git push to the remote repository, the website will be automatically redeployed, as illustrated in the following screenshot:
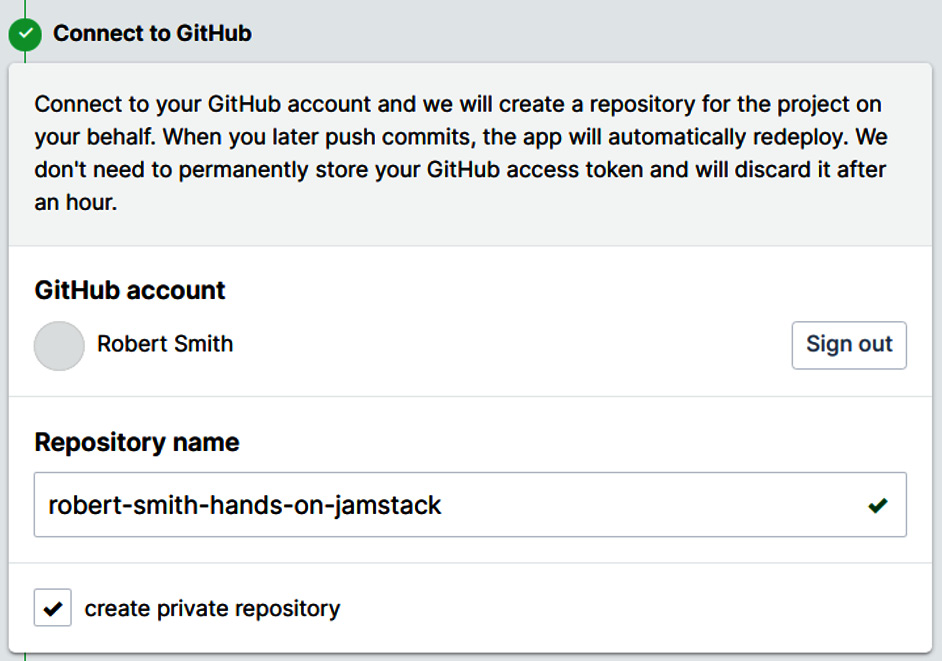
Figure 2.3 – Connect to GitHub
Sanity will automatically deploy your application to Netlify and make it available to the web.
- Click the Connect button to connect to your Netlify account, and we are ready to go! You should see the following message:
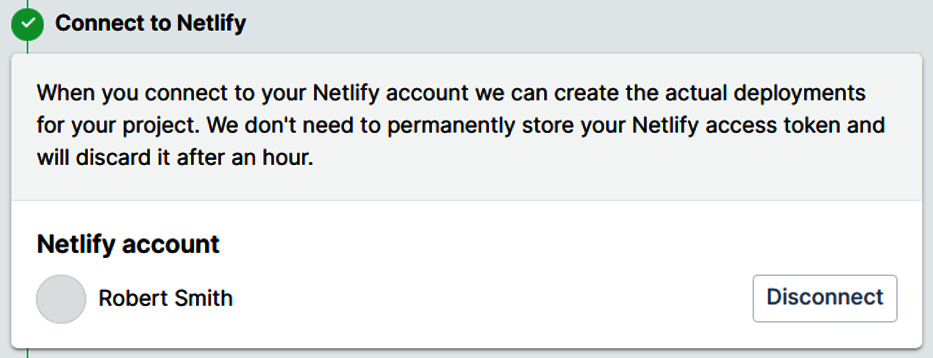
Figure 2.4 – Connect to Netlify
- Now, press the Create project button, as illustrated in the following screenshot, and in a short amount of time the project will be set up:

Figure 2.5 – Create project
Once the project is created, Sanity will deploy two web applications to Netlify.
The first web application is the frontend website driven by Gatsby that connects to the Sanity-hosted backend.
The URL structure format is as follows:
https://website-name.netlify.com
You can see that it takes the form of the project name plus the Netlify domain.
The other web application is Sanity Studio, where we can manage the content. The URL structure format is as follows:
https://website-name-studio.netlify.com
You can see that it takes the form of project name, a dash, the word studio, and then the Netlify domain.
Let's start exploring Sanity.
Introducing Sanity Manage
Let's start by looking at the Sanity.io project we have just created. Log in to your Sanity.io account by clicking on the Log in link on the Sanity.io website, as shown in the following screenshot:
Figure 2.6 – Log in link
After logging in, you should be able to see a list of your projects. From the top menu, you will also have the option to create a new team and the option to create a new project as illustrated in the following screenshot:
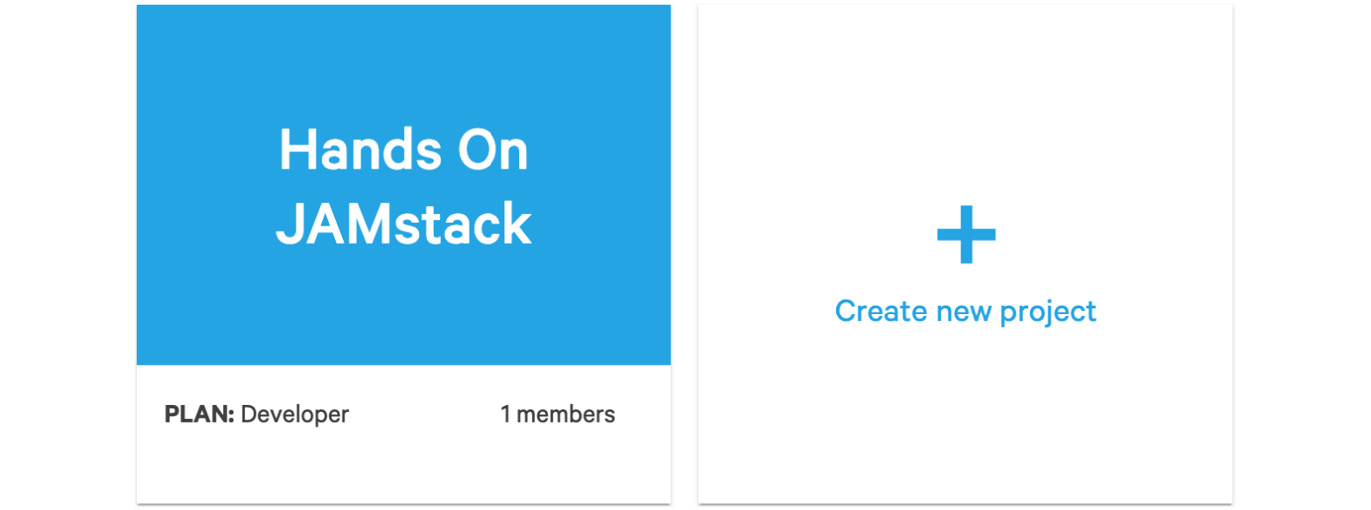
Figure 2.7 – Sanity.io Manage landing page
Click on the project's rectangular block, and let's have a look at the project pages.
Sanity.io project pages
From this section, you can manage your Sanity.io project. Under the top menu, you can find the section with project’s Sanity Studio details such as URL, PROJECT ID, and PLAN will always be visible across all the pages of the project as illustrated in the following screenshot:

Figure 2.8 – Sanity menu header
Under this top menu, there is a second-level menu with various aspects of the project, as illustrated in the following screenshot:

Figure 2.9 – Second-level menu
There are five sections to be explored. Let's take a look at each one in turn.
Usage
In this section of the page, the resource usage presented as bandwidth in kilobytes (KB), megabytes (MB), or gigabytes (GB) for this project is shown.
There are currently seven charts available, with the following data:
- Resource Usage:
Document used (a donut chart)
Assets used (a donut chart)
- Usage this month:
Bandwidth (an area graph)
API Requests (an area graph)
API CDN Requests (an area graph)
- Asset and document history:
Documents (an area graph)
Assets (an area graph)
Bandwidth, document, and request statistics are updated once every hour. Asset statistics are updated once a day.
Members
On the Members page, all members of the current project are displayed. Here, users may invite and remove members, depending on their role. When adding a new member, they may choose the type of access level for this member.
There are three permissions that can be set, as follows:
- Administrator: A user with this role can fully manage the current project and its aspects.
- Read + Write: A user with this role can read from and write to all datasets of the current project.
- Read: A user with this role can only read from all datasets of the current project.
Datasets
From this section, you may view and remove datasets. Datasets are where data is stored. A project may have more than one dataset, depending on the project's needs. The Developer account is limited to two accounts.
Settings
From this section, you can manage the General settings and API of the current project.
General settings include the following:
- Organization
- Project Name
- Project Color
- Custom Studio URL
You can also disable or delete a project. When you disable a project, it can be re-enabled at any time without data loss.
When you delete a project, all the documents, assets, and users related to the project will be removed. Note that this action cannot be undone.
From this section, you may also view and modify your current plan. Depending on your needs, you can choose a different plan. For this project, though, the free plan Developer is amply sufficient, providing up to three users.
Let's explore the API settings, in the following subsections.
CORS Origins
In this subsection, you can add and remove hosts that can connect to the project API. The localhost:3333 host is automatically added. localhost:3333 is our local development environment URL. The Gatsby application URL and Sanity Studio application URL hosted on Netlify are also automatically added to the CORS Origins list.
In this way, we allow our local development environment and the applications hosted on Netlify to access our Sanity API.
Every time we want to let a new application communicate with the Sanity API, we do this by simply adding the application URL to our CORS Origins list, which is as follows:
- Token: A token is used by robots to query the project API.
- Webhooks: Webhooks are called when an action is triggered. For example, when content is changed, we can call a given URL to perform an action such as a notification.
Now that we know how to change the configuration of our application, let's see how we can add content through Sanity Studio.
Sanity Studio overview
The starter project is a blog site where a user may add the following:
- Blog posts
- Authors
- Categories
Throughout this book, we are going to extend this functionality by creating a news and events website, adding new types of content and new types of fields.
We will manage the application settings and content from Sanity Studio.
Click on the Studio link from the Sanity Studio details section given below the top-level menu.
The first screen contains the Sanity Studio Dashboard, where there are some useful widgets that we are going to explore now.
Navigation
From the Navigation menu, all sections of Sanity Studio may be accessed, as illustrated in the following screenshot:

Figure 2.10 – Sanity Studio navigation menu
Clicking on the Pencil sign will open a pop-up where you can choose to add a Blog post, an Author, or a Category.
From the Search field, you can look for any Blog post, Author, and Category.
Dashboard and Desk are the two main sections of the application. Let's discuss these in detail.
Dashboard
In the Dashboard section, we have shortcuts divided in blocks that link to all the sections included in Sanity Studio.
Edit your content
From this shortcut, the user has access to subpages of the Desk section, such as the following:
- Settings
- Blog posts
- Authors
- Categories
Netlify sites
This block lists the Netlify sites created for a project. We can click View or Admin to perform operations on our application. If any website content is changed, a deployment may be triggered by clicking on the Deploy button.
Sanity Studio is the application we are currently using, and Blog Website is our blog application.
Project info
This block lists all information relating to Sanity projects, as follows:
- Project ID
- Dataset
- Frontend
- GROQ
- GraphQL
- GitHub repository
Project users
Similar to the Team section of the Sanity Manage page, Project users lists all the current project's users.
Recent blog posts
As the block title indicates, a list of five recent blog posts will be shown here. Clicking on each blog post title will bring you to the Edit page for that specific blog post.
Desk
From the Desk section of Sanity Studio, the settings and content may be managed.
Settings
The application comes with some basic settings that we will extend during this book.
Basic settings include the following:
- Title
- Description
- Keywords
- Author
Blog posts
A blog post is a piece of content created by an author. It comes with some preconfigured fields, such as the following:
- Title
- Slug
- Published at
- Main image
- Excerpt
- Authors
- Categories
- Body
Authors
Authors are the creators of a piece of content, such as a blog post. Similar to Blog post, this section has preconfigured fields, such as the following:
- Name
- Slug
- Image
- Biography
Categories
Categories are used to categorize a piece of content. A category may be also used to filter content during a search.
As with the Blog posts and Authors sections, it has a few predefined fields, namely Title and Description.
Summary
In this chapter, we were introduced to Sanity.io. Through Sanity's Create tool we have created a new application hosted on Netlify using the Sanity user interface, and we have hosted our code base on GitHub. We explored how to manage a Sanity application and Sanity Studio's Dashboard capabilities.
In the next chapter, we will explore the example content, and learn how to delete, modify, and create new content using the Sanity Studio Desk.