
- Go to www.github.com/twittem/wp-bootstrap-navwalker, and we'll just go ahead and download the ZIP file. Open the ZIP file, and you'll see a folder with the PHP file inside it:

- Let's open up our project folder. We will copy the PHP file into our folder.
- Open the functions.php file and we want to include the wp_bootstrap_navwalker.php file as shown:
      <?php

      require_once('wp-bootstrap-navwalker.php');

      function theme_setup(){
          // Featured Image Support
          add_theme_support('post-thumbnails');
      }

      add_action('after_setup_theme', 'theme_setup');
As you can see we have require_once() with wp_bootstrap_navwalker.php. Save it.
- Go back to the GitHub page where we'll now deal with the usage. We want to use the wp_nav_menu() function inside of our navbar. For that, let's copy the highlighted part:

- Go into our header file where our navbar is, go down into the div where we have the collapse class, and we will paste the code as shown in the following code block:
      <div class="collapse navbar-collapse"
        id="bs-example-navbar-collapse-1">
         <?php
            wp_nav_menu( array(
            'theme_location' => 'primary',
            'depth' => 2,
            'container' => 'div',
            'container_class' => 'collapse navbar-collapse',
            'container_id' => 'bs-example-navbar-collapse-1',
            'menu_class' => 'nav navbar-nav',
            'fallback_cb' => 'WP_Bootstrap_Navwalker::fallback',
            'walker' => new WP_Bootstrap_Navwalker(),
          ));
       ?>
       <form class="navbar-form navbar-left">

       </form>
       </div>
- This basically defines a bunch of options for us. We don't need all of them. We will get rid of a few things. Here is the updated code:
      wp_nav_menu( array(
          'theme_location' => 'primary',
          'depth'          => 2,
          'container'      => false,
          'menu_class'     => 'nav navbar-nav',
          'fallback_cb'    => 'wp_bootstrap_navwalker::fallback',
          'walker'         => new wp_bootstrap_navwalker())
      );
We have the theme_location, which is primary, and depth is 2. We have set container to false. Get rid of the quotes, container_class or a container_id. Now save it.
- Now go back to functions.php. Let's register our nav menus now by adding the following code:
        // Nav Menus
        register_nav_menus(array(
            'primary' => __('Primary Menu')
        ));
      }

      add_action('after_setup_theme', 'theme_setup');
Inside this theme_setup, we have register_nav_menus() and that's going to take in an array, which will be called primary. We'll then set that to __() and then the readable name will be Primary Menu. We'll save that.
- Let's go back into the backend and go down to Appearance. You will see the Menus option:

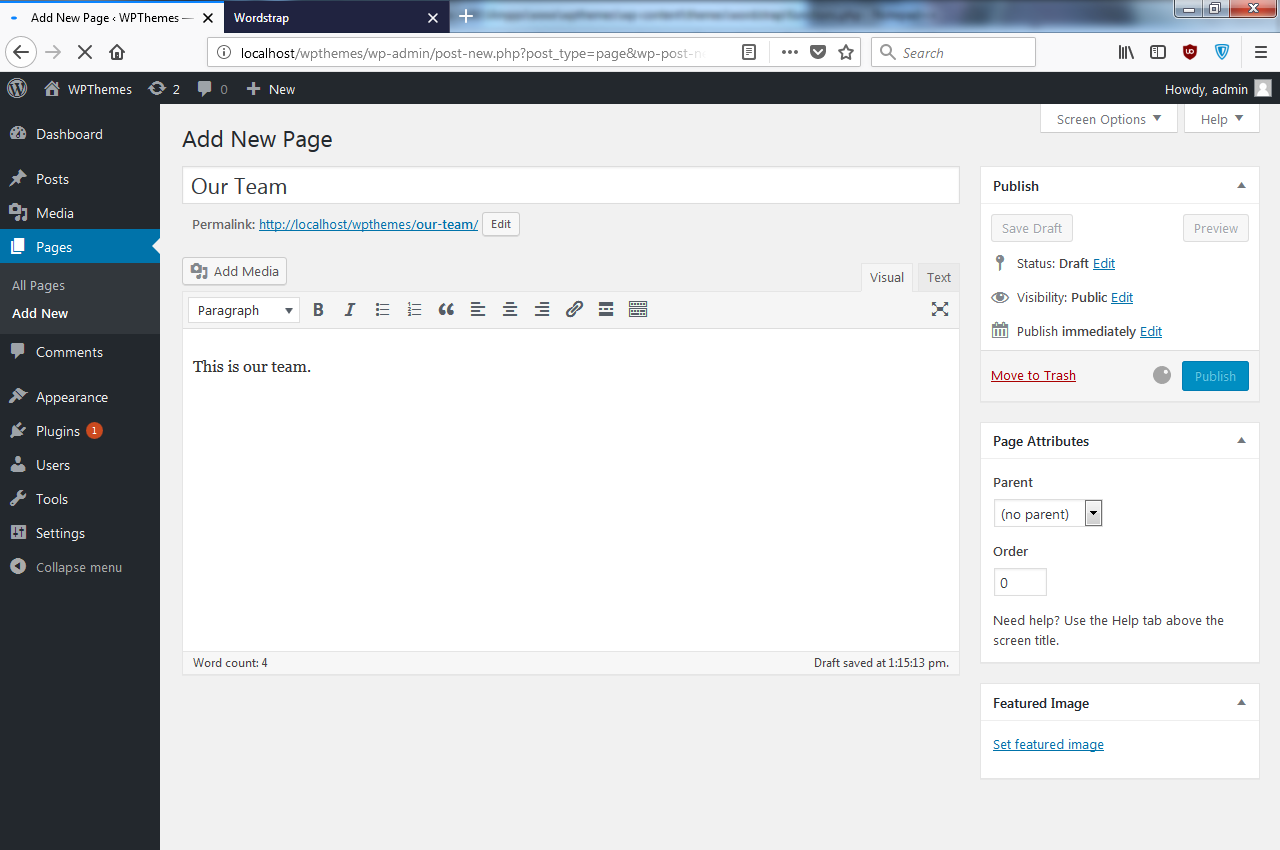
- Now create an extra page called About and click on Publish. Let's create one more and we'll call this Our Team:
- Go back to the Menus page and let's take a look at this menu. Let's go ahead and click on Create Menu:

- Ensure that you check the Primary Menu option and then save it:

- Go to our frontend and reload. You will now see we have our menu and it works:

- Now let's test out the drop-down functionality. All we need to do is select Sample Page and Our Team, and place them right under About as shown in the following screenshot:

- Save the menu, go back, and now we have a drop down:

So you can see how easy that was to implement a navbar, and this is definitely something that you could use in other projects as well, any Bootstrap WordPress theme.