
Let's now get the sidebar set up so that we can add sidebar widgets:
- In the functions.php file underneath the add_action(), we will create a function called init_widgets() and that's going to take in an id. We will add register_sidebar() and that's going to take in an array. And then we have a bunch of options, so let's add 'name' => 'Sidebar' and 'id' => 'sidebar'.
      // Widget Locations
      function init_widgets($id){
          register_sidebar(array(
              'name' => 'Sidebar',
              'id'   => 'sidebar'
          ));
      }
We can also include other things here; for instance, we can add 'before_widget':
      'id' => 'sidebar',
      'before_widget' => '<div class="panel panel-default">'
Now what this does is it allows us to insert code right before the widget renders. We'll need this because we want our widgets to render inside Bootstrap panels, so we need to include the panel classes. We can see we have a div with a class of panel, and also panel-default.
- Let's then add 'after_widget' and that's just going to be two ending div tags:
'after_widget' => '</div></div>',
We now also have the ability to add content before and after the title.
- To use this, we'll use 'before_title' and this is going to have a div with the class of panel-heading. We also want the <h3> tag, and we'll give that a class of panel-title:
      'before_title' => '<div class="panel-heading">
        <h3 class="panel-title">',
- Finally, we'll add 'after_title' with ending </h3> and </div>, and then we also want the start of the panel-body class:
'after_title' => '</h3></div><div class="panel-body">'
- Now we need to add an action, so we'll place add_action(). The hook will be widgets_init with the function init_widgets:
add_action('widgets_init', 'init_widgets');
- Save it. If we now go to the backend and reload the page, you should now have a Widgets option under Appearance, and you should also see Sidebar:

- Now let's bring over Categories, and hit Save:

- Let's see if those render:

So now we have our categories and you can see that now we have the panel around it as well.
- Let's also bring over Recent Posts, change Number of posts to show to 3, and bring over Recent Comments:

- Let's take a look at our page now:
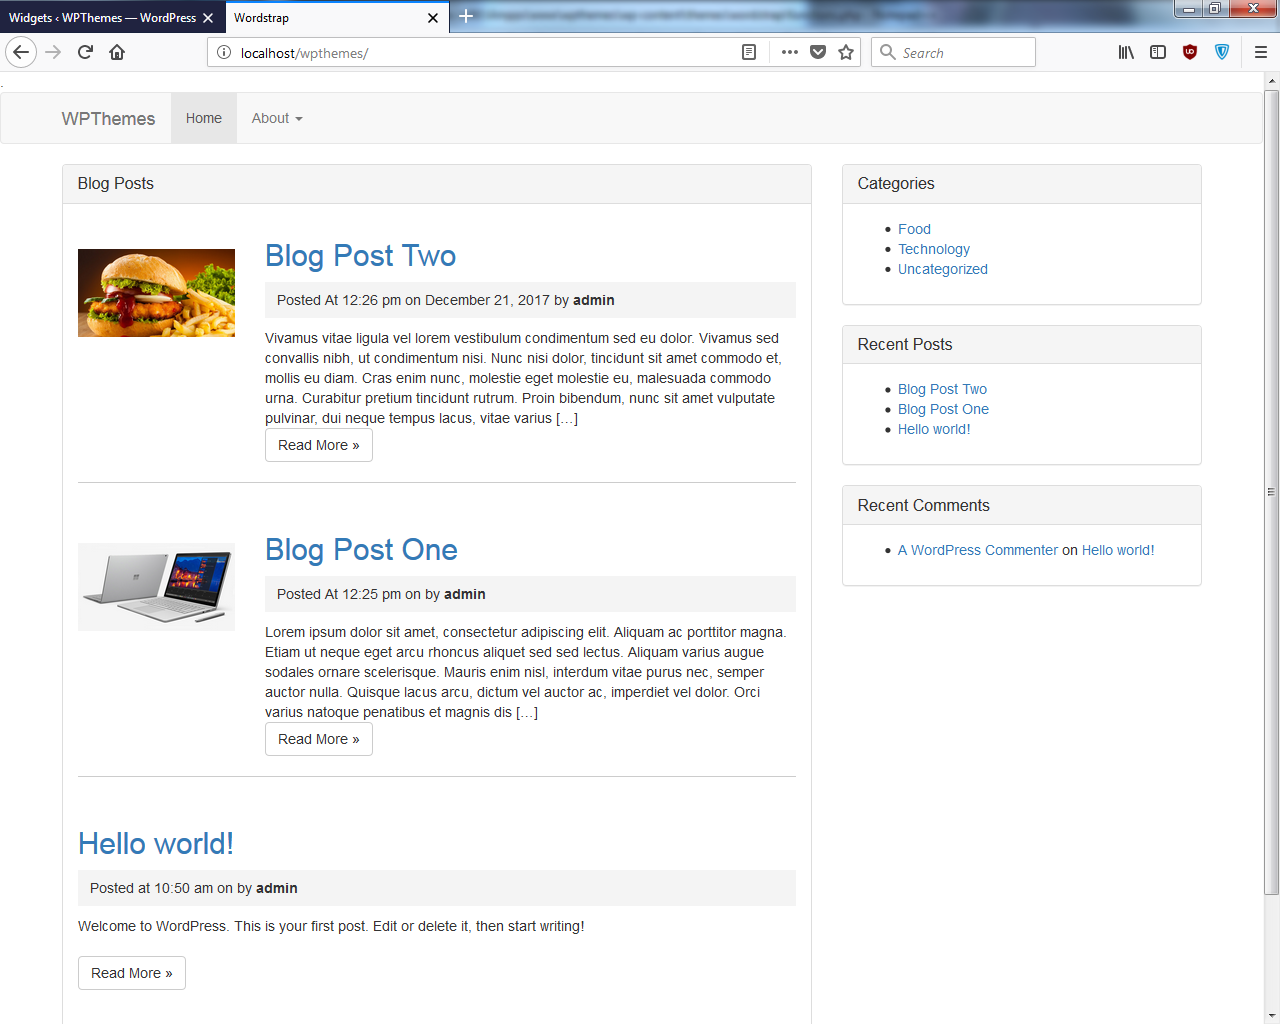
And there they are! Now we have an issue because I want the categories to show up as list groups, which are formatted better than this. They take away the bullets, add some padding, and add some borders. So what we'll need to do is create our own version of these widgets inside our theme folder.
- Inside the theme folder, we'll create another folder called widgets. We'll go to this folder through the file manager. Now go to wp-includes | widgets. You'll see all of the core widget files here:
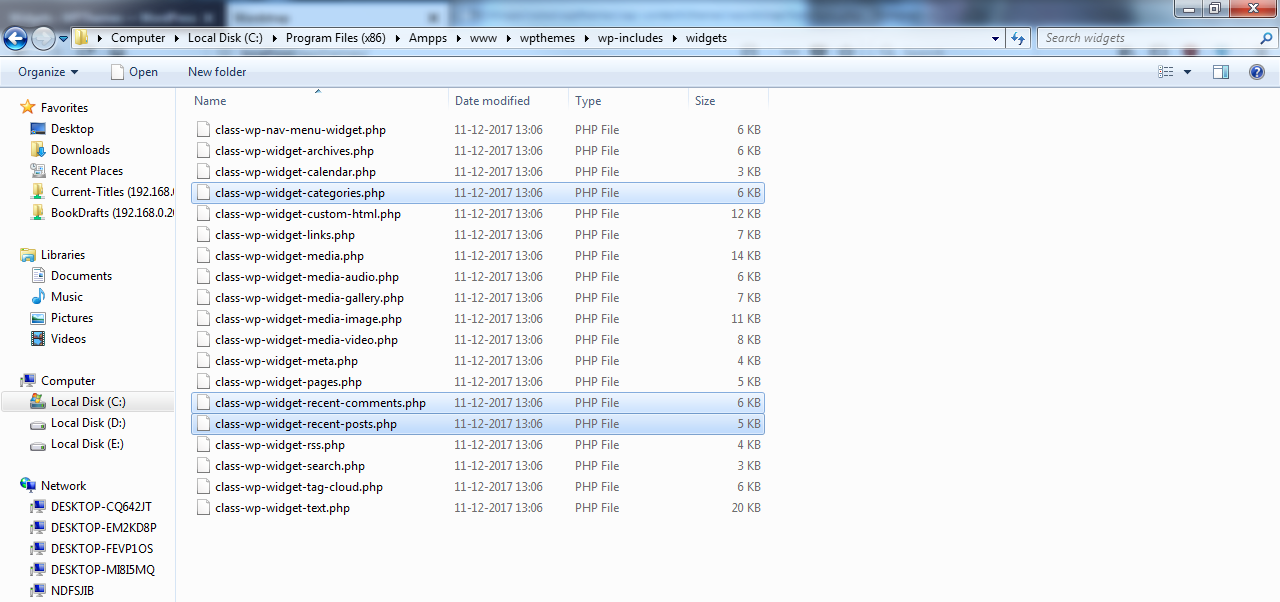
- We want to grab the categories, the recent comments, and the recent posts. We'll copy (make sure you don't cut, but copy them) and paste them into our widgets folder.
- Now let's start with the categories one. Let's open that up through Sublime Text. Here we will change the classname: put an _ and then Custom.
class WP_Widget_Categories_Custom extends WP_Widget {
- Next, we will change the class names for the <ul> and <li> tags. We will add the Bootstrap classes. For this, we will add class="list-group" to the <ul> tag:
<ul class="list-group">
- Now we also want the list items to have the class of list-group-item but the way that this is set up, we can't access the list item tags from within. So we need to do a little bit of customization in the functions.php file.
So let's open the function.php file, go to the very bottom, and add a comment first: Adds 'list-group-item' to categories li, just so we know what it does. Then we add the function add_new_class_list_categories():
      // Adds 'list-group-item' to categories li
      function add_new_class_list_categories(){
- We will then pass in a variable by adding $list = str_replace(), and we'll add cat-item, which is the original class name, but we want to change that. Now we still want it to have the cat-item class because it needs that, but we also want to add on the list-group-item class. Then we just need to return the list.
      function add_new_class_list_categories($list){
      $list = str_replace('cat-item', 'cat-item list-group-item',
        $list);
      return $list;
- Now instead of adding an action, we will add add_filter(). Basically, an action is used when you want to add something, a filter is when you want to change something. So let's use add_filter('wp_list_categories') and then we place the name of our function:
      add_filter('wp_list_categories',
        'add_new_class_list_categories');
- We're not out of the woods yet with these widgets; we have to register them. So before we do that, we need to include them at the top or use require. So we will add require_once(). It's going to be the widgets folder, and then we just need to include each widget. We'll use class-wp-widget-categories.php:
require_once('widgets/class-wp-widget-categories.php');
- We might as well include all of them. So we will get the recent posts and recent comments:
      require_once('widgets/class-wp-widget-recent-posts.php');
      require_once('widgets/class-wp-widget-recent-comments.php');
Now we need to register.
- Down at the bottom, we'll add function wordstrap_register_widgets(). We need the classname as well, so we add 'WP_Widget_Recent_Posts_Custom'. Next one will be 'WP_Widget_Recent_Comments_Custom'. The last one will be to add 'WP_Widget_Categories_Custom':
      //Register Widgets
      function wordstrap_register_widgets(){
          register_widget('WP_Widget_Recent_Posts_Custom');
          register_widget('WP_Widget_Recent_Comments_Custom');
          register_widget('WP_Widget_Categories_Custom');
      }
- Now we add another add_action(), and this is going to be again on 'widgets_init', and then we just need the name of the function:
add_action('widgets_init', 'wordstrap_register_widgets');
- Let's save that and reload the page:

- We get an error: Cannot declare class Recent_Posts. So let's verify our code:
      class WP_Widgets_Recent_Posts_Customs extends WP_Widget {
      class WP_Widgets_Recent_Comments_Customs extends WP_Widget {
So these should have _Custom as well. Now reload the page:

So we have all of our widgets registered and categories now has the list-item class, so that looks good. We also want to add these classes to recent posts and recent comments as well, so that instead of the bullet points we have it look like how categories look.
- So let's go to our class-wp-widget-recent-posts.php widget file, and we want to go to the <ul> tag. We will just add a class of list-group and then the <li> tag will have a class of list-group-item:
      <ul class="list-group">
      <?php foreach ( $r->posts as $recent_post ) : ?>
         <li class="list-group-item">
Let's reload the page; that looks good!

- Now let's go to class-wp-widget-recent-comments.php. We will add a class to <ul> of list-group and then for the <li> tag, we'll add a class of list-group-item:
      $output .= '<ul class="list-group" id="recentcomments">';
      if(is_array($comments) && $comments){
      $post_ids = array_unique(wp_list_pluck($comments, 'comment_post_ID'));
      _prime_post_caches($post_ids, strpos(get_option('permalink_structure'),
      '%category'), false);
      foreach((array) $comments as $comment){
          $output .= '<li class="list-group-item recentcomments">';
Save, reload, and there we go:

So now we have some custom widgets. You could make widgets look totally different if you want to, and it would only affect these widgets when your theme is loaded so that you're not editing any core WordPress code. We have our navbar set up as well as our sidebar widgets.