This project will be a little different from the rest because it's going to be sort of an introductory project. We will see how to install and set up WordPress, so that you can have a fresh installation to work with. We will create a theme, but we'll be focusing more on the code and the overall look and style. We'll create files and folders, add PHP code, and related things. First, I want to get you familiarized with PHP code, and then we can add some simple style.
With respect to an environment, there are a lot of different ways you can run WordPress. You may have your own server set up; if you don't, you can use something like AMPPS, which is what I'll be using. It gives you an Apache server, PHP, and MySQL all on your local machine. You could also use XAMPP, which is very similar, or WAMP; there's also MAMP for Mac. There are lot of different choices, but if you want to use AMPPS, you can go to https://ampps.com/ and download it. It's available for Windows, Mac, and Linux, and it is pretty easy to get set up.
Now, let's see how to install WordPress. Most of you probably already know how to do this:
- Go to the link https://wordpress.org/download/ and click on the Download WordPress button:

- Download the package and go to your server root folder, as shown here:

If you're using AMPPS, the package should be in your C: drive or in your route drive. In the Ampps folder, you'll find a www folder; this is the hosting root, as shown in the preceding image. In most cases, the default folder will be Program Files in the C: drive.
- Create a folder called wpthemes; this is where we will install WordPress.
- Go to the Downloads folder and open the WordPress package. Next, extract all the files into the project folder, wpthemes. Before we proceed, we need a database, a MySQL database, and if you installed AMPPS or if you're using XAMPP or something similar, then you most likely have phpMyAdmin, as shown as follows; this is what we'll be using.
- Now, go to http://localhost/phpmyadmin:

- Next, go to the Databases tab to create a new database called wpthemes and click on Create. We will see an empty database.
- We'll go back to the files we created or brought over from the WordPress package. You will see the wp-config-sample.php file. We'll rename this to just wp-config, and get rid of the -sample.
- Open the wp-config file using Sublime Text as the editor. You can use whichever editor you feel comfortable with.
- Now, in this editor, we will change or add some information:
      /** The name of the database for WordPress */
      define('DB_NAME', 'wpthemes');

      /** MySQL database username */
      define('DB_USER', 'root');

      /** MySQL database password */
      define('DB_PASSWORD', '123456');
We will add DB_NAME, as shown here, which in this case is wpthemes, then DB_USER, which in this case is root, and then DB_PASSWORD—you need to enter whatever the password is for your database. The rest can stay the same.
- We'll go ahead and save the entered information, and then we should be able to go to localhost/wpthemes:

- We can now go ahead and run the installation. As shown in the following screenshot, we will enter Site Title as WordpressDEV and Username as admin. Next, you need to enter the password; I'm using a very weak password here. After you enter the email address, click on Install WordPress:

You can see that WordPress has been installed.

- Now, click on Log In, and this will take us to the admin login. Go ahead and put your username and password in, and it'll take you to your backend:

- Now we can click on Visit Site, as shown in the preceding image. Open this in a new tab, and you'll see that we have a brand new WordPress site:

This is what we'll be working with.
I'm sure a lot of you have experience with WordPress.
On the localhost/wpthemes/wp-admin/ WordPress page, we have our Posts area, where we can create and manage posts:

We can have Categories, as shown in the following screenshot:

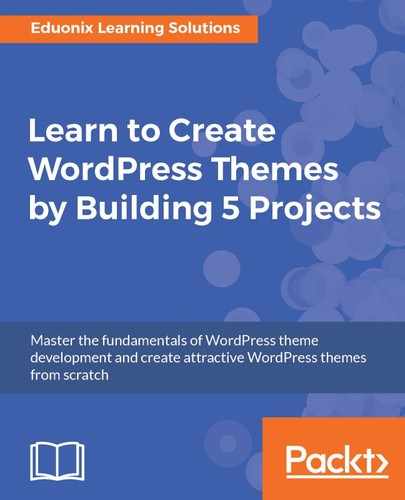
We can also see Pages:
Website pages such as About Us, or Services, would go on Pages. If we go to Appearance, and click on Themes, it will show us the installed themes, as shown in the following screenshot:

By default, we have Twenty Seventeen, Twenty Fifteen, and Twenty Sixteen, but we will be creating a new theme in the next section.