
During the creation process of an application, in today's dynamic living and working environments, connecting your mobile application to a backend will facilitate the process of data storage and connection of data to companion web applications, which will provide users with enhanced capabilities and a satisfactory experience.
Introducing a backend into your project can be facilitated through the use of the Parse.com REST API. Parse offers an easy-to-use, straightforward, and scalable platform, which can be implemented within an application based on the Ionic framework.
As we go through this chapter, we will start off by setting up a Parse backend and an Ionic project. After this, we will create a connection between them to achieve our desired effect.
The first step that is required to get this project up and running is to visit www.parse.com and create an account or log in to that site if you already have an account. In the free plan, you will get a file storage of 20 GB, a database storage of 20 GB, and the ability to transfer up to 2 TB of data.
If you're using Parse.com for the first time, you will be welcomed by the following screen:
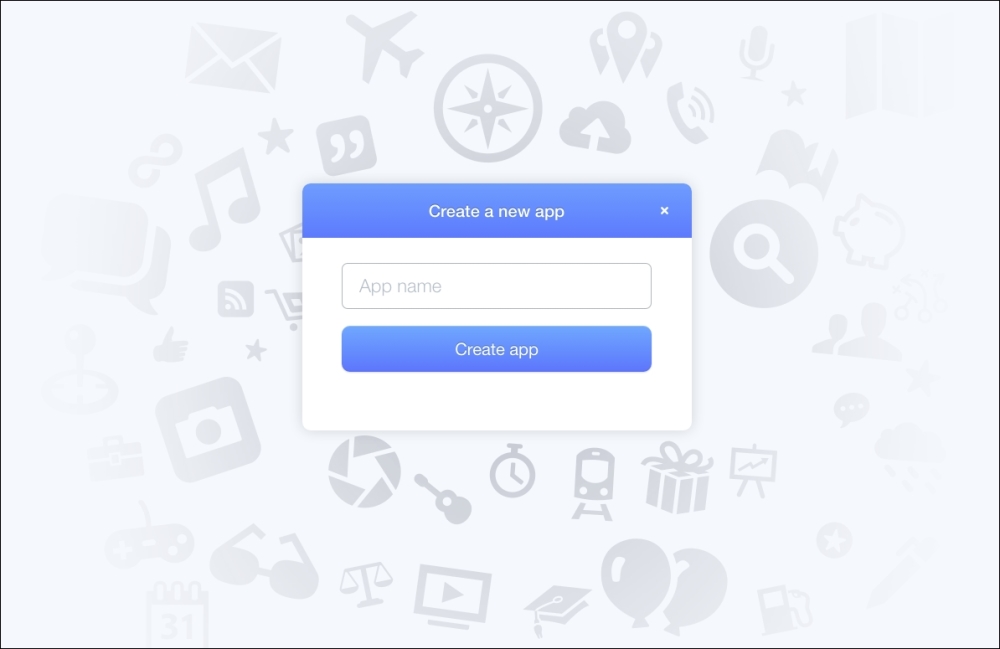
Let's name the app Ionic-ToDo. Once the app has been created, you will see the following screen if this is the first application that you created with Parse. Make sure that you note down the Application ID and REST API Key:

The next part involves proceeding to the Data Browser. In this view, click on Add Class in the sidebar. The role of a class is to store data in the Parse application instance. In our case, we will name the class Todo and choose Custom as the class type:

To finalize the class creation process, click on Create Class, and you will have your class ready. In the data browser, you'll see that your newly created class already has some properties:
objectId: This is a unique ID that represents an individualTodoitem in the collectioncreatedAt: This tells us when theTodoitem was added to ParseupdatedAt: This tells us when theTodoitem was last updated
In order to personalize the Todo application and allow for the creation of to-dos, we need a custom property to hold the contents of a Todo item. In the Data Browser, click on +Col, and the following dialog box will pop up:

For this property, we will choose String as the type of column and input todo-content in the name field. Conclude this process by clicking on Create Column, and we are done!
Once we have the class ready, we can start creating our Ionic app.