Hardware: Attaching Button Studs
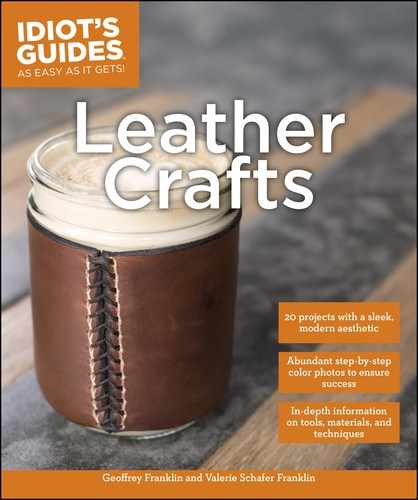
Screw-on button studs are a popular form of leather hardware because they have a distinctive, clean look. They are fairly secure closures but are also easy-on, easy-off, making them perfect for applications where they may be opened one-handed. Button studs are also easy to install.
Materials
Leather
Screw-on button stud, 7mm
Tools
Mechanical pencil
Hole punch, #2
Flathead screwdriver
Precision knife

Techniques Used
Punching: Using Hole Punches

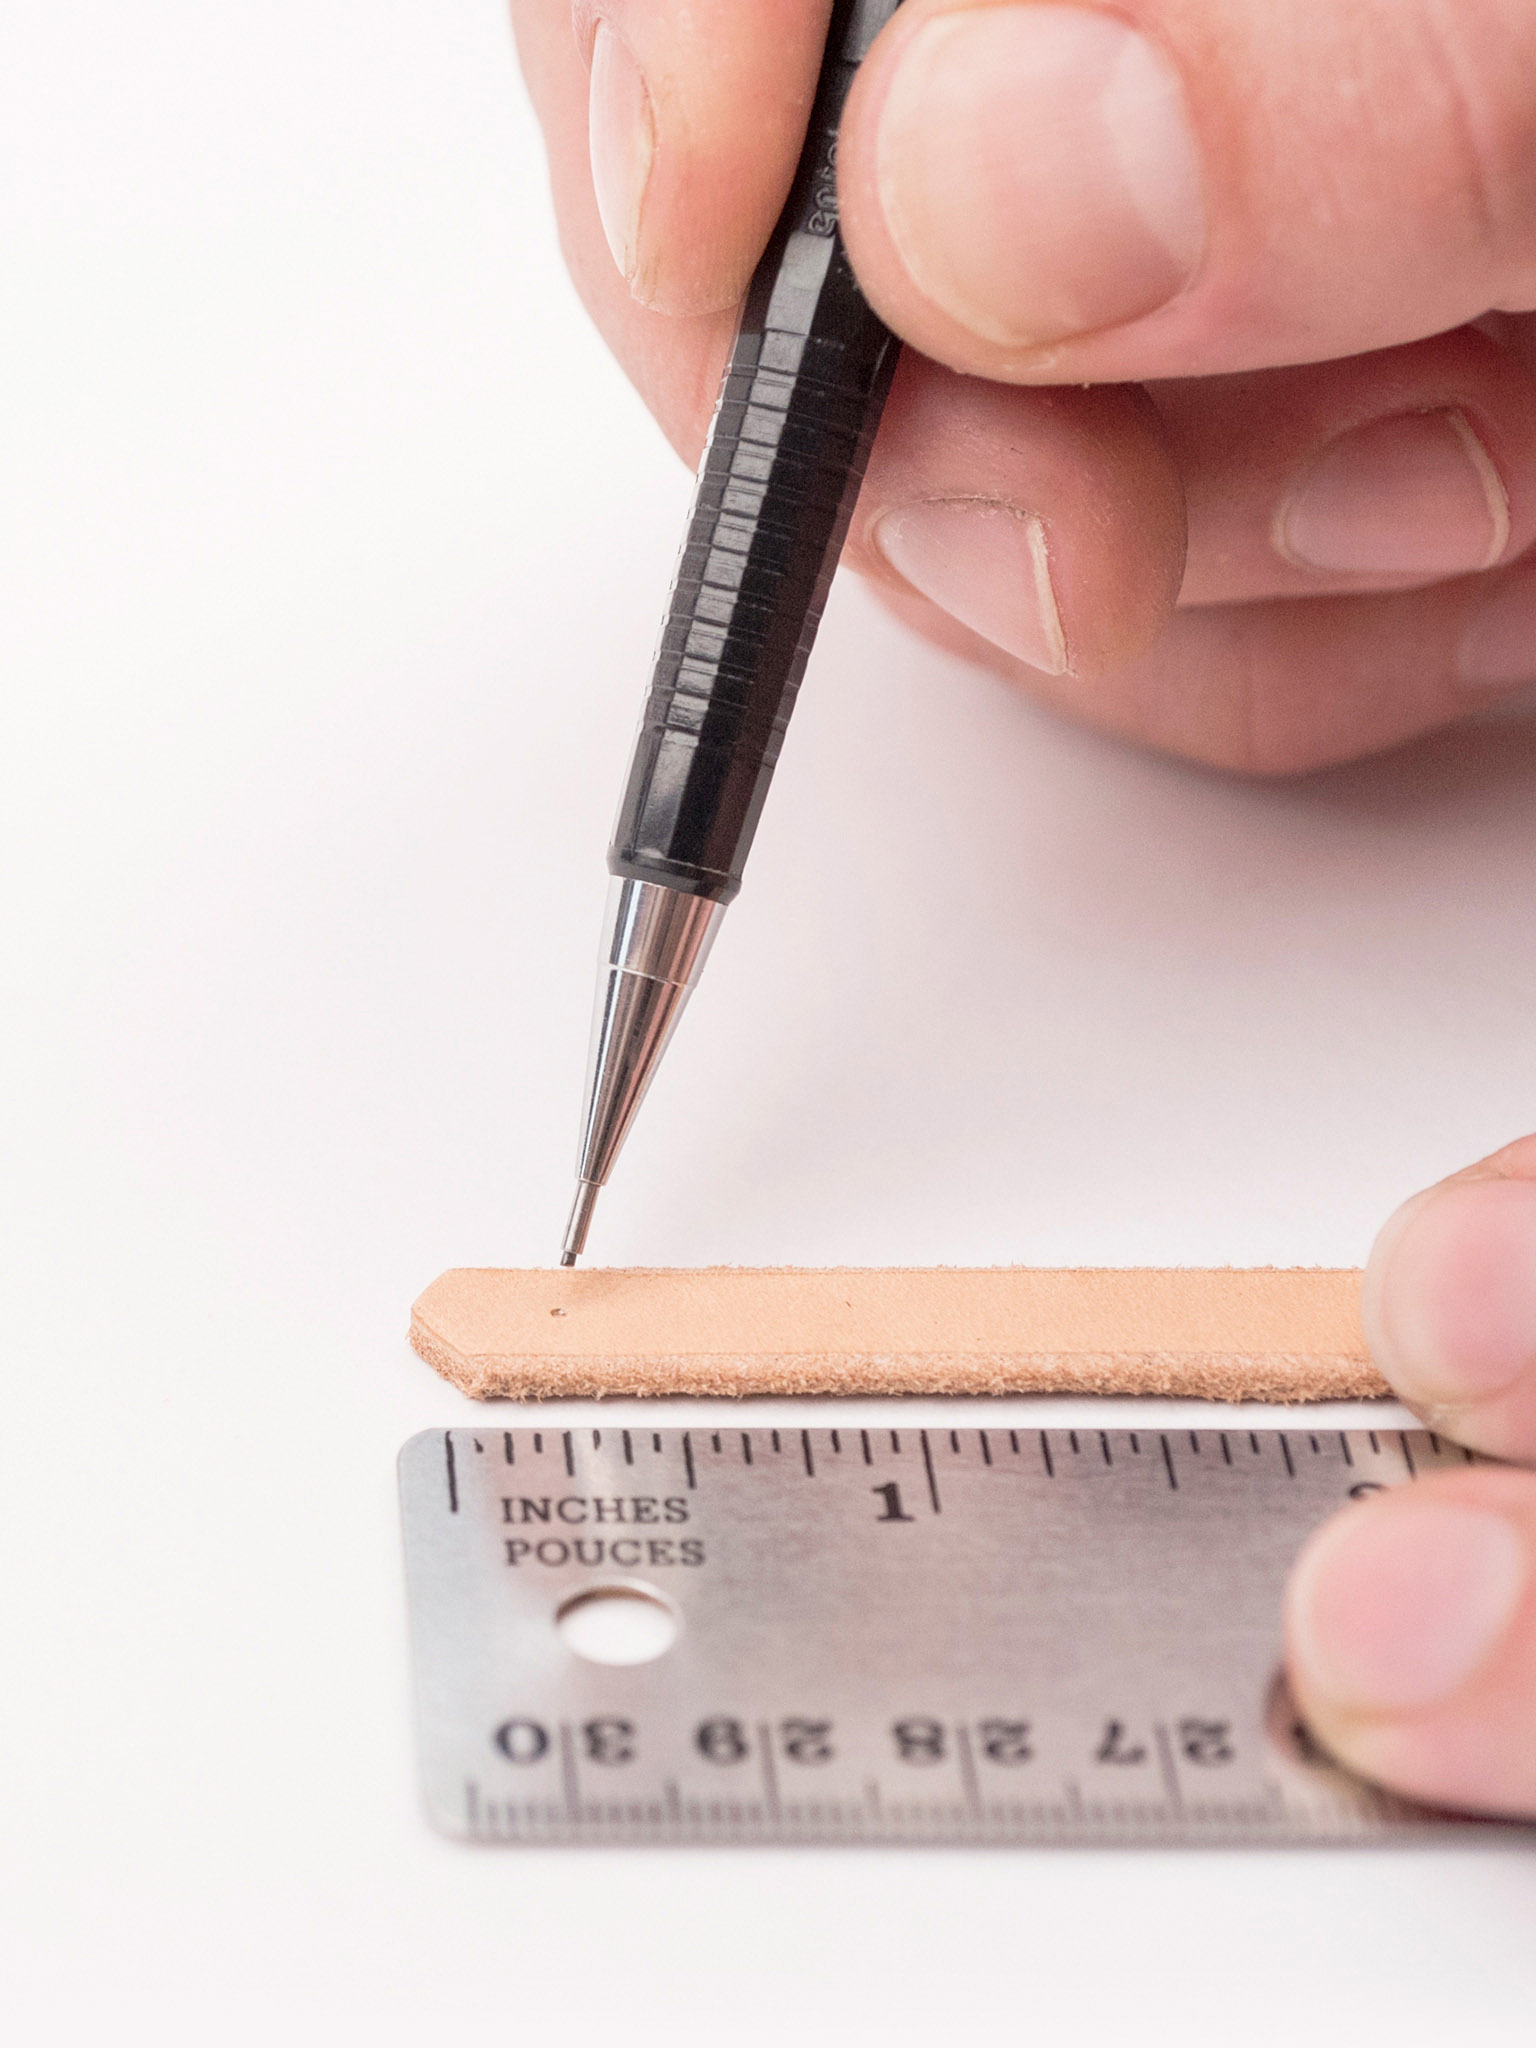
1 Measure and mark the button stud hole. Mark the center point of the desired location for the stud on the leather using a mechanical pencil.
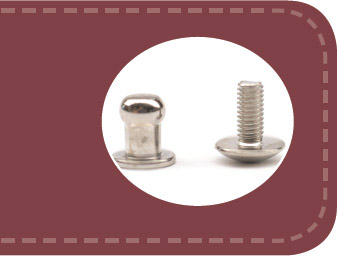
2 Punch the hole. Using the #2 hole punch, punch the hole where marked.
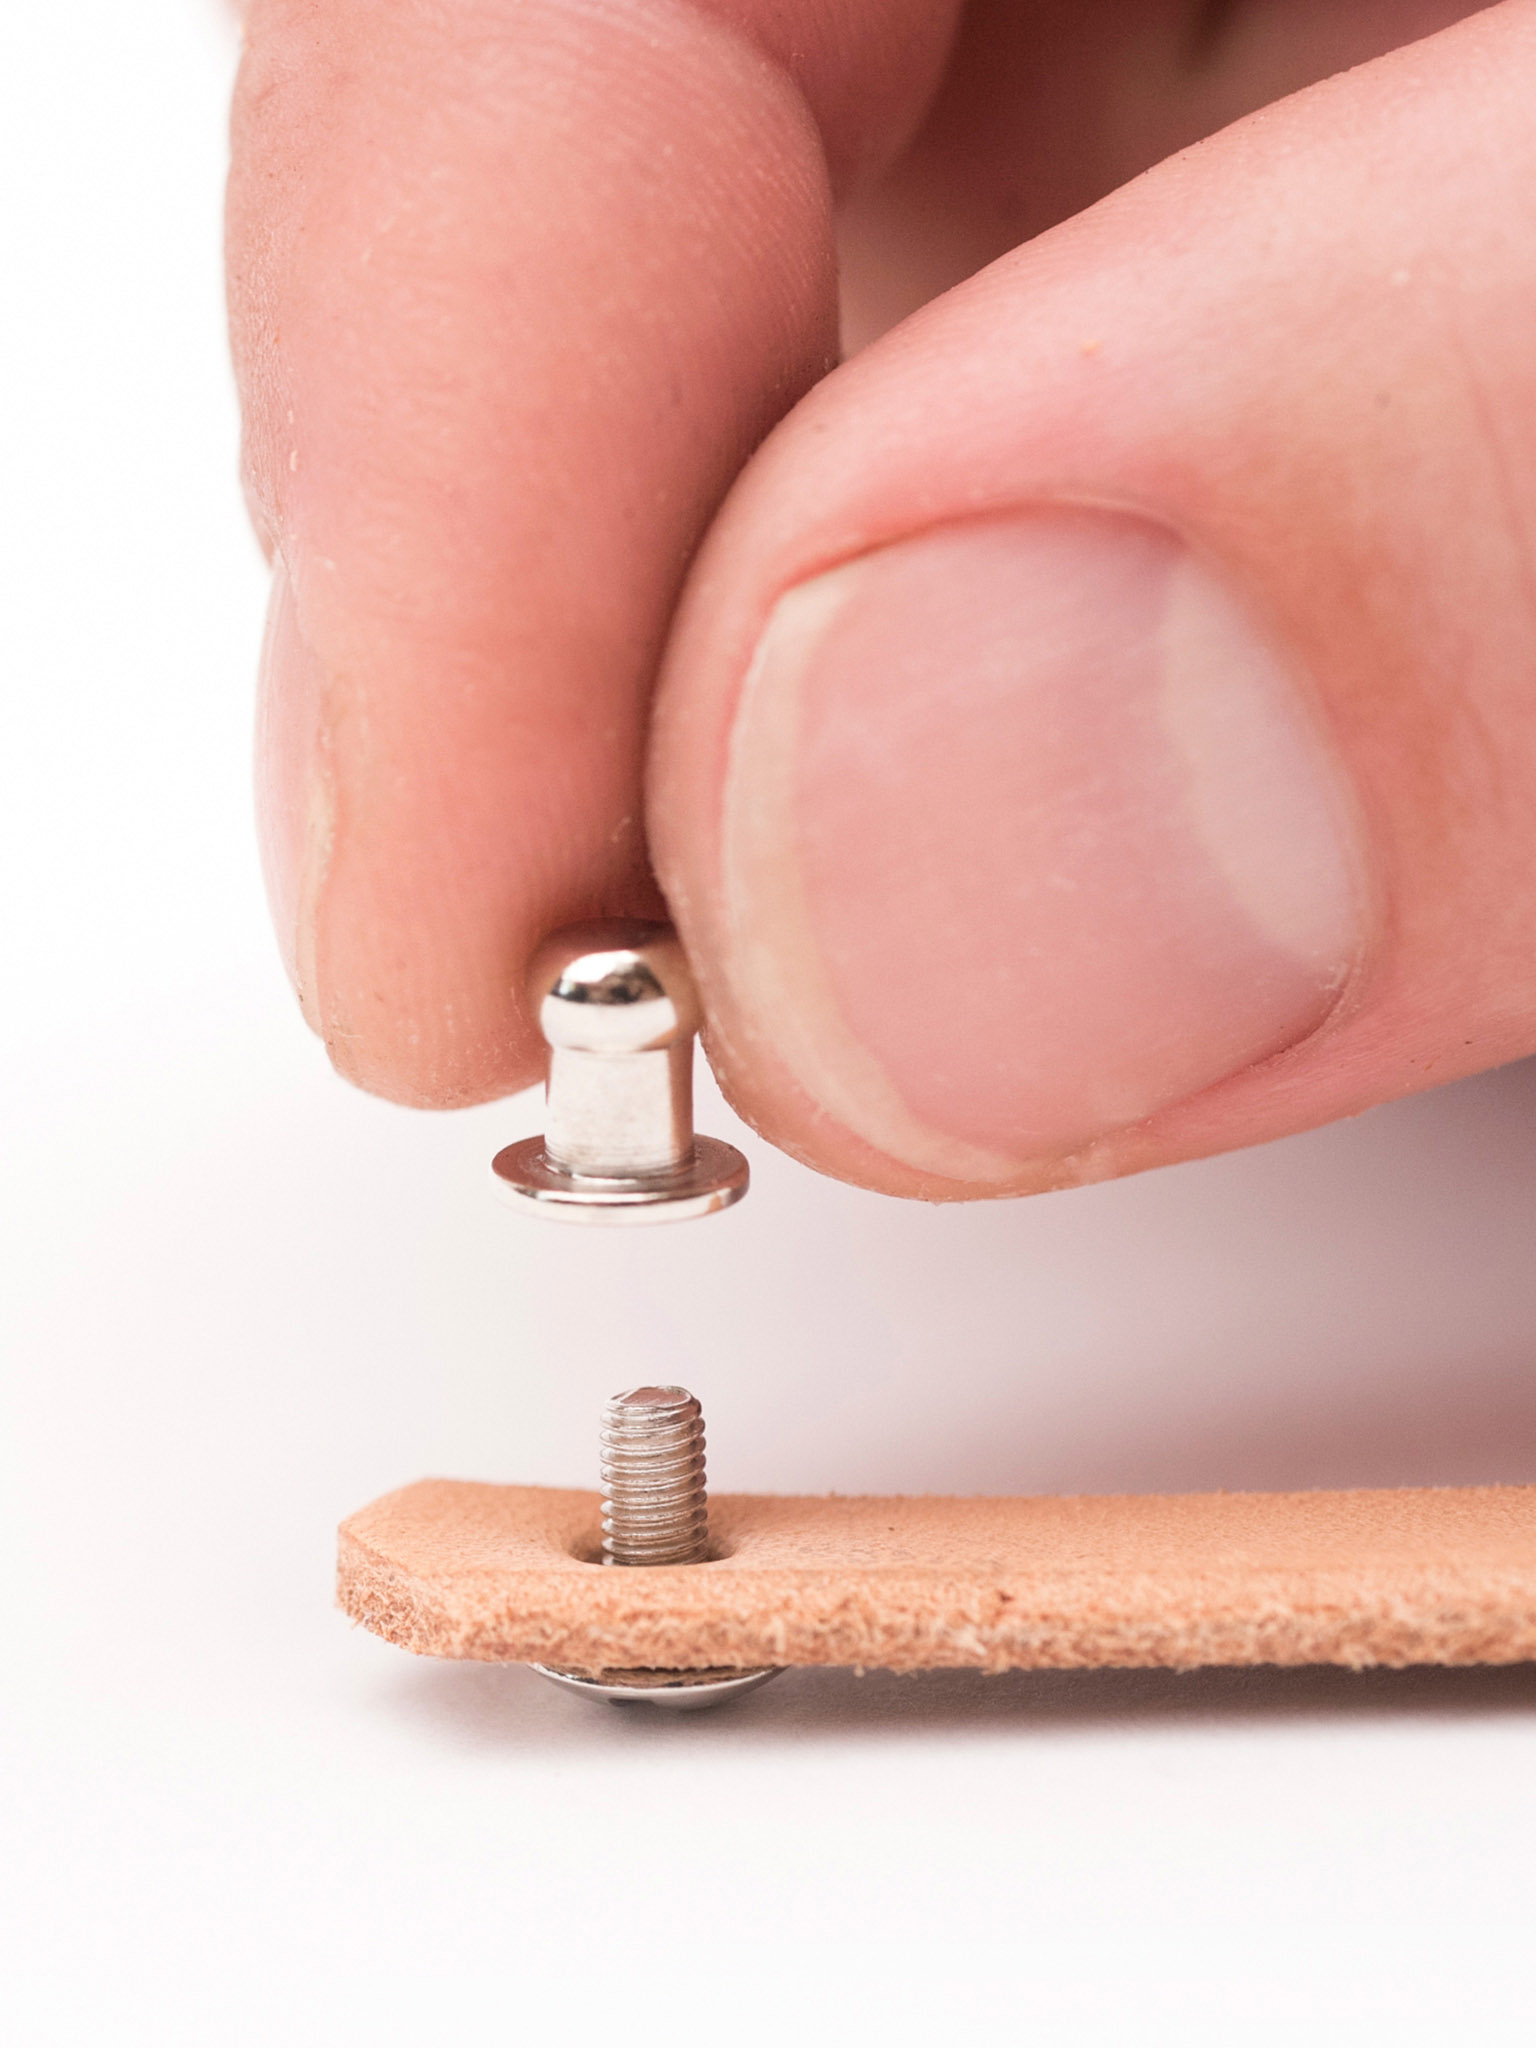
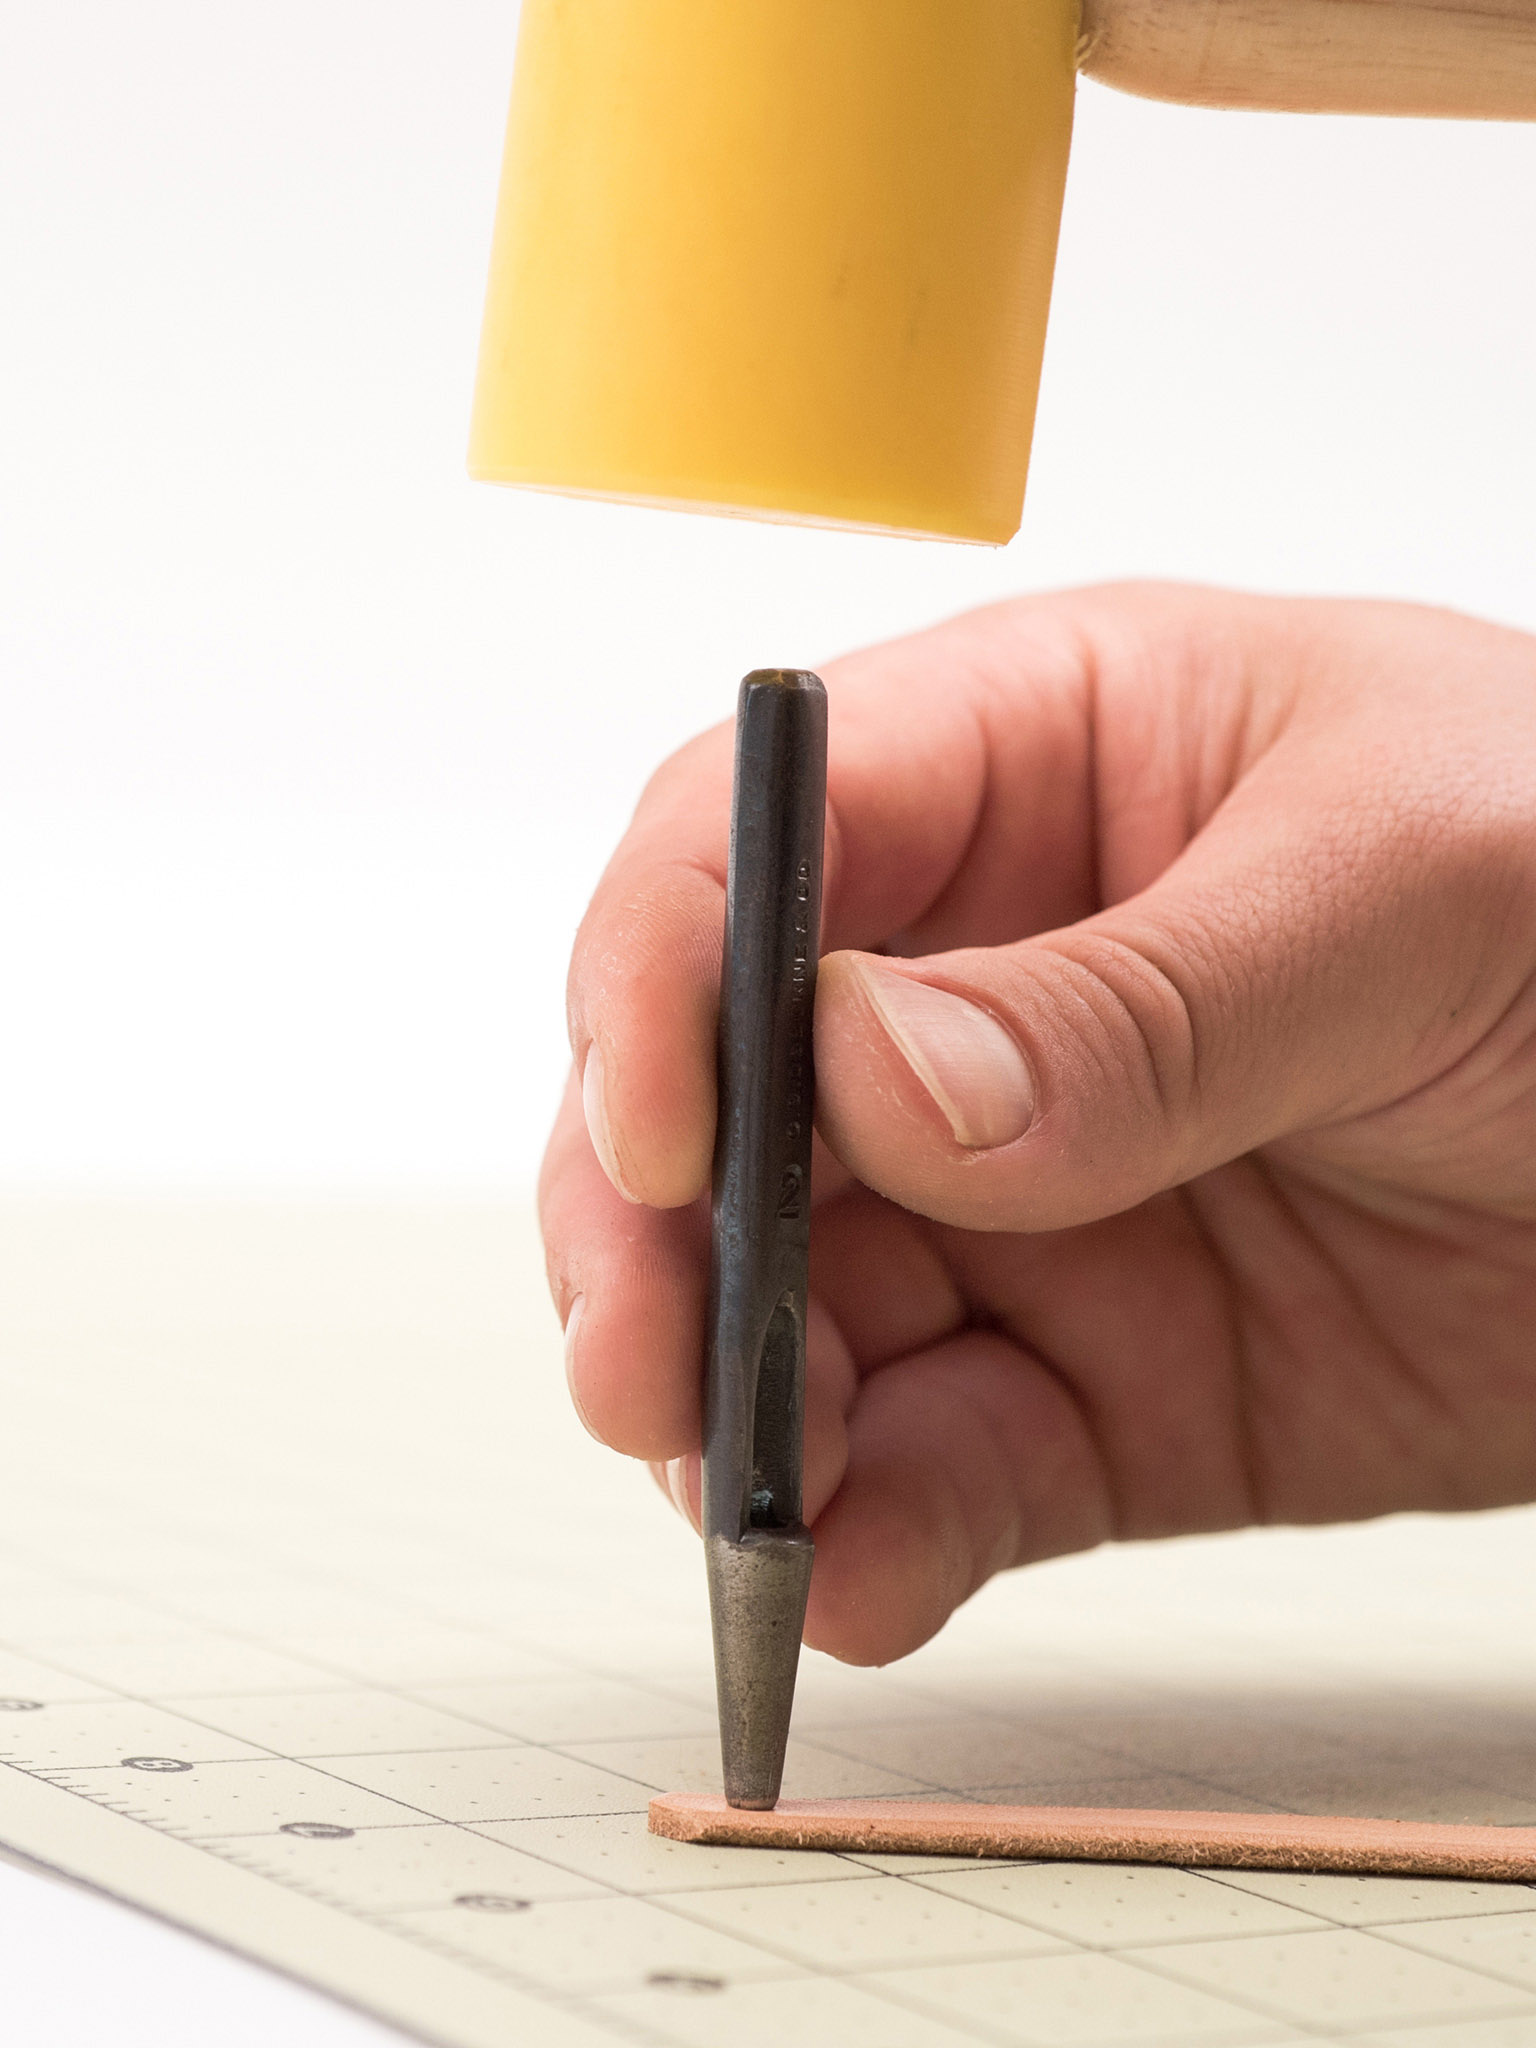
3 Install the button stud. Screw the two-piece stud together, with the stud on the finished surface and the screw on the rough surface. You’ll start screwing together using your hands and finish with the screwdriver.
4 Measure and mark the button stud closure. To finish this closure, you need a hole in the leather as wide as the barrel, but smaller than the top, into which the stud is inserted. Mark the center point of the desired location for the stud closure point on the leather using a mechanical pencil.

5 Punch the closure hole. Using the #2 hole punch, punch the hole where marked.
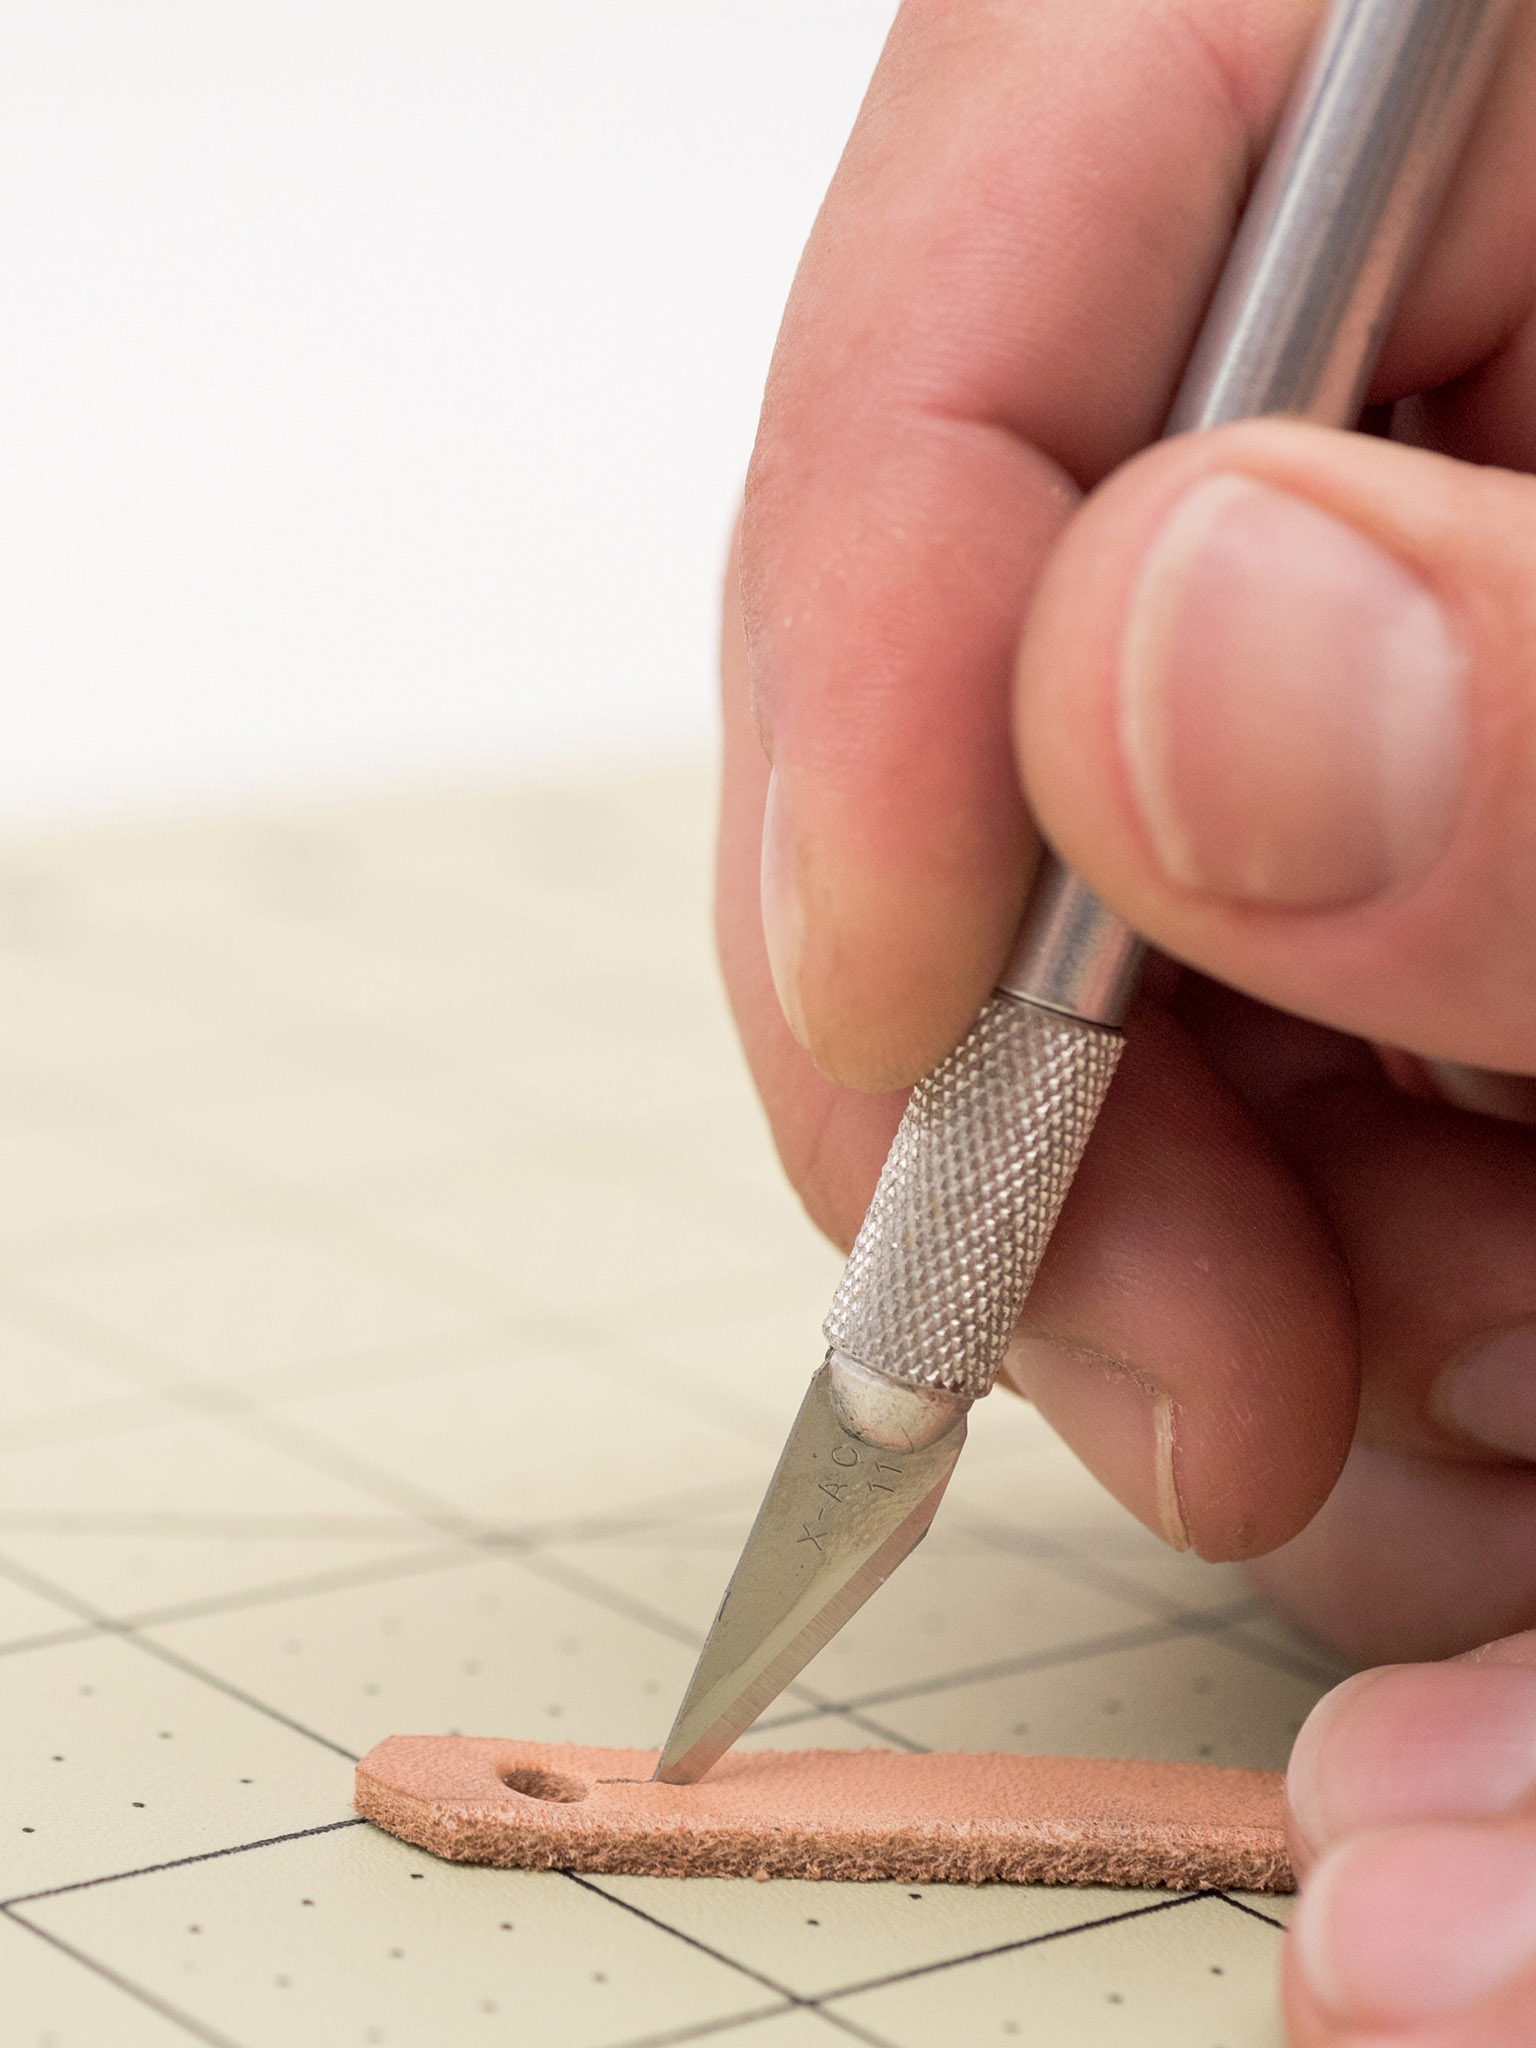
6 Cut the button stud slit. A slit cut into the closure hole also facilitates slipping the hole over the button stud without falling off. Cut a ⅜-inch (1cm) slit from the center of the button stud hole using the precision knife.
If you find yourself using button studs frequently, you can shorten the process of making the closure hole and slit by using a 4mm buttonhole leather punch. It’s a hand punch that has both the hole and slit in one.
