
Hand Stitching: Saddle Stitch
The saddle stitch is a strong, secure, and traditional stitch pattern for joining two flat pieces of leather against each other, usually with rough sides facing.
Materials
Leather
Waxed thread
Tools
2 harness needles, #0
Scissors
Stitching groover
Pricking iron
Mallet
Awl
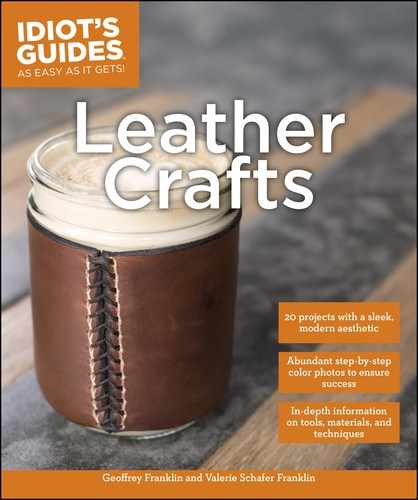
Stitching horse (optional)

Techniques Used
Hand Stitching: Using a Stitching Groover
Hand Stitching: Using a Pricking Iron
Hand Stitching: Using an Awl

1 Prepare for Stitching. Using the stitching groover, cut a stitching groove on the abutting sides of the leather to be stitched, and punch stitch holes along it.

2 Cut the thread. Cut a length of thread at least five times the length of the span to be stitched.

3 Thread the needles. Insert one end of the thread through the eye of one needle. Insert the opposite end of the thread through the eye of the second needle, so that the thread has needles at each end.
4 Position the work. Line up the leather with the rough sides facing each other so the stitching holes line up.

5 Open each hole with the awl. Insert the awl into each stitch hole set. This will make it easier to pull the needles through.

6 Pull the thread through the first holes. Pull the threaded needles evenly through the first row of holes. Adjust as needed to ensure each side has the same amount of slack. Hold the needles with one in your left hand and one in your right.

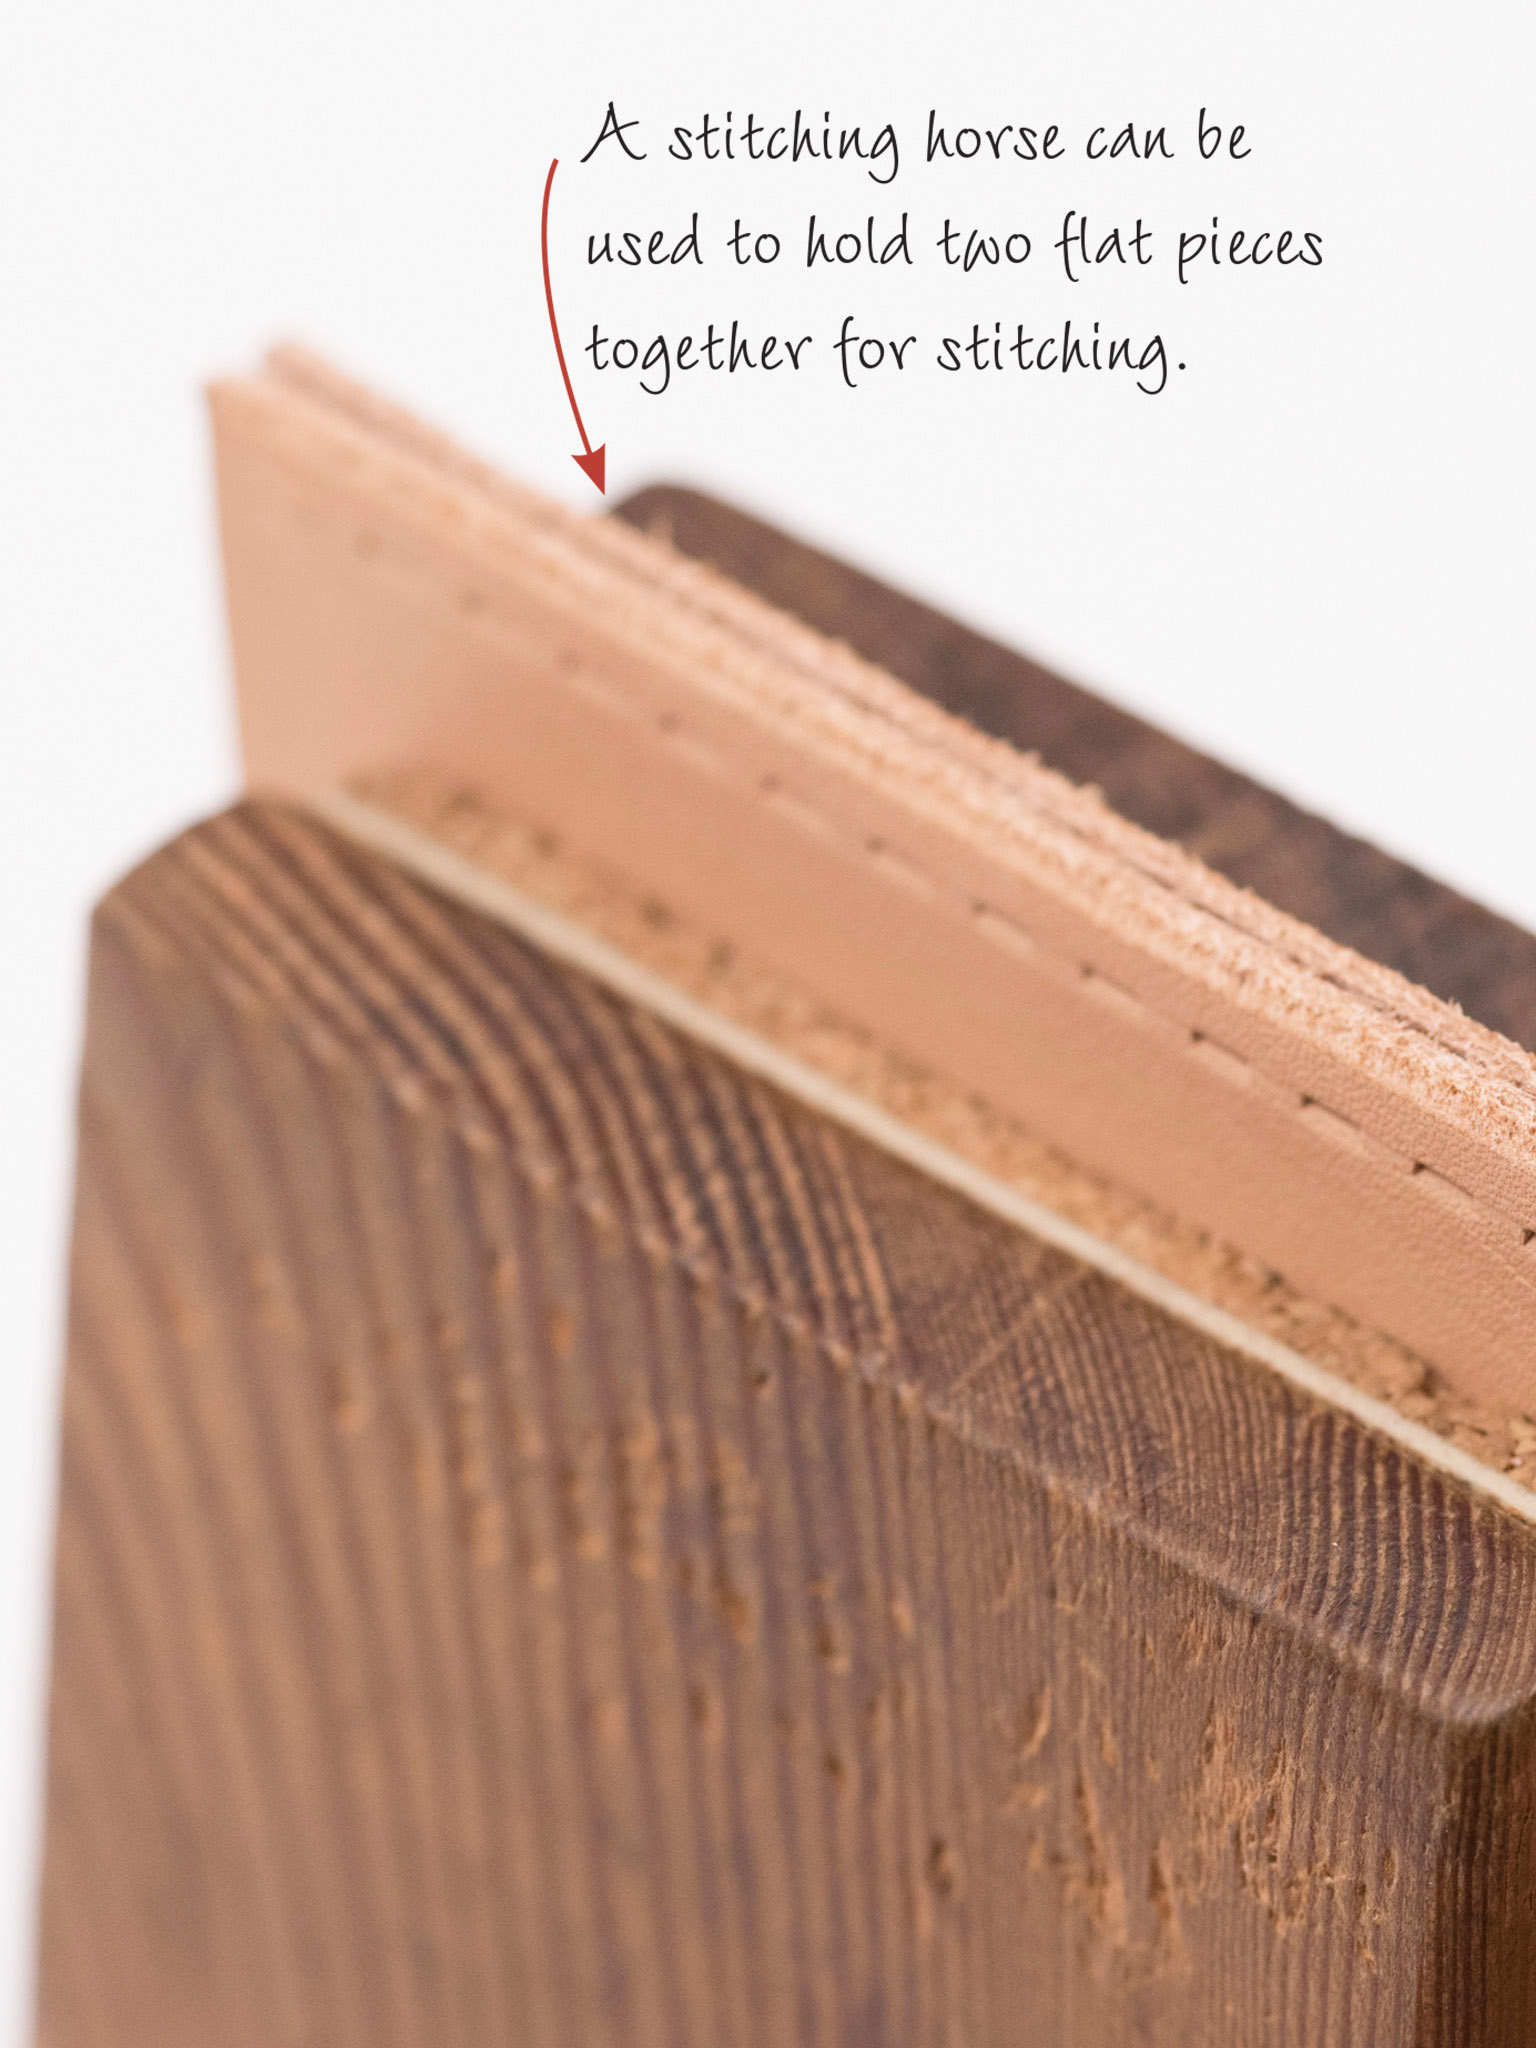
7 Begin the first stitch. Insert the left-hand needle into the second stitch hole from left to right, going just part-way through.
8 Continue the first stitch. Insert the right-hand needle into the same second stitch hole from right to left, part-way, so the two needles are crossed inside the hole. Let go of the needles.
The needles are inserted together so the second needle doesn’t accidentally go through the thread of the first needle, which would weaken the thread.
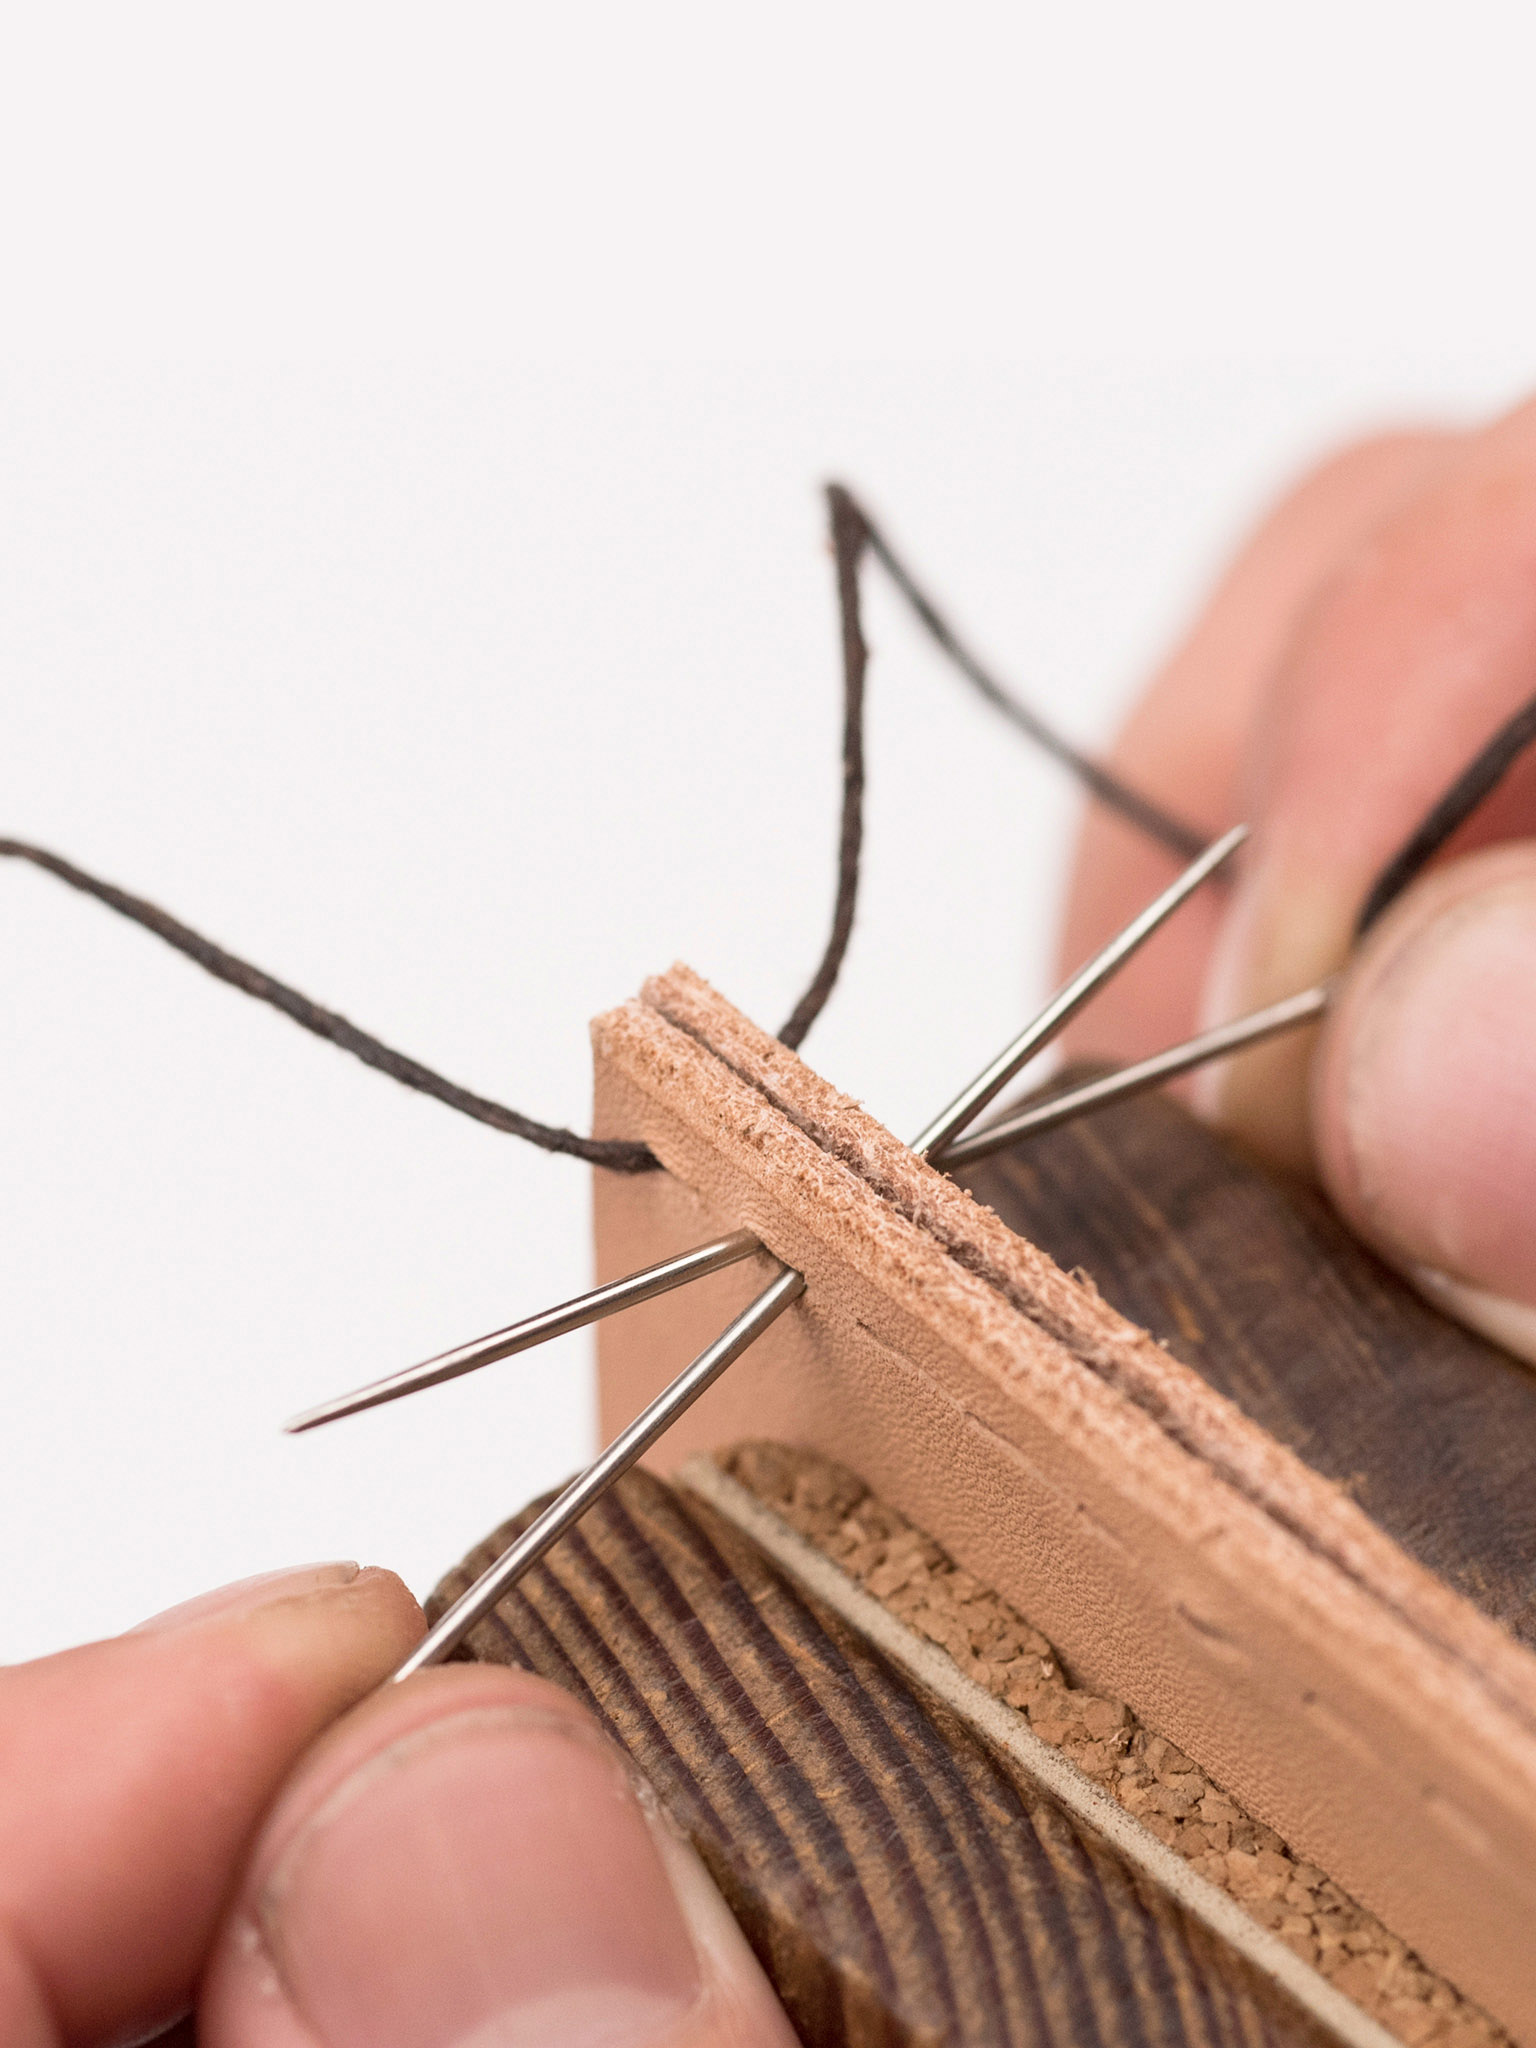
9 Cross the first stitch. Pick up the needle coming out of the left-hand side of the work with your left hand, and vice-versa with the right side.

10 Tighten the first stitch. Pull the needles through both sides at once with confidence. Tug the thread to tighten the first stitch on both sides evenly.

11 Continue stitching pattern to the last hole. Continue stitching in this pattern, one hole at a time, crossing the needles in the hole and pulling each stitch tight.

12 Finish with two reverse stitches. When you reach the last hole, reverse direction and stitch two more stitches (just as in Steps 7–9, but going the other way) to knot it off.
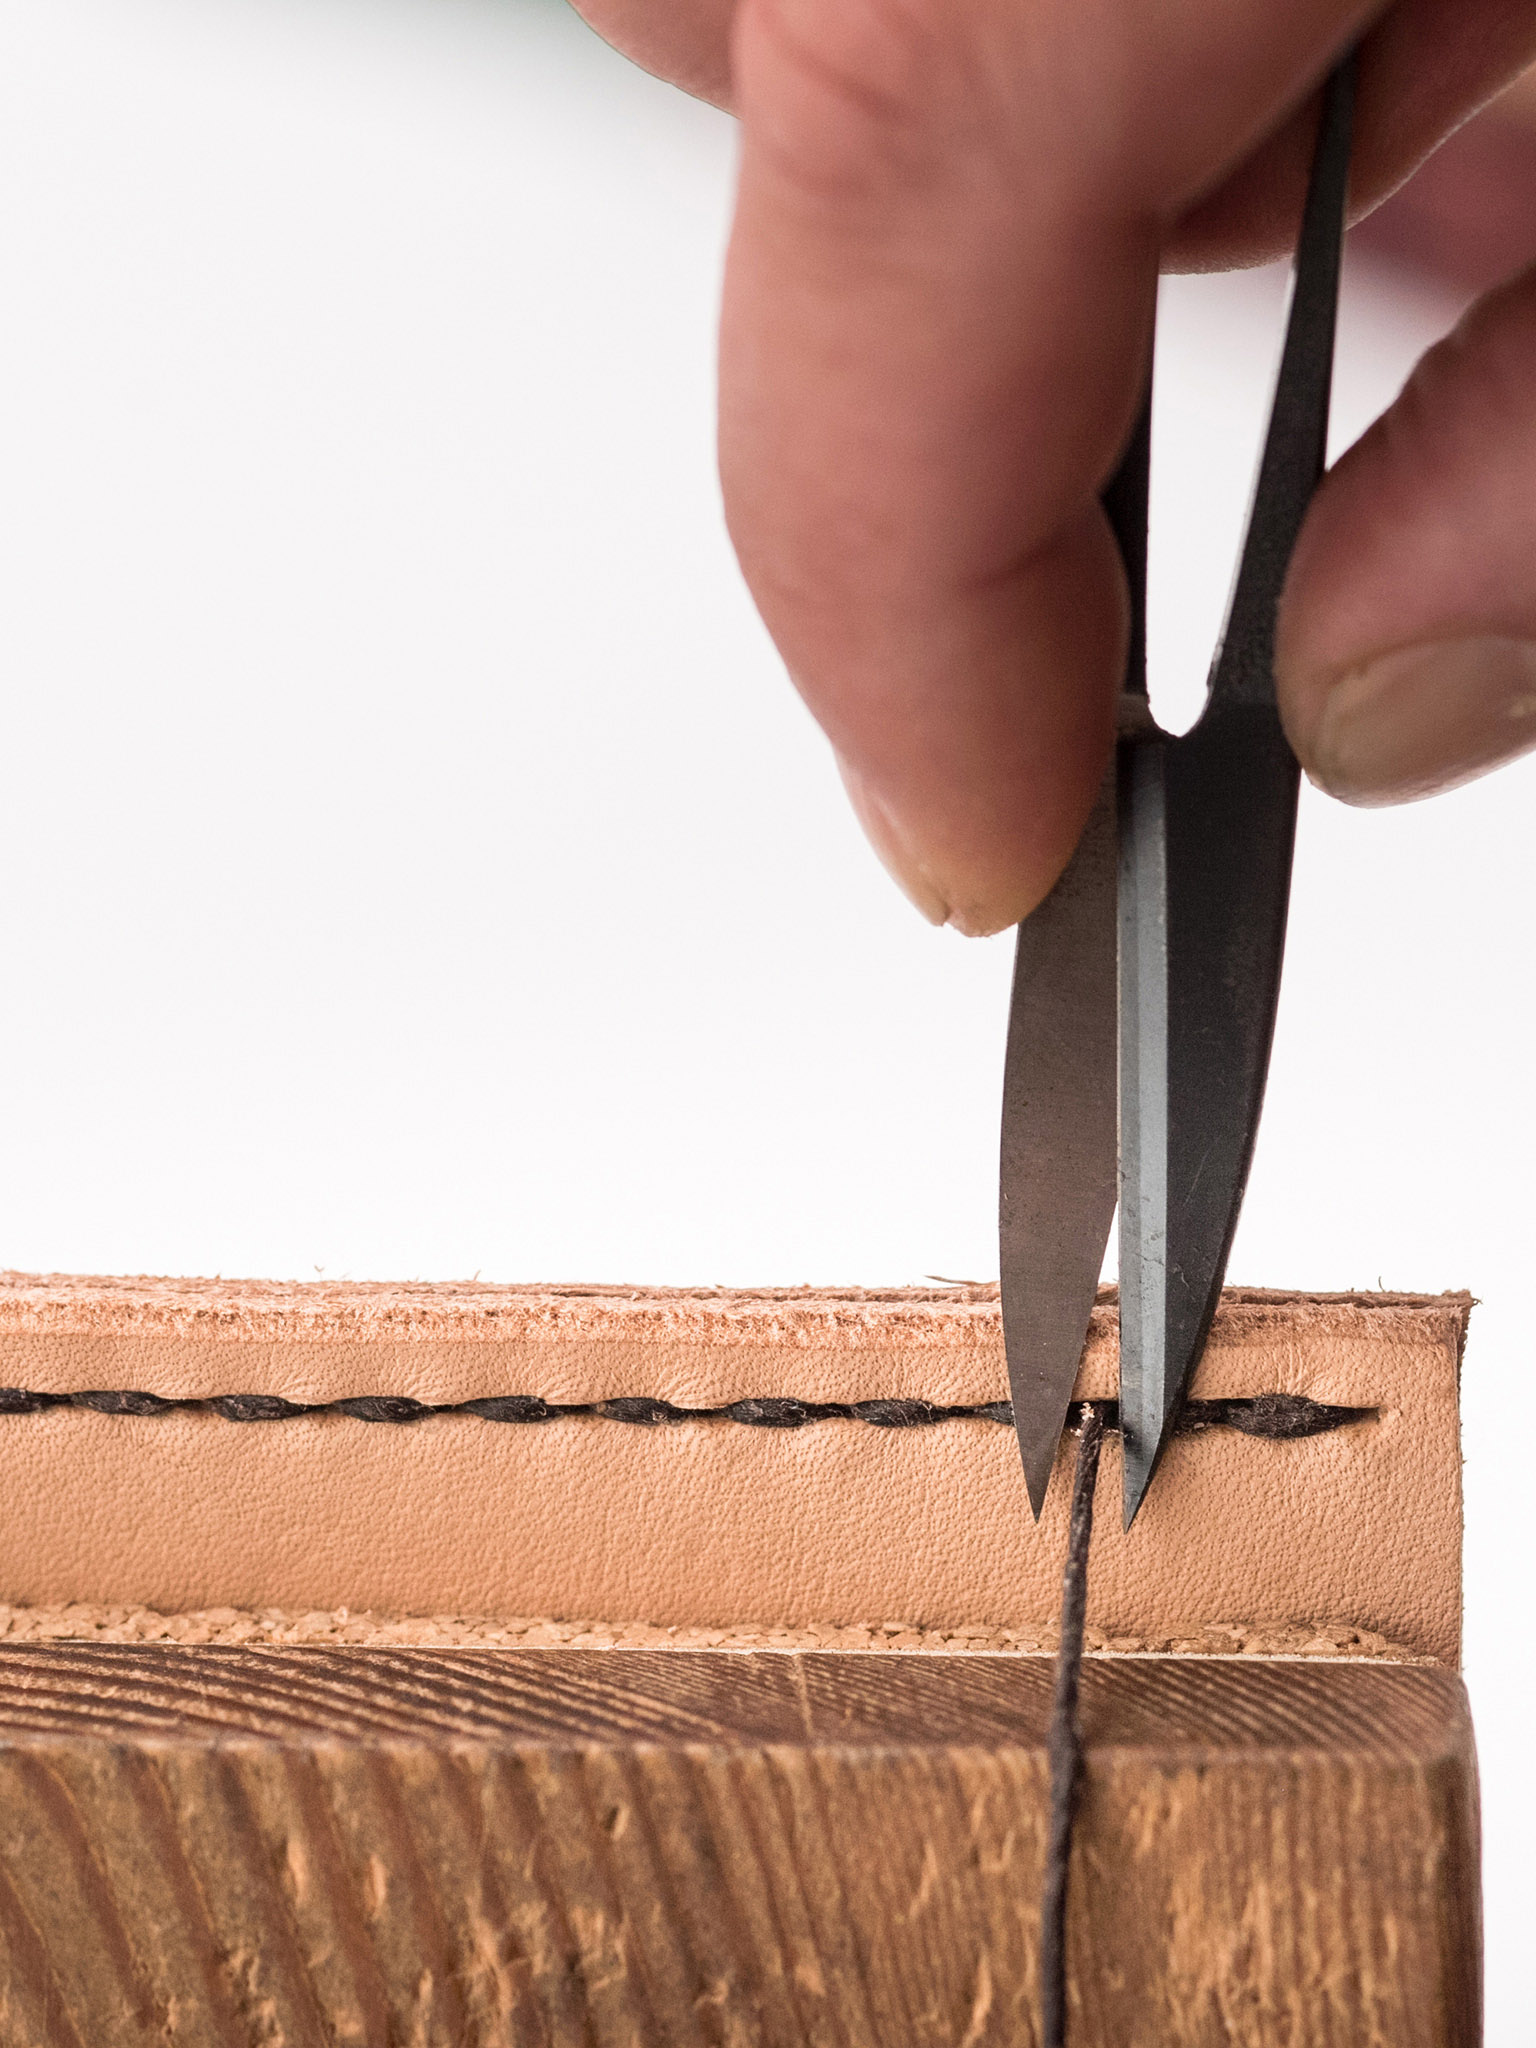
13 Cut the thread. Pull the last reverse stitch tight and cut the thread as close to the leather as possible.

Saddle Stitch
The design of the saddle stitch makes it particularly durable. Even if one thread breaks, the stitch remains in place.
