Cementing
Professional-grade rubber cement can be used to hold together two pieces of leather while sewing, or for gluing together two rough sides of leather to achieve a finished surface on both sides. Always cement in a well-ventilated area.
Materials
Leather
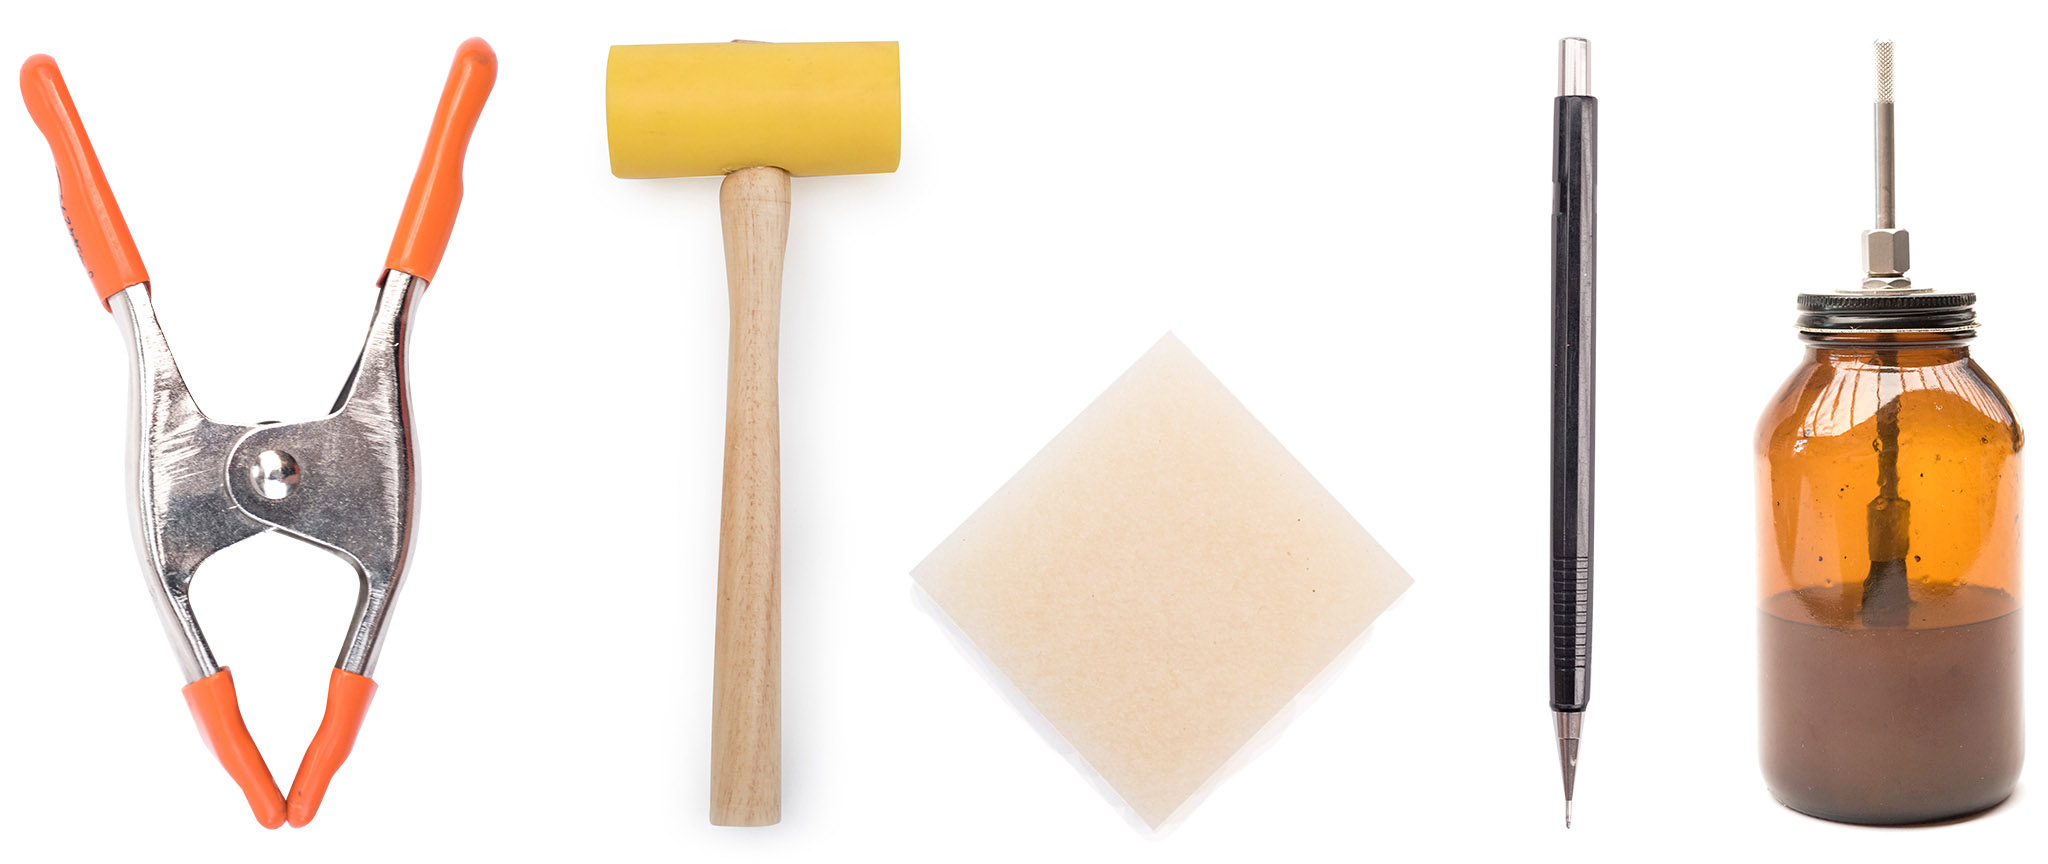
Cement
Tools
Paper (optional)
Clamps or weight
Adhesive eraser
Mechanical pencil

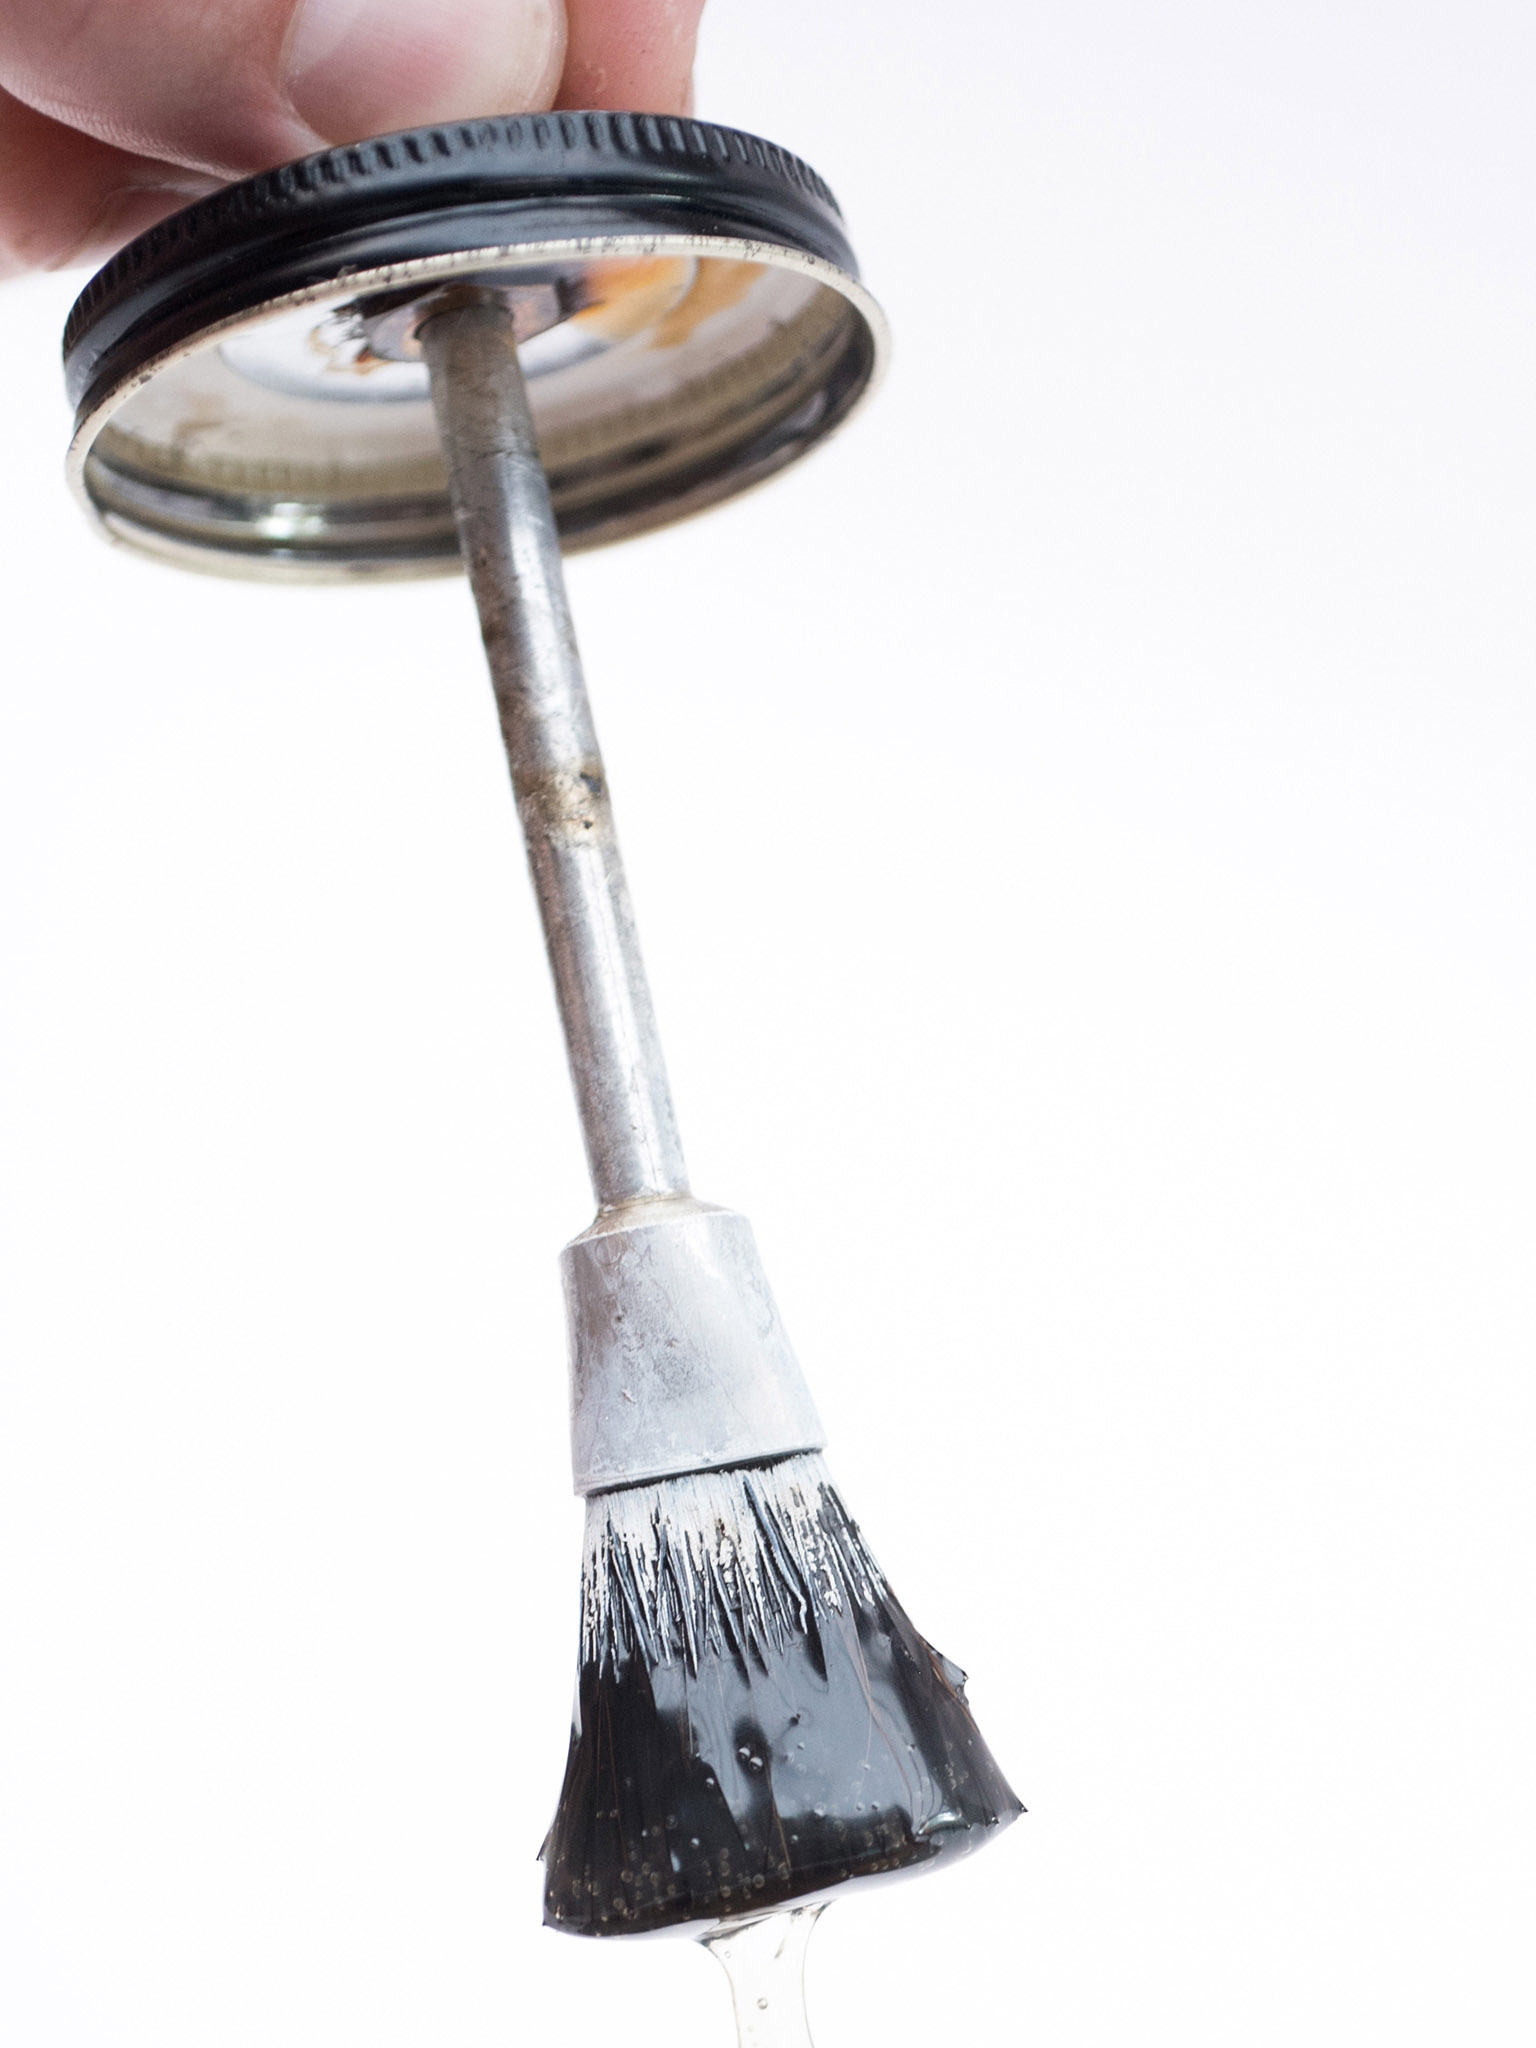
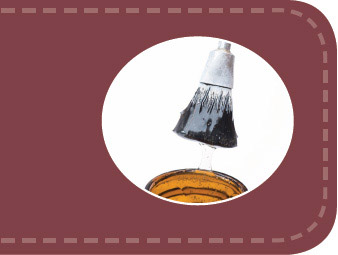
1 Wipe brush against gluepot lip. If you have excess glue on your brush, wipe it against the lip of the gluepot to remove.
If you’re gluing in a tight spot and you need to be accurate, use a piece of paper as an edge to keep your glue line perfectly straight. Remove the paper immediately after brushing on the cement.
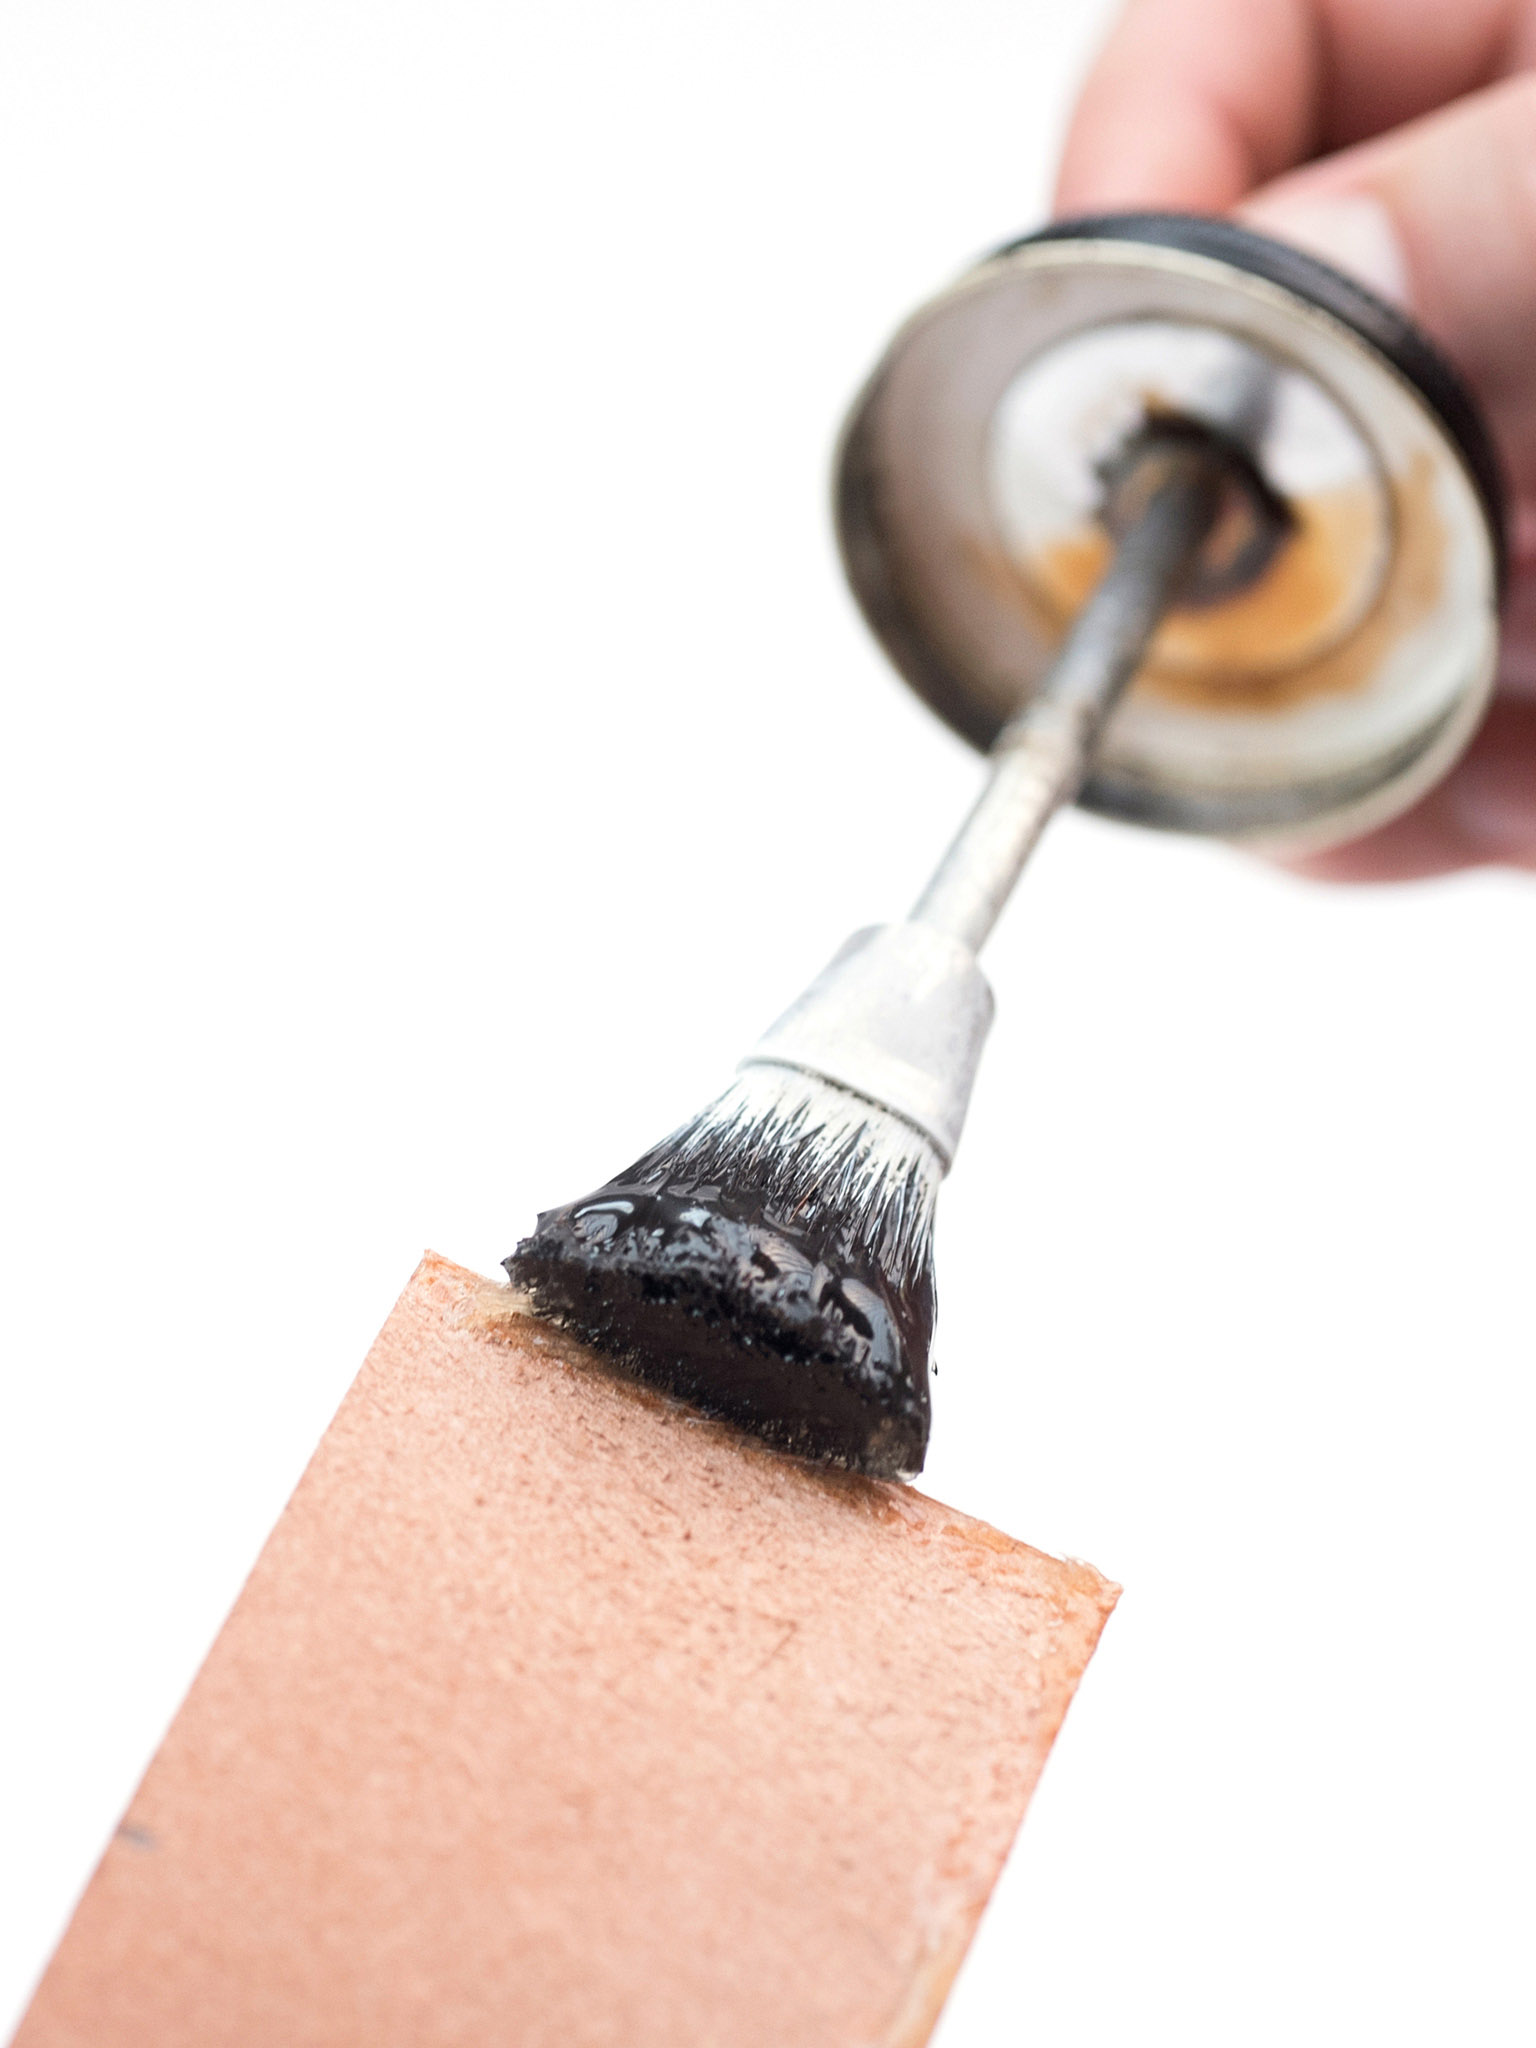
2 Brush thin layer of glue on project. Brushing from the inside of the leather piece outward toward the edges, apply a light and even layer of rubber cement on the areas of all parts to be glued together.
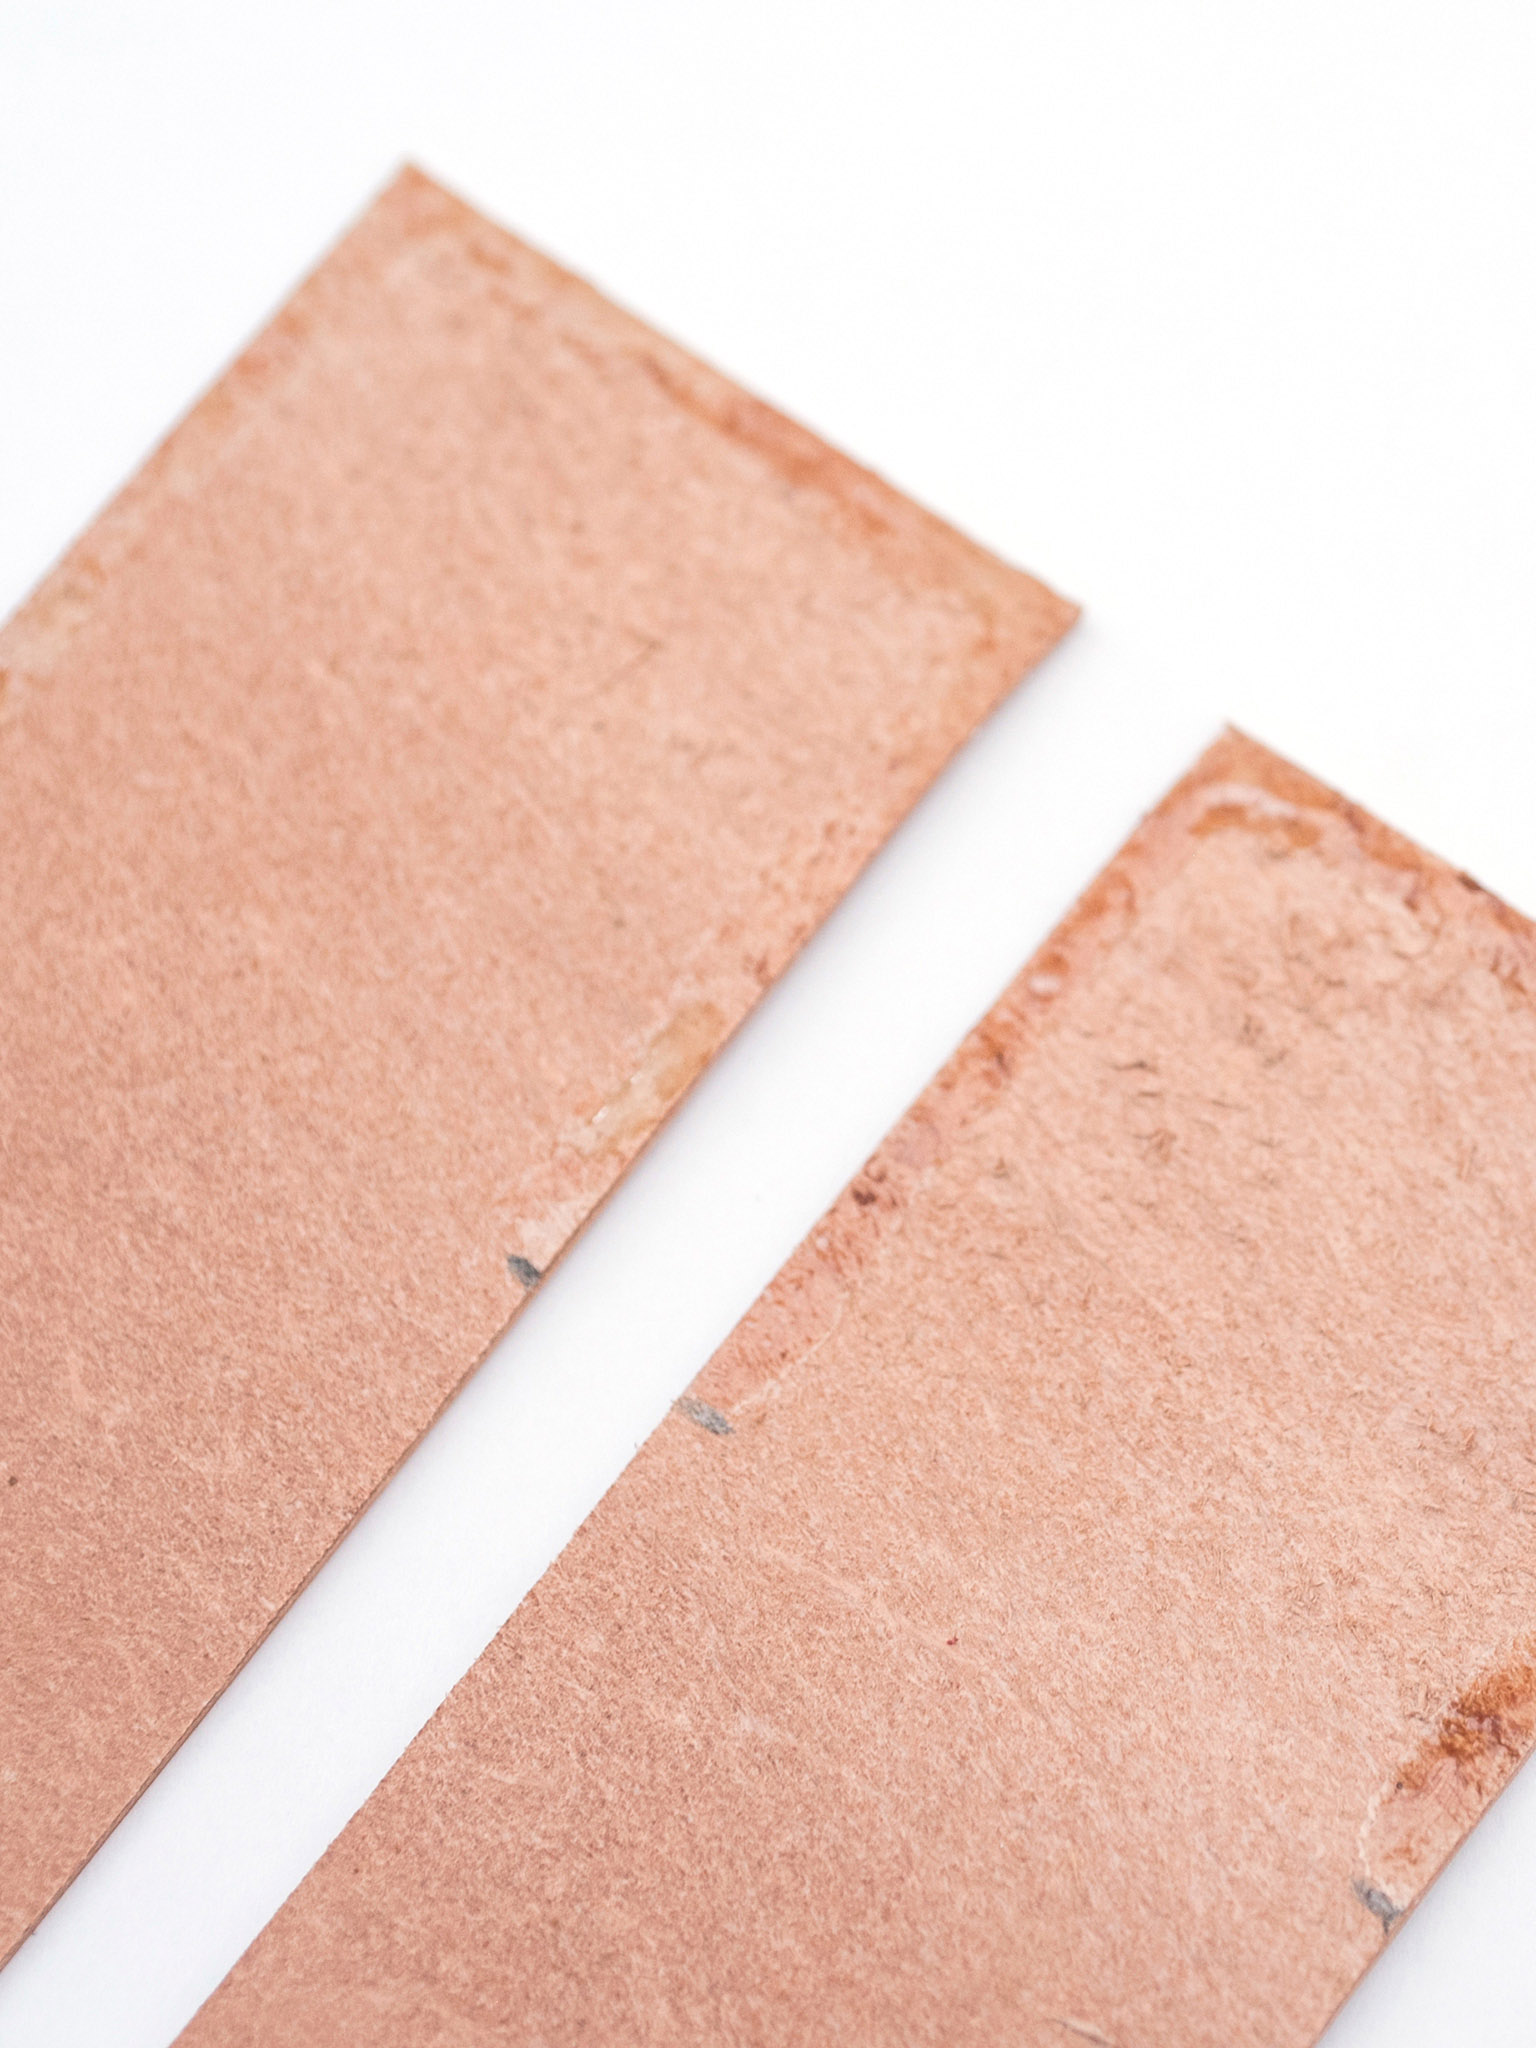
3 Let the cement cure. Allow the cement to dry for about 5 minutes before pressing both pieces together. This will create a stronger bond.
4 Hold in place while drying. Press the parts together. Using clamps or a weight, allow the glue to dry for at least 5 to 10 minutes before moving.

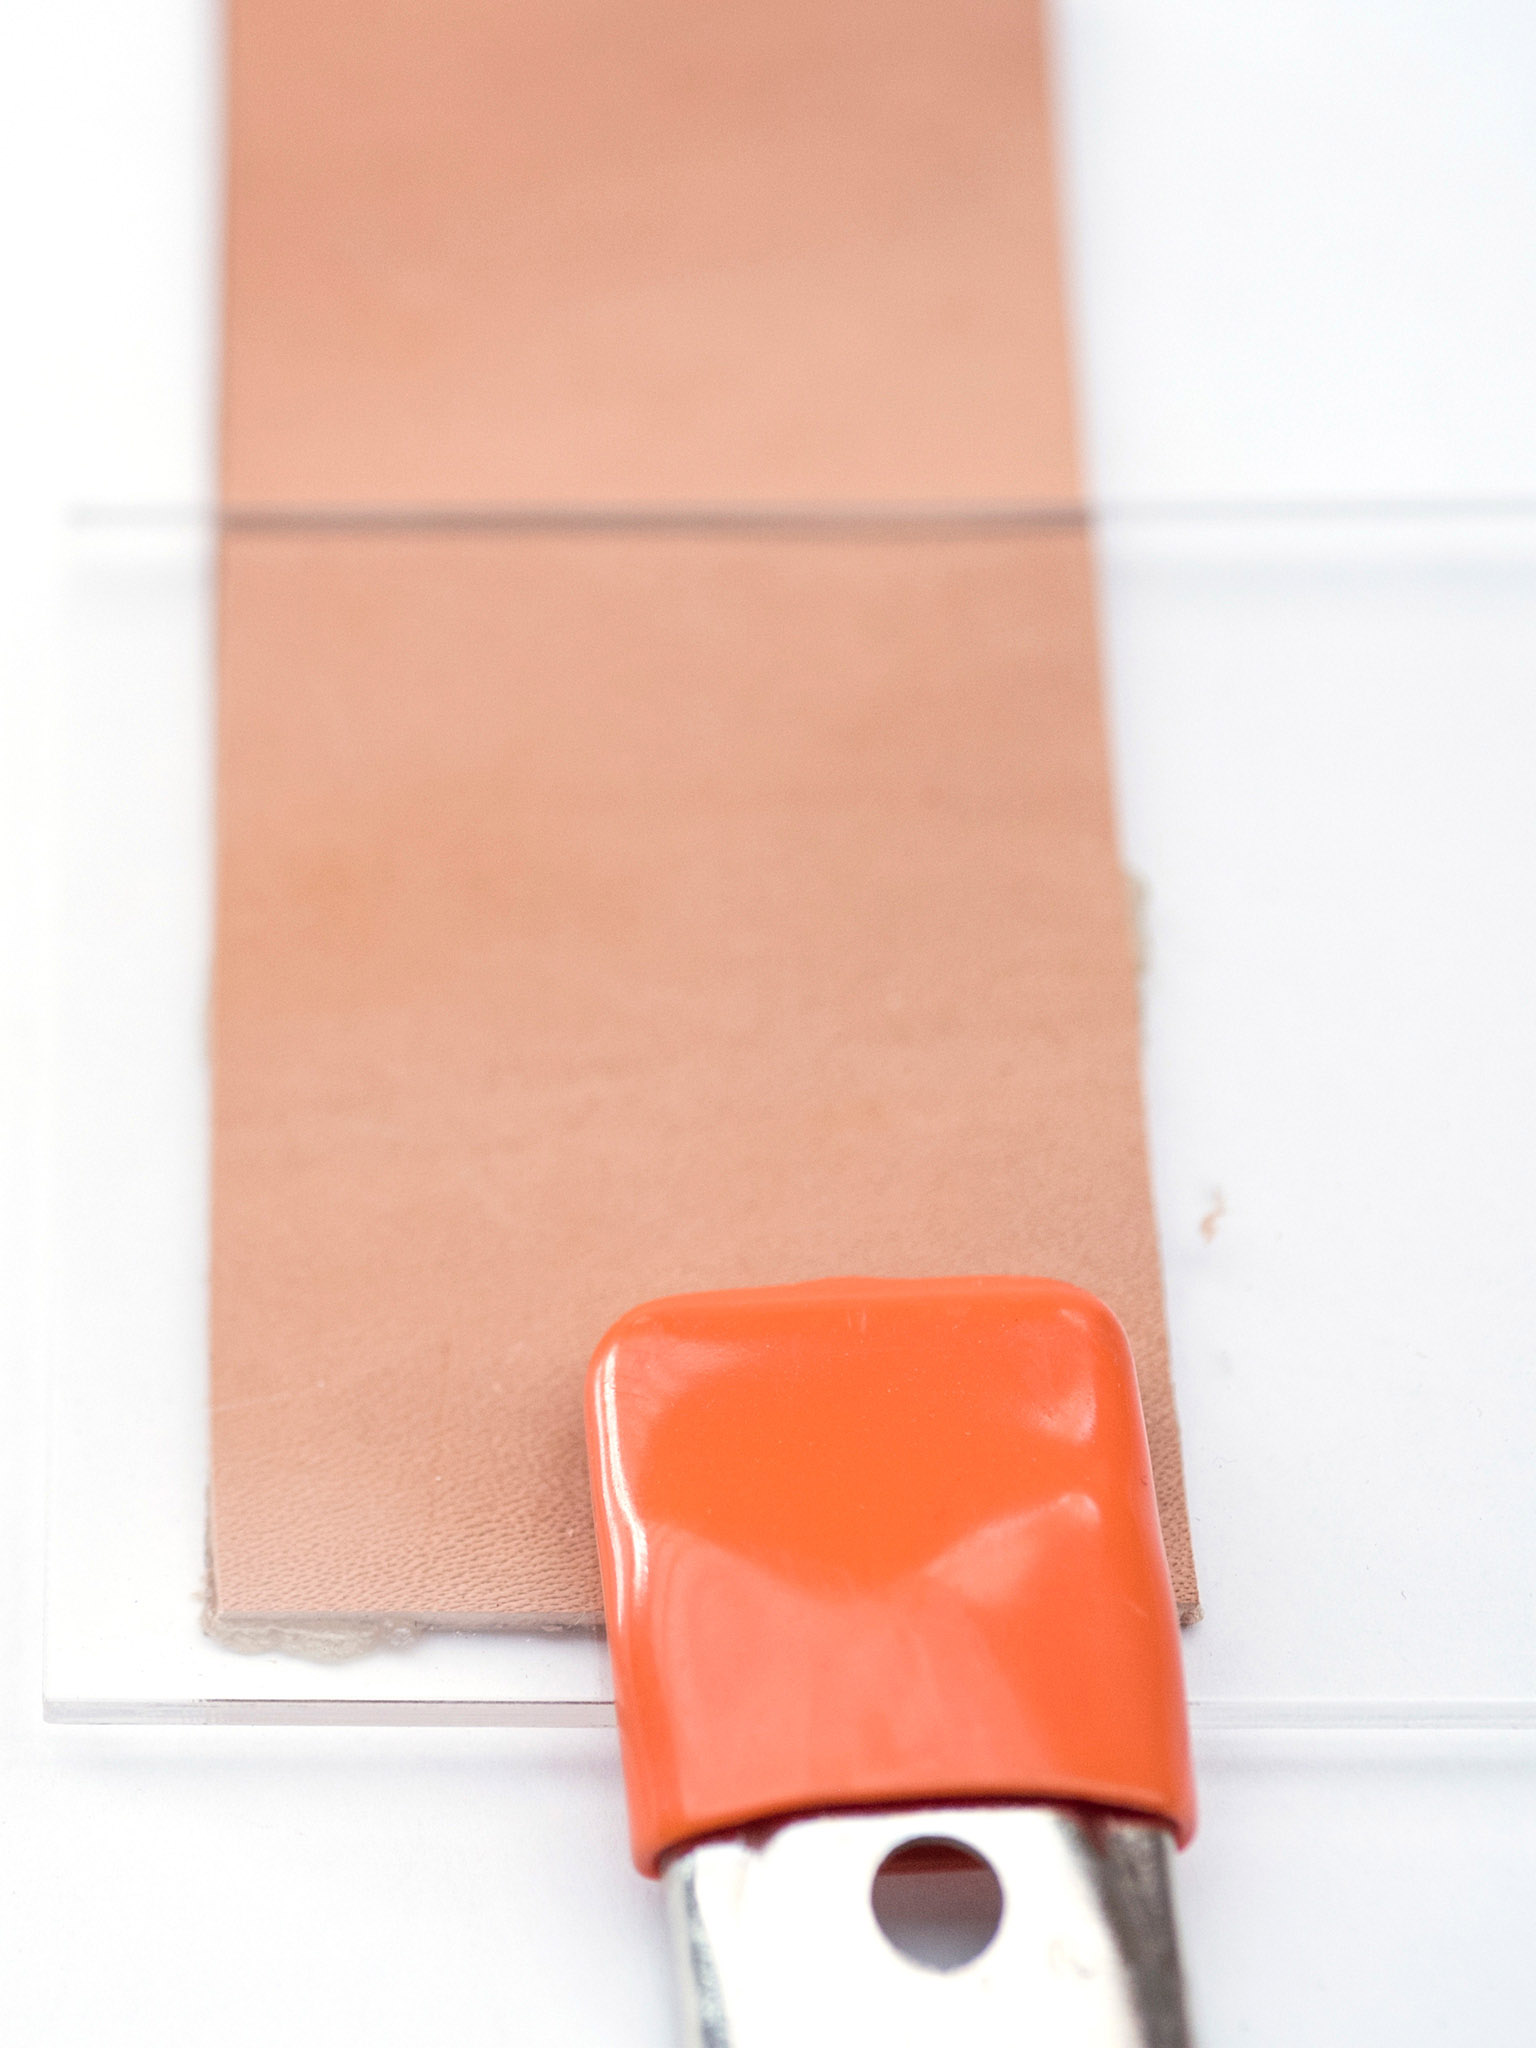
5 After fully dry, clean up. Using the adhesive eraser just like a pencil eraser, rub away any excess dried-on cement from your project.
Regular rubber cement is not appropriate for leathercrafting. Instead, seek out a professional-grade rubber cement without toluene, such as Barge All-Purpose TF Clear Cement.