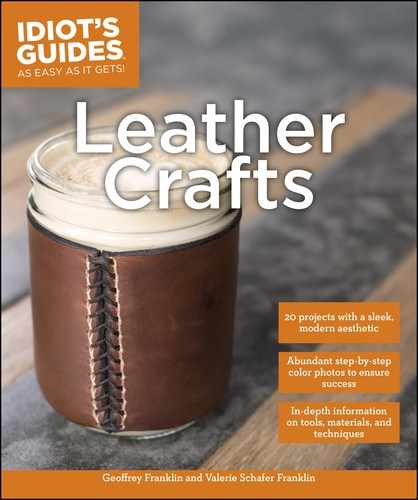

Simple Belt
Bridle leather belts last a lifetime, and with fine burnished wax edges, this glossy belt will impress your friends. One of the most utilitarian projects in the book, this simple design can be adapted to any kind of strap or belt to create endless variations on this theme.
Finished size
1½×36 inches (3.8×91.4cm) (or length to suit)
Materials
1 piece 9–10 ounce (3.6–4.0mm), black bridle leather, 1½×36 inches (3.8×91.4cm), for belt
1 piece 9–10 ounce (3.6–4.0mm), black bridle leather, ½×4 inches (1.3×10.2cm), for belt loop
1 standard belt buckle, 1½ inches (3.8cm)
Paraffin wax
Waxed nylon thread, 5-strand
Template
Simple Jeans Belt (idiotsguides.com/leather)
Tools
Strap cutter
Precision knife
Straightedge
Cutting mat
Benchtop-mounted or handheld skiver
Edge beveler, #2
Latex gloves
Newsprint or butcher paper (optional)
Makeup sponge
Fiebing’s oil dye, black
Burnisher
Hole punch, #7
Bag punch, 1⅛ inches (2.9 cm)
Mallet
Adjustable stitching groover
Single-prong pricking iron
2 harness needles, #00
Techniques Used
Working with Templates
Cutting: Using a Strap Cutter
Cutting: Using a Precision Knife Freehand
Edge Finishing: Edge Beveling
Edge Finishing: Edge Dyeing
Edge Finishing: Edge Burnishing
Punching: Using Hole Punches
Hand Stitching: Baseball Stitch
Hardware: Attaching Chicago Screws
Hardware: Attaching a Buckle
Skiving

1 Cut the strap. Cut a strap of leather1½ inches (3.8cm) wide and at least 4 inches (10cm) longer than your most comfortable belt.
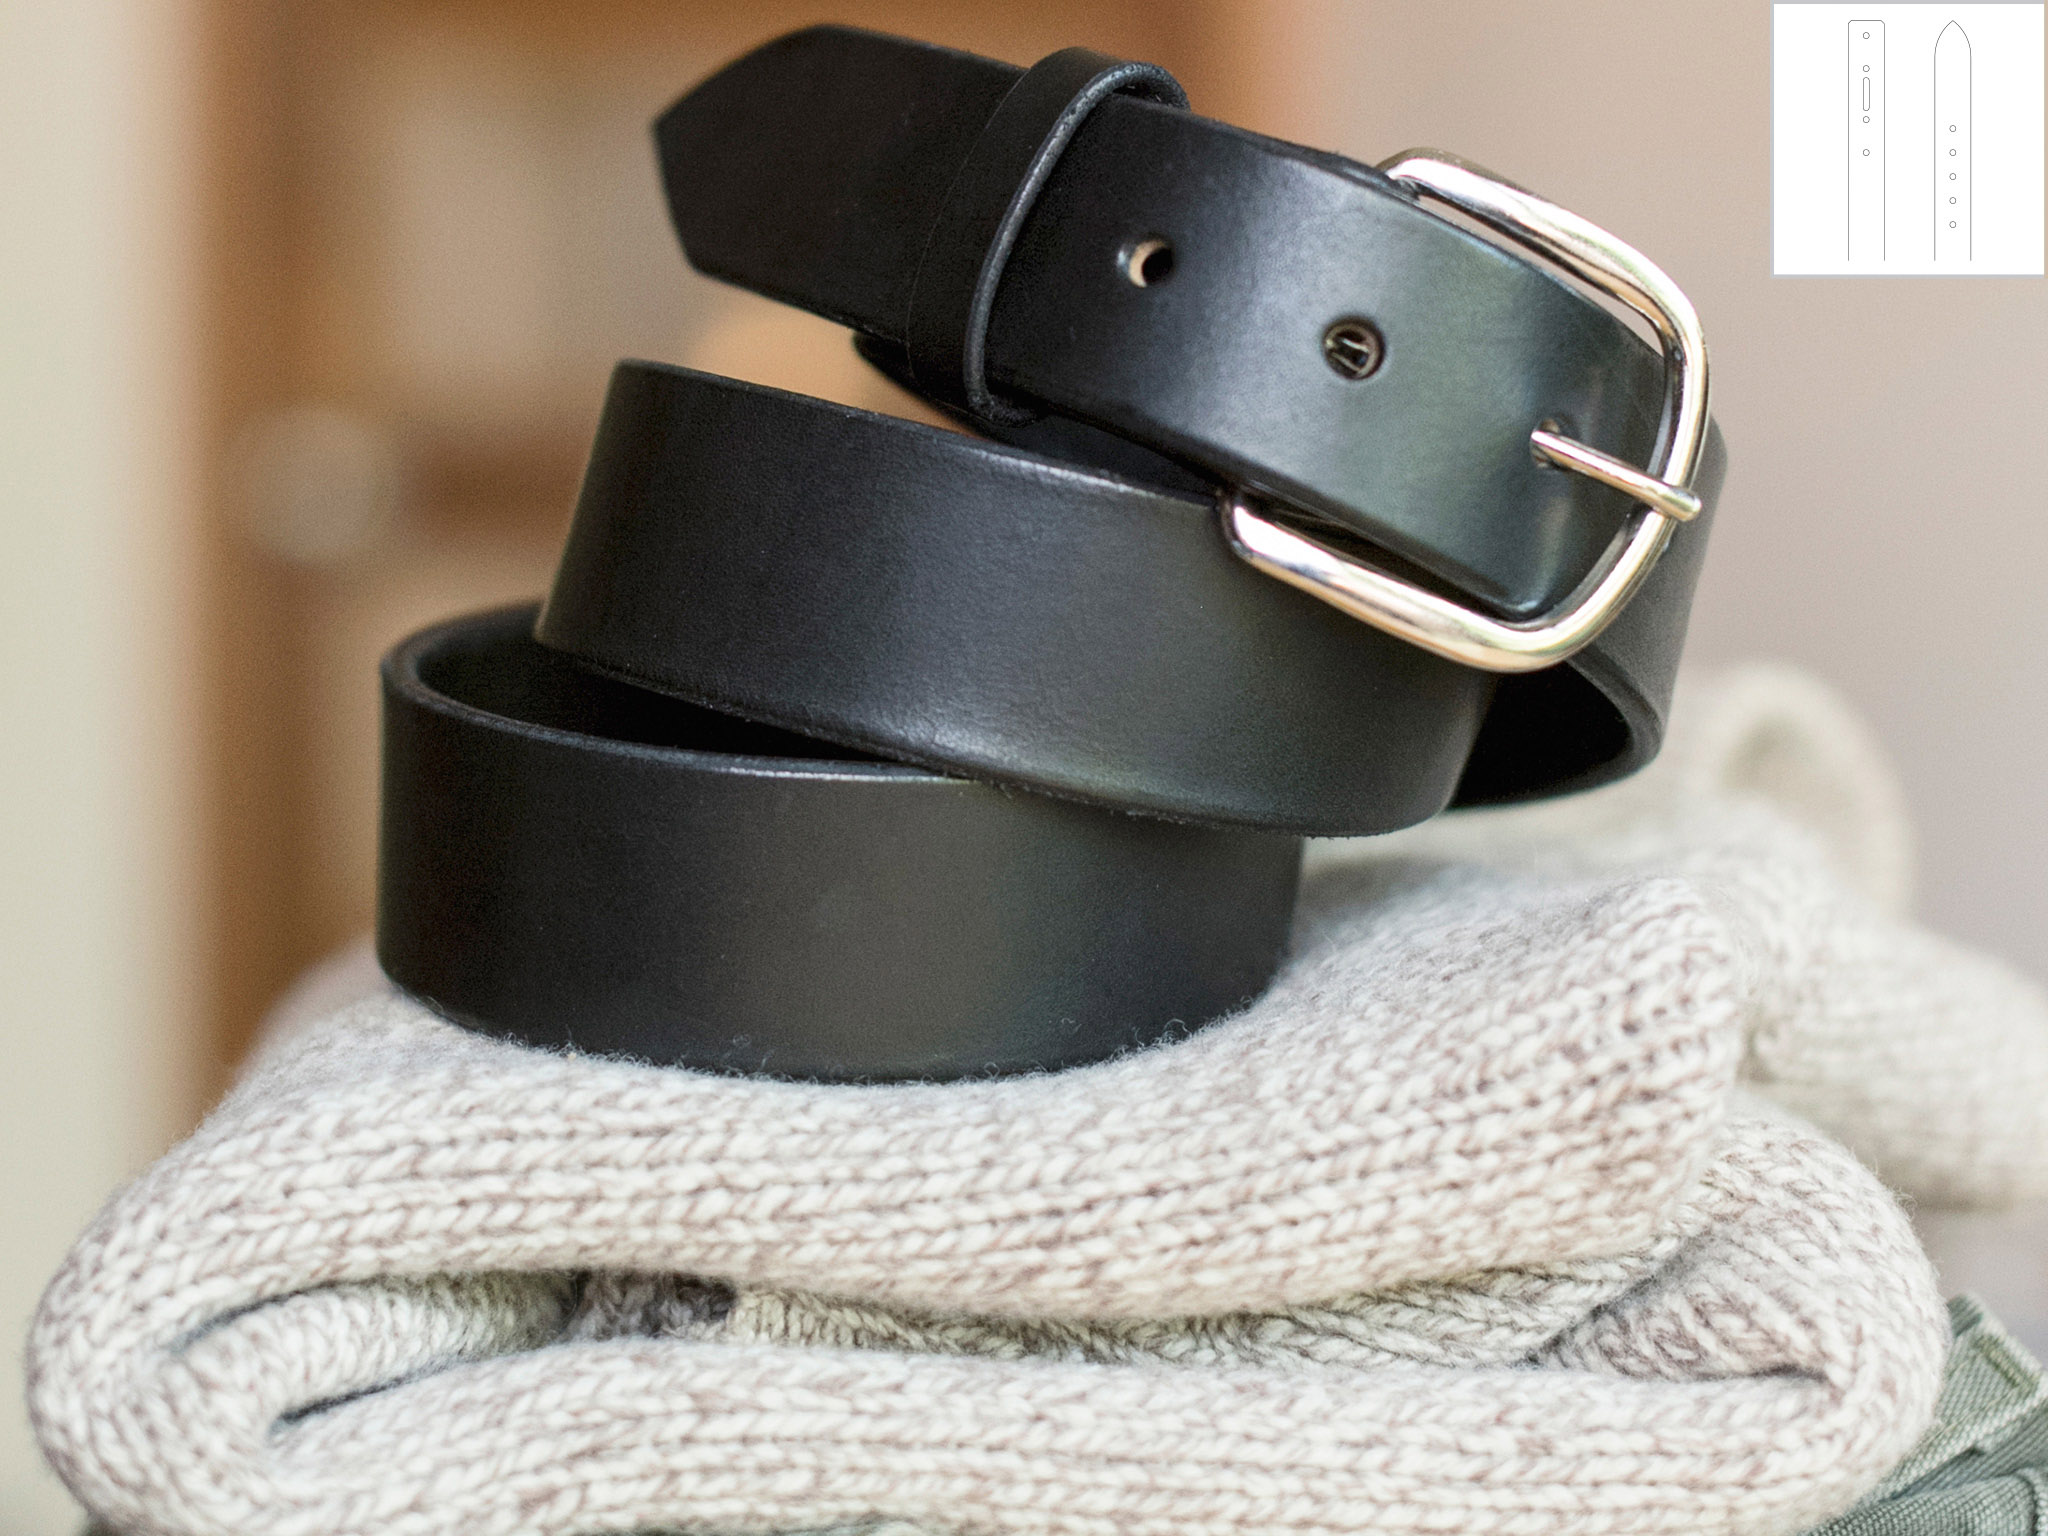
2 Trace the template. Space the two end pieces of the template onto the strap according to the desired waist length, measuring the waist length from the center of the oval bag hole to the middle belt hole, as shown on the template. Trace with a mechanical pencil.

3 Cut the project. Cut the ends of the belt using the precision knife. Use a straightedge for the buckle end and cut the belt end freehand along the lines of the template.

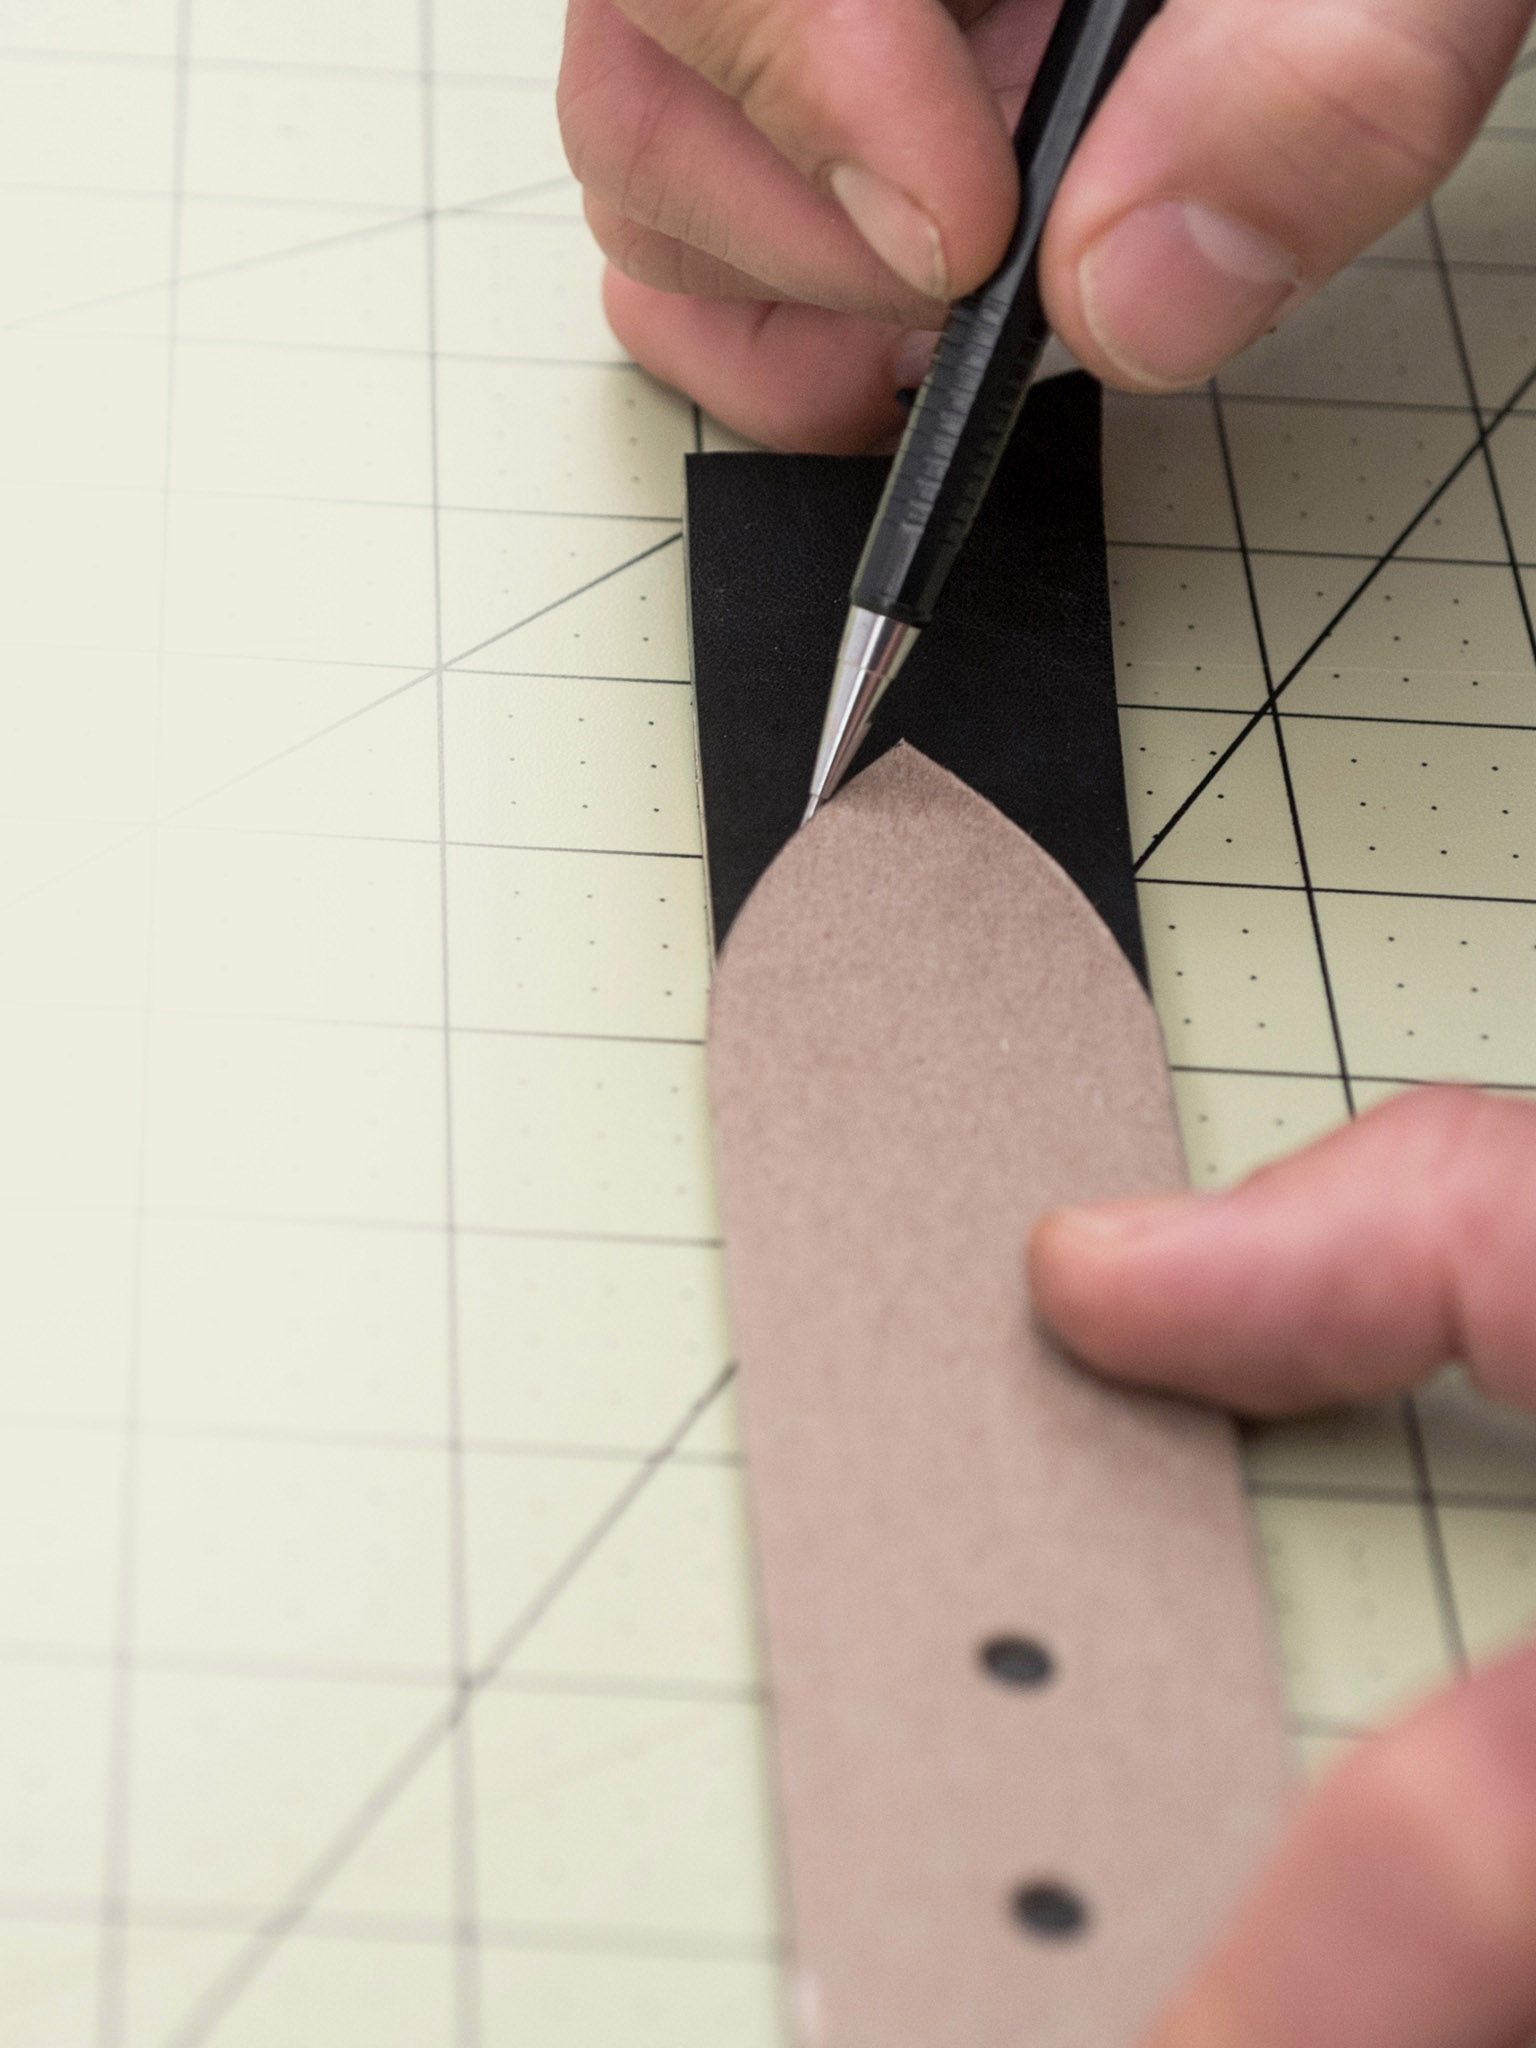
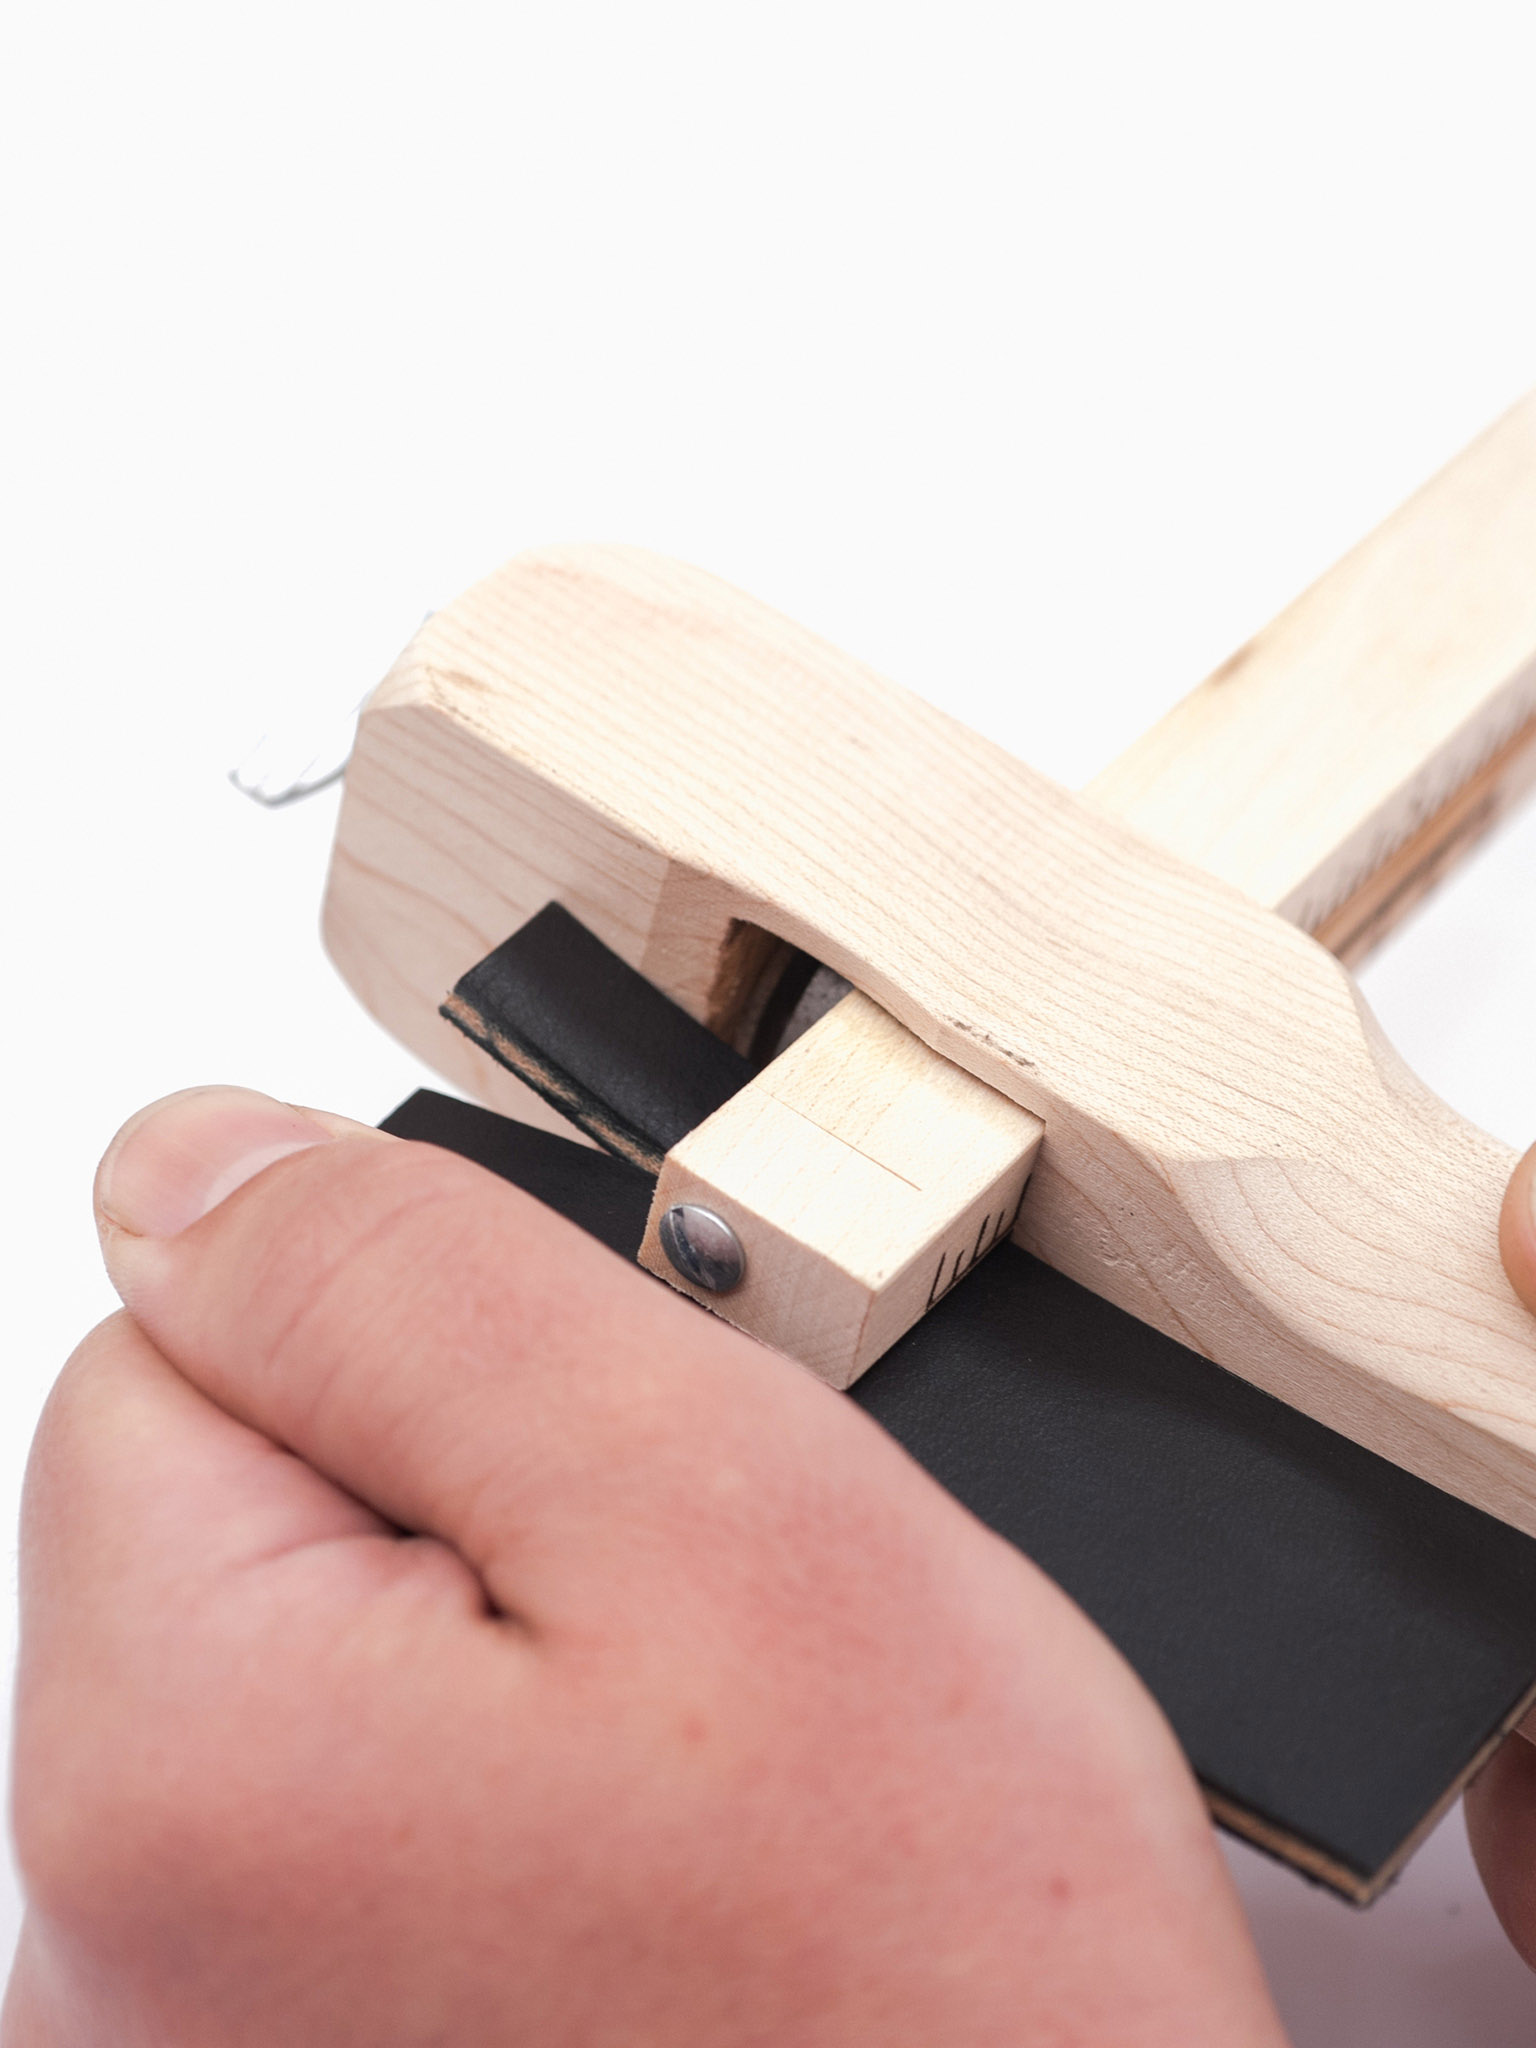
4 Skive the buckle end. Using the skiver, skive the buckle end of the belt to half its thickness, starting at the top of the bag punch hole and continuing to the end of the belt, as shown on the template. (This area will be dyed in Step 6.)

5 Bevel the edges. Using the edge beveler, round the edges of the belt on all sides, front and back.

6 Dye the edges. Using a makeup sponge, dye the edges and skived area black. Allow enough time to dry—at least an hour—before proceeding to the next step.

7 Burnish the edges. Wax and burnish the edges until smooth and shiny.

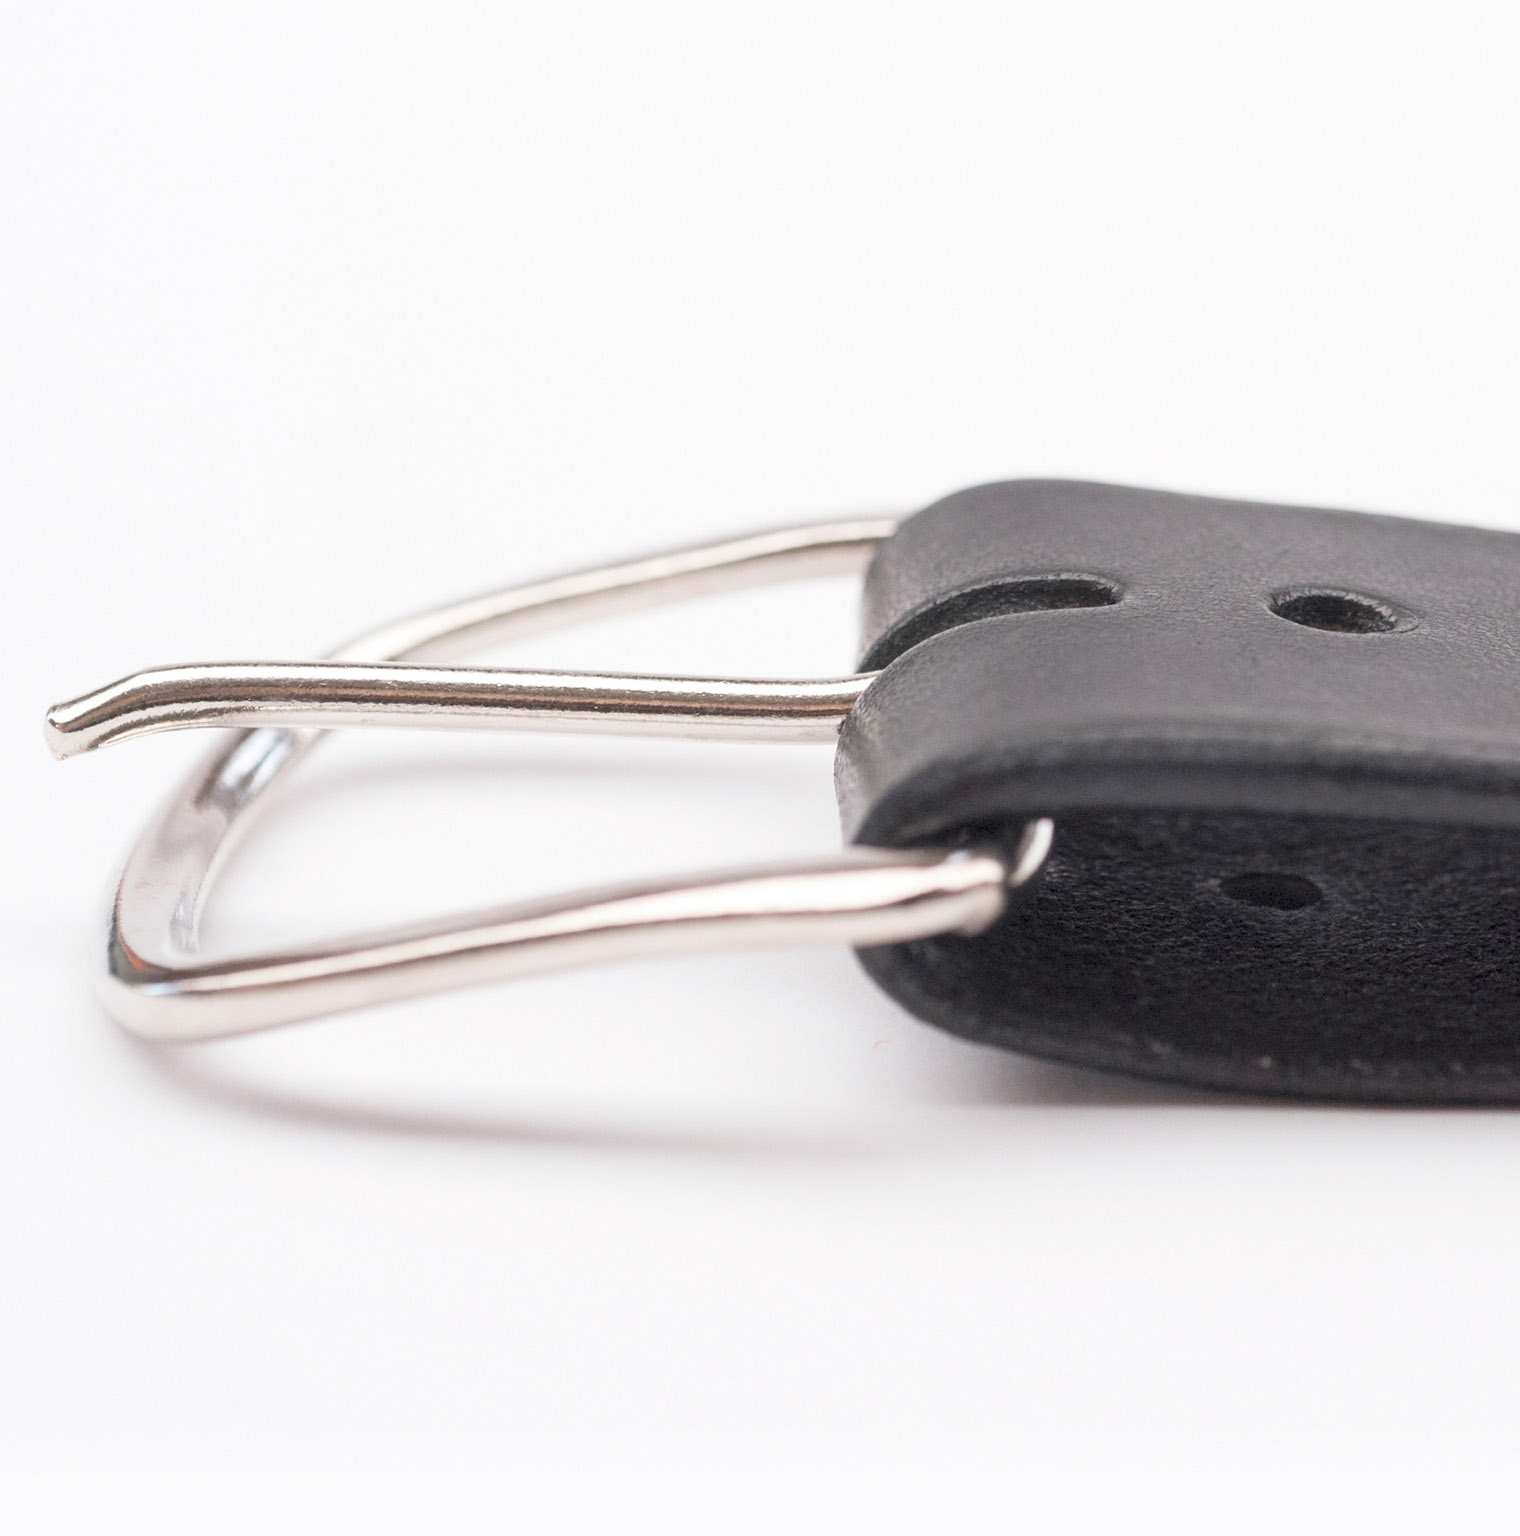
8 Punch the holes. Punch the belt holes and Chicago screw holes with the #7 hole punch. Punch the oval hole using the 1⅛-inch (2.9cm) bag punch.
9 Cut the belt loop strap. Using the same bridle leather, cut a strap ½ inch (1.3cm) wide by 4 inches (10.2 cm) long.
10 Skive the belt loop. Skive the belt loop to half the original thickness.
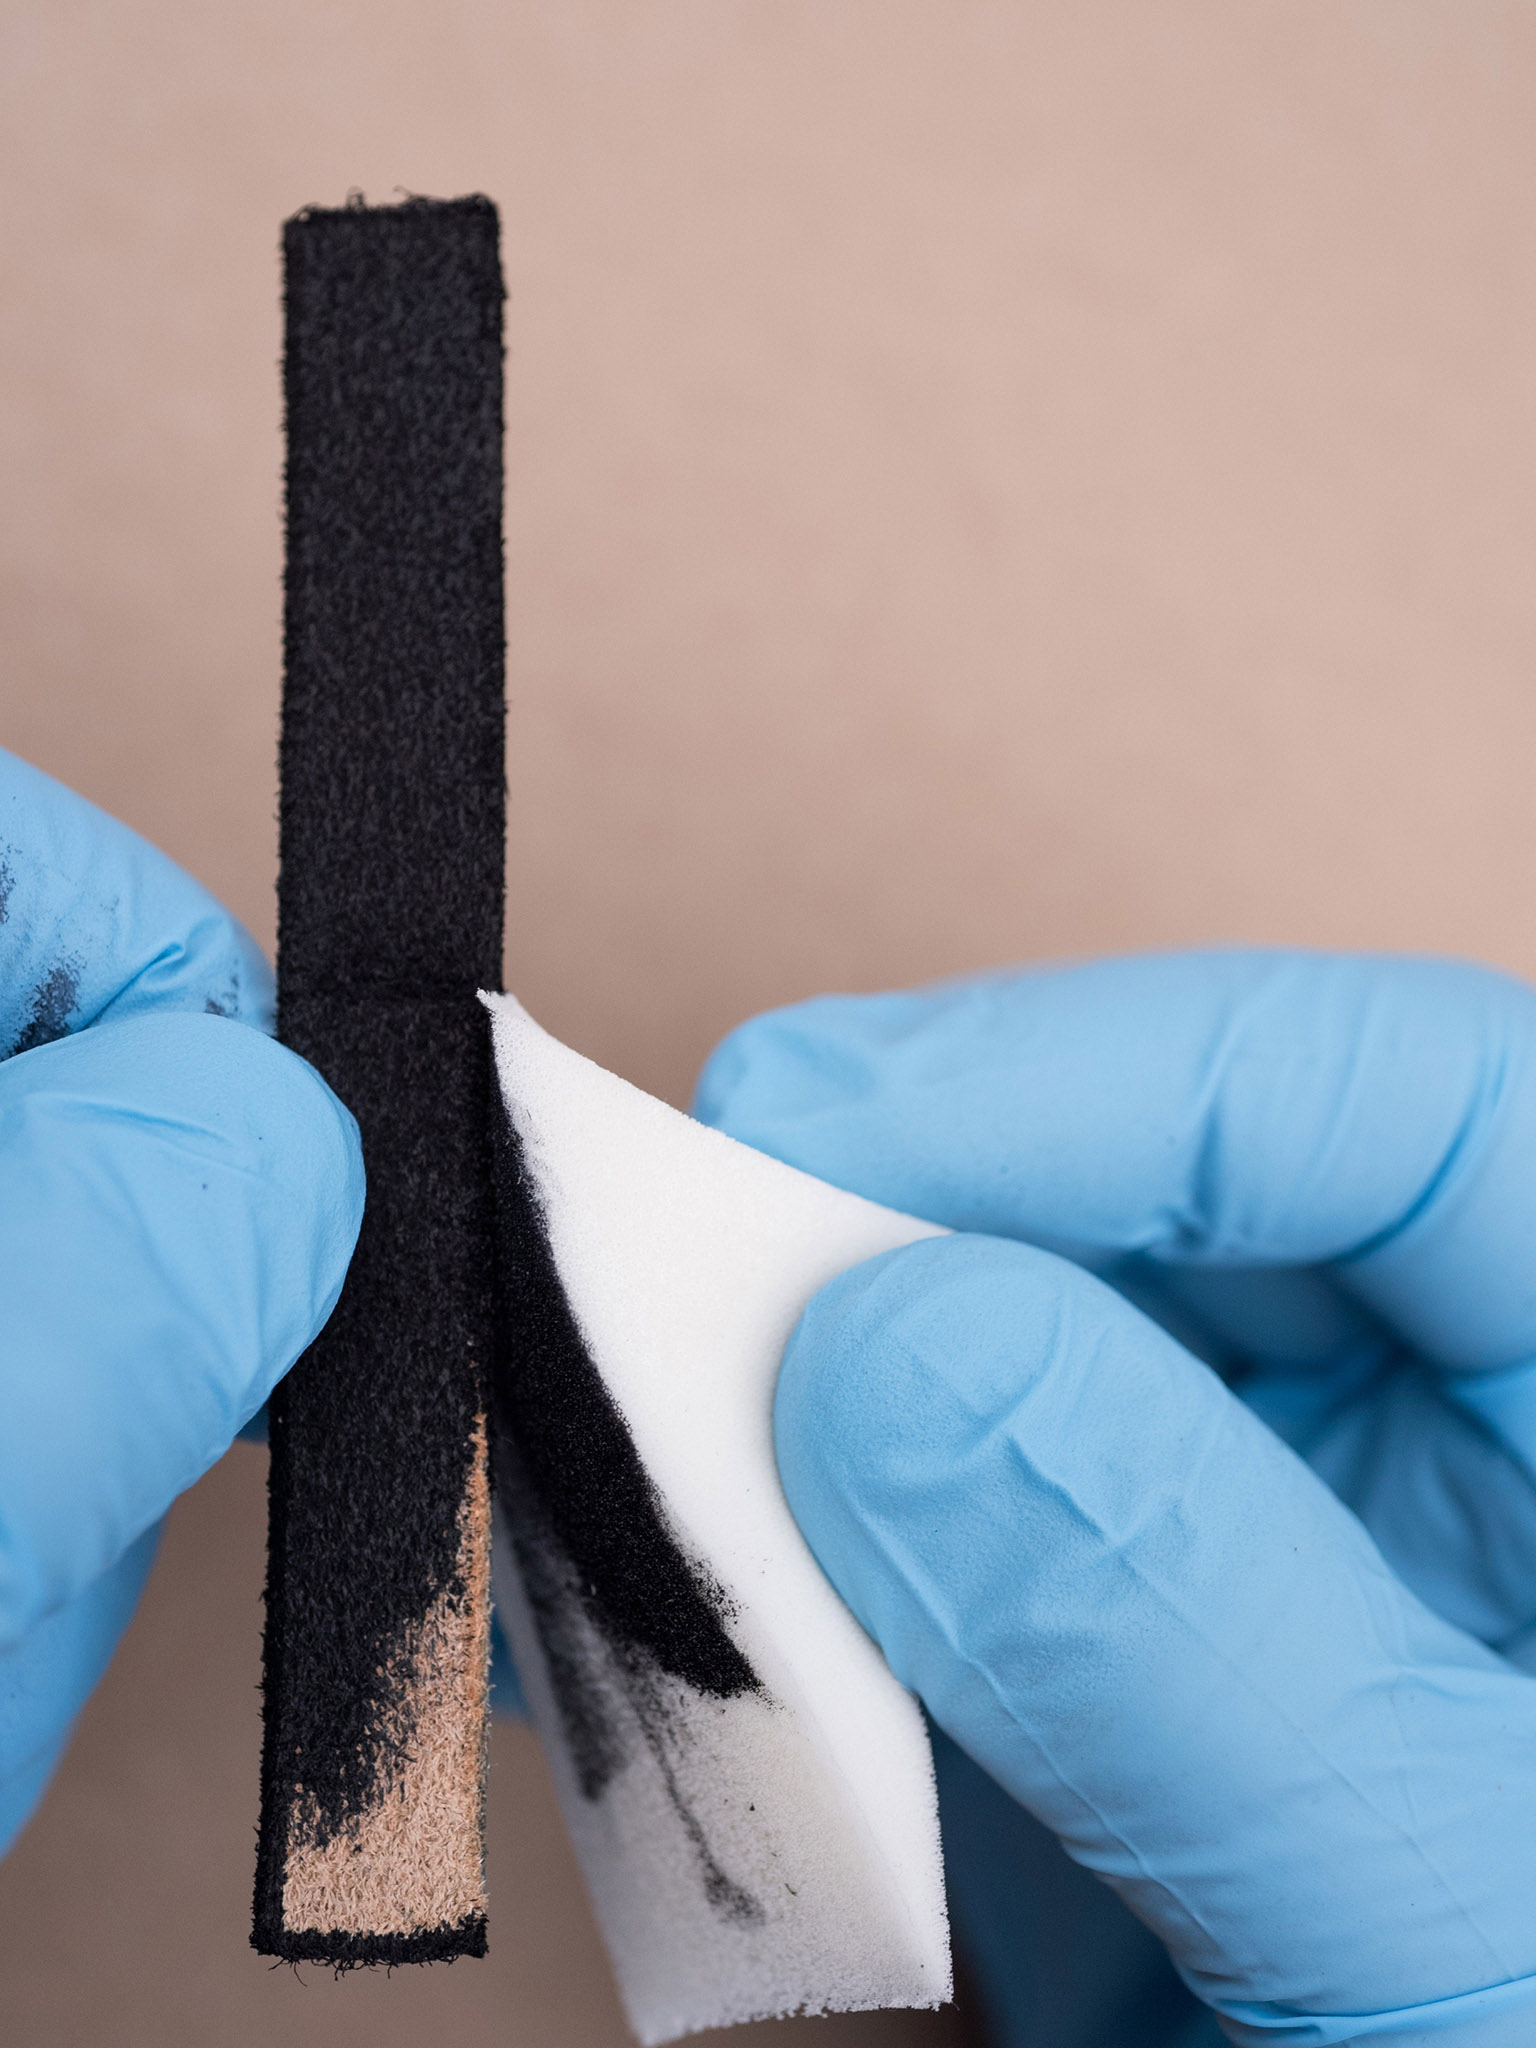
11 Dye the belt loop edges. Using the makeup sponge, dye the edges and skived area black.

12 Prepare the belt loop for hand stitching. Using first the stitching groover and then the pricking iron, punch two evenly spaced stitch holes along the short sides.

13 Stitch the belt loop. Stitch together the belt loop using a baseball stitch. Don’t worry about appearance; it will be hidden when assembled.
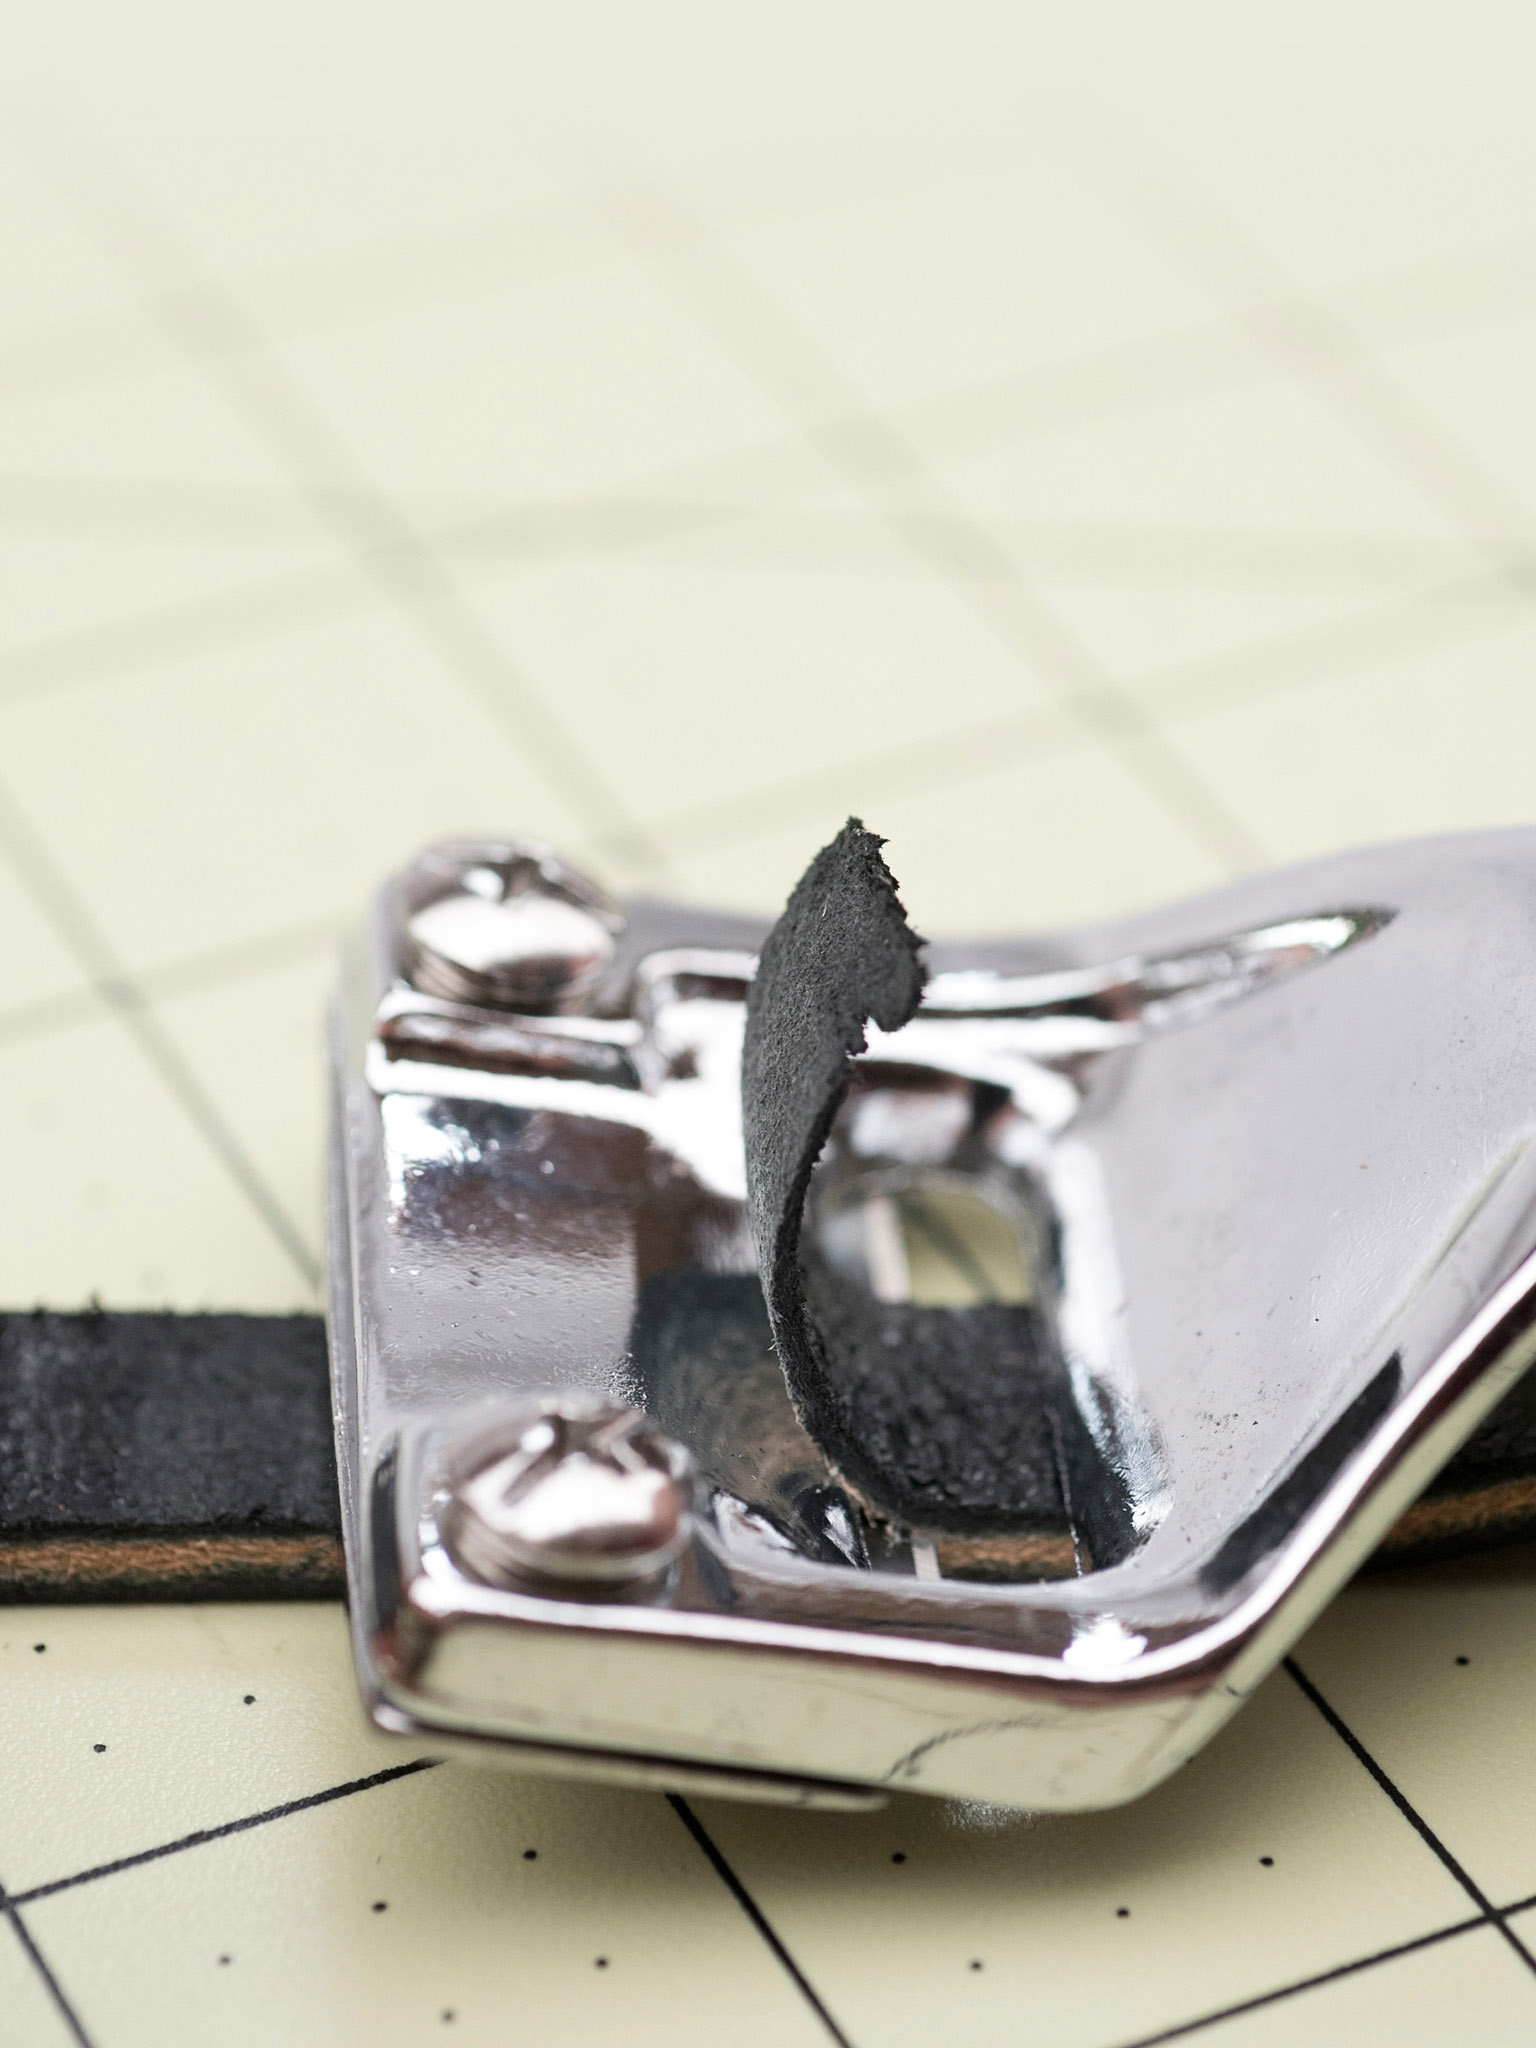
14 Assemble the belt. Fold the skived end of the belt around the buckle, making sure the buckle tongue protrudes through the bag punch hole. Align the Chicago screw holes.

15 Attach the belt loop. Slide the belt loop onto the belt so that it rests between the Chicago screw holes.

16 Attach the Chicago screws. Insert and tighten the Chicago screws, completing the belt assembly.
There are many ways to adapt the classic jeans belt. Make it narrower and shorter for a dog collar, or longer and wider for a sturdy utility belt. Seek out new and unusual buckles, or try using vegetable-tanned leather for custom colors.
