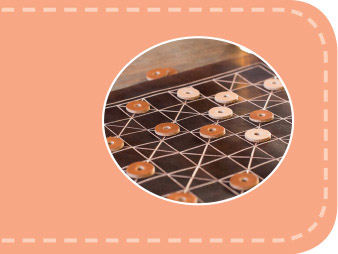
Checkers Game Board
Vegetable-tanned leather is the material of choice for this travel checkers or chess board, as it creates a dramatic contrast between the dye and the natural surface underneath. The thin leather rolls and unrolls easily, and the optional checkers pieces make for a complete game.
Finished size
10×11 inches (25.5×28cm)
Materials
1 piece 2–3 ounce (0.8–1.2mm) vegetable-tanned leather, 10×11 inches (25.5×28cm), for the game board
1 piece 6–7 ounce (2.4–2.8mm) bridle leather, 24×¼ inches (61×0.6 cm), for the thong closure
Cardstock
Fiebing’s oil dye, dark brown
Fiebing’s Bag-Kote (gloss)
2 pieces 6–7 ounce (2.4–2.8mm) vegetable-tanned leather, each 3×5 inches (7.5×12.7cm), for checkers pieces (optional)
Fiebing’s oil dye, saddle tan (optional)
Template
Checkers Game Board (idiotsguides.com/leather)
Tools
Mechanical pencil
Straightedge
Precision knife
Cutting mat
Makeup sponge
Dye rag
Gloss rag
Clamps
Hole punch, #7
Mallet
Freehand stitch groover
Awl
Quilter’s square
Strap cutter
Round hole punch, ¾ inch (1.9cm) (optional)
Techniques Used
Working with Templates
Cutting: Using a Straightedge
Cutting: Using a Strap Cutter
Finishing Leather: Dyeing
Finishing Leather: Glossing
Punching: Using Hole Punches
Hardware: Making a Leather Thong Closure
Hand Stitching: Using a Stitch Groover
Hand Stitching: Using an Awl
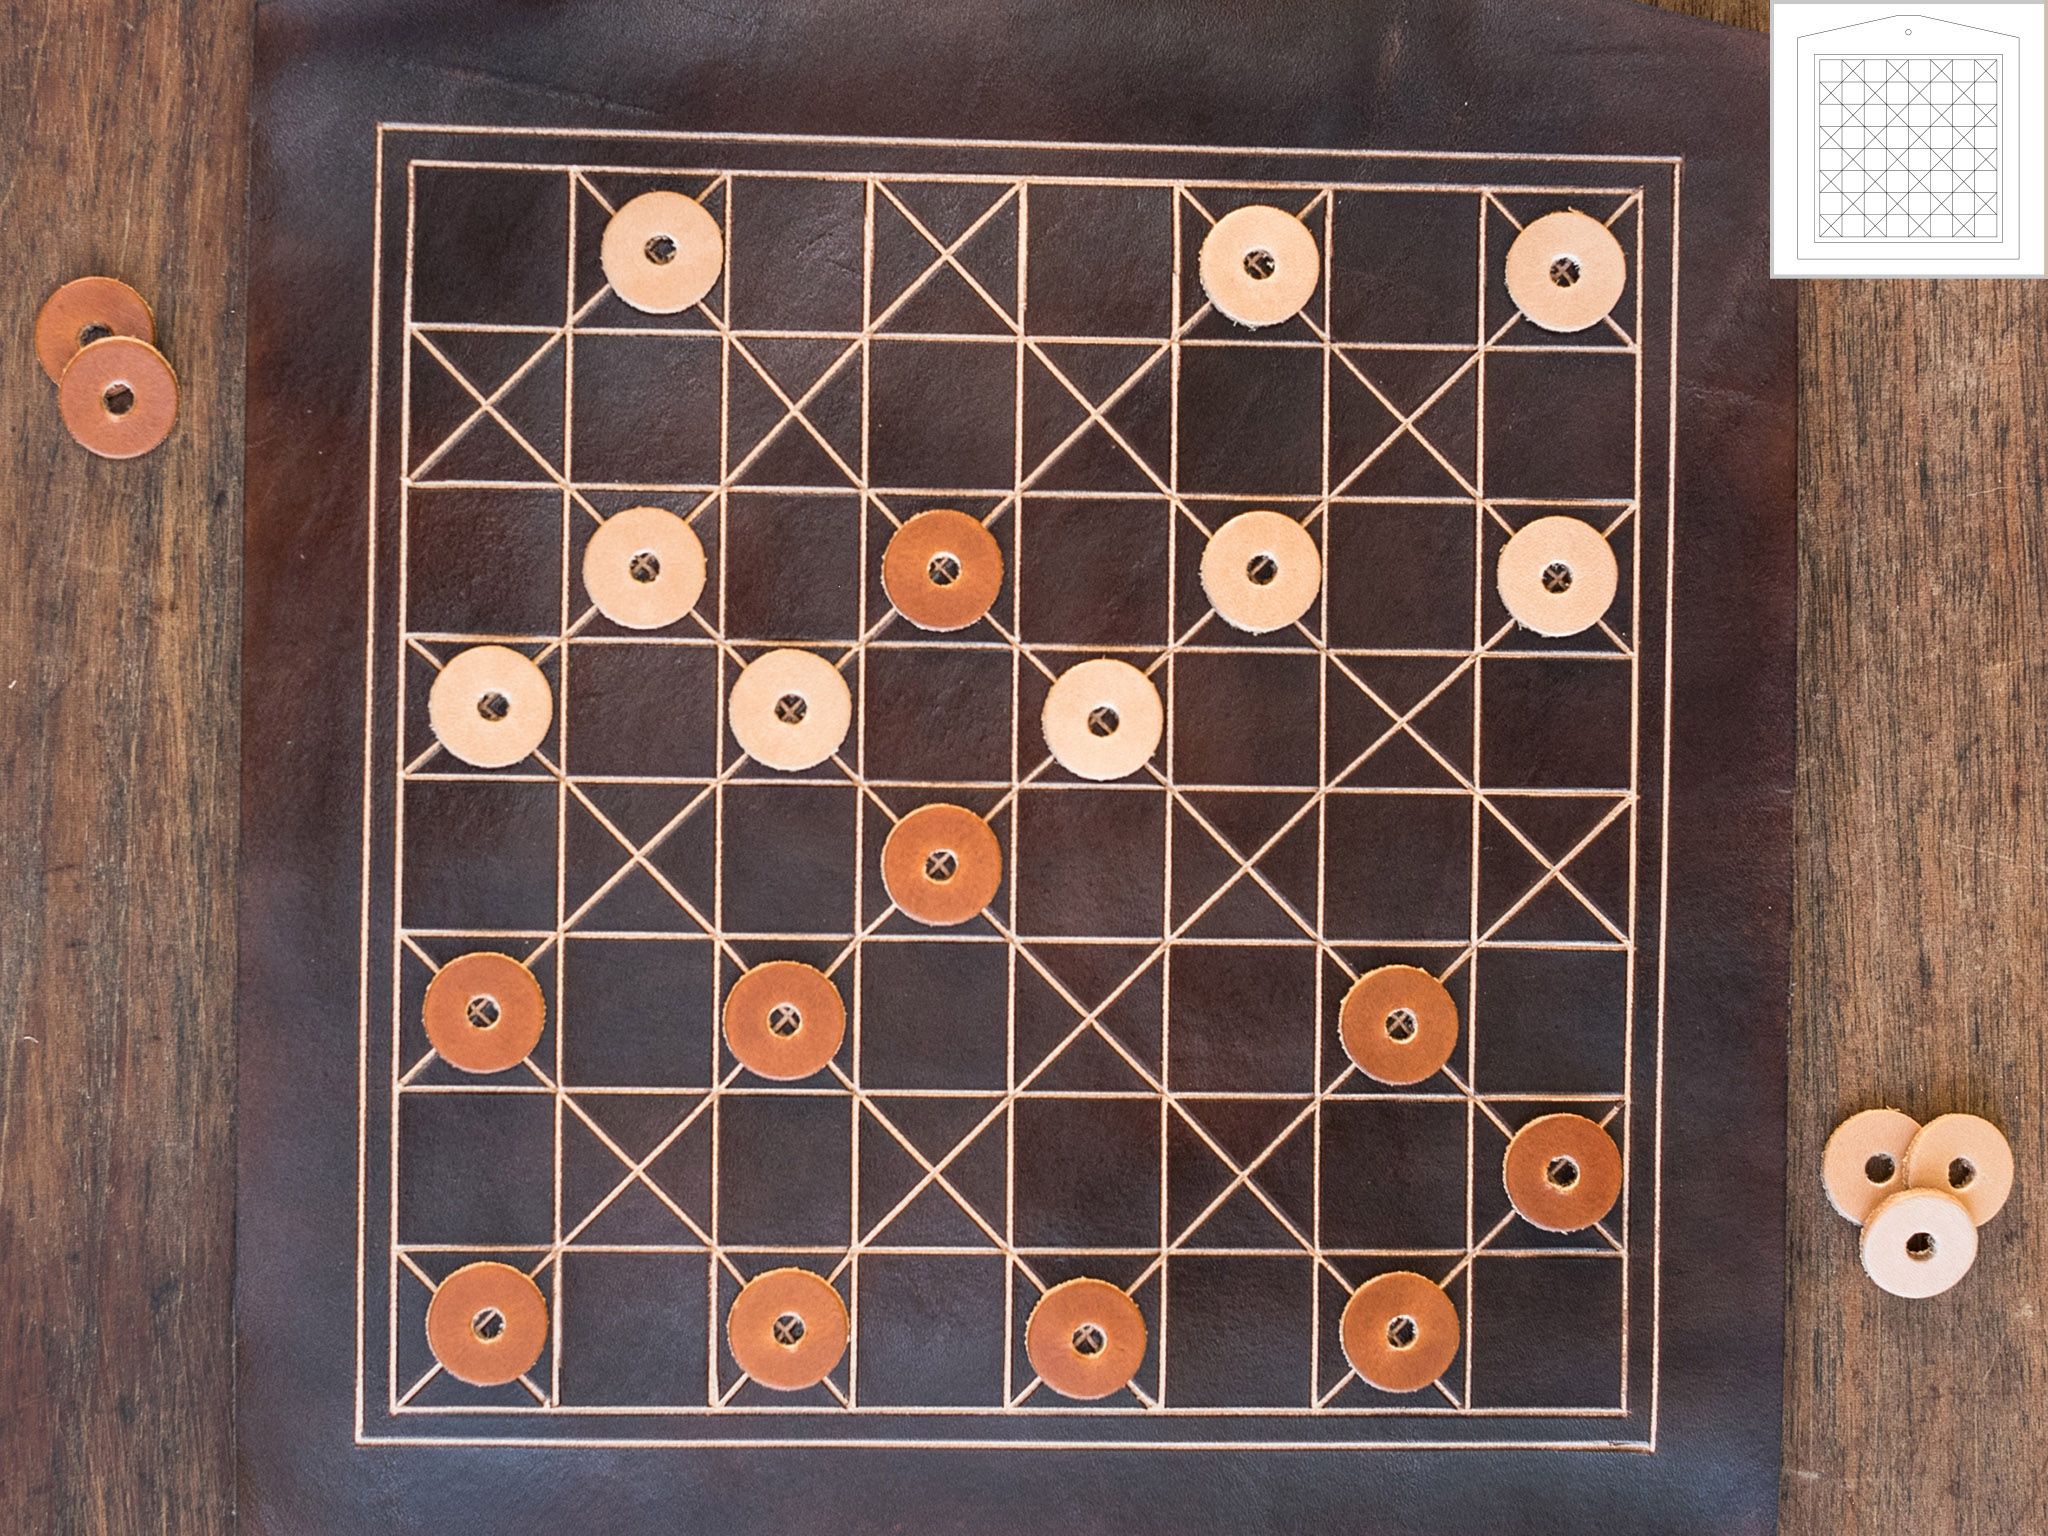
1 Prepare the template and cut the Leather. Transfer the paper template pattern to cardstock and trace onto the leather. Cut out the project body using a straightedge and precision knife.
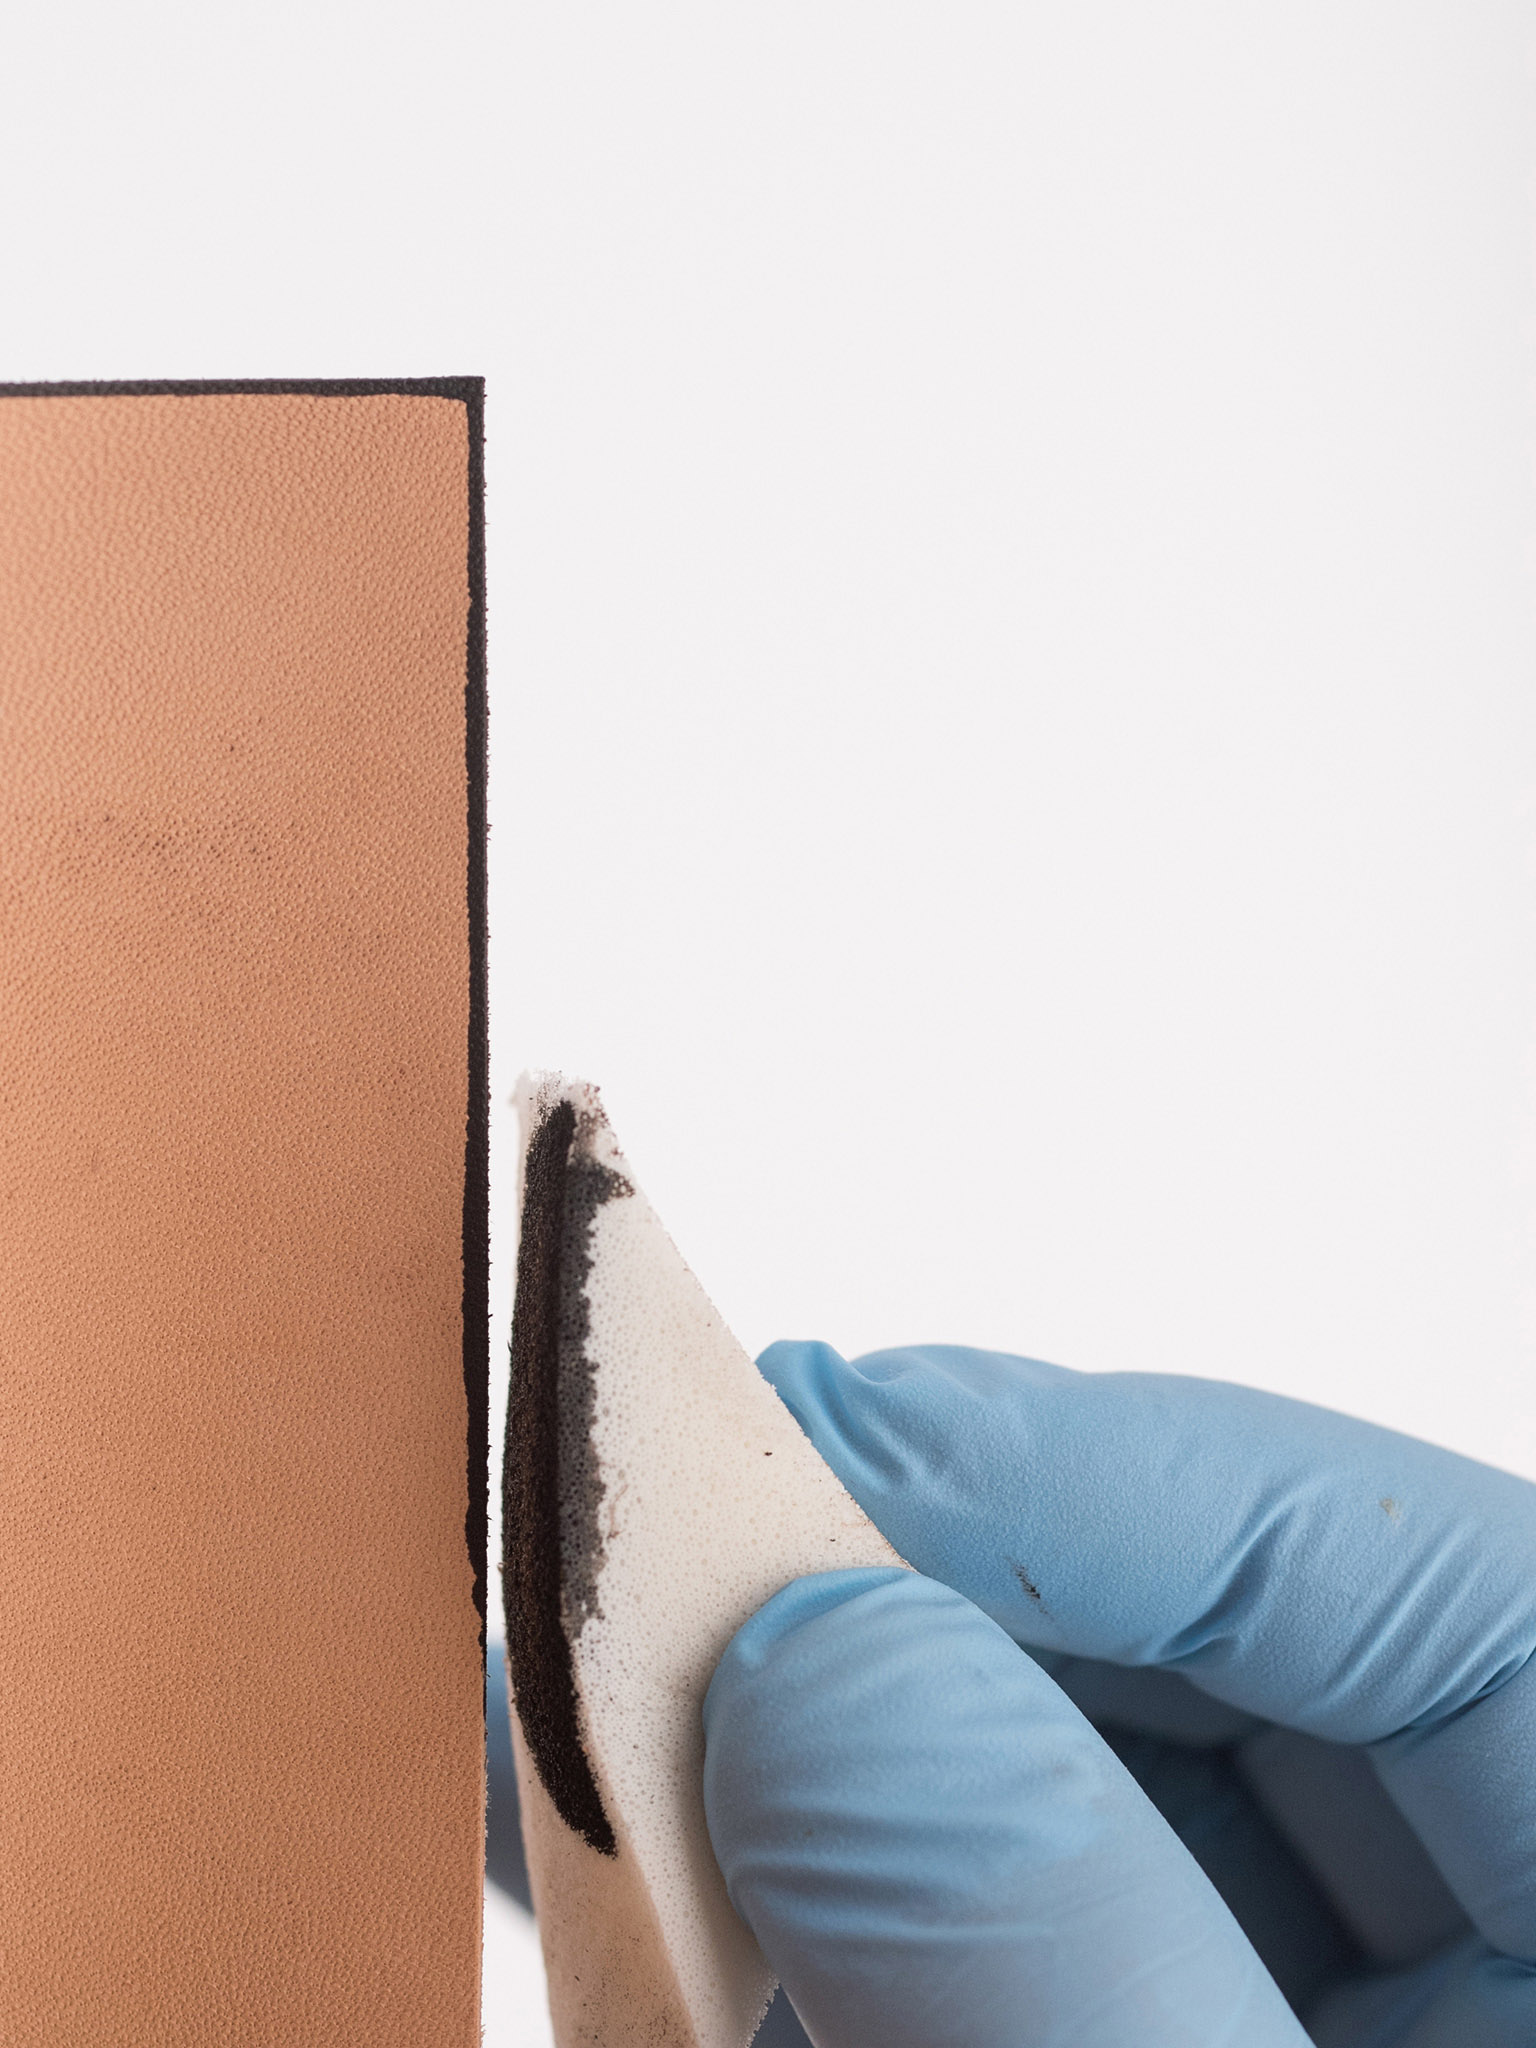
2 Dye the edges. Tip a small amount of dark brown oil dye onto a makeup sponge and draw the sponge along the edge of the cut leather. Hold the sponge perpendicular to the edge and re-apply dye as necessary.

3 Dye and dry the finished surface. Using the dark brown oil dye and dye rag, dye the finished surface of the leather. Allow to dry at least an hour.
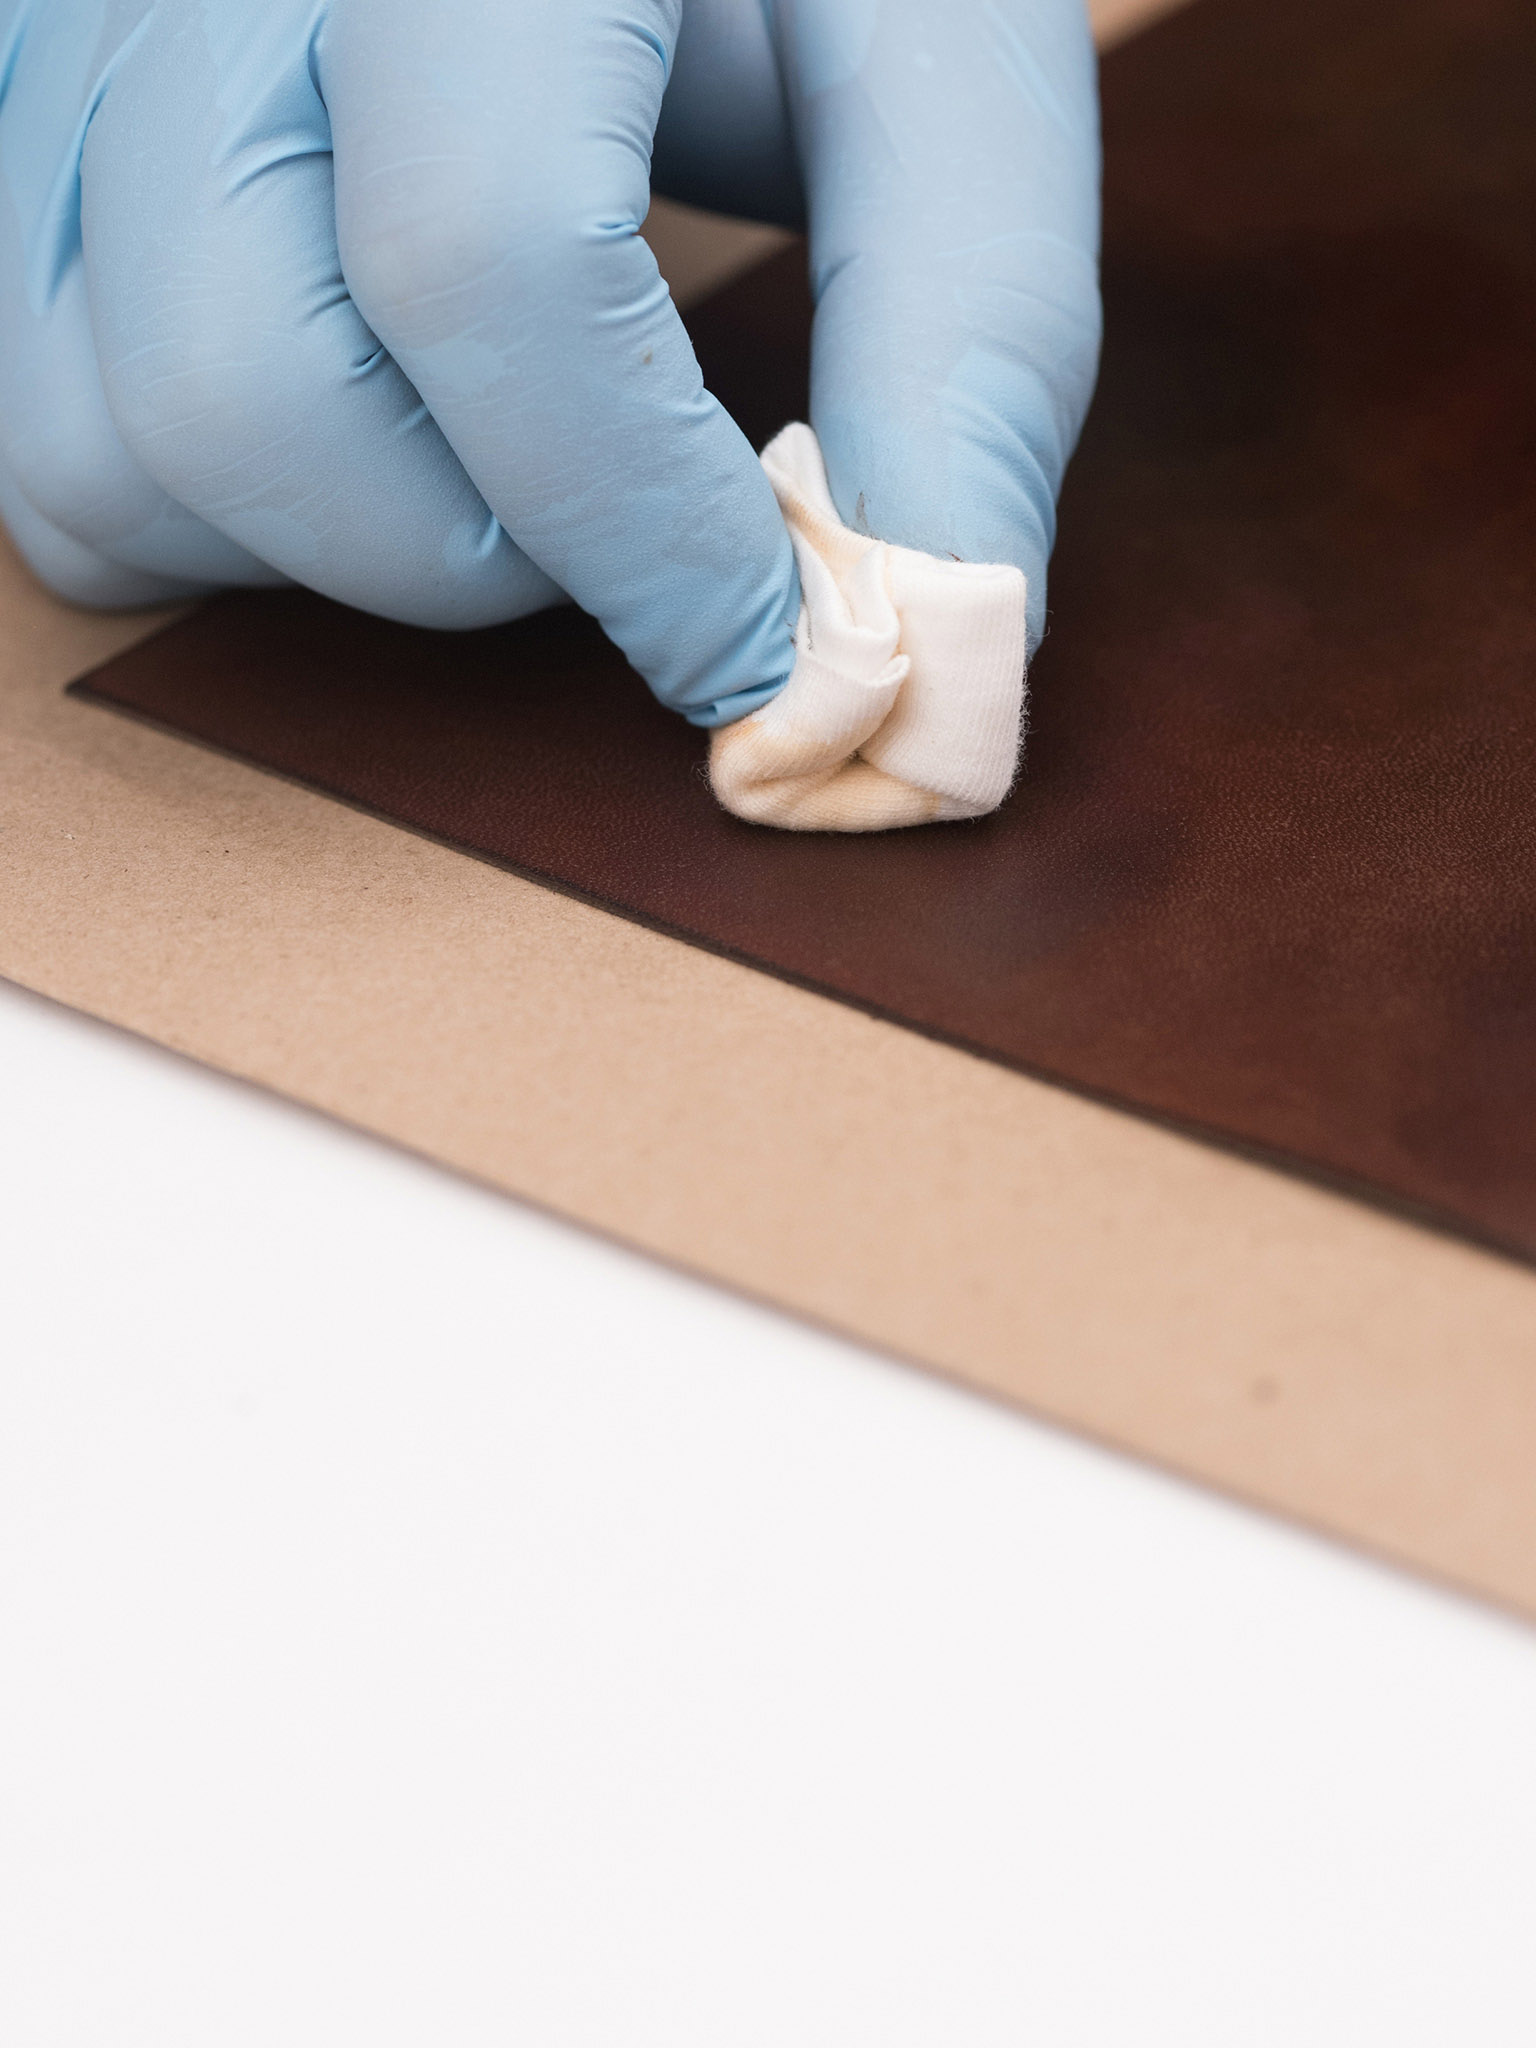
4 Gloss and dry the dyed surface. Using Bag-Kote and a clean gloss rag, gloss the surface. Allow to dry at least 1 to 2 hours.

5 Mark the game board from the template. Align the template with the leather and clamp down. Mark the four corners of the game board through the template using the awl.
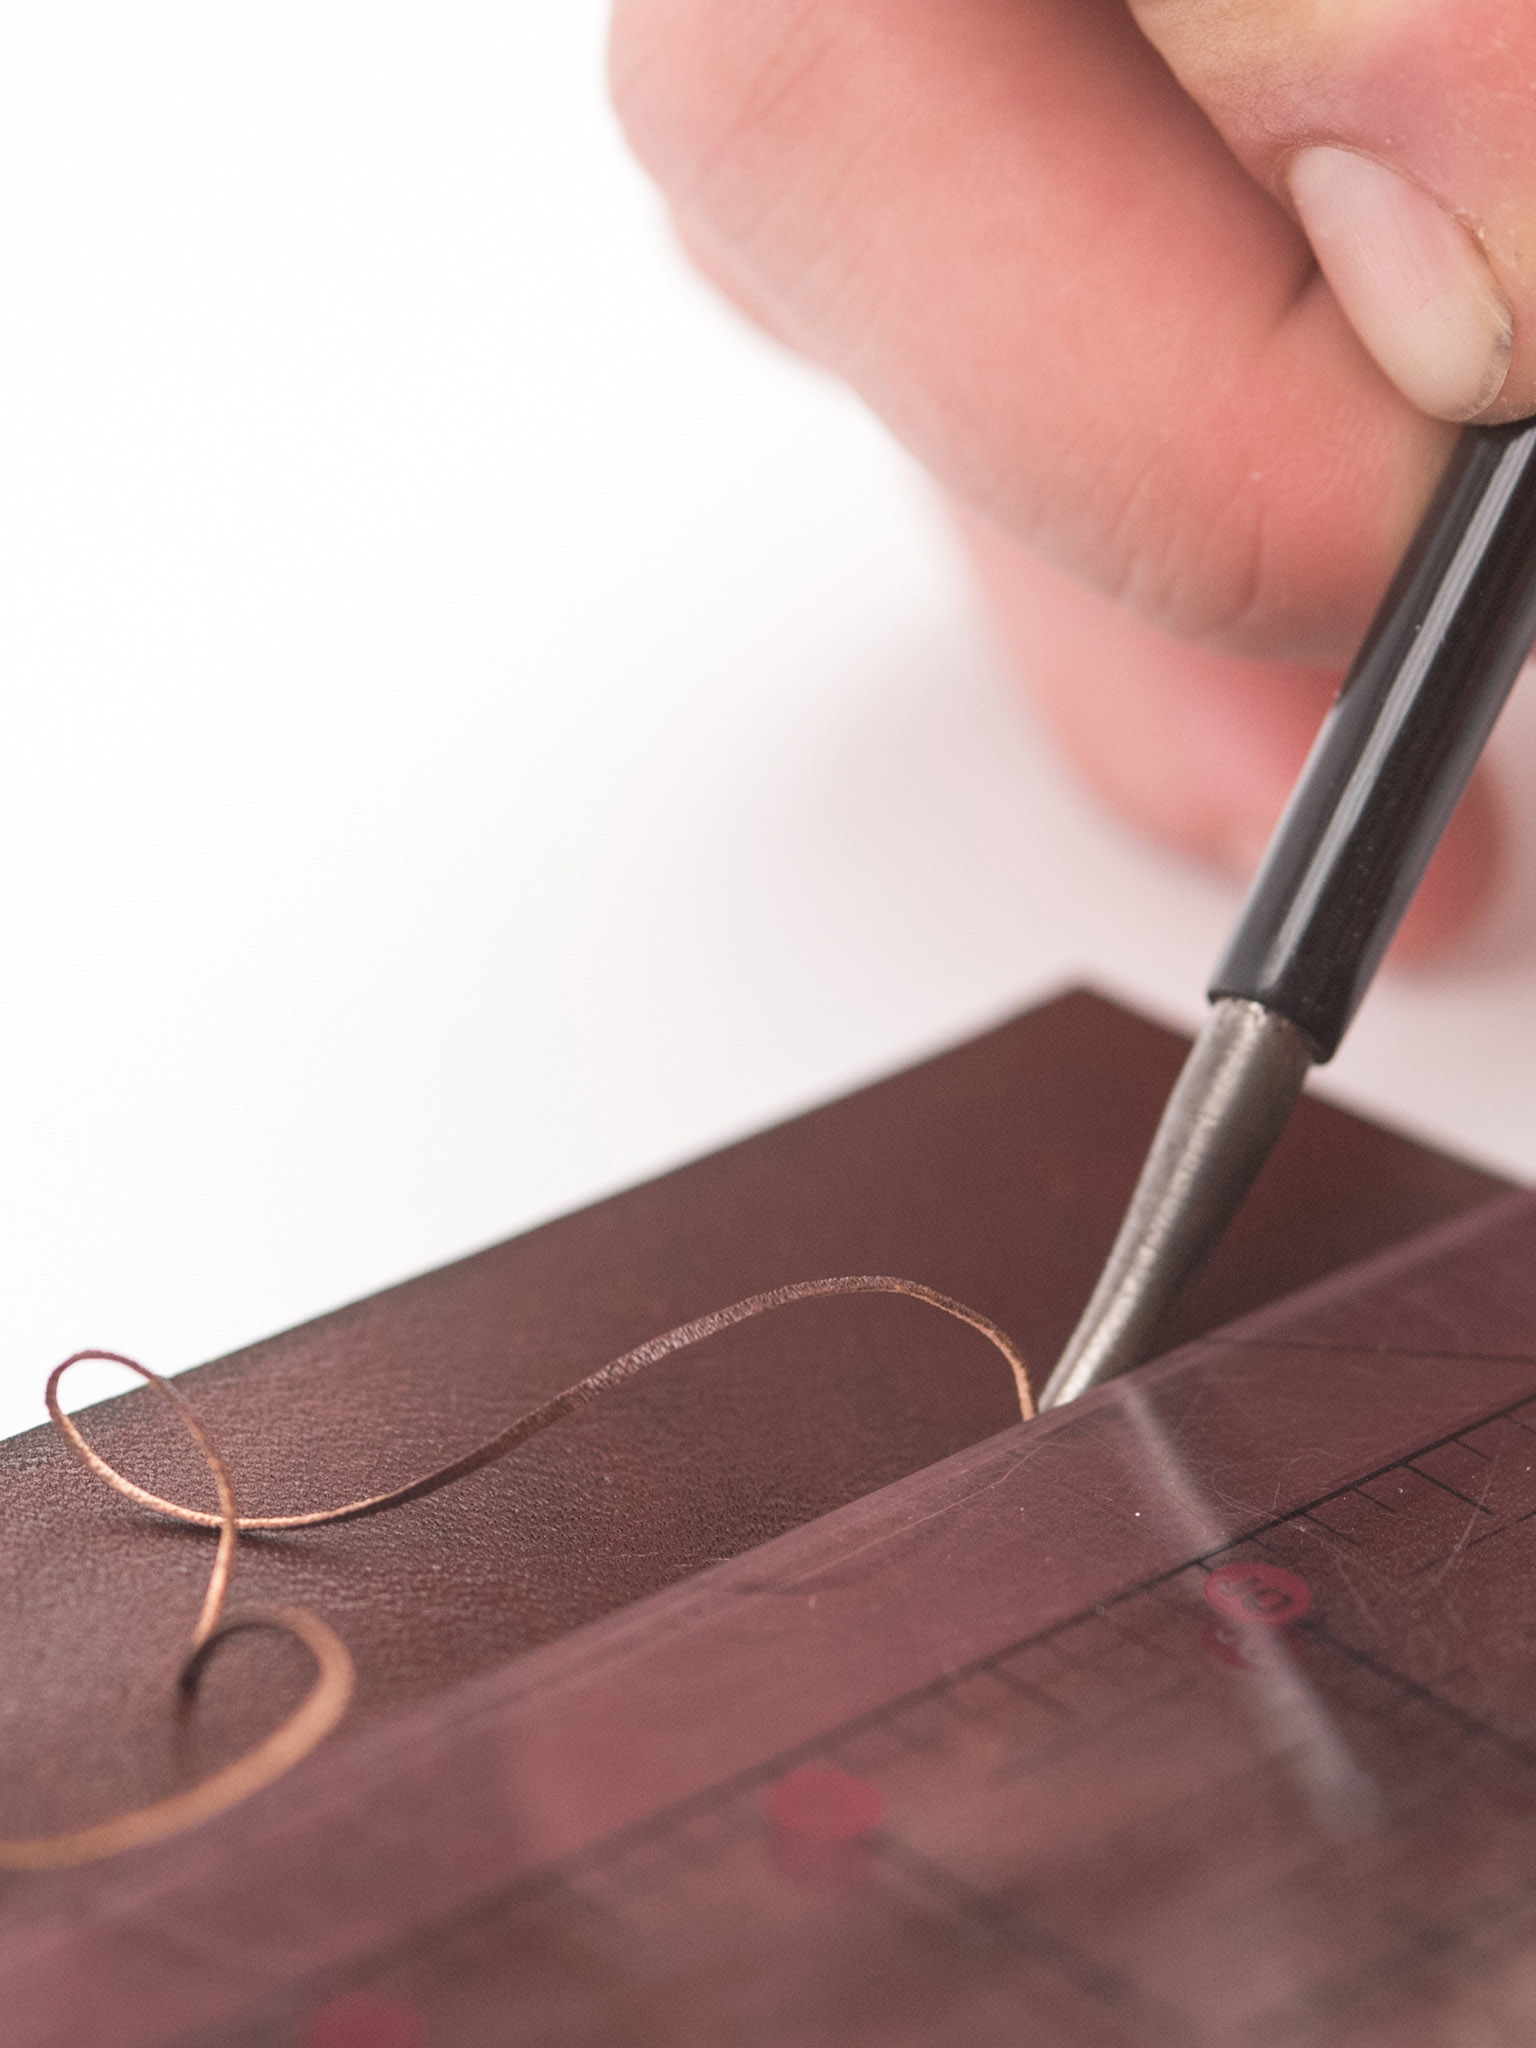
6 Groove the outside edge of the game board. Holding a straightedge against two corners, use the stitching groover to remove the dyed surface in a thin channel. Slowly pull the groover toward you from one mark to the next until you have the outside square.
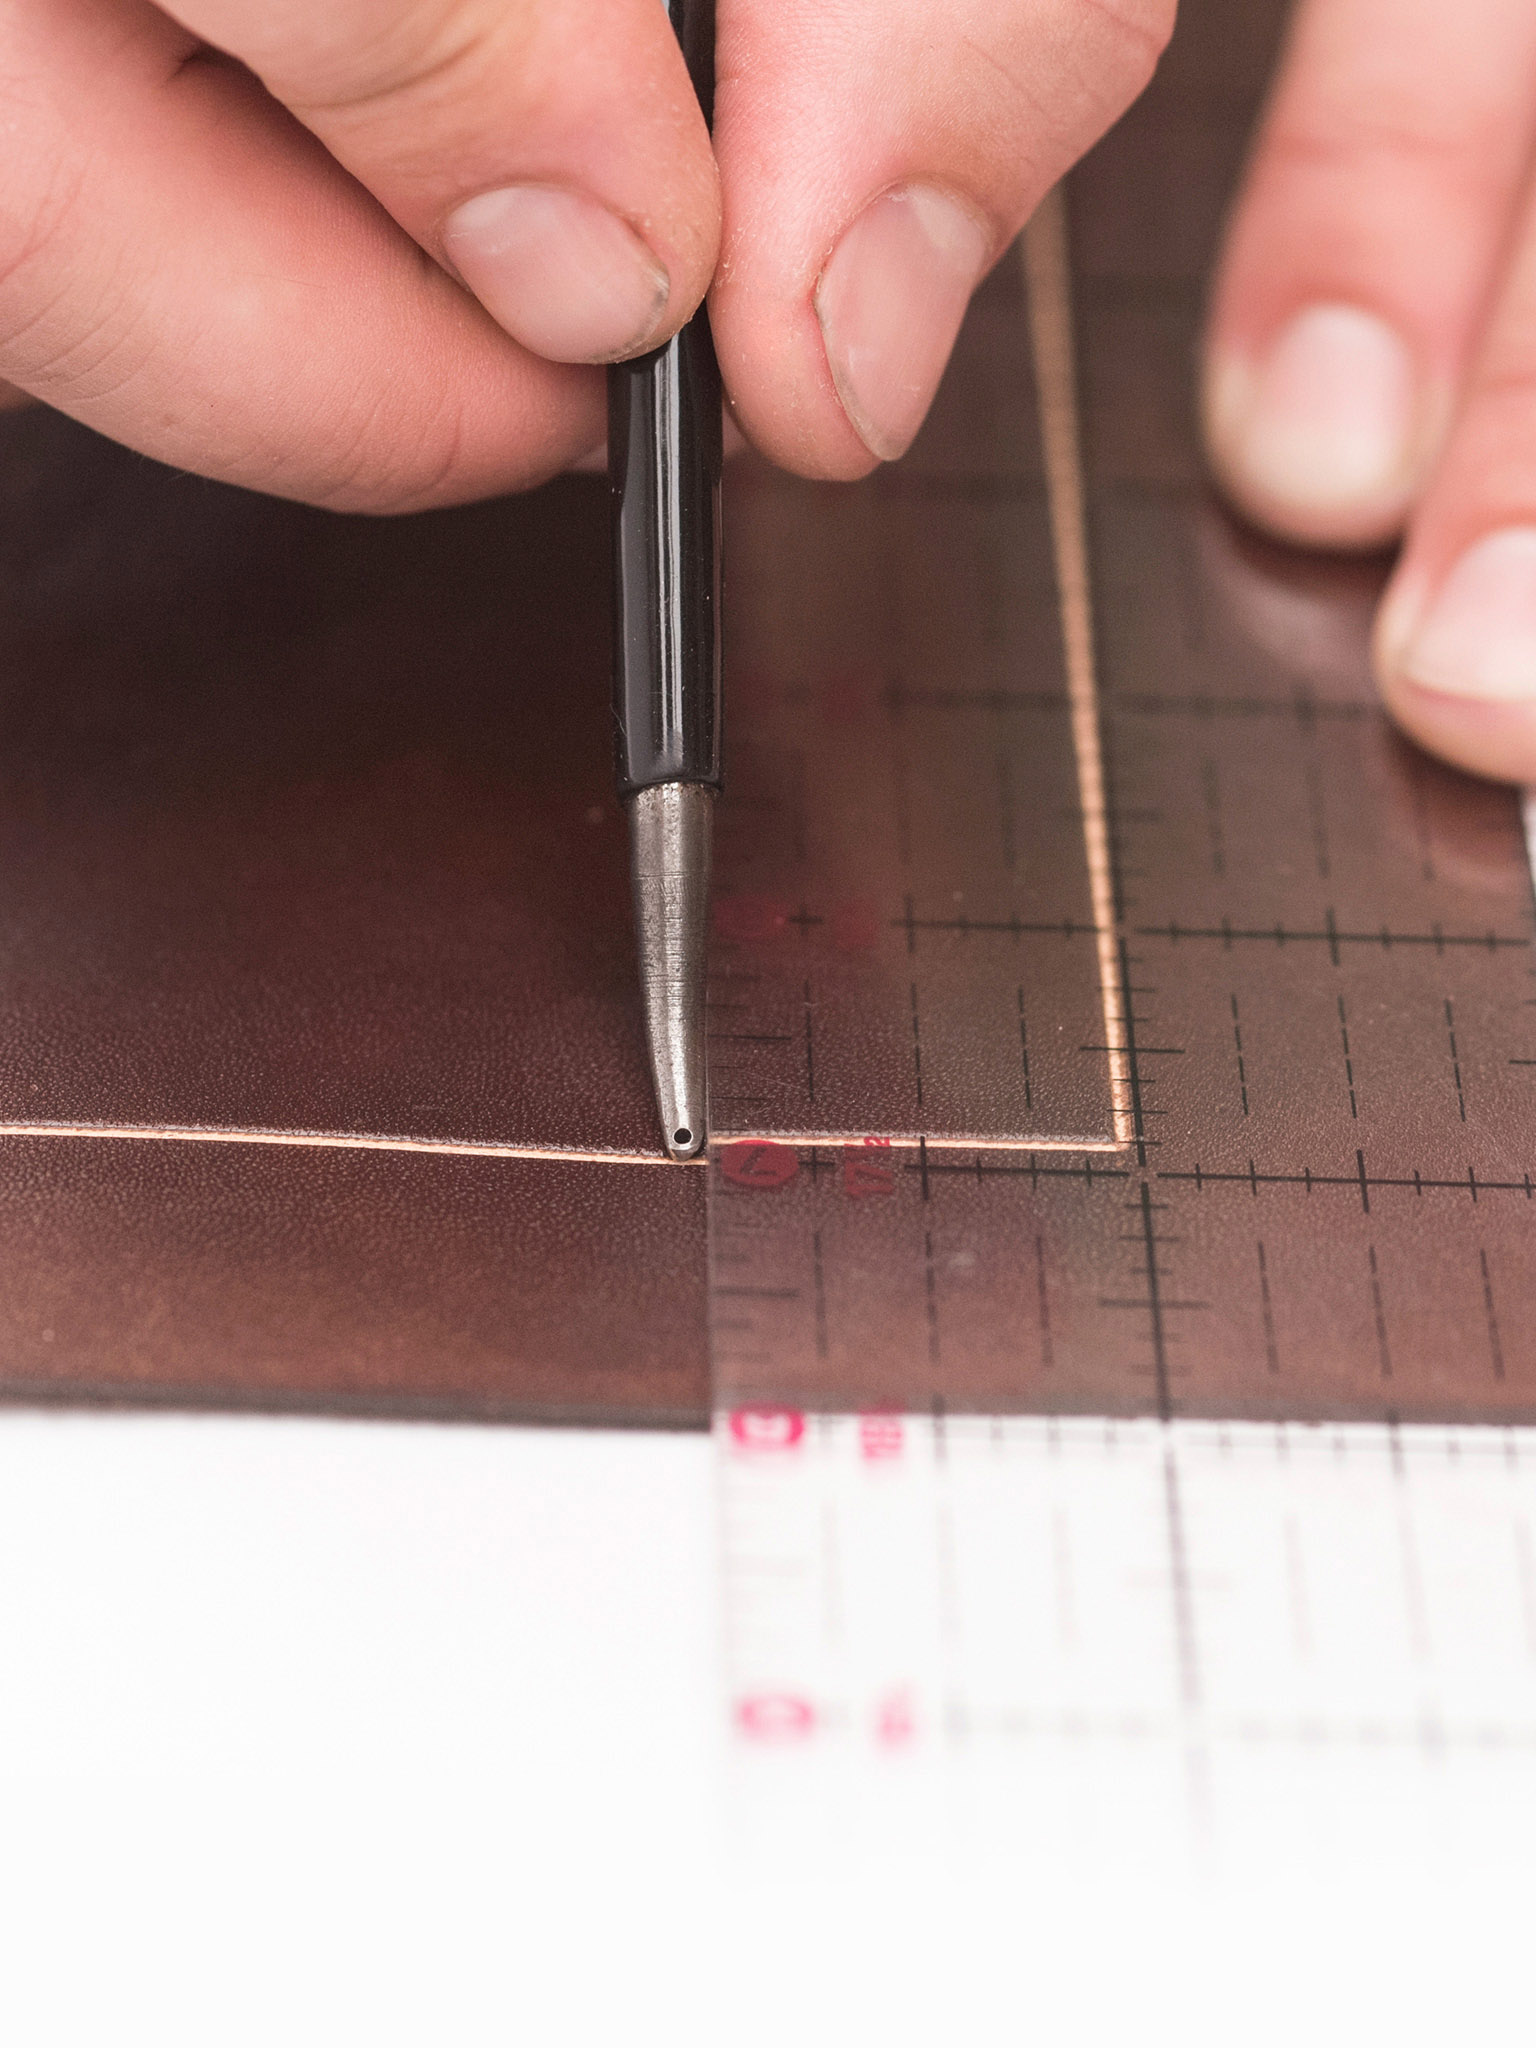
7 Cut the first game board interior line. Using the quilter’s square and stitching groover, cut a line 1 inch (2.5cm) inside the square.

8 Cut the remaining vertical lines. Repeat Step 7 six times, 1 inch (2.5cm) at a time, to complete the vertical lines.
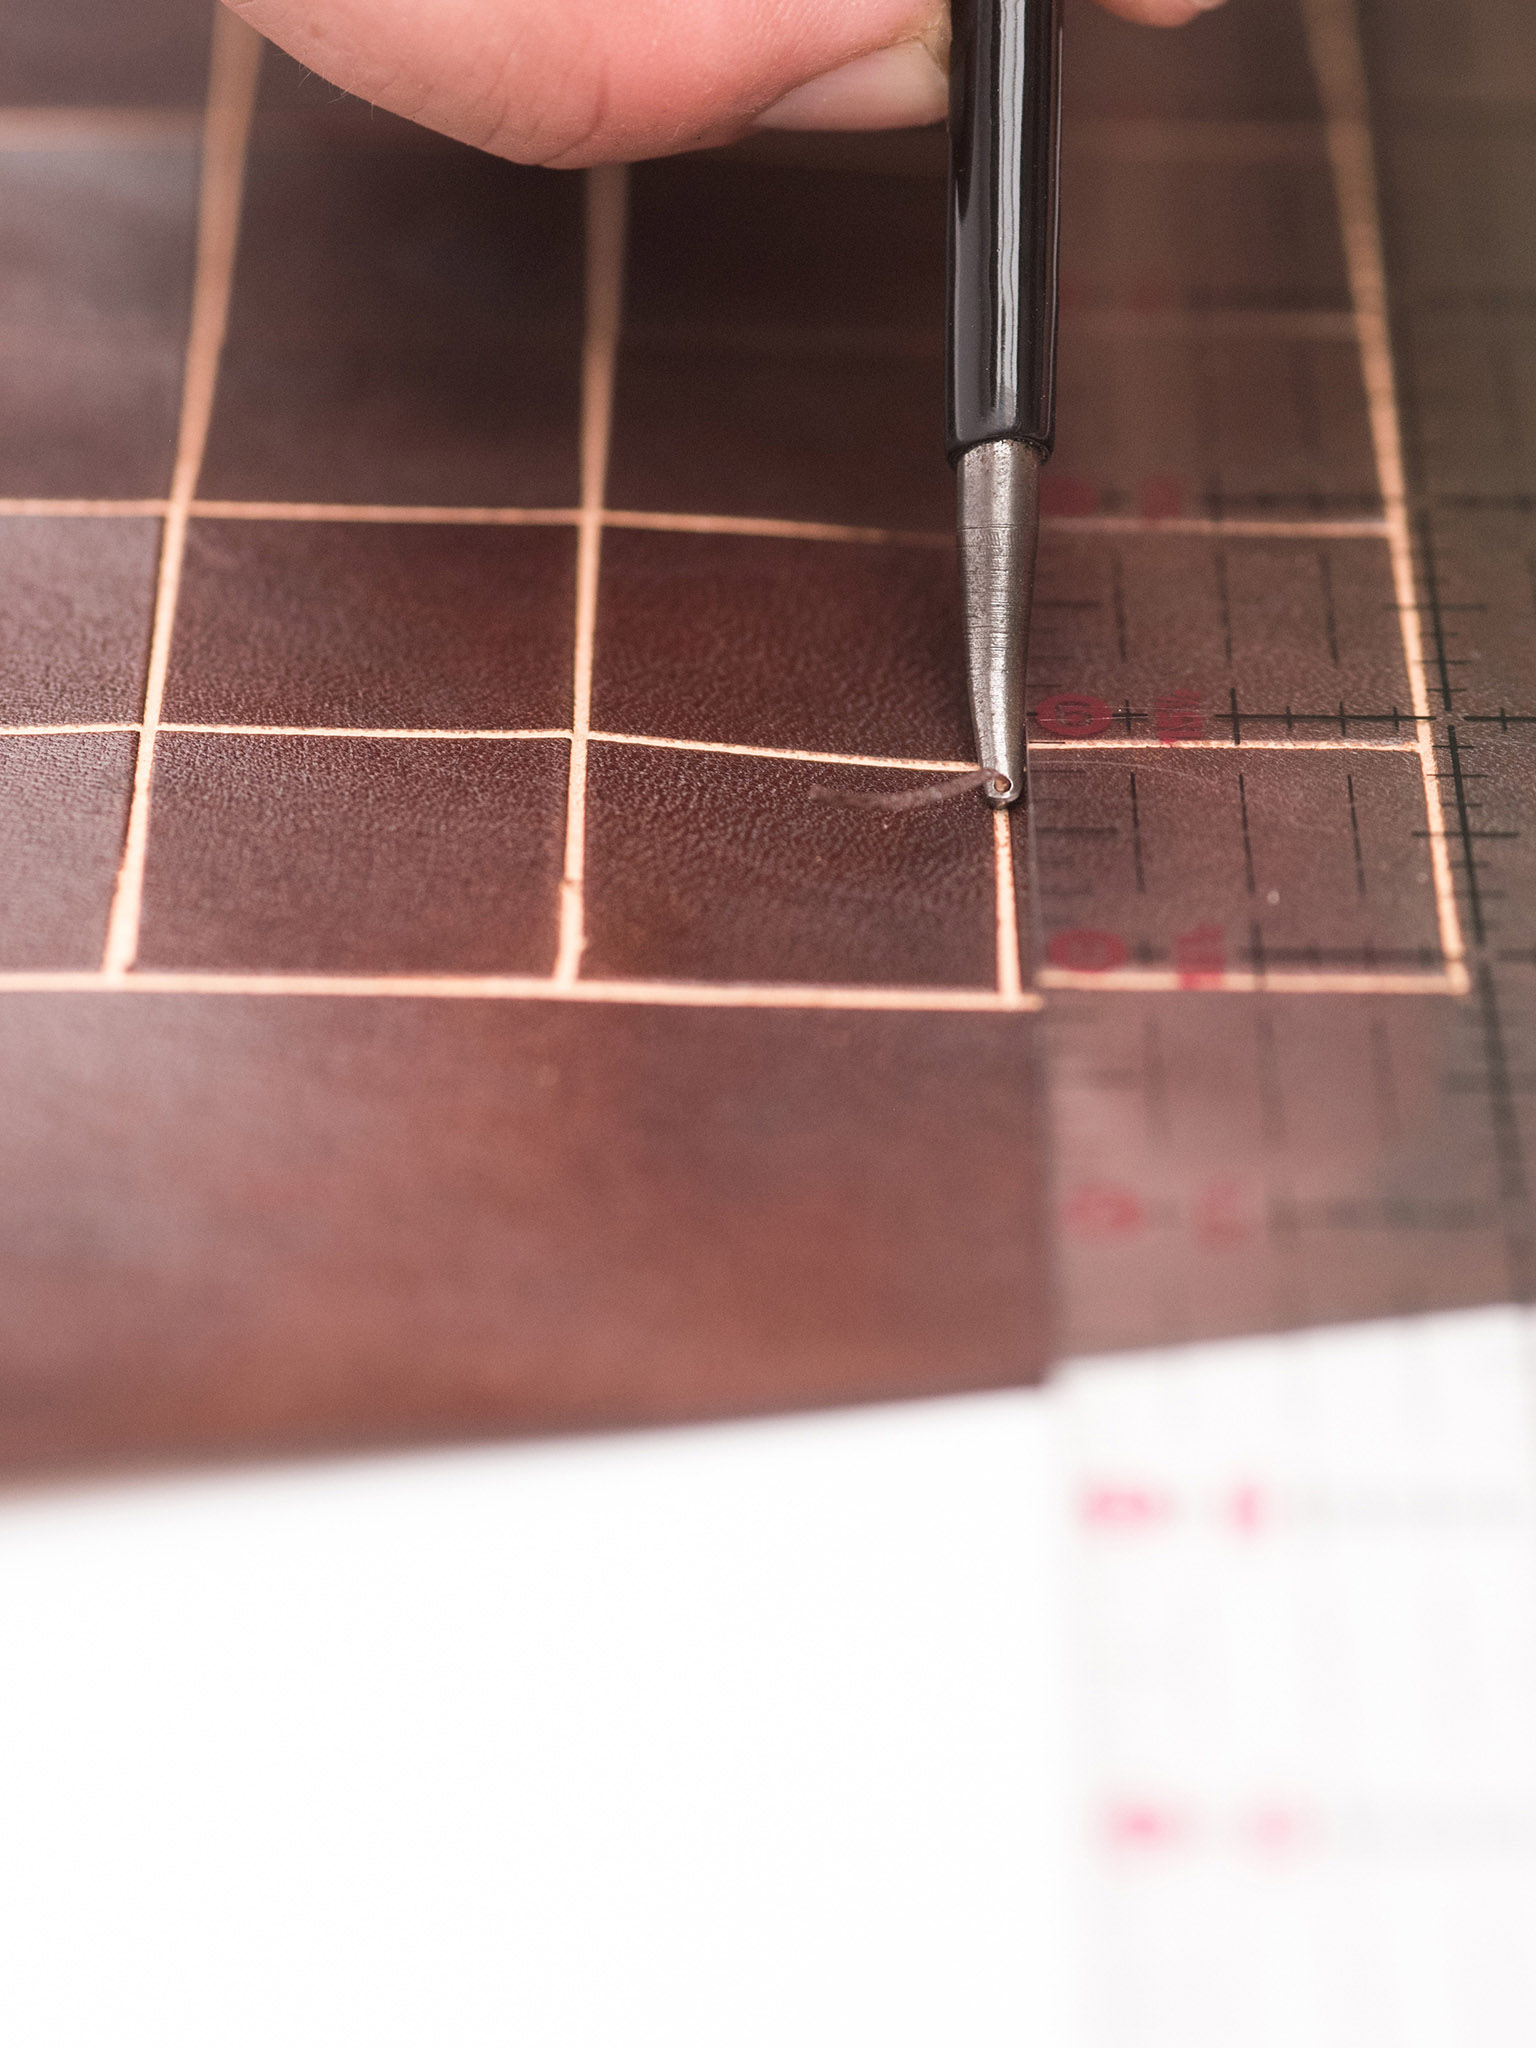
9 Cut the horizontal lines. Rotate the board 90 degrees and cut seven horizontal lines, each 1 inch (2.5cm) apart. Your board should now have an 8-by-8 grid of squares.

10 Begin cutting the contrast squares. To create a contrast between light and dark squares, cut an X across every other square. Starting in the lower-left corner, align the straightedge diagonally across the square and cut a diagonal line with the stitch groover. Continue cutting diagonal lines across each diagonal row of squares.

11 Reverse the diagonal to complete the contrast squares. To complete the Xs on the contrast squares, cut diagonal lines across the diagonal rows in the opposite direction.
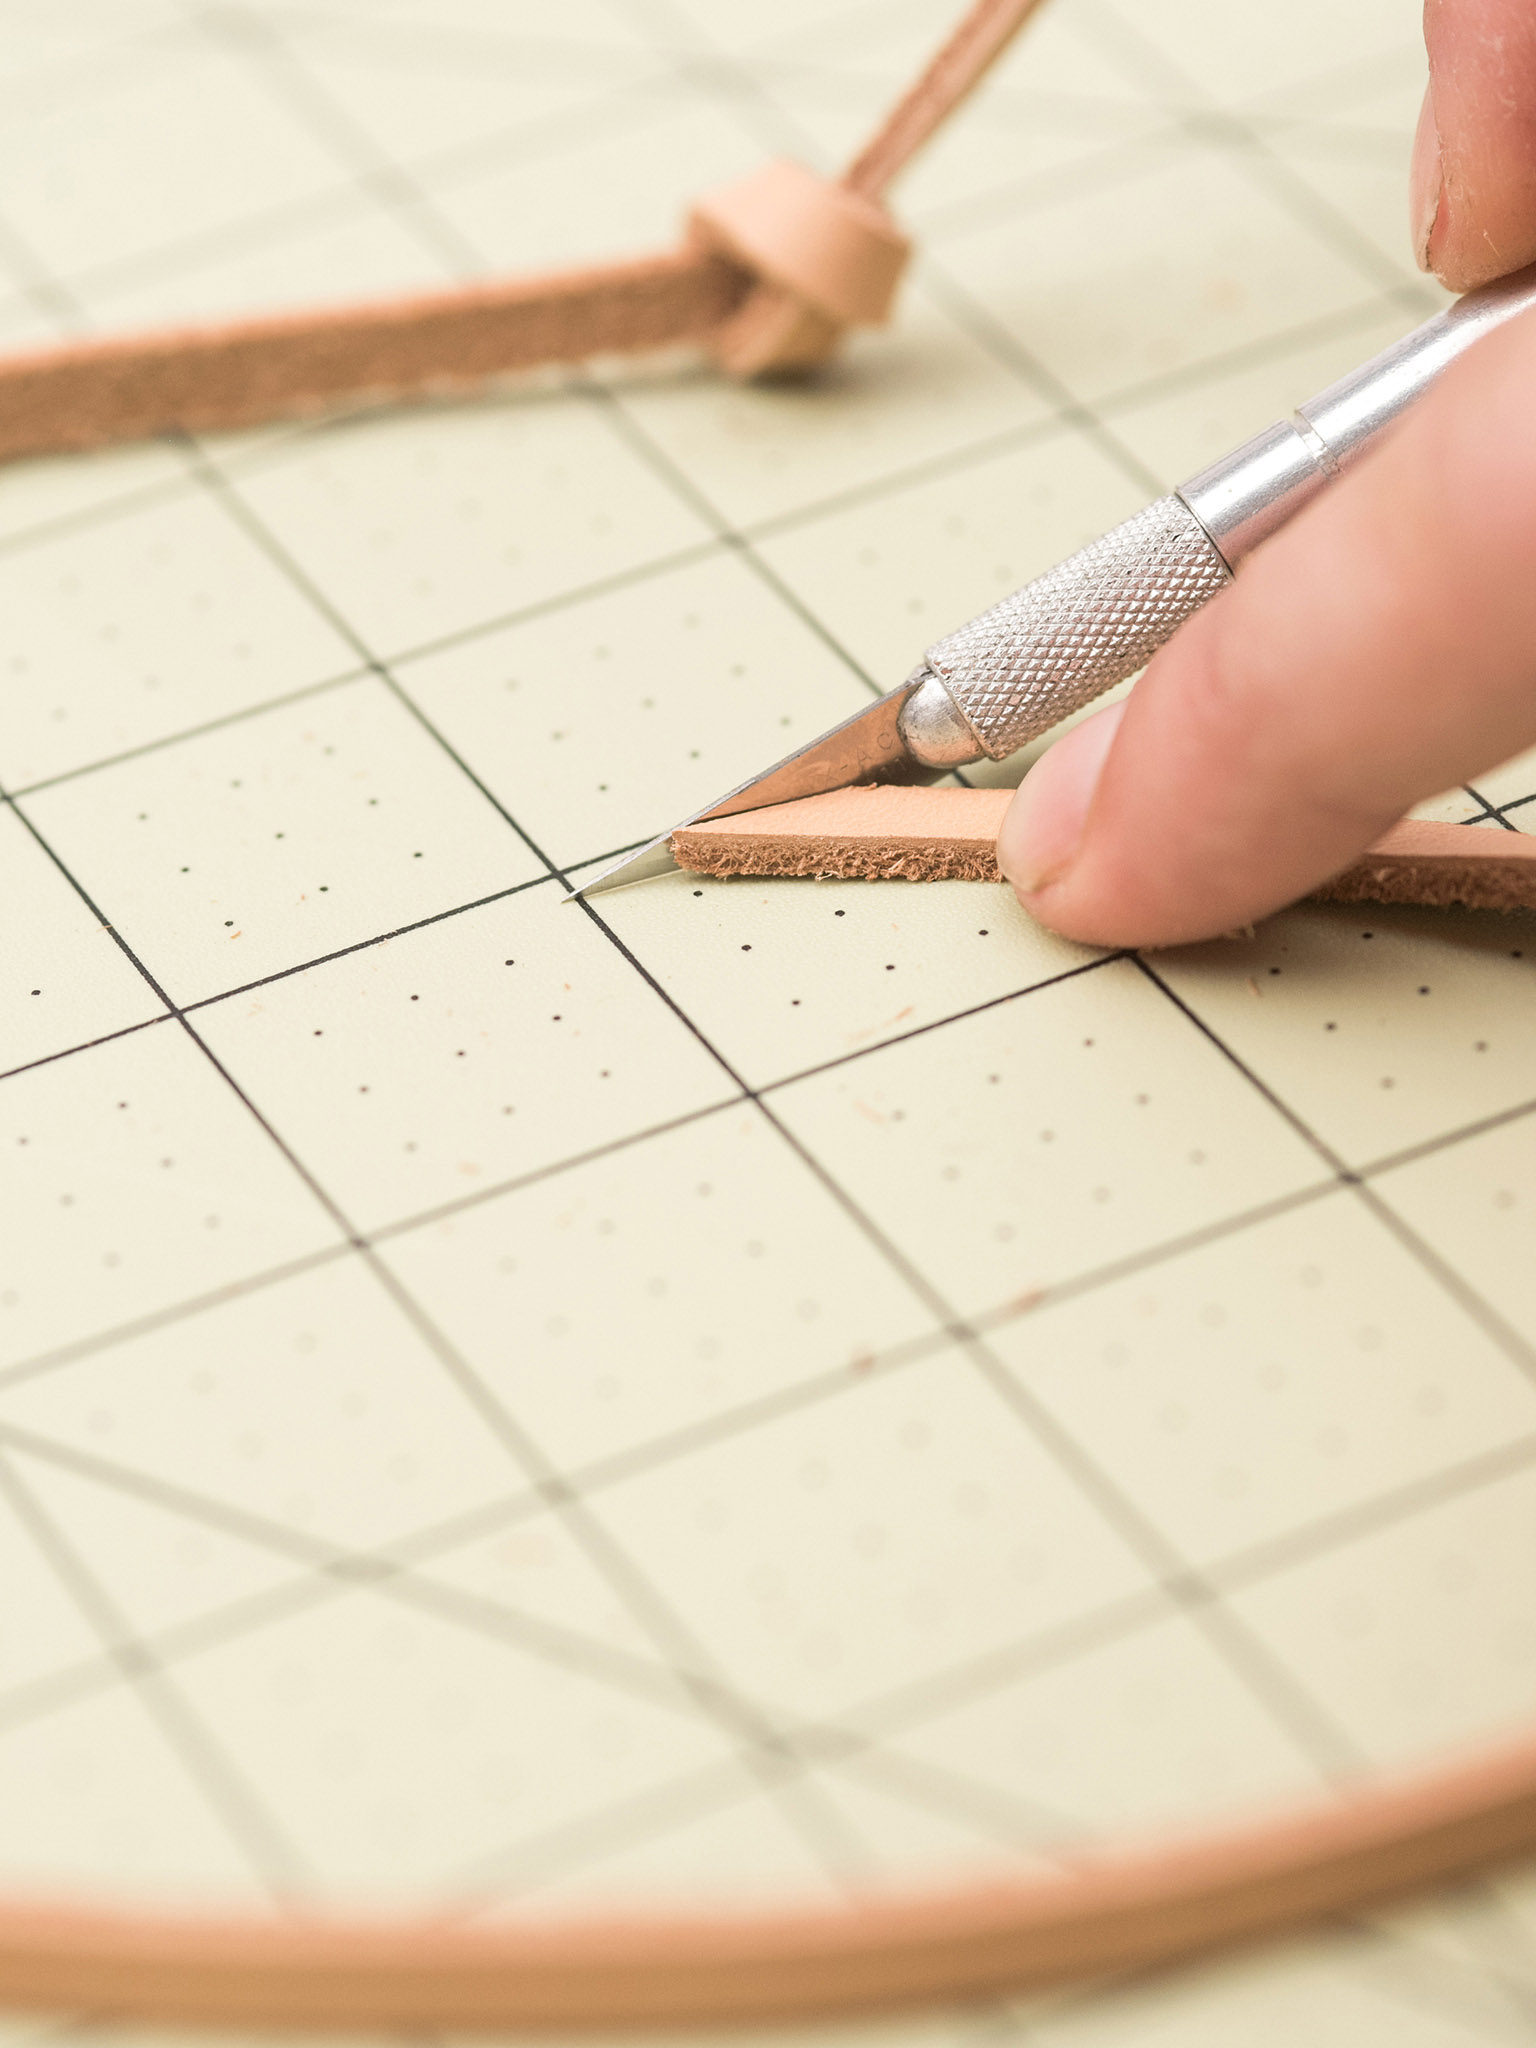
12 Make the leather thong closure. Using the strap cutter, cut a strap ¼ inch (0.6cm) wide and 24 inches (61cm) long from the bridle leather. Knot it at one end, and cut the angle on the other end with the precision knife.
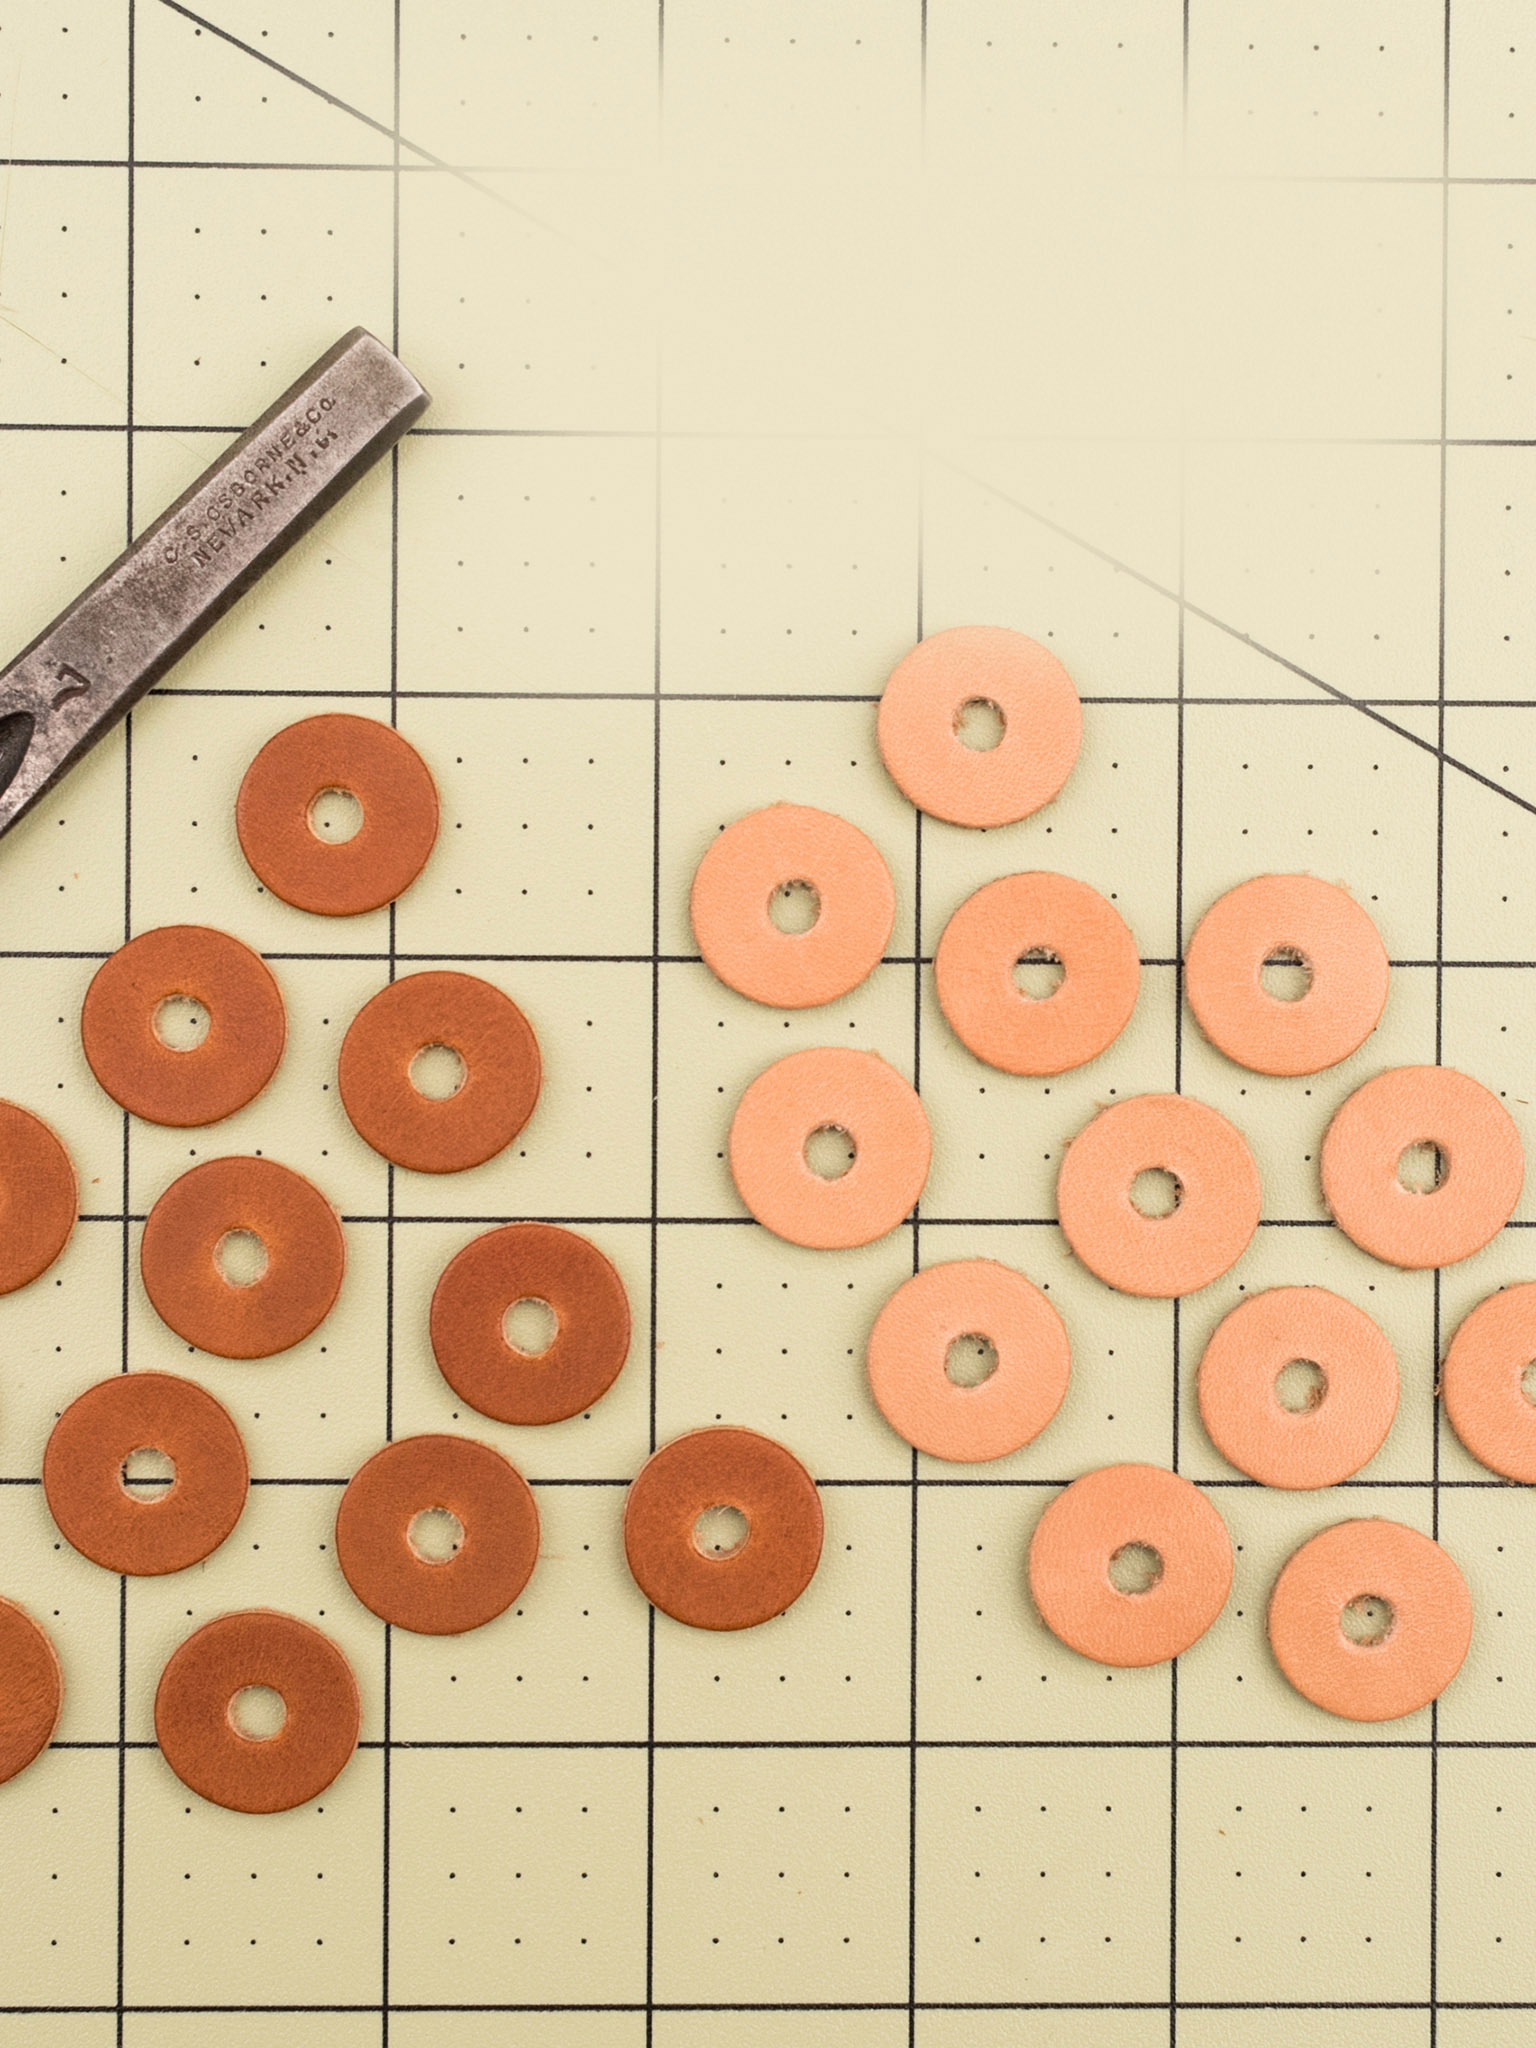
13 Make the game pieces (optional). Dye one of the two pieces of 6–7 ounce (2.4–2.8mm) leather with saddle tan oil dye. Punch twelve ¾-inch (1.9cm) rounds in both pieces of leather. Punch the center of each round with the #7 hole punch.

14 Punch the closure hole. Punch the hole for the leather thong closure marked on the template with the #7 hole punch.

15 Assemble the board. Thread the game pieces onto the thong with the knot as a stopper. Thread the thong through the hole in the board with the knot and game pieces on the rough side.
When cutting the diagonal in steps 10 and 11, make sure each diagonal lines up to the two corners in each square before cutting. If necessary, you may need to adjust the rotation of the straightedge at each square to make the X meet all four corners.
