
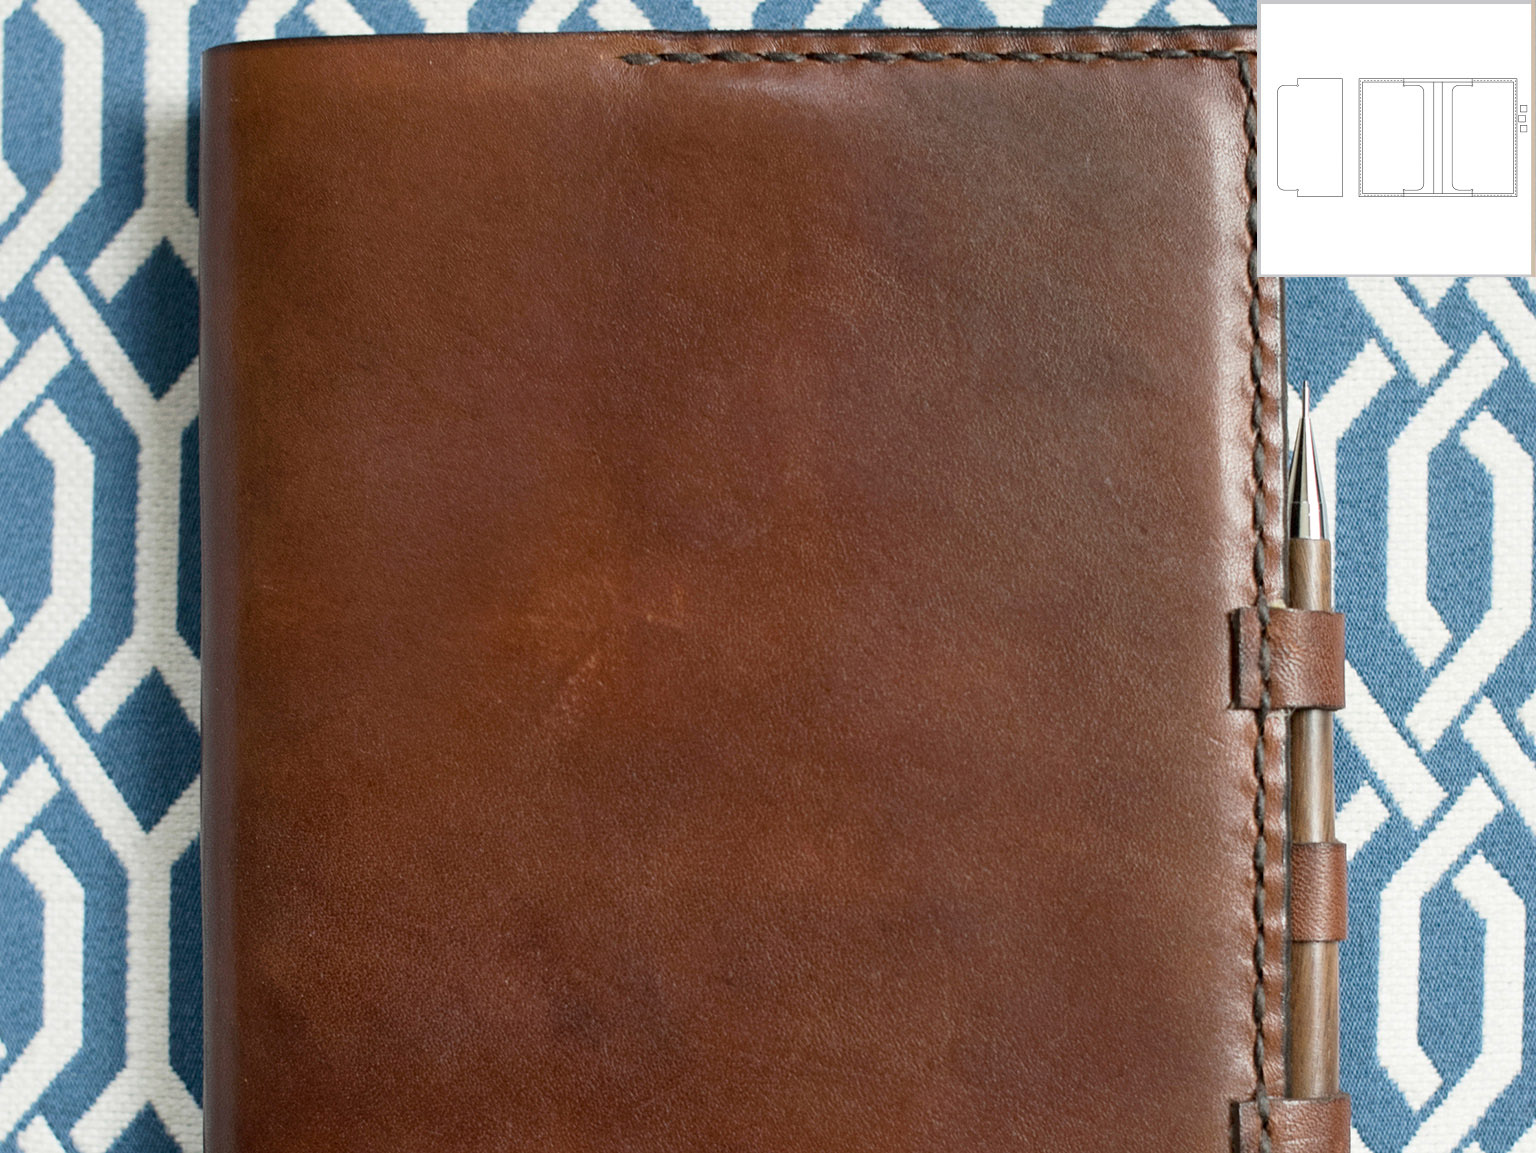
Journal Cover
A journal can get filled and filed away, but this journal cover will last forever. This project is perfect for highlighting the beautiful patina that develops with the heavy use of vegetable-tanned leather. Although designed for Moleskine brand journals, the template can be easily modified to fit any book.
Finished size
6×9 inches (15.3×22.9cm)
Materials
1 piece 2–3 ounce (0.8–1.2mm) vegetable-tanned leather, 9×22 inches (22.9×55.9cm)
Waxed thread
Moleskine journal, half-page size
Wax
Writing pen or pencil
Template
Journal Cover (idiotsguides.com/leather)
Tools
Chipboard
Mechanical pencil
Precision knife
Straightedge
Leather shears
Strap cutter
Cutting mat
Latex gloves
Fiebing’s oil dye, dark brown
Fiebing’s Bag-Kote (gloss)
Makeup sponge
Clean rags
Adjustable stitching groover
Multi-prong pricking iron
Single-prong pricking iron
Mallet
Awl
2 harness needles, #00
Edge beveler, #1 or #2
Wax
Burnisher
Techniques Used
Working with Templates
Cutting: Using a Straightedge
Cutting: Using Leather Shears
Cutting: Using a Strap Cutter
Finishing Leather: Dyeing
Finishing Leather: Glossing
Edge Finishing: Edging
Edge Finishing: Edge Dyeing
Edge Finishing: Edge Burnishing
Hand Stitching
Cementing

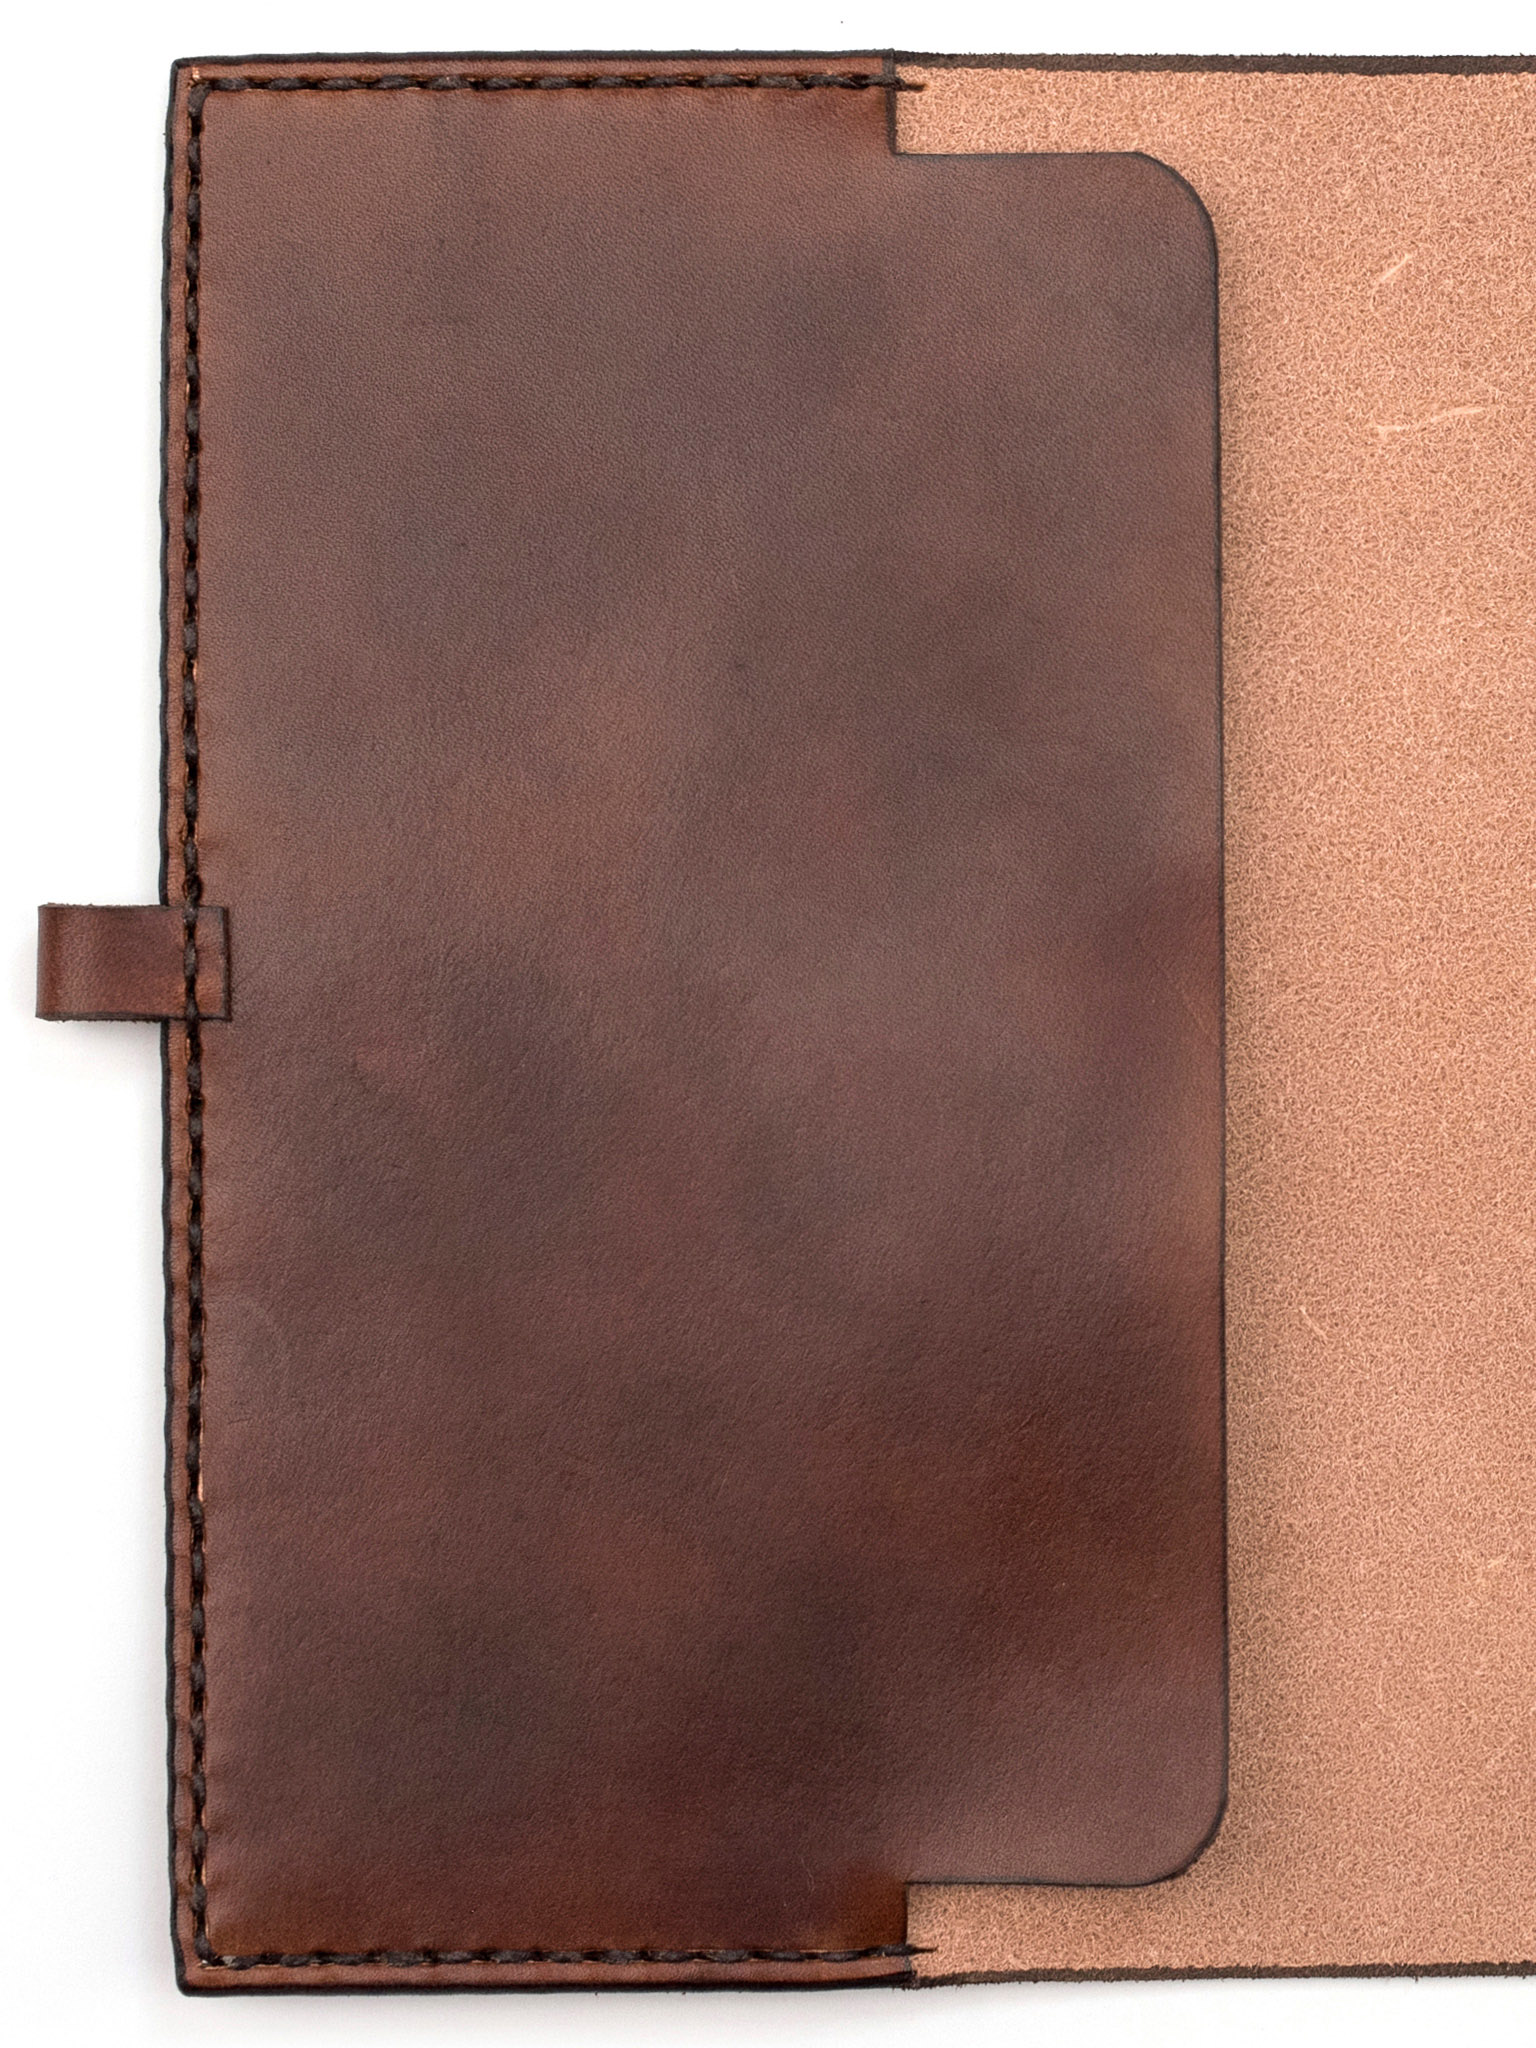
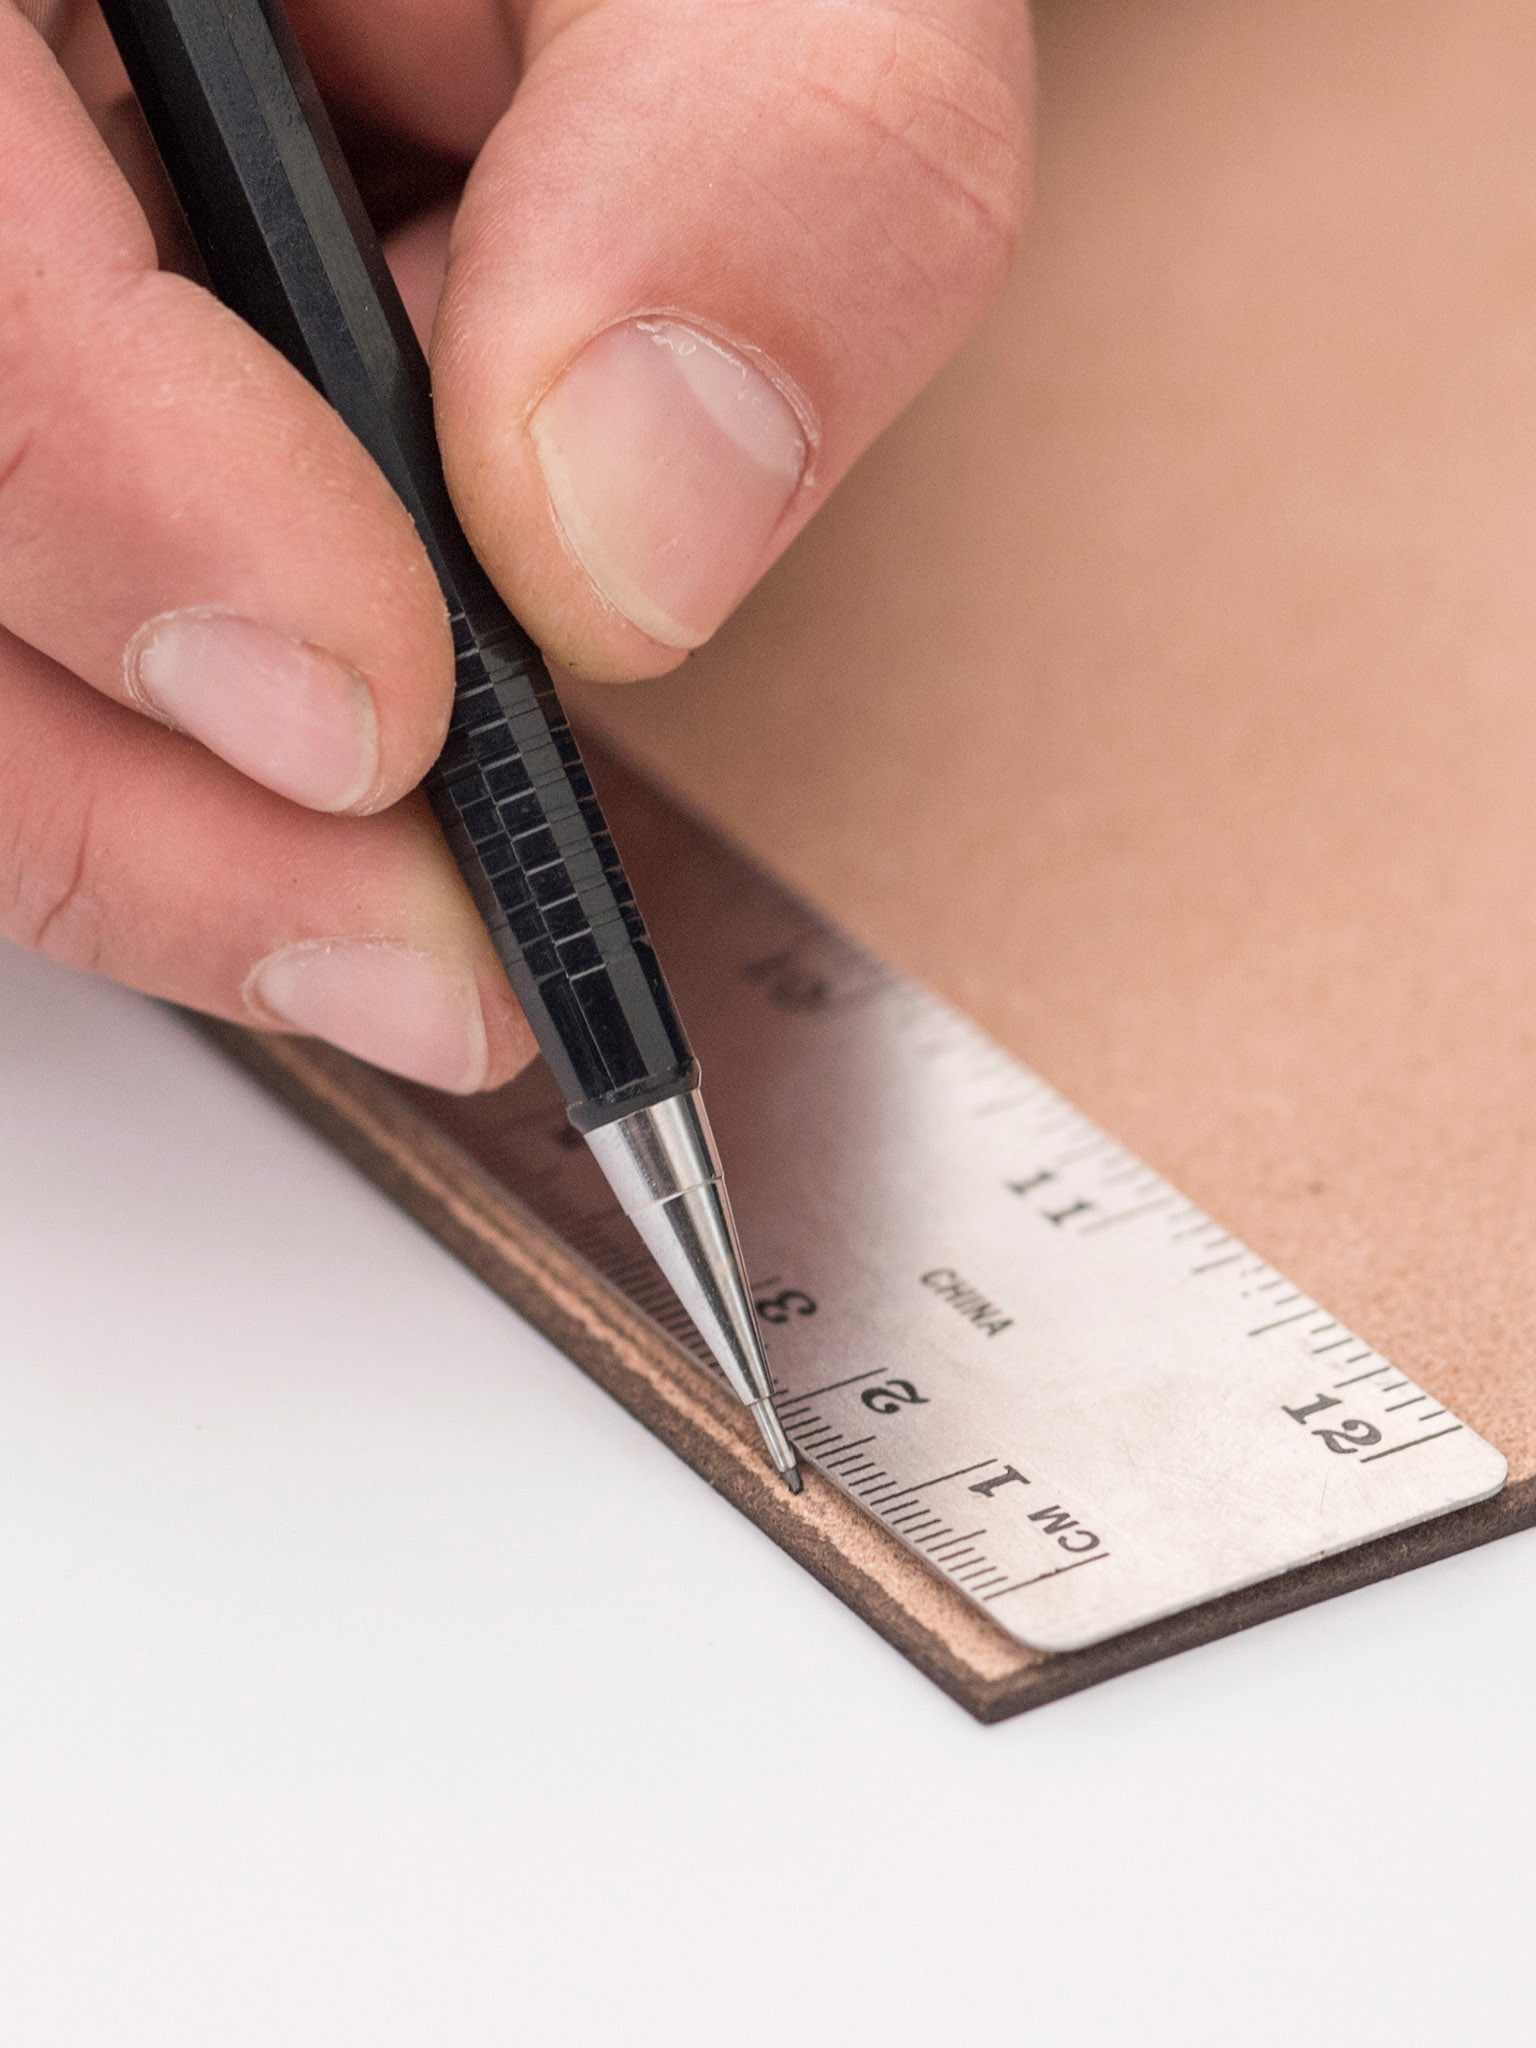
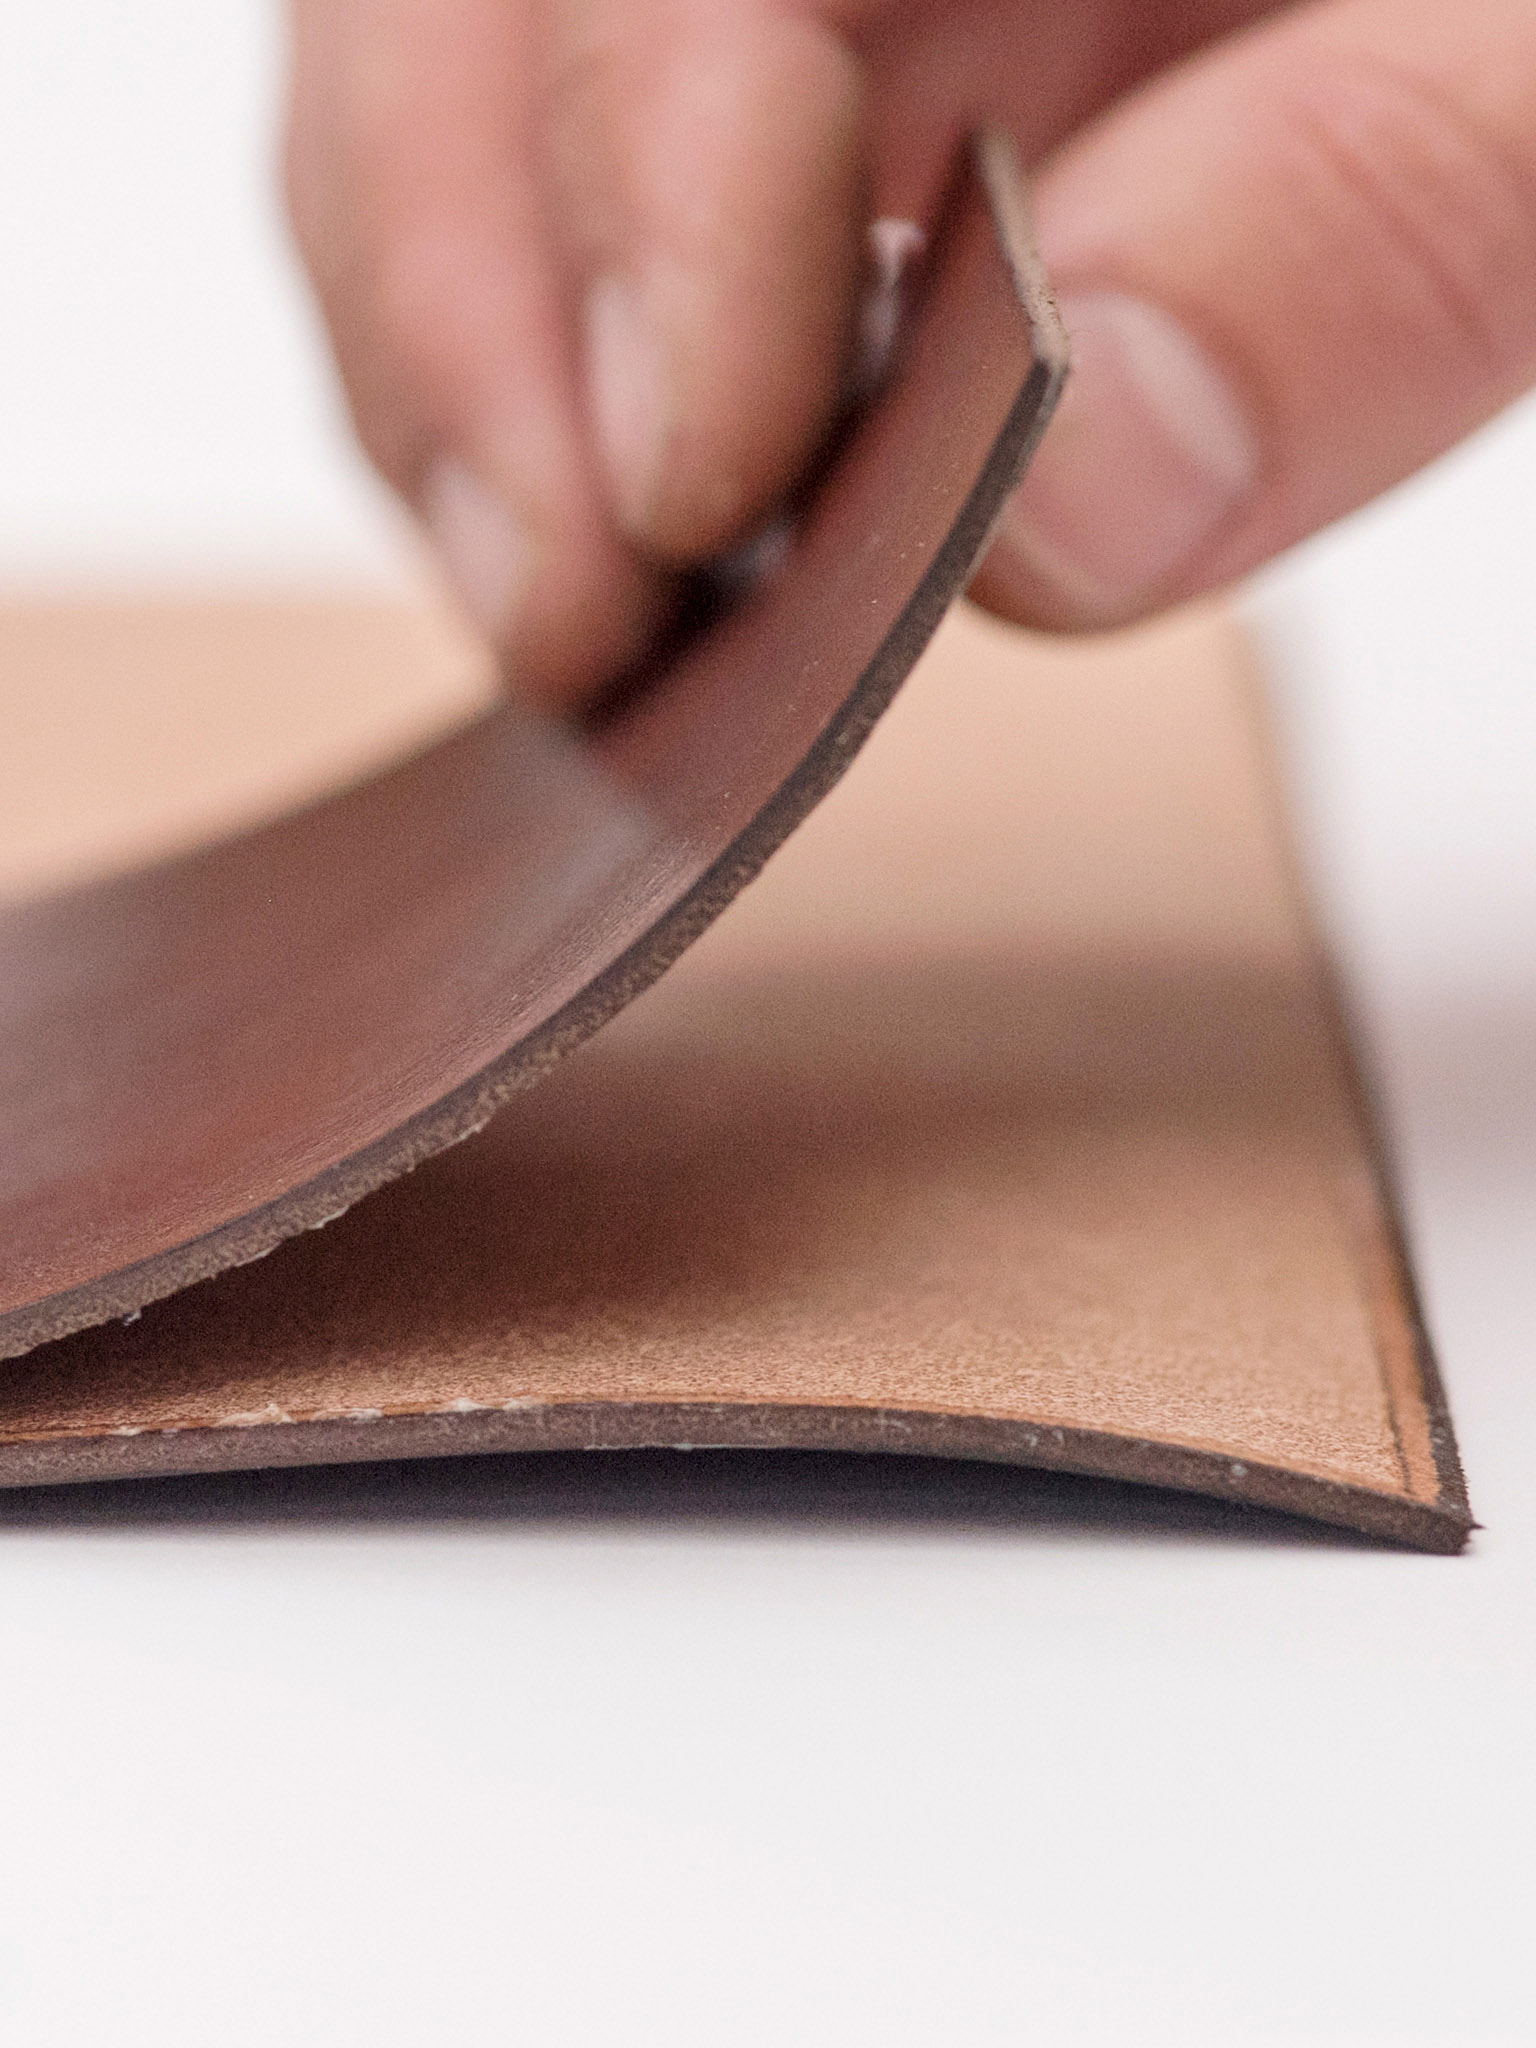
1 Trace the Template and Cut the Leather. Transfer the paper template to chipboard and cut it out. Trace the chipboard template onto the vegetable-tanned leather. Cut the straight sides using the precision knife and straightedge, and cut the rounded sides using leather shears.
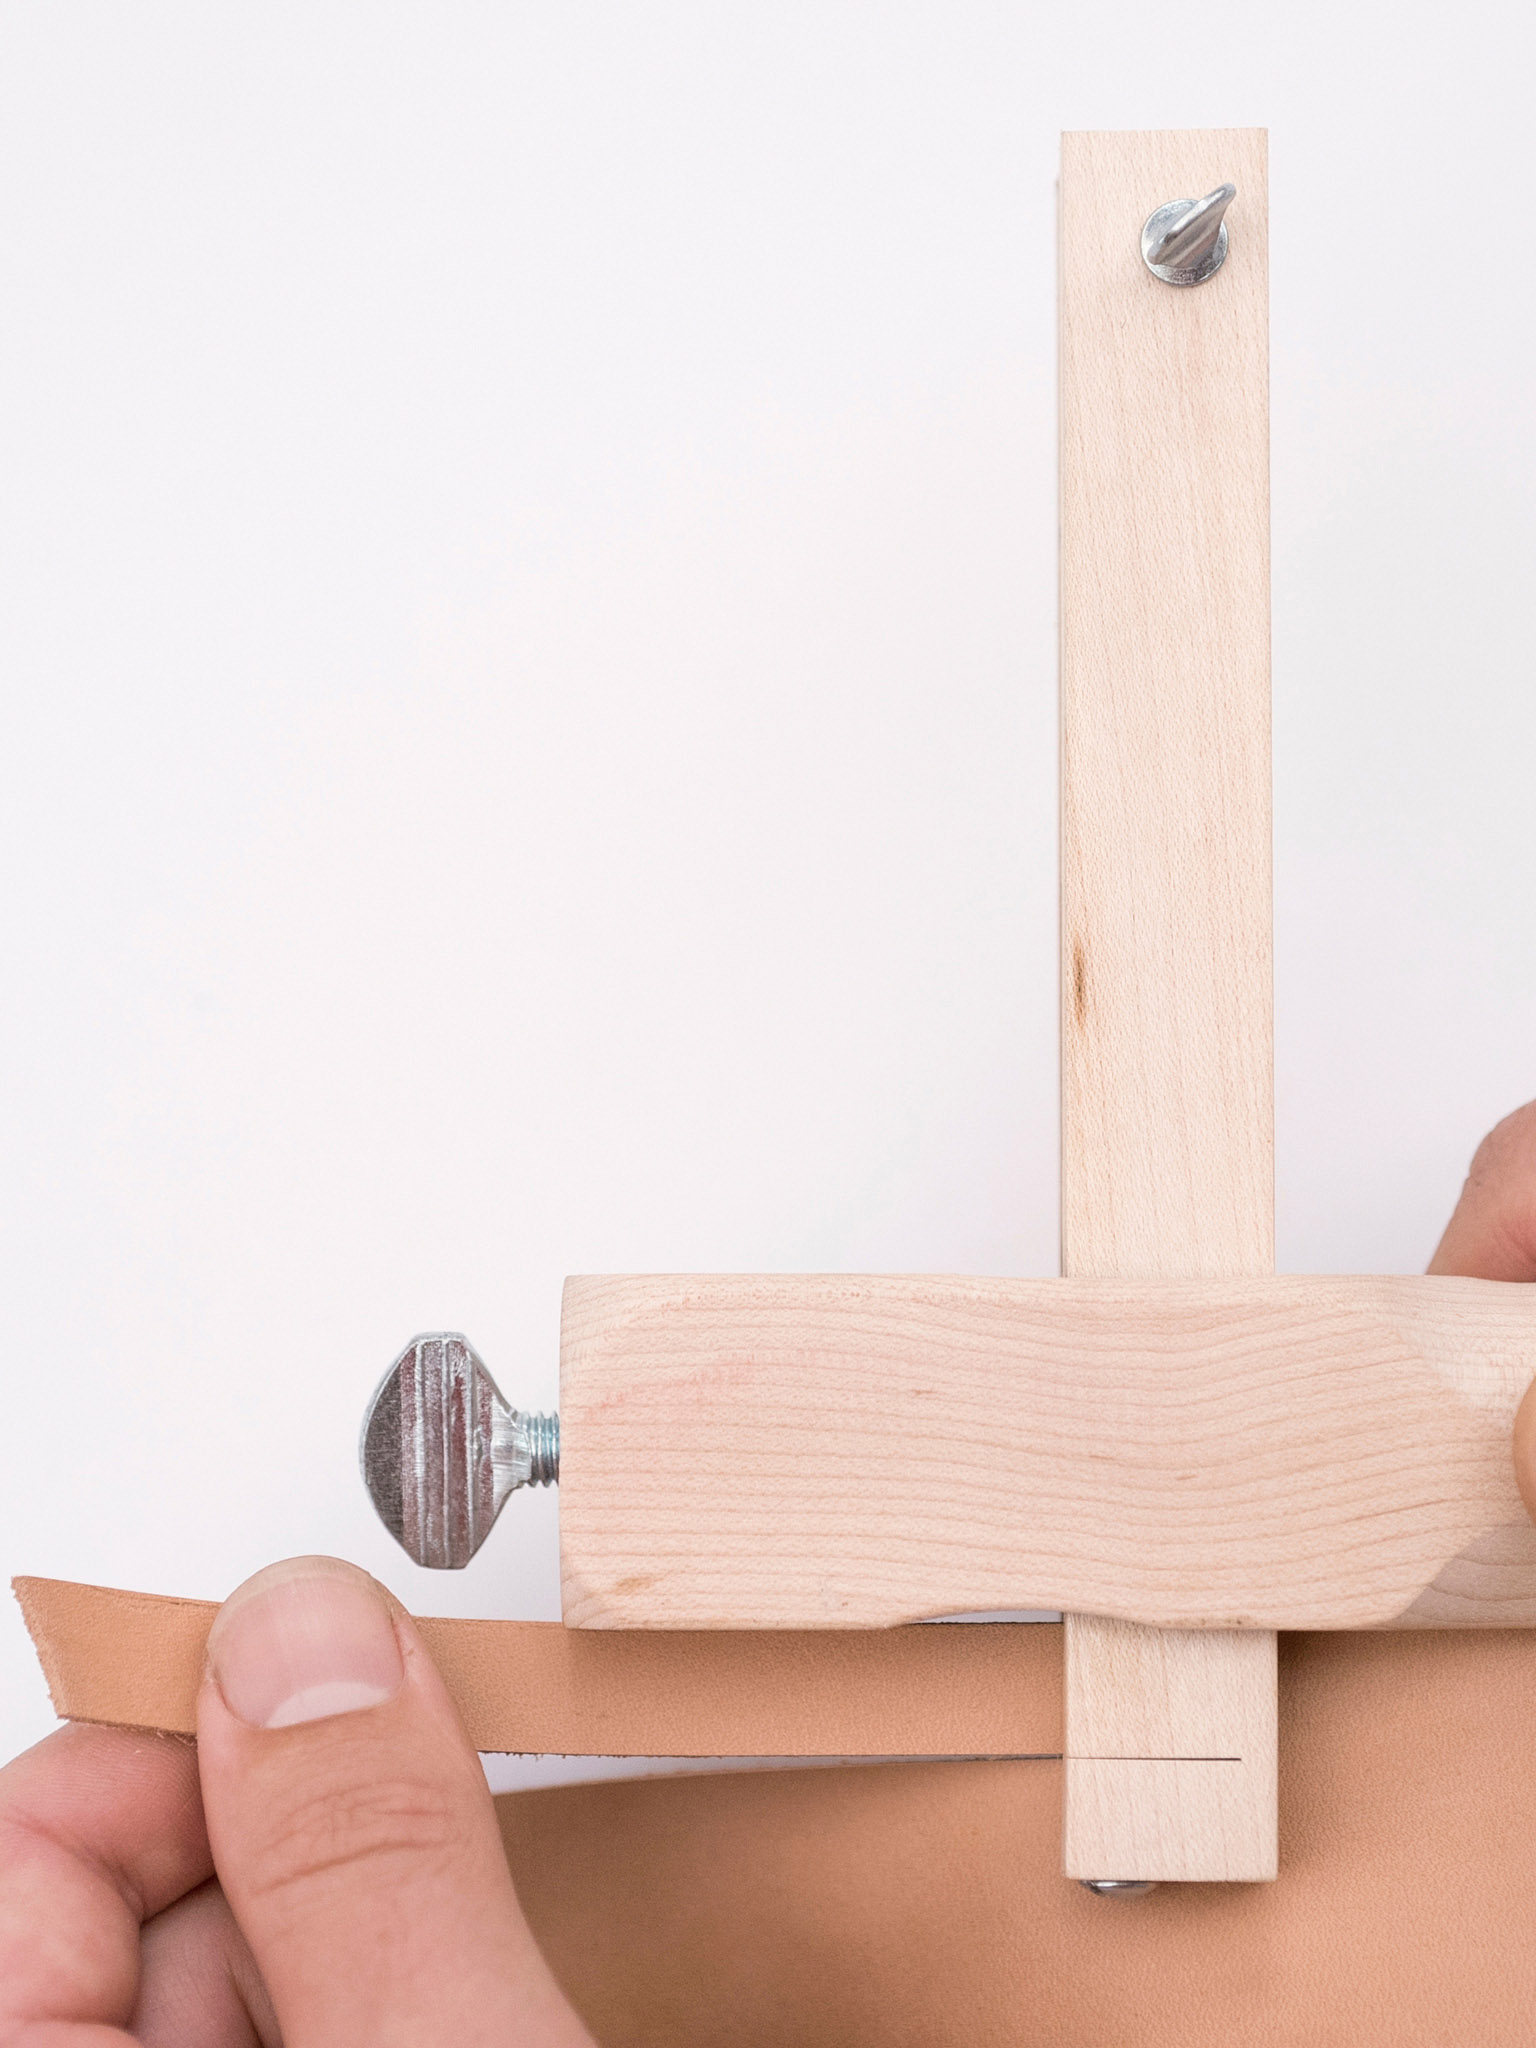
2 Cut the pencil loops. Using the strap cutter or the precision knife and straightedge (whichever you prefer), cut three ½×2-inch (1.3×5.1cm) strips of vegetable-tanned leather for the custom closure.
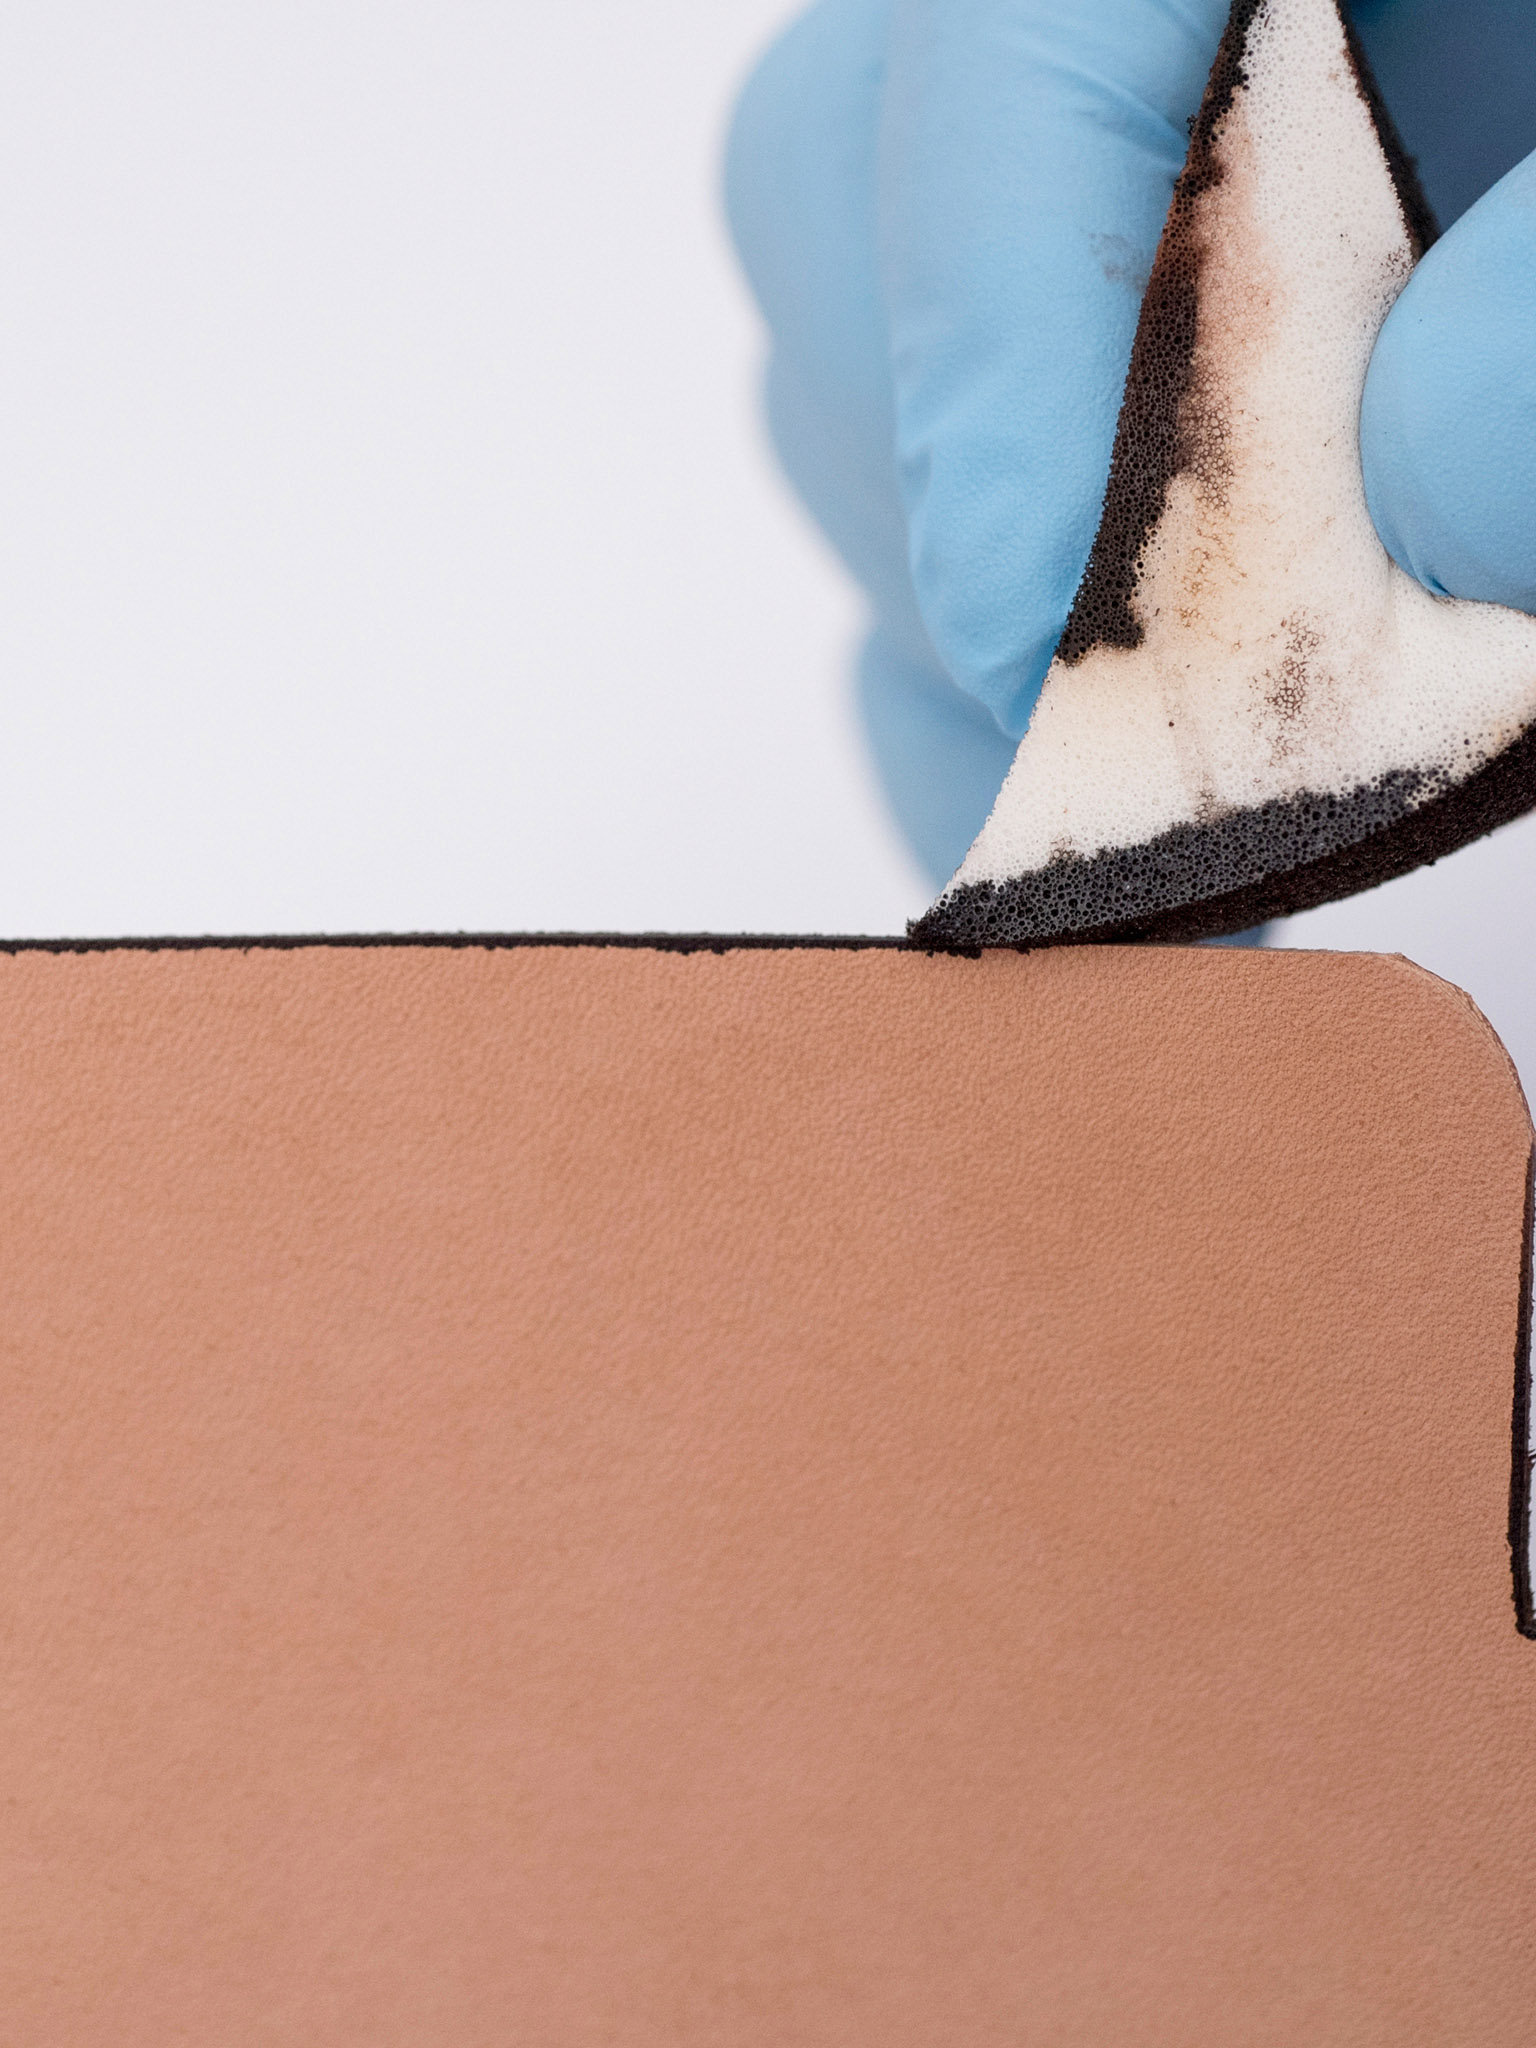
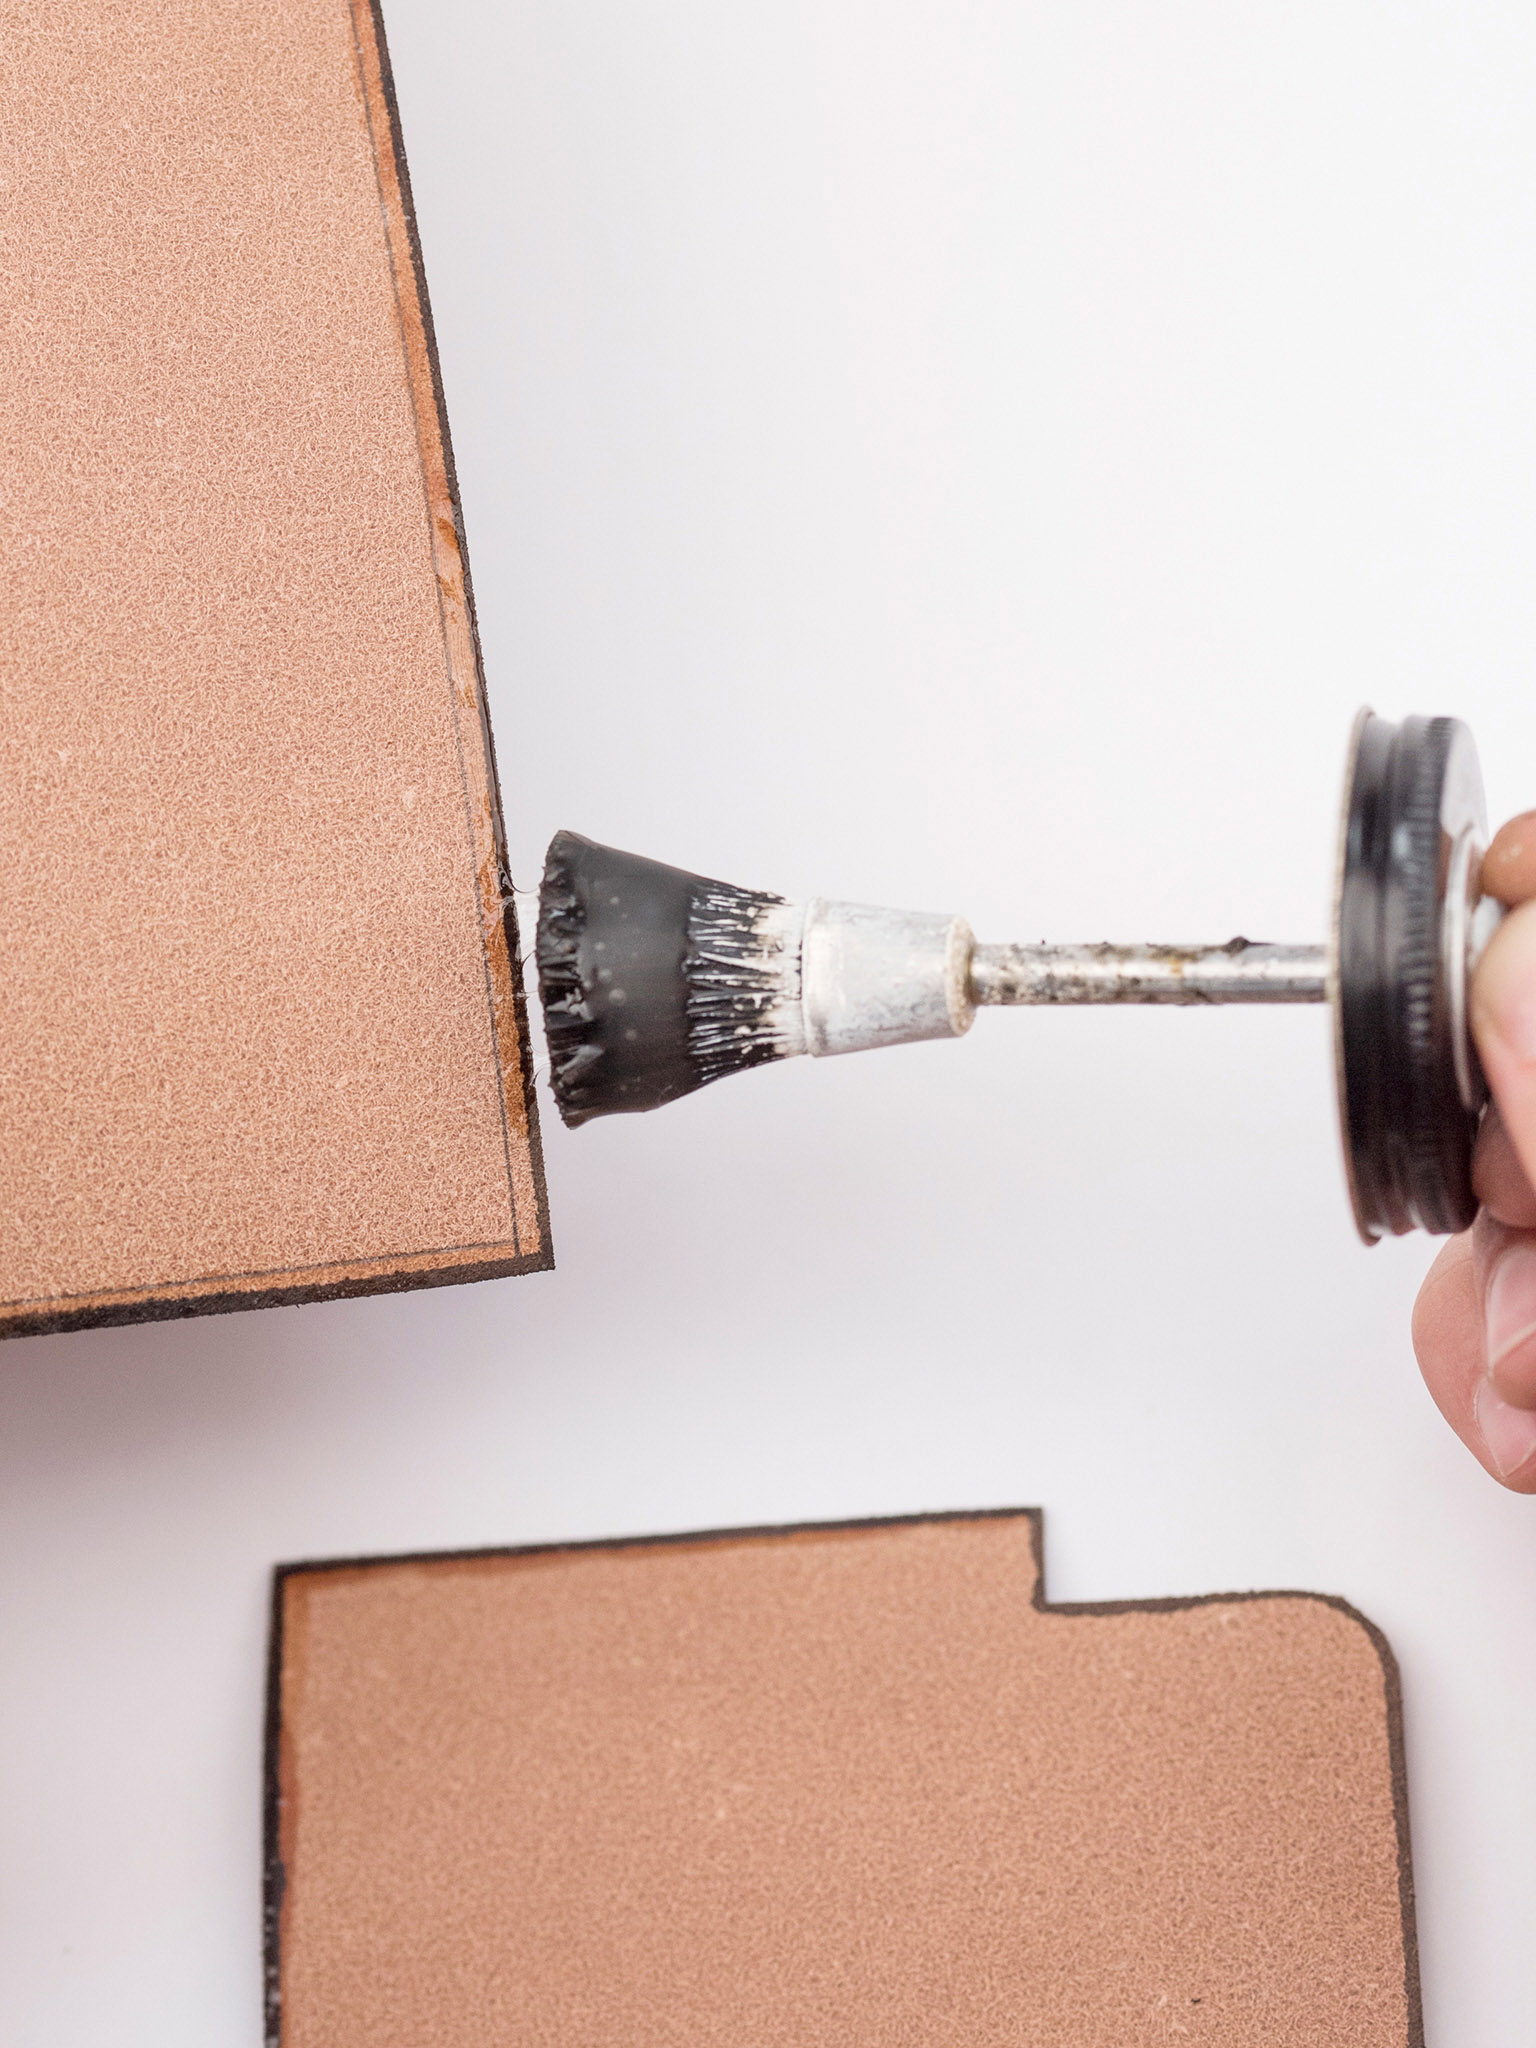
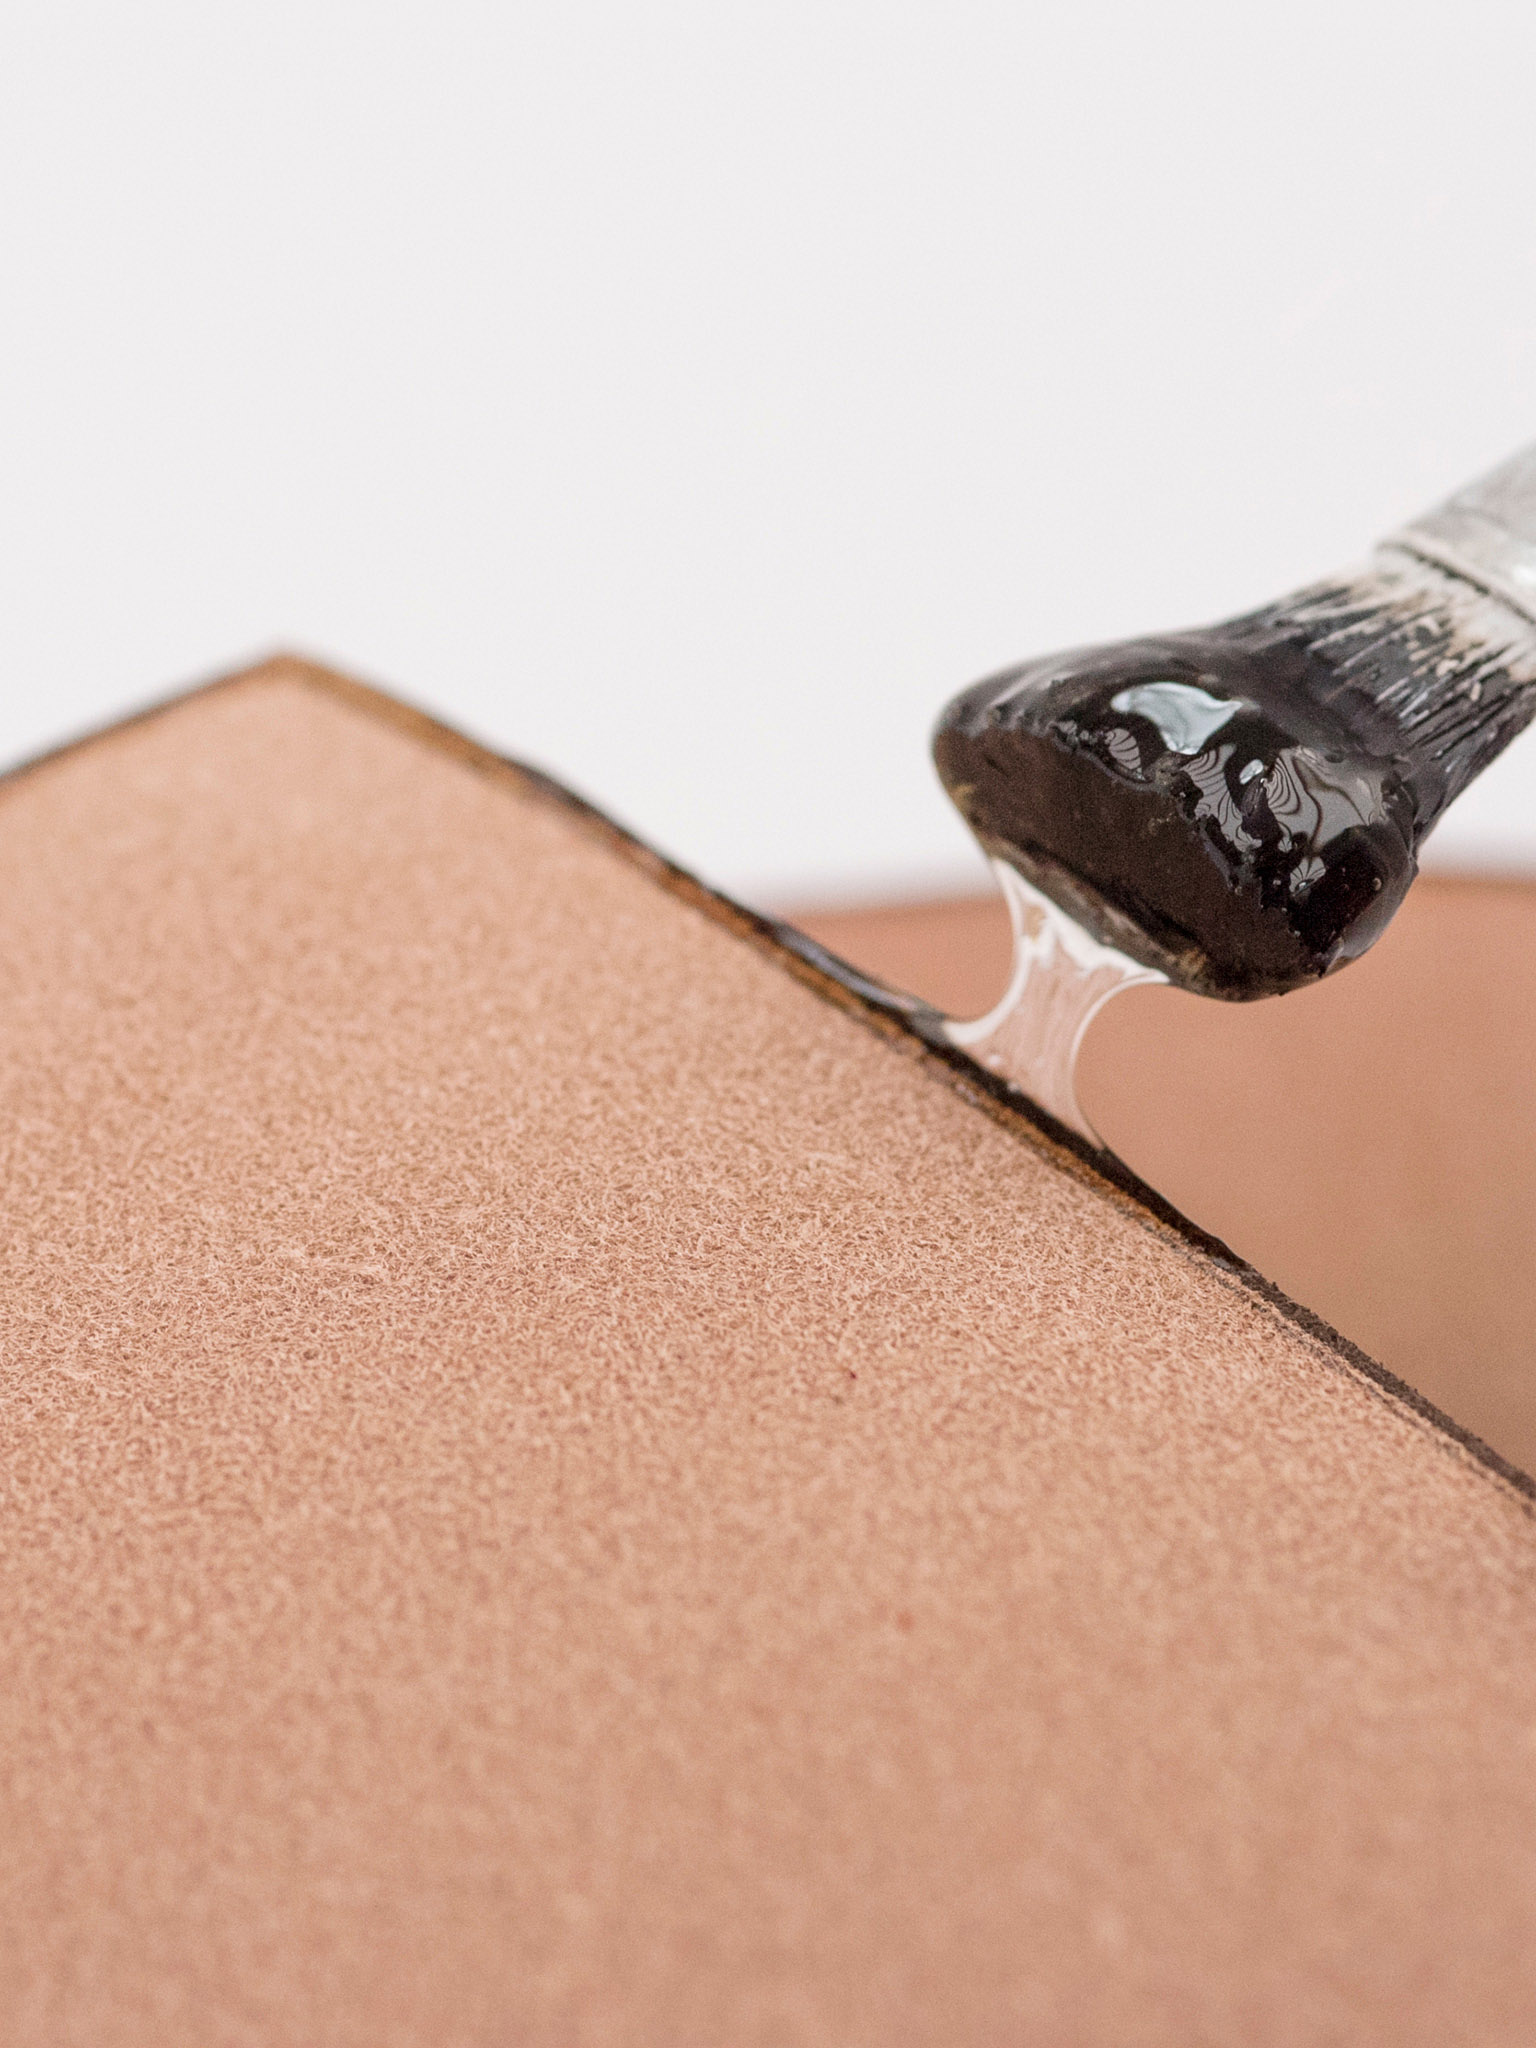
3 Dye the edges. Using a makeup sponge, carefully apply oil dye to the edges of all pieces of vegetable-tanned leather.
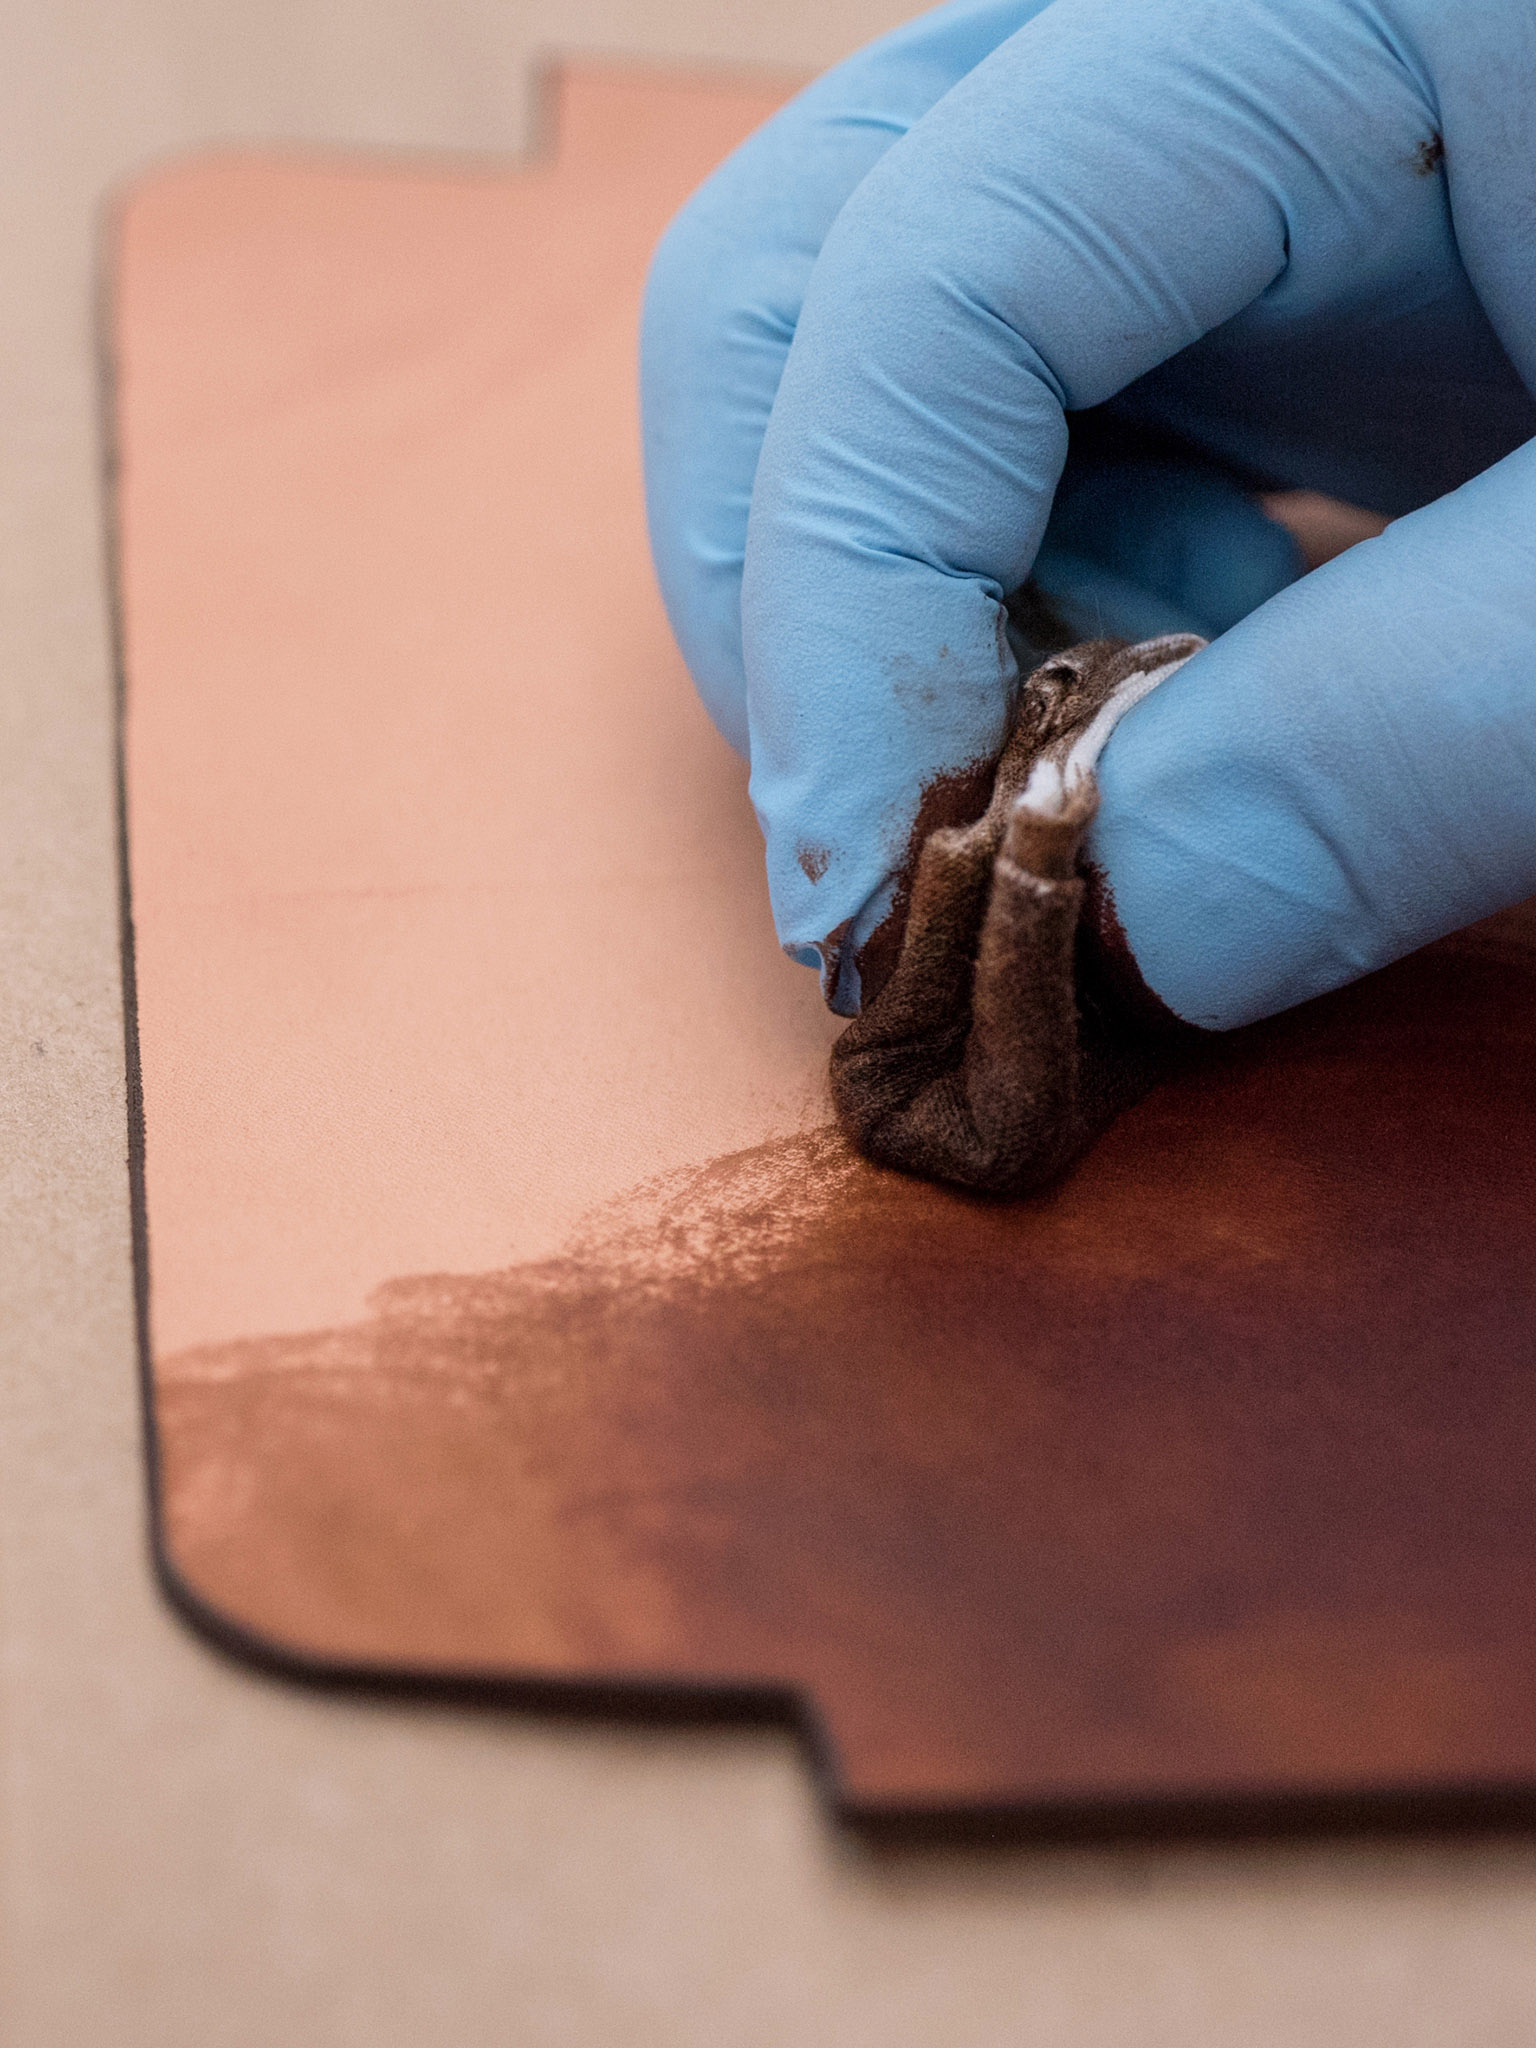
4 Dye the surfaces. Using a clean rag, rub oil dye over the front surface of each leather piece. Allow time to dry—at least an hour—before proceeding to the next step.
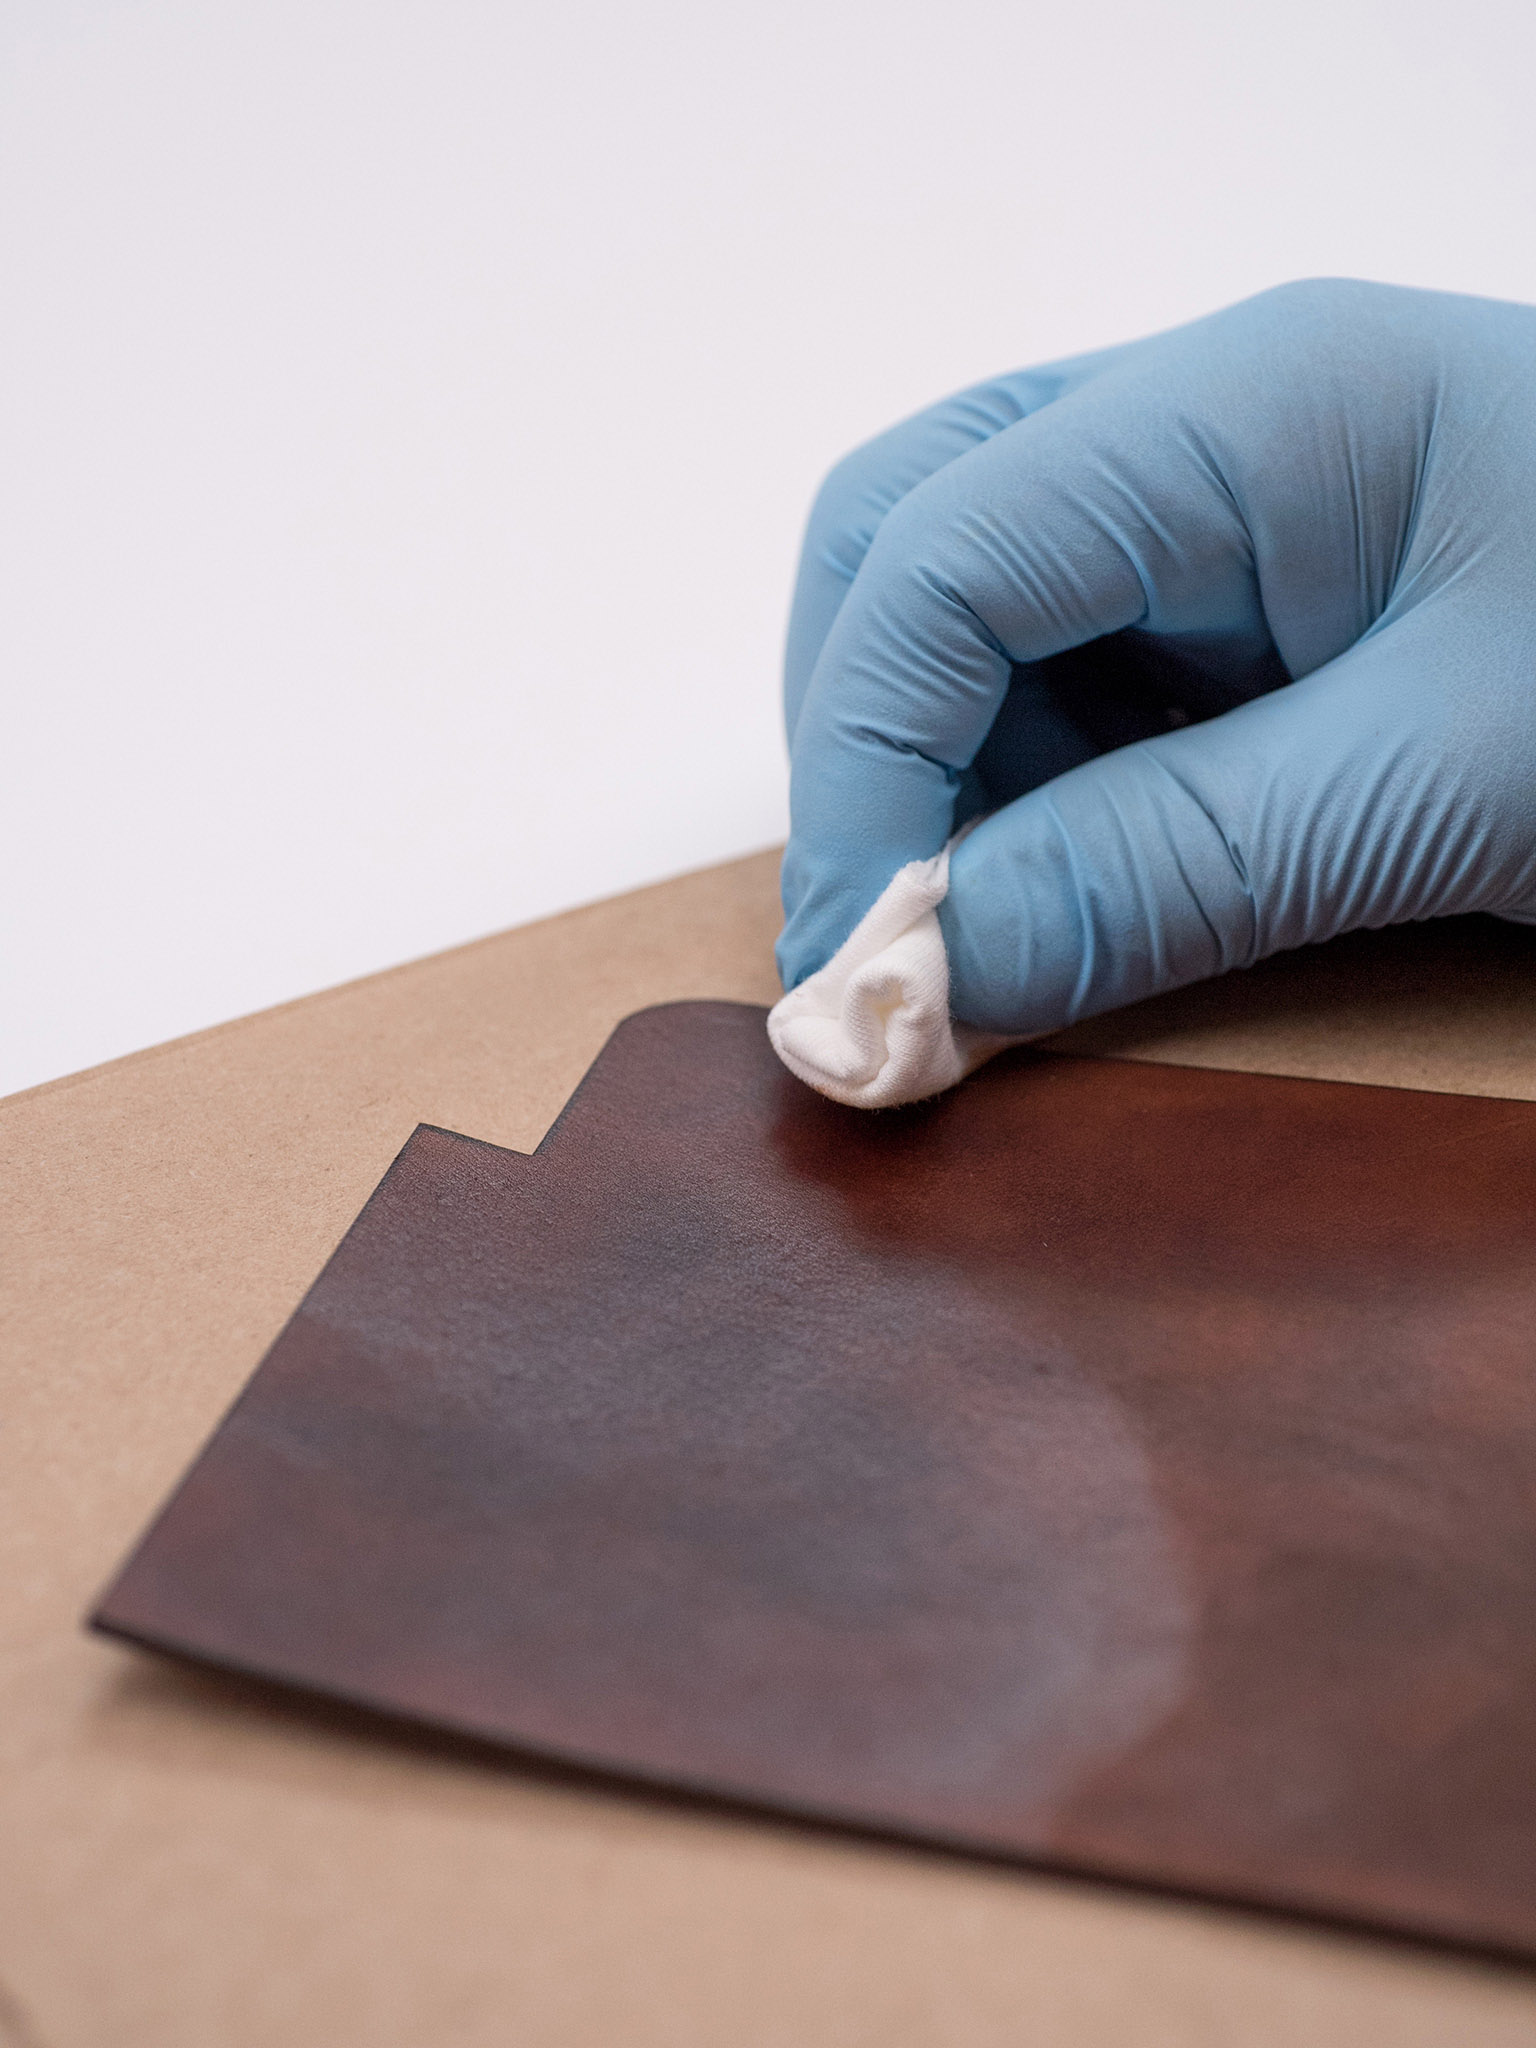
5 Gloss the surfaces. Using a clean rag, rub gloss over the dyed surfaces to finish and protect the hand-dyed leather. Allow time to dry—at least six hours or overnight—before proceeding to the next step.
6 Measure and mark the glue lines. Using a mechanical pencil and straightedge, measure and mark the ⅛-inch (0.3cm) wide glue lines for the journal cover sleeve on the rough side of the project body, as shown on the template.
7 Cement the left cover sleeve. Apply a thin coat of cement within the glue lines as marked in Step 6 on the left side. Allow approximately 30 seconds to dry before beginning the next step.
8 Adhere the left cover sleeve. Fold the glued sleeve side together, paying special attention to aligning the edges flush with each other. Hold for a few seconds and place under a weight or heavy object to dry at least 5 to 10 minutes.
9 Cement and adhere the right cover sleeve. As you did on the left side, apply cement within the glue lines and let dry for 30 seconds. Press the glued pieces together, aligning the edges, and place under a weight to dry for 5 to 10 minutes.

10 Prepare the sleeves for stitching. With both sleeve sides glued and dried, use the adjustable stitching groover to cut a ⅛-inch (0.3cm) stitching groove along the inside edge of both sides of the journal cover, as marked on the template.
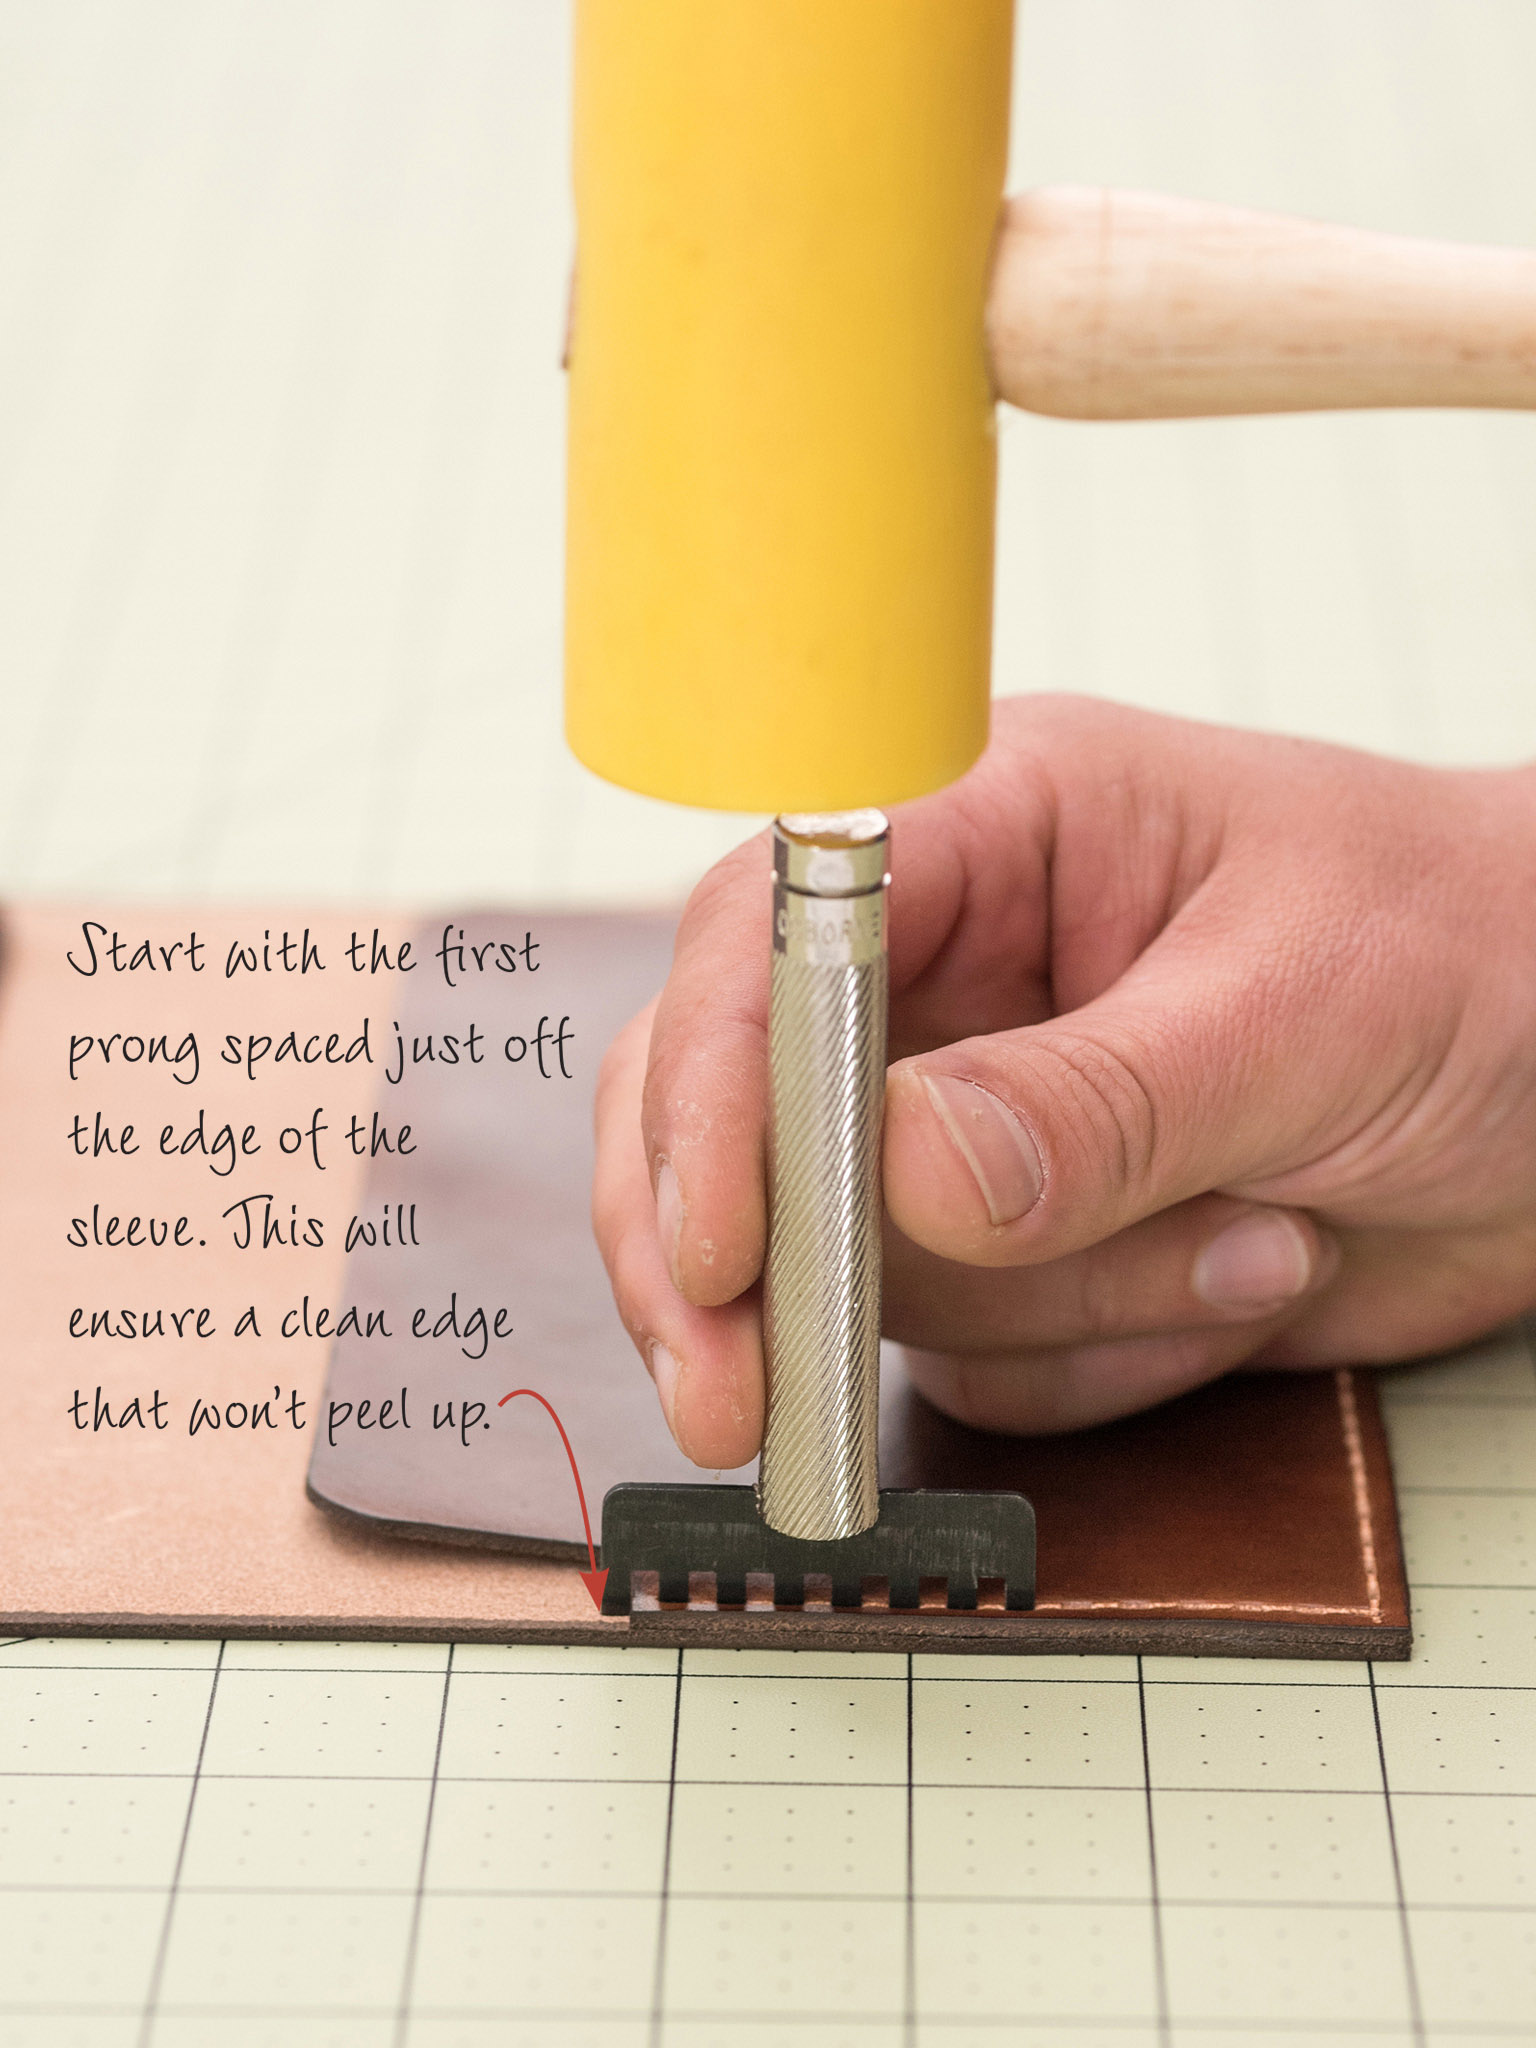
11 Punch sleeve stitch holes. Using the multi-prong pricking iron, punch the stitch holes evenly along the groove made in Step 10.
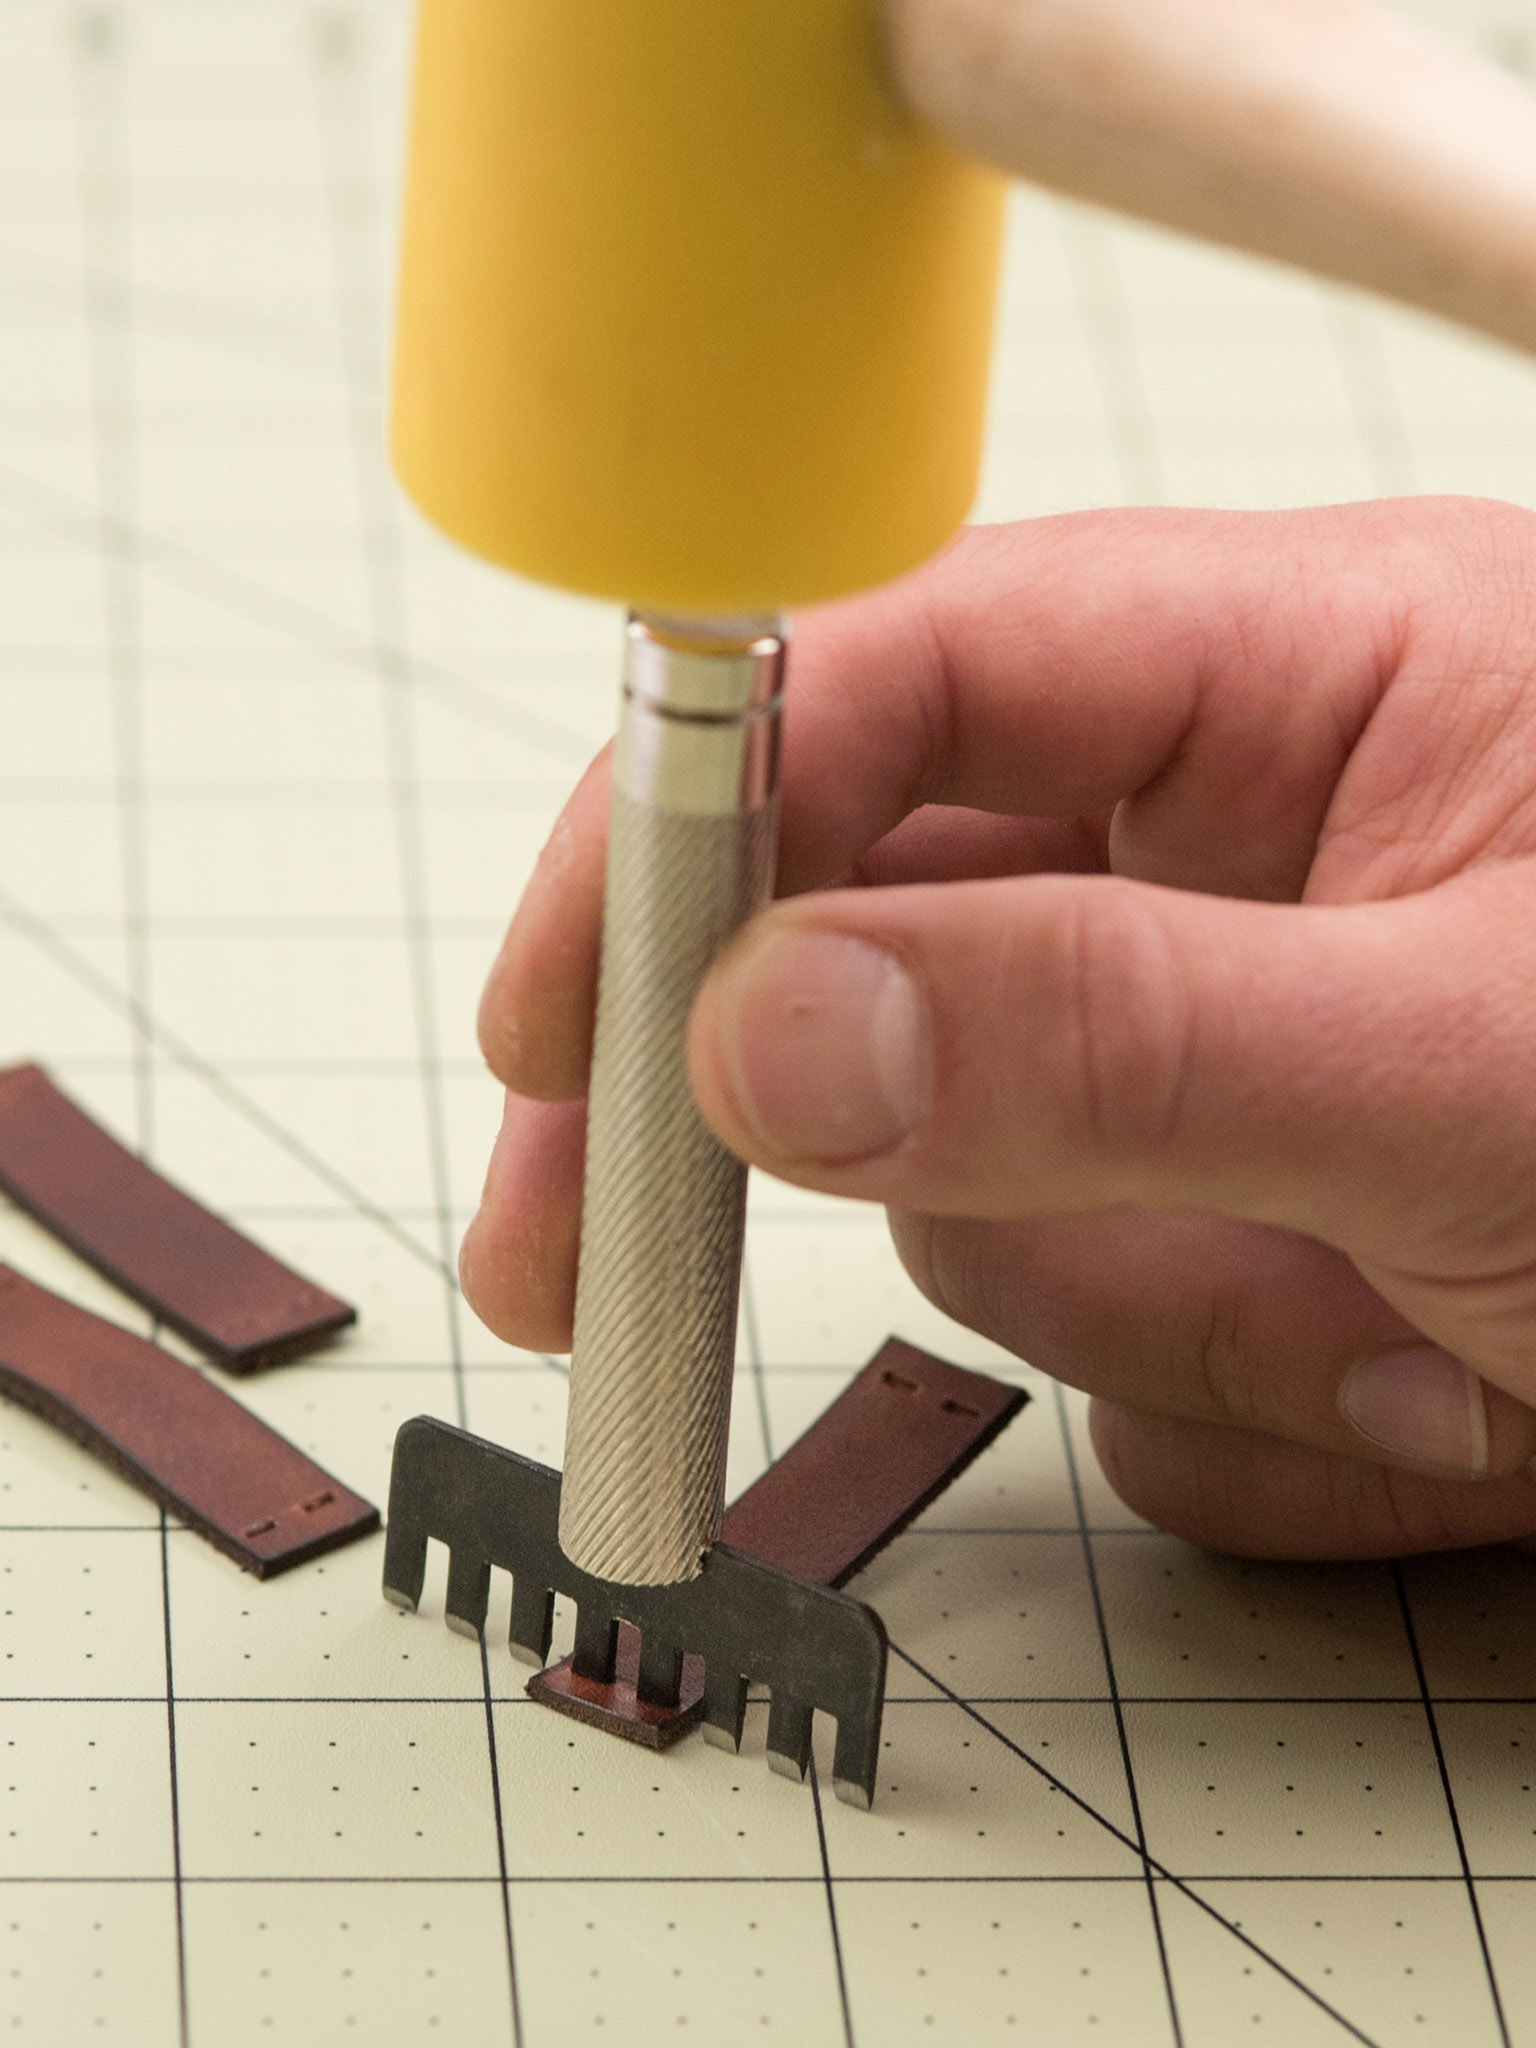
12 Punch pencil loop stitch holes. In strips made in Step 2, punch two stitch holes as shown on the template using the single- or multi-prong pricking iron.
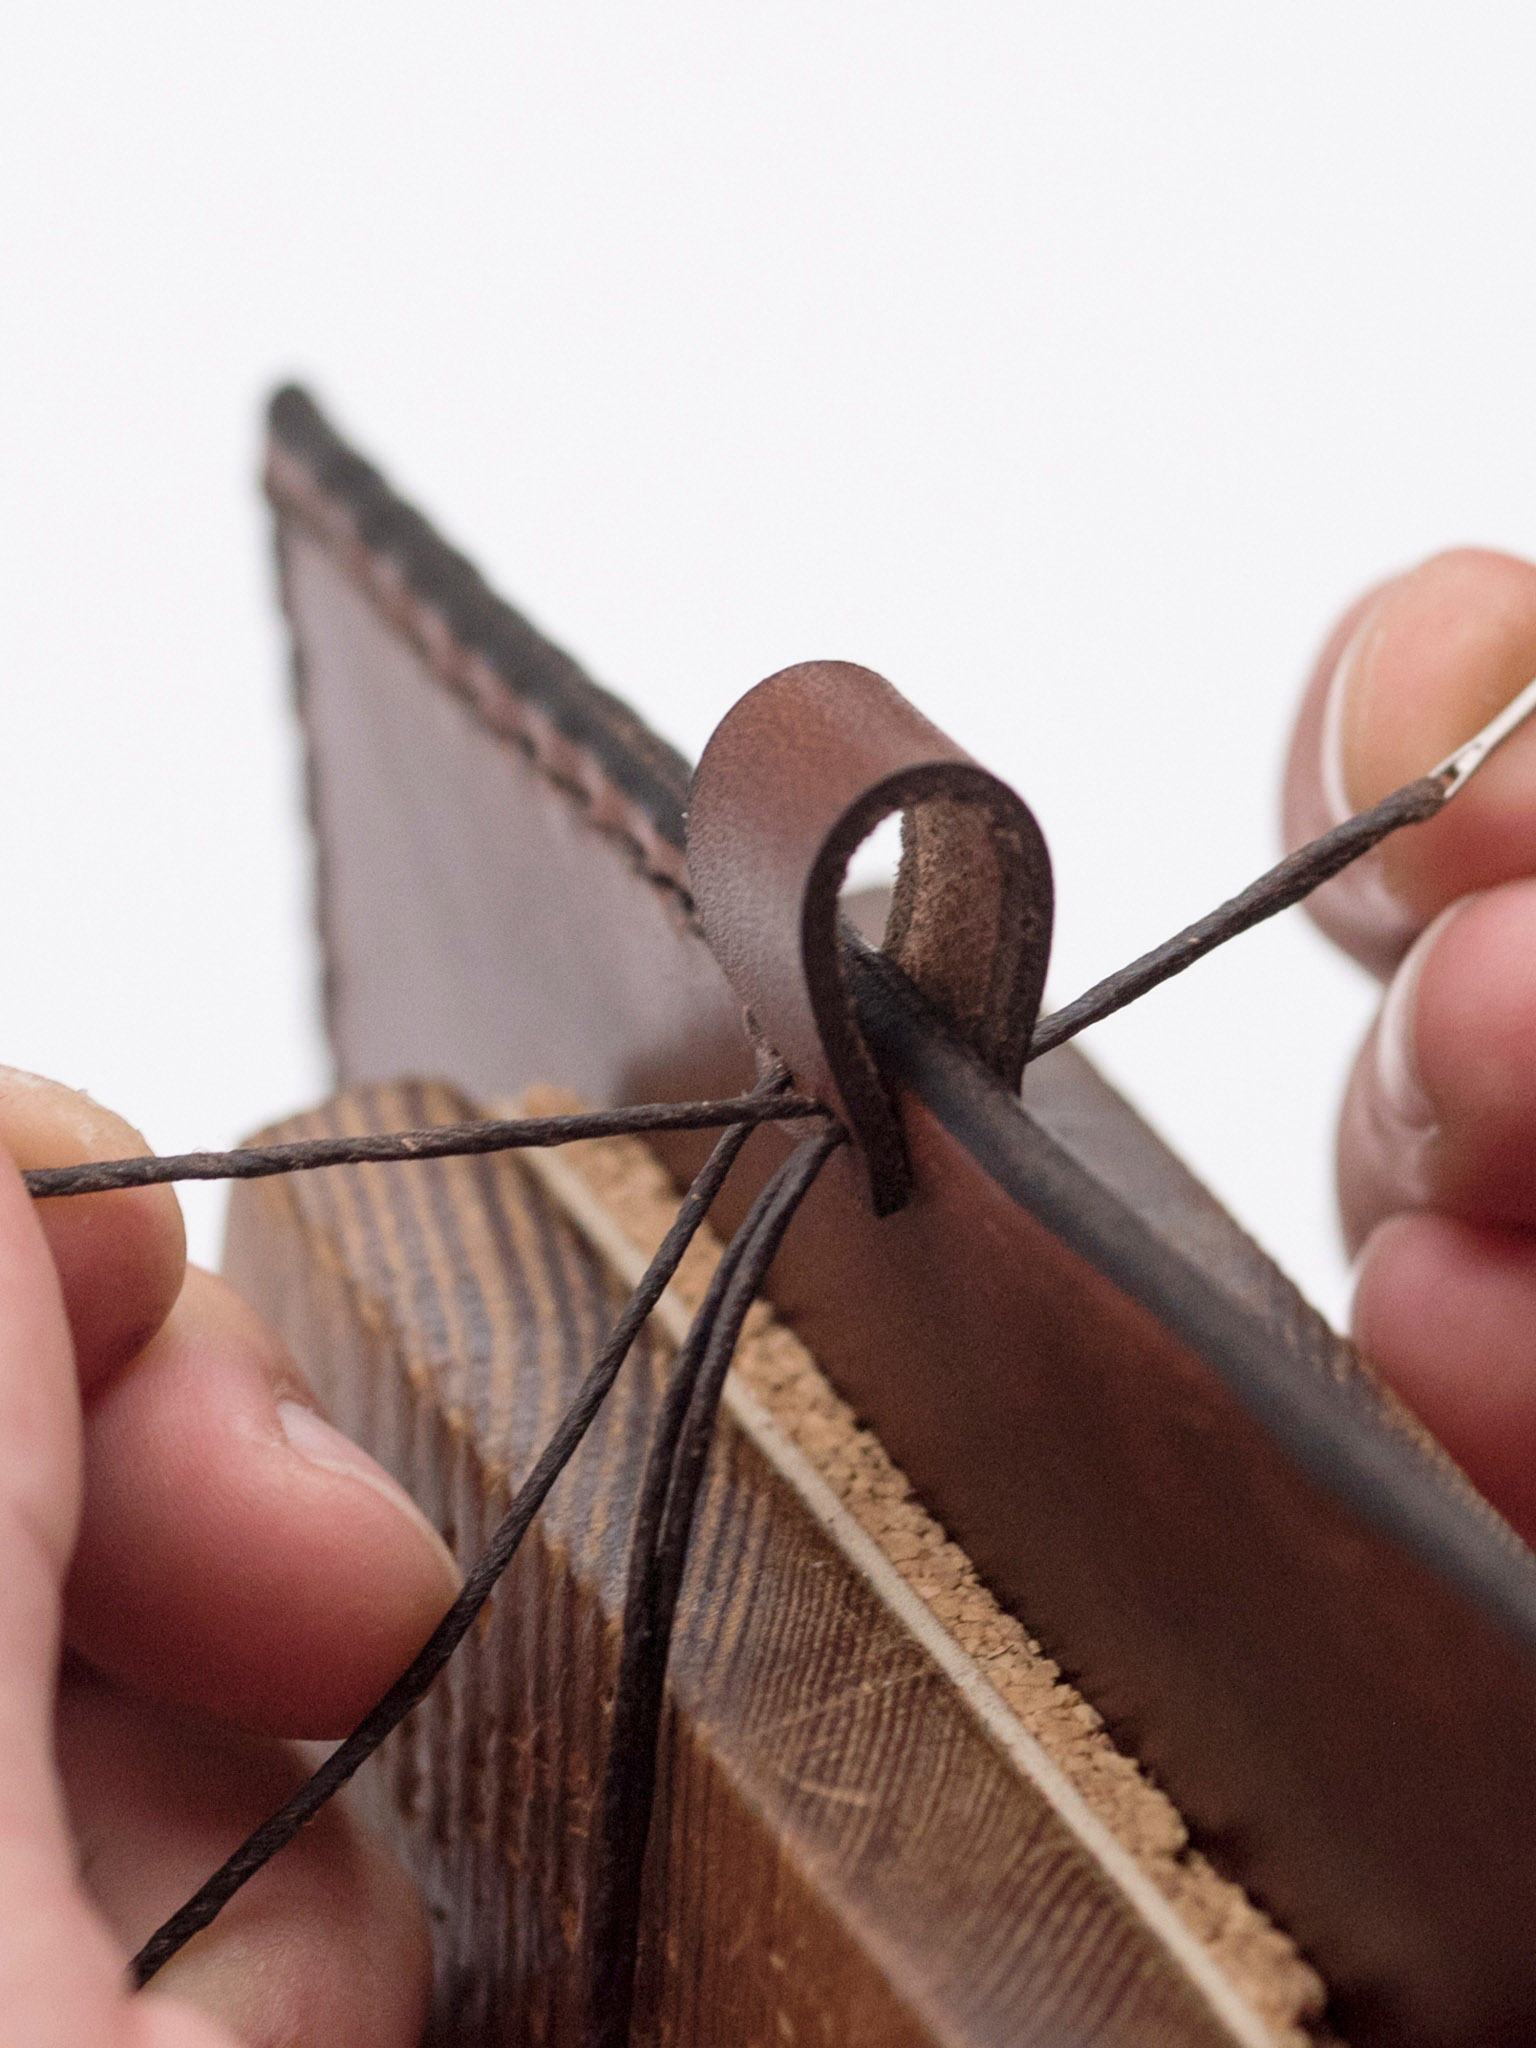
13 Stitch the cover sleeves. Place the project in the stitch horse and open each stitch hole with the awl. Saddle stitch the sides of the journal cover, making sure to insert and stitch into place each of the three pencil loops, as shown on the template.

14 Bevel the stitched edges. Use the edge beveler to round the edge where the two layers of leather are stitched together.

15 Re-Apply Edge Dye. If necessary, re-apply edge dye to the beveled sides.

16 Burnish stitched edges. Rub the stitched edges against the wax bar and burnish until glossy.
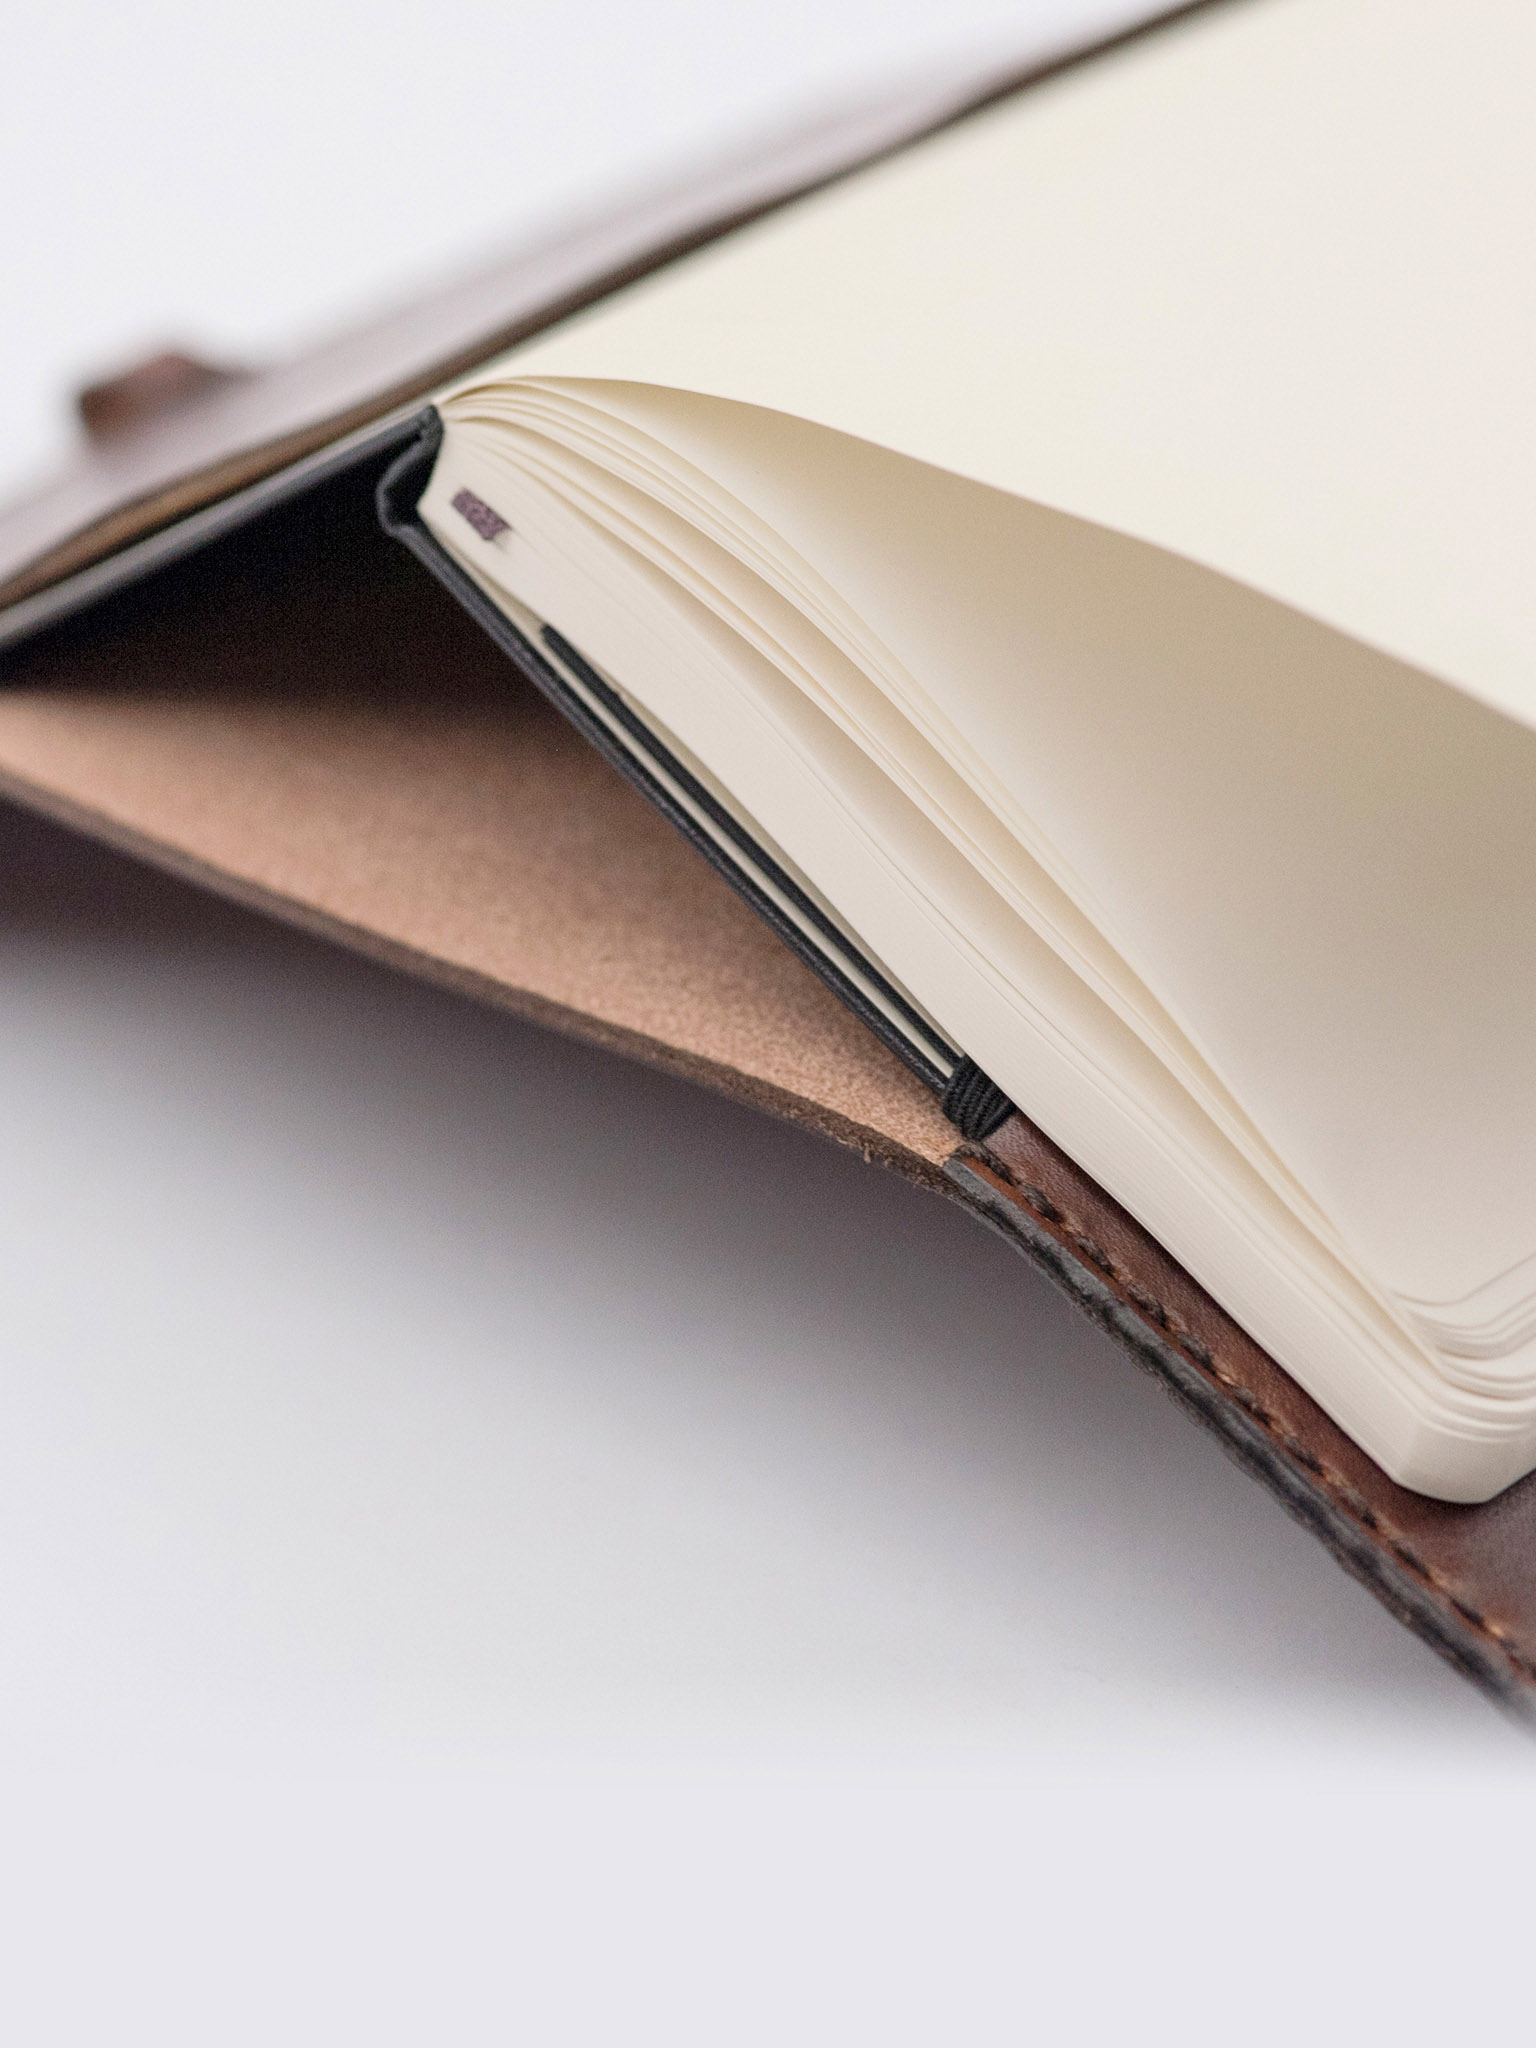
17 Assemble with journal. Insert journal covers into the sleeves and secure the journal cover by sliding the writing pencil or pen into the pencil loops.