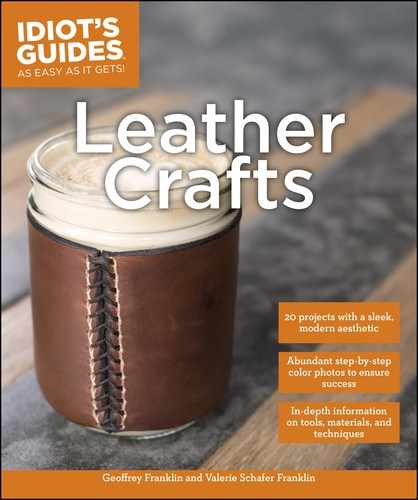

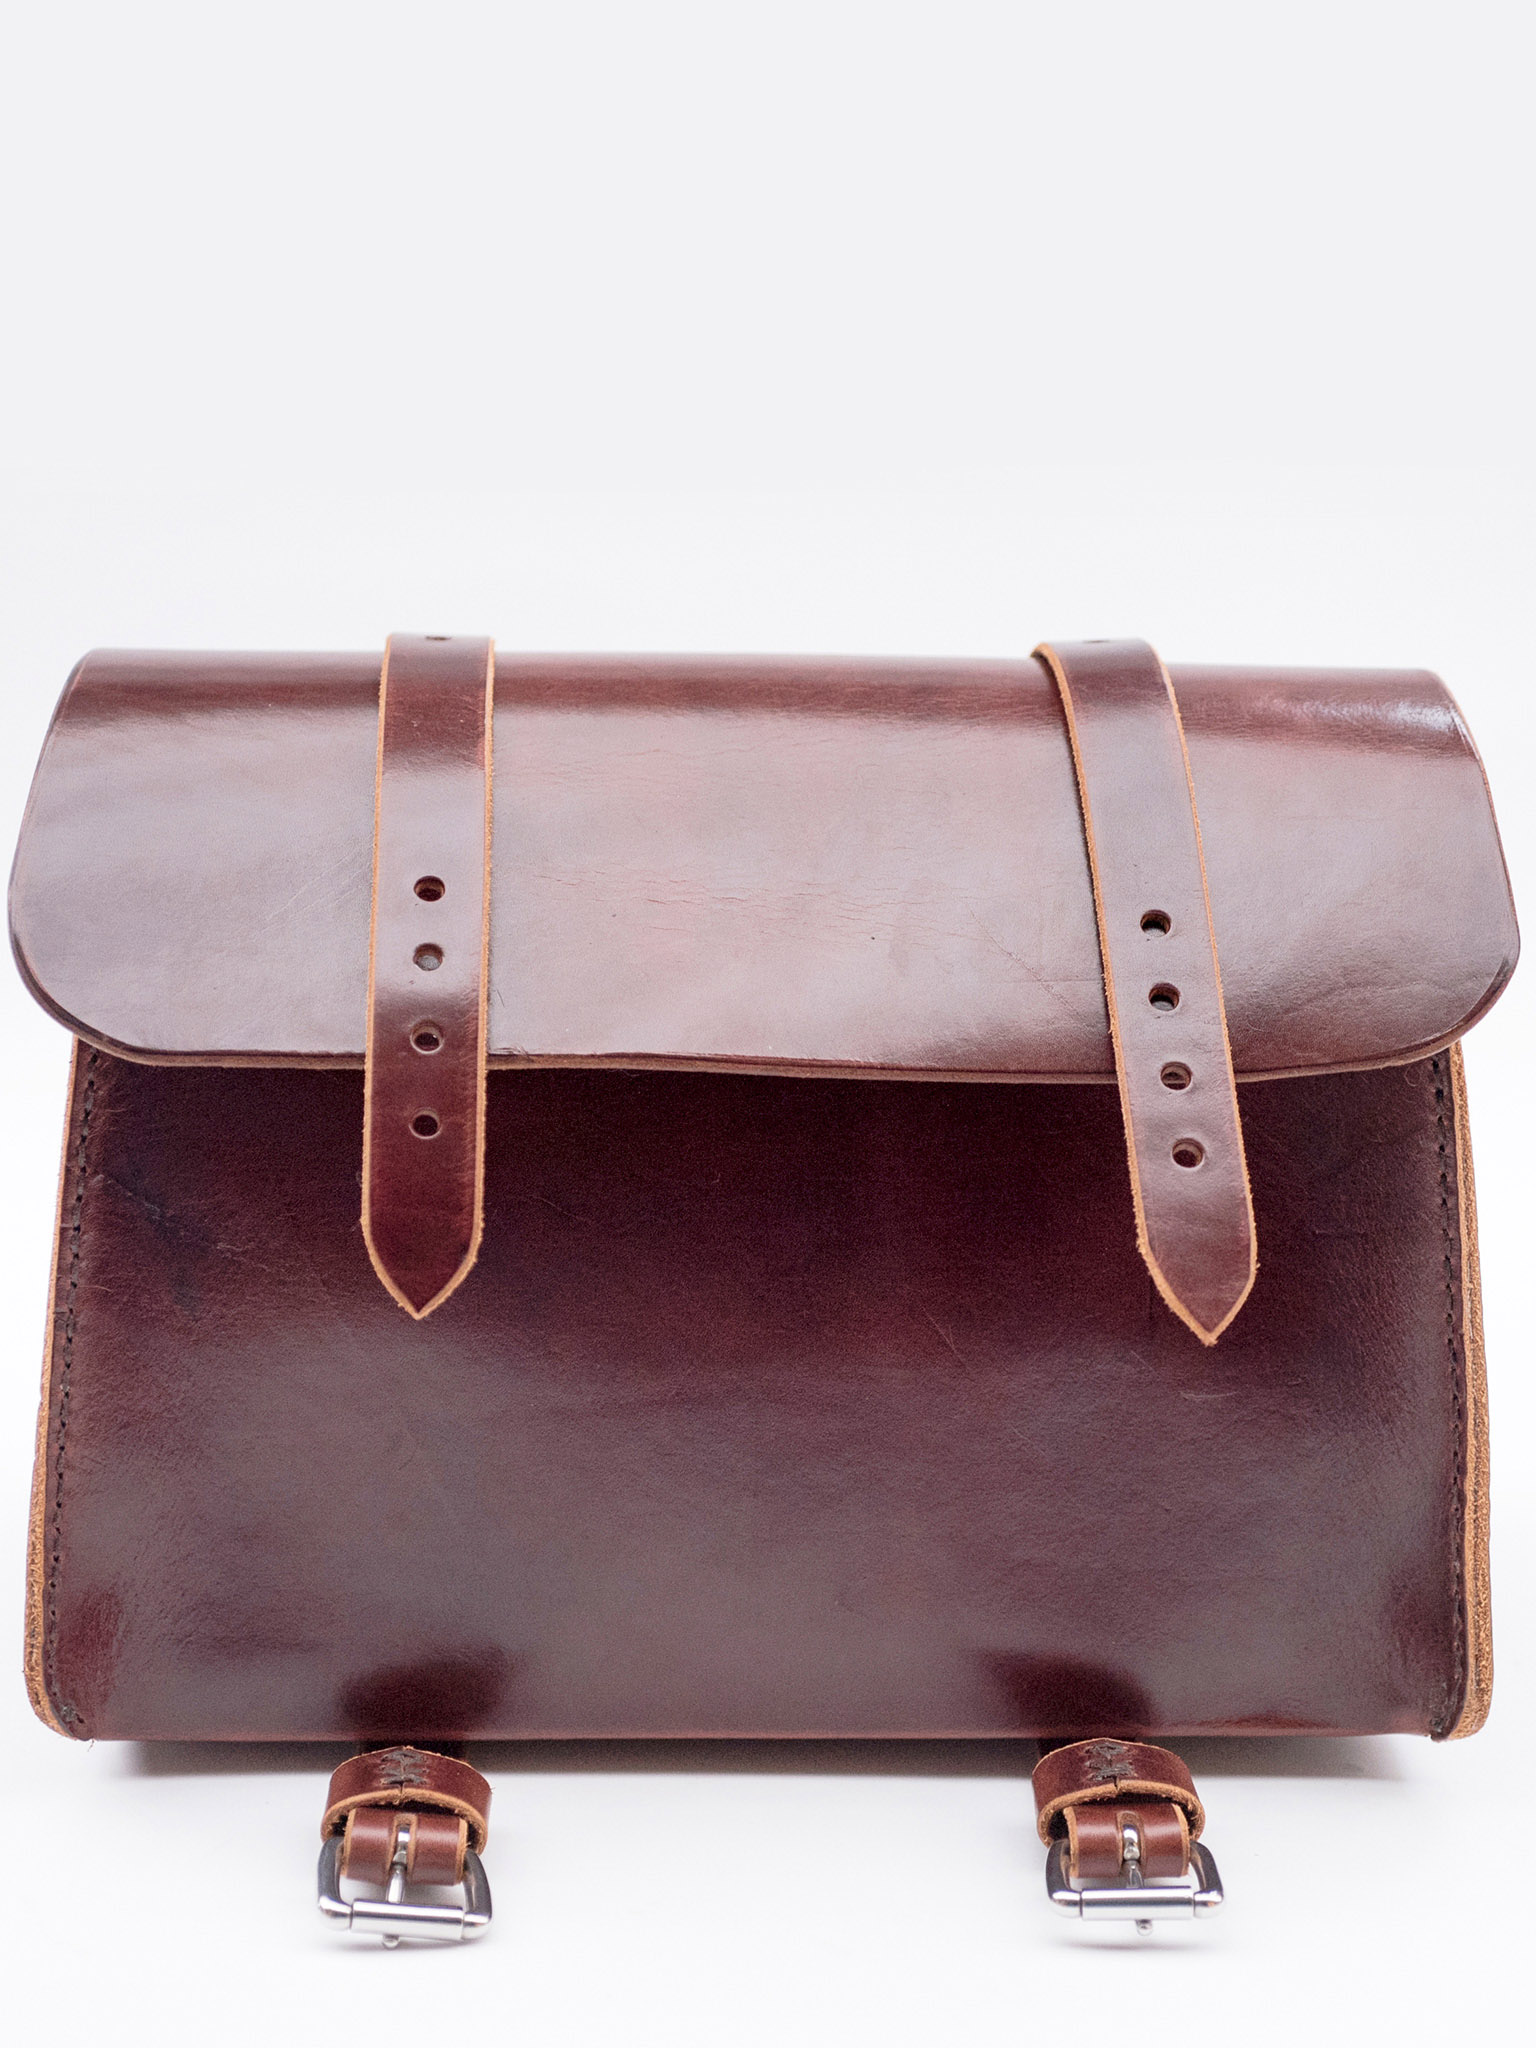
Lineman’s Bag
Rugged yet refined, this bag is made to last a lifetime. The design is modeled after a vintage electrician “lineman’s” bag, making it a great tool bag, whatever your tool set. With its classic good looks and smooth bridle leather, it’s also stylish enough to be used as an overnight bag or carryall.
Finished size
7½×9×13 inches (19×22.9×33cm)
Materials
1 piece 6–7 ounce (2.4–2.8mm) bridle leather, 22×31 inches (55.9×78.8 cm), for the body
1 piece 6–7 ounce (2.4–2.8mm) bridle leather, 2×31¼ inches (2.5×79.4cm), for the belts
1 piece 6–7 ounce (2.4–2.8mm) bridle leather, 1×217/8 inches (2.5×55.6cm), for the handle
2 D-rings, 1 inch (2.5cm)
2 buckles, 1 inch (2.5cm)
Waxed thread
2 double cap rivets, 7mm
8 Chicago screws, 3/16 inch (0.48cm)
2 Chicago screws, ¼ inch (0.6cm)
Cement
Wax
Template
Lineman’s Bag (idiotsguides.com/leather)
Tools
Chipboard
Mechanical pencil
Precision knife
Cutting mat
Strap cutter
Edge beveler, #2
Burnisher
Hole punch, #2
Hole punch, #7
Bag punch, 1 inch (2.5cm)
Mallet
Rounded end punch, 1 inch (2.5cm)
Mini sledge hammer
Adjustable stitching groover
Multi-prong pricking iron, ⅛ inch (0.3cm)
Single-prong pricking iron
Awl
2 harness needles, #00
Adjustable U-gouge
Flathead screwdriver
Techniques Used
Working with Templates
Cutting
Edge Finishing
Punching
Hardware
Hand Stitching
Cementing
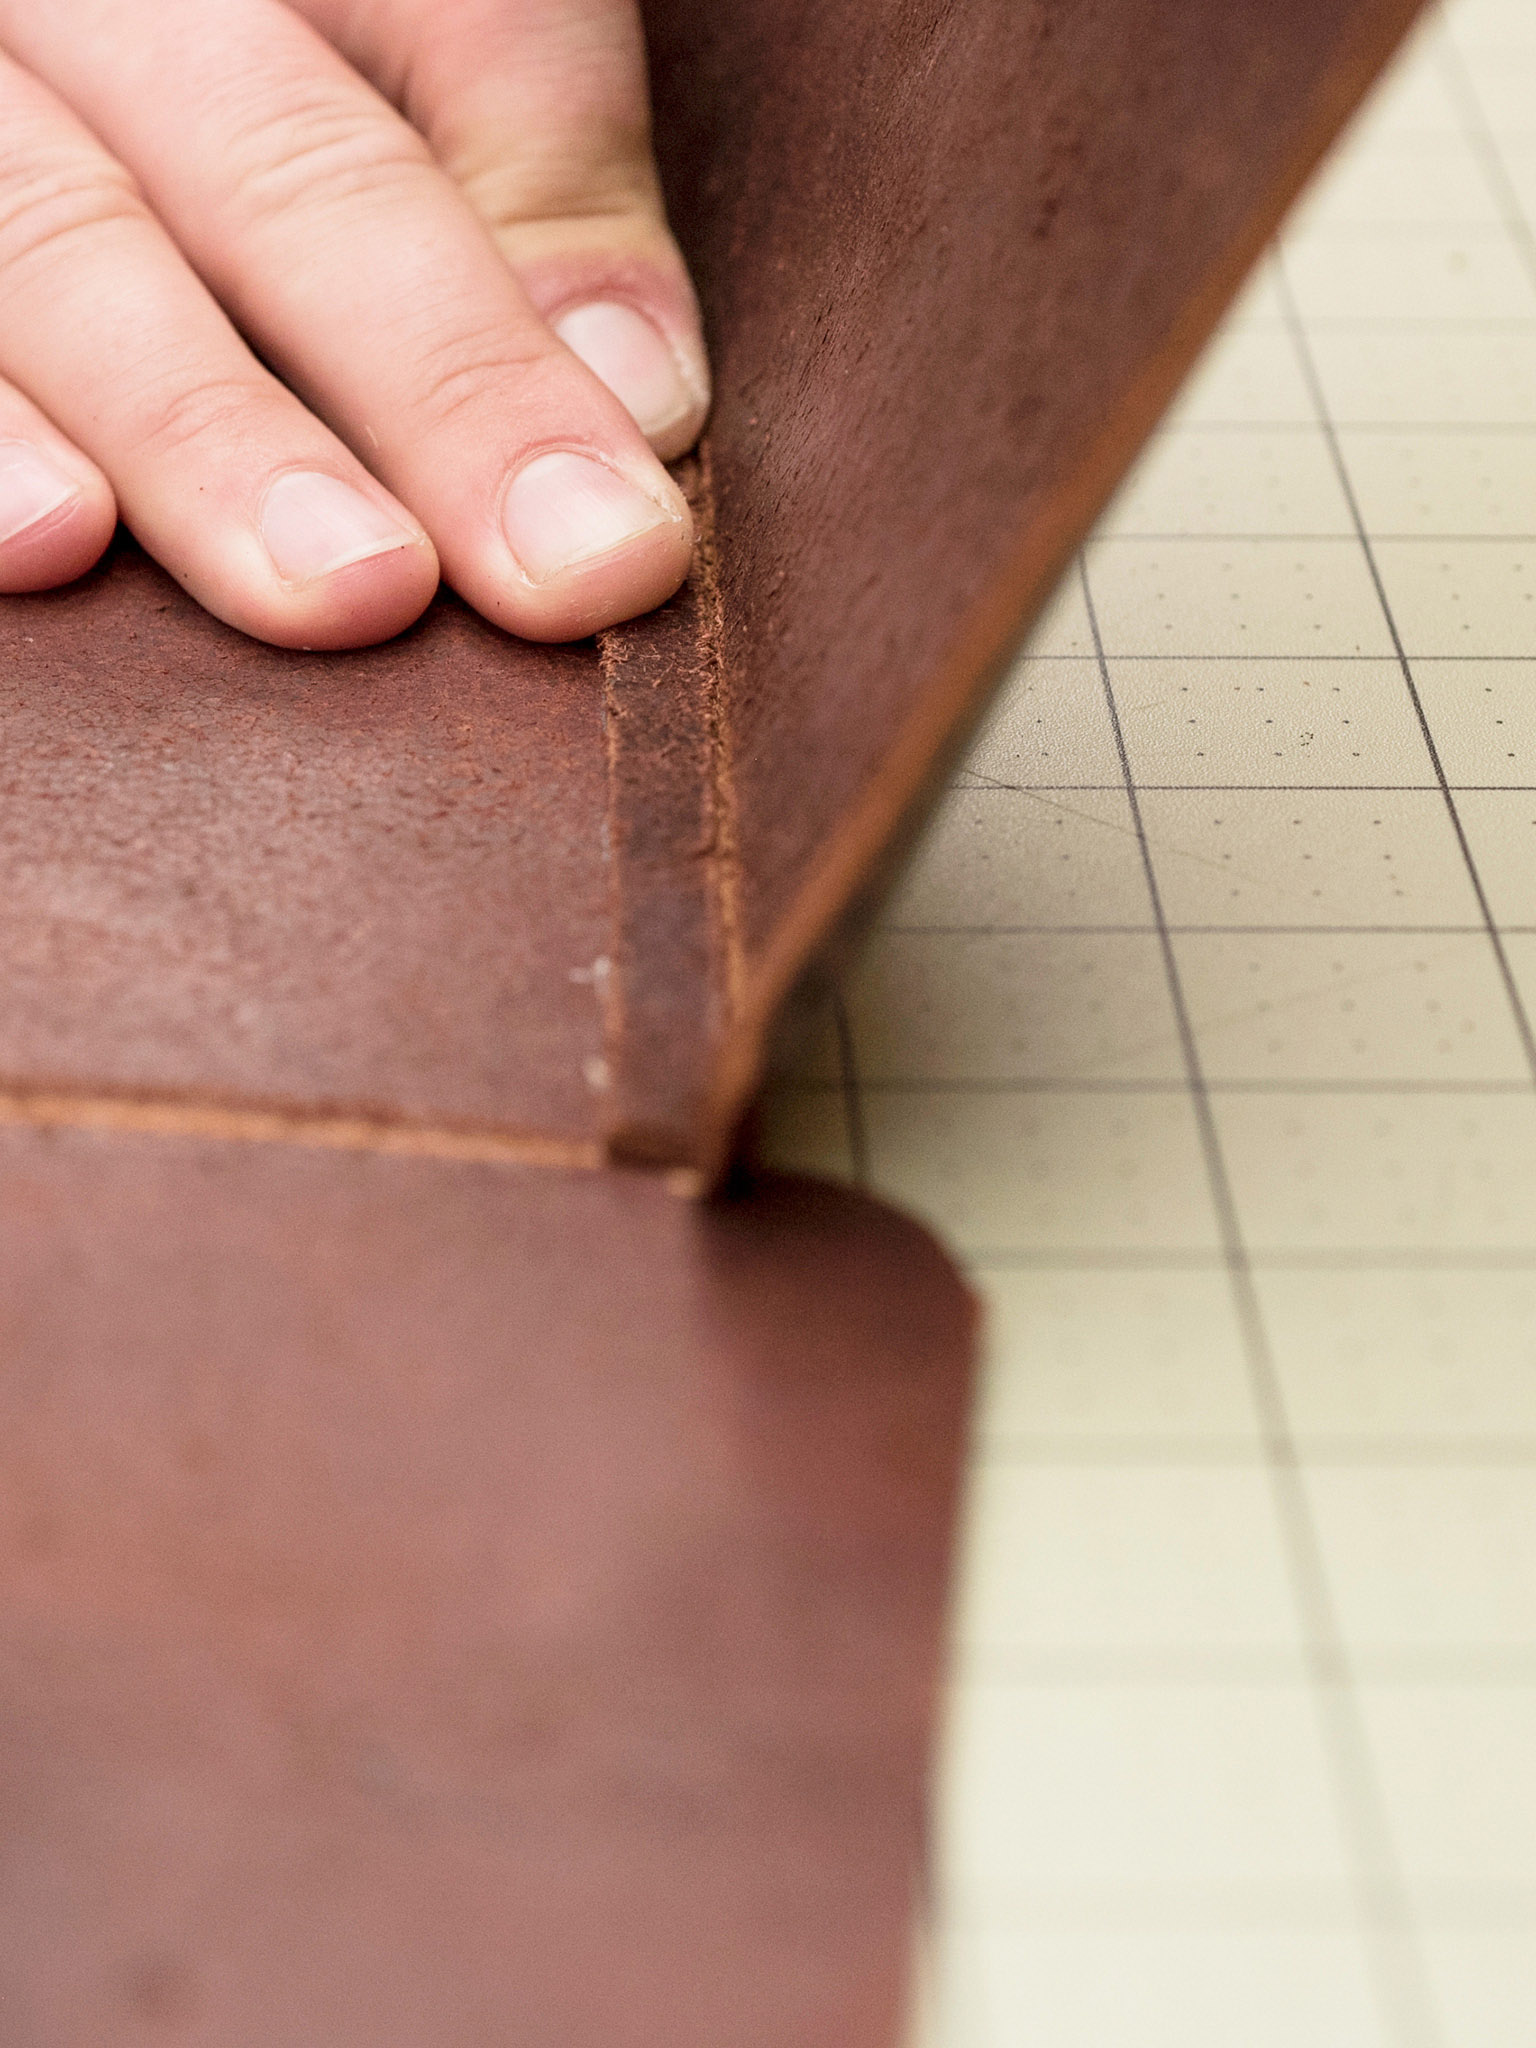
Shaping Leather: Folding with a Channel

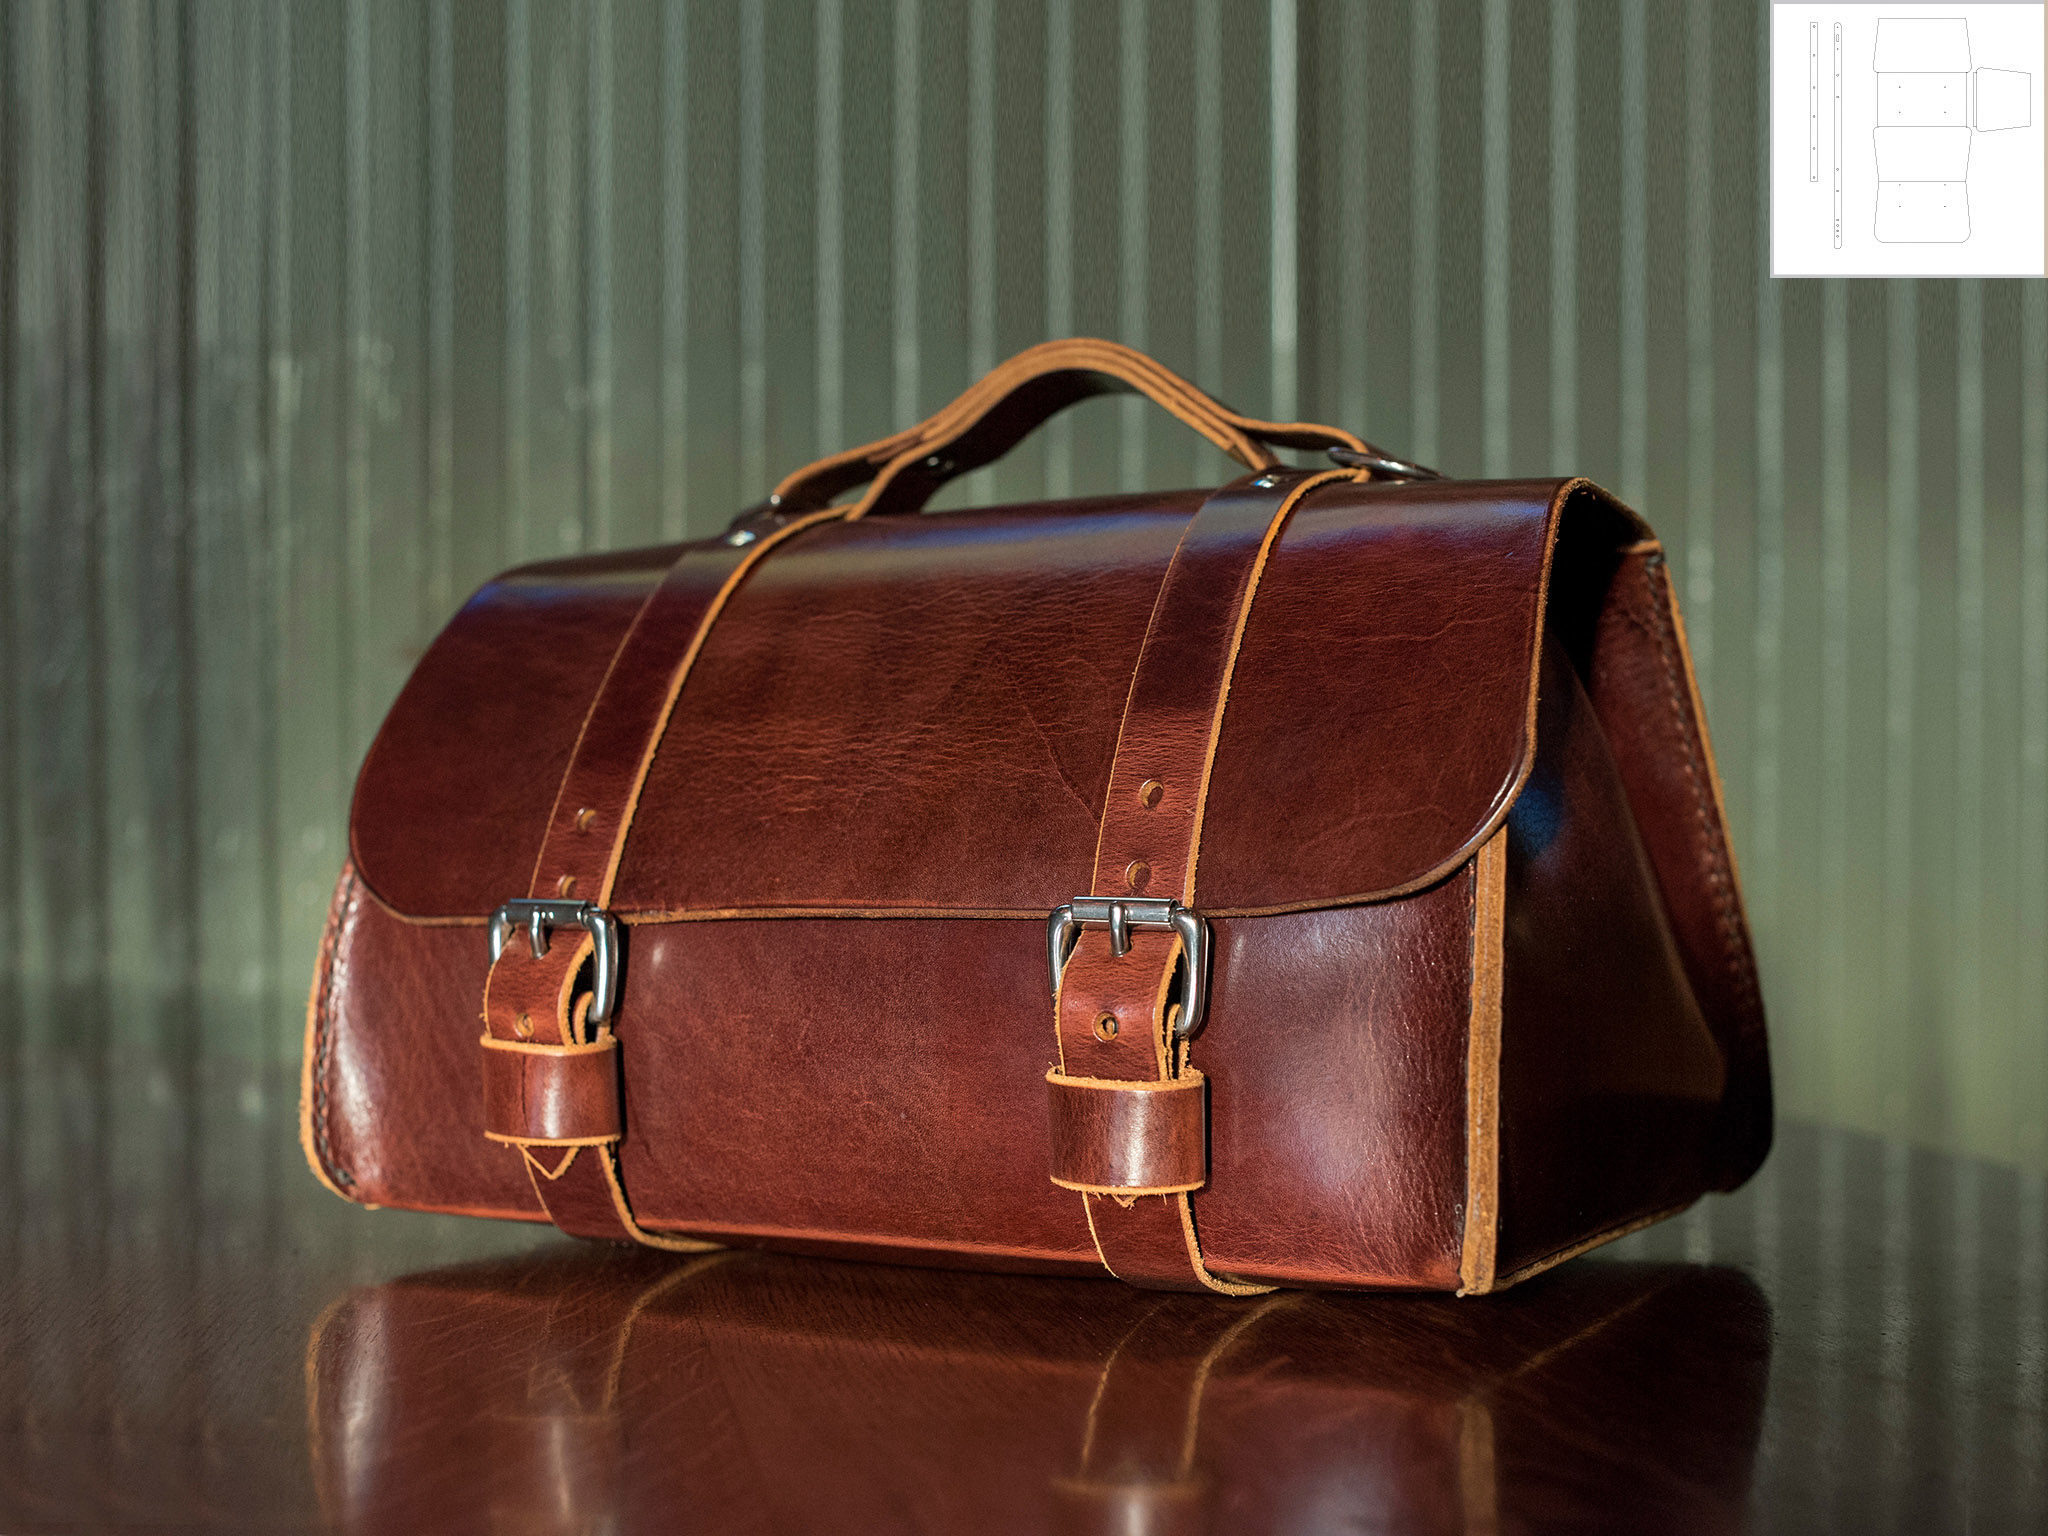
1 Trace the template and cut the leather. Transfer the template pattern to chipboard and cut it out. Trace the template onto the bridle leather. Cut the straight sides using the precision knife and straightedge and the curved sides using the precision knife freehand.

2 Measure and mark the fold lines. Reverse the project body and project sides and mark the fold line on the rough side using the mechanical pencil, as shown on the template.
3 Gouge the fold lines. Set the adjustable U-gouge to one half the depth of the leather and gouge the fold lines on the project body and side panels.

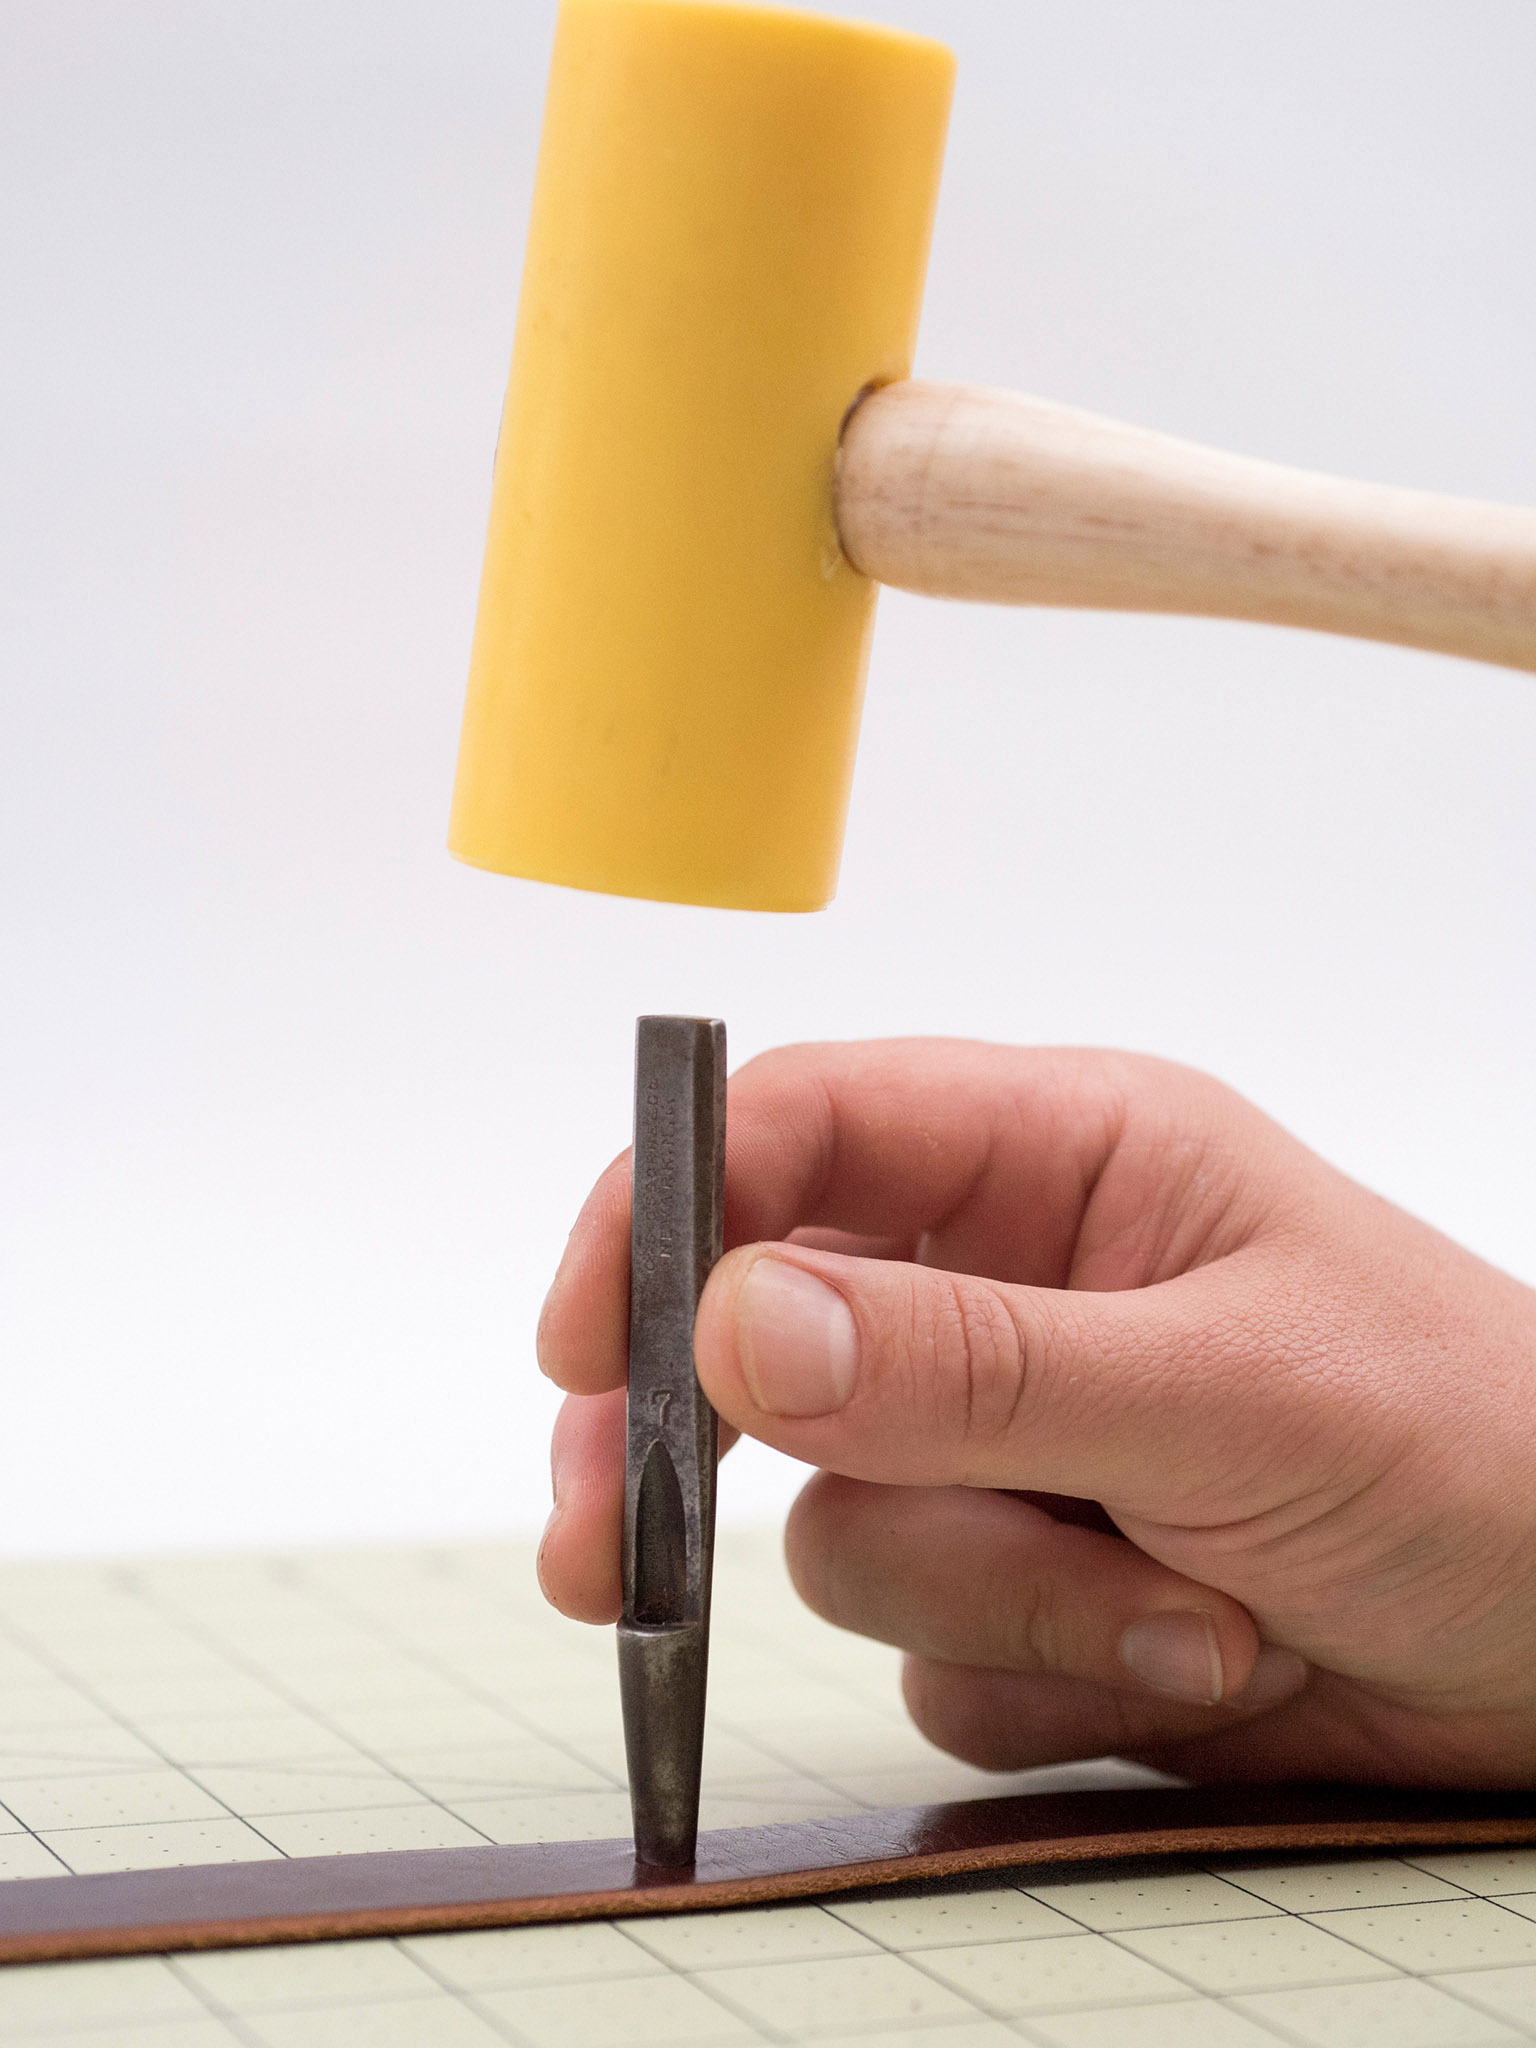
4 Punch the holes. Using the #7 hole punch, punch the holes in the project body, as shown on the template

5 Cut the stitching grooves. Using the adjustable stitching groover, mark the stitching grooves ⅛ inch (0.3cm) from the edge on finished surface of the side panels and along the straight line on the center of the project body, as shown on the template.

6 Punch straight stitch holes. Using the multi-pronged pricking iron, punch the stitch holes on the straight sections of the side panels that were grooved in Step 5, up to the beginning of the curve. Start at the top, ⅛ inch (0.3cm) from the side, and move down to the curve.

7 Measure and mark the curved stitch holes. For the small curves at the bottom of the side panels, measure and mark a hole every ¼ inch (0.6cm) to make three evenly spaced stitch holes.

8 Punch the curved stitch holes. Using the single-prong pricking iron, punch the curved stitch holes marked in Step 7 to finish the stitching line on both side panels.

9 Measure and mark the glue lines of the base. Using a mechanical pencil, mark ⅛ inch (0.3cm) wide glue lines along the bottom edges of the side panels on the finished side and on the straight side in the center of the project body on the rough side, as shown on the template.
10 Cement one side of the base. Apply a thin coat of cement ⅛ inch (0.3cm) wide to the glue lines marked in Step 9 on the bottom of one side panel and one side of the project body.
11 Adhere the base. Press the two lines of cement from Step 10 together, being careful to overlap them ¼ inch (0.6cm).

12 Punch stitch holes in base. Prepare the bottom of the side panel for stitching to the base by punching evenly spaced stitch holes along the cemented line using the multi-prong pricking iron.

13 Hand stitch the base to the first side panel. Stitch the bottom of the cemented side panel to the project body using saddle stitch and tie off.

14 Attach the second side panel to the base. Repeat Steps 10 to 13 on the second side panel to form the bag with both sides attached.

15 Measure and mark the glue lines of the sides. Using a mechanical pencil, mark ⅛-inch wide (0.3cm) glue lines on both sides of both side panels, and on the corresponding sides of the project body (on the rough side of the leather), as shown on the template.

16 Cement the first side of the bag. Apply a thin coat of cement ⅛ inch (0.3cm) wide to the glue lines marked in Step 15 on one side of the bag, on the side panel edge and corresponding project body edge. Allow 30 seconds to dry before proceeding to the next step.

17 Adhere the first side of the bag. Press the two lines of cement from Step 16 together, being careful to line them up with the edges flush. Hold together tightly for 5 to 10 minutes.

18 Prepare the first side for anchor stitching. Use the awl to open up the first four holes from the top of the bag. Center the awl in the stitch holes punched in the side panel and push through the project body to make perfectly aligned corresponding stitch holes.
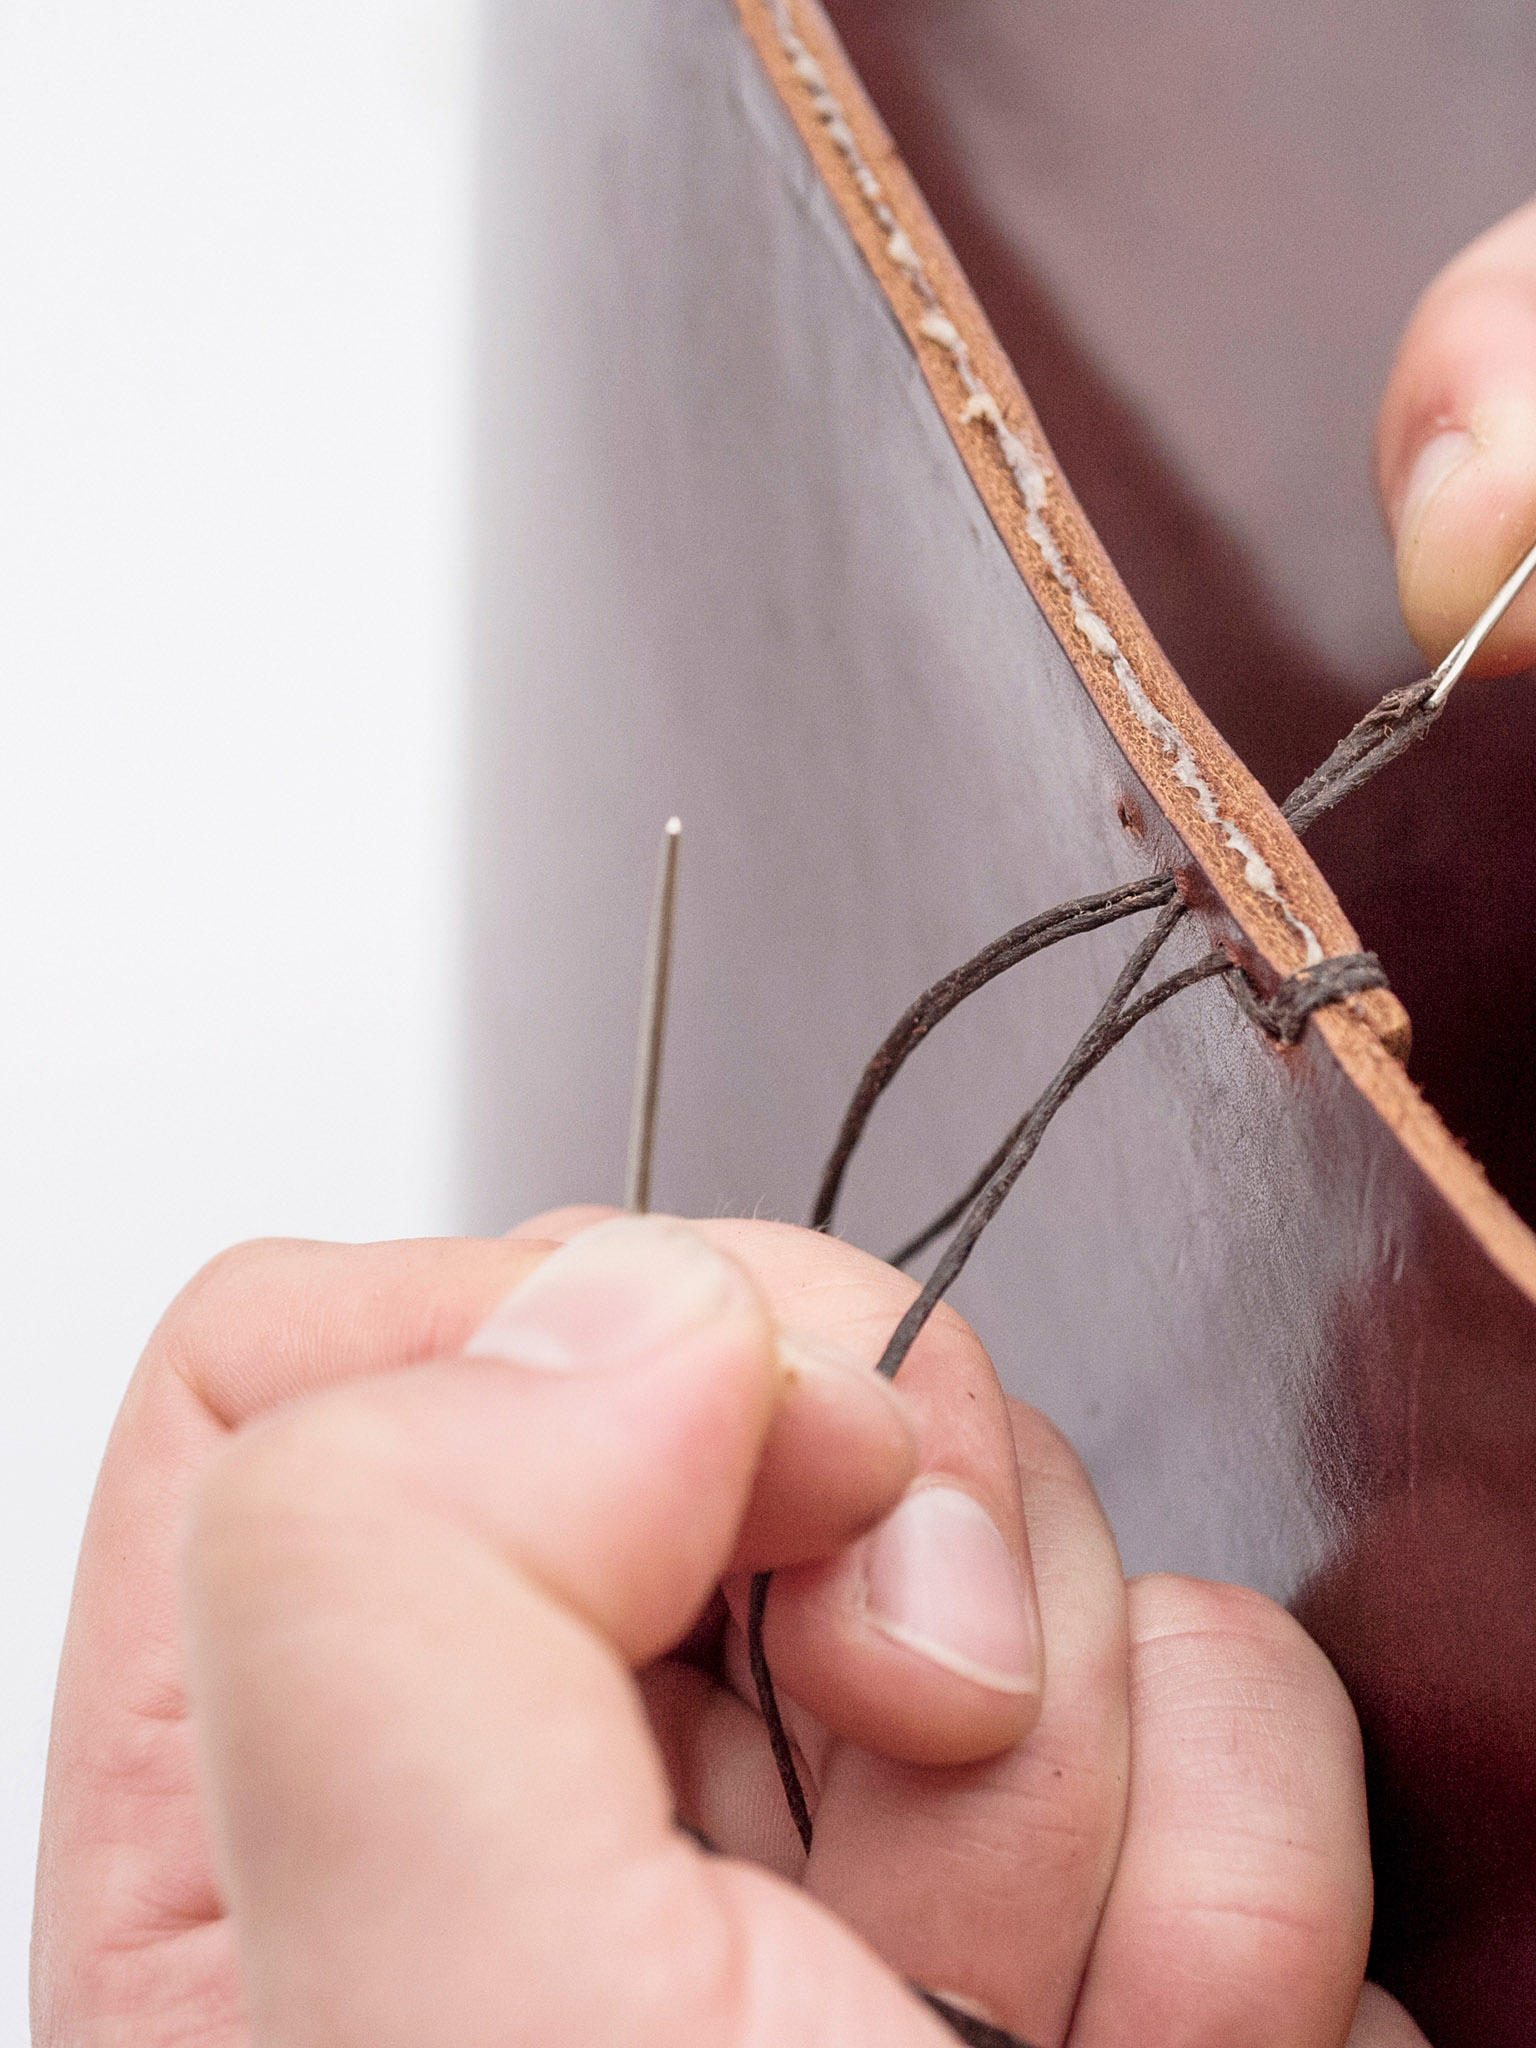
19 Anchor the first side together. Stitch up the first four holes opened in Step 18, using a saddle stitch to anchor the work together.

20 Open remaining stitch holes on the first side. Use the awl to open up the rest of the stitch holes along the first side, all the way down to the base.

21 Stitch the first side. Hand stitch the rest of the first side using saddle stitch and tie off.

22 Assemble the bag sides. Repeat Steps 16 to 21 on each of the three remaining corners of the bag to fully assemble the bag shape.

23 Bevel the lid. Using the #2 edge beveler, bevel the lid on the top and bottom all the way around from the hand-stitching terminus of one side to the other.

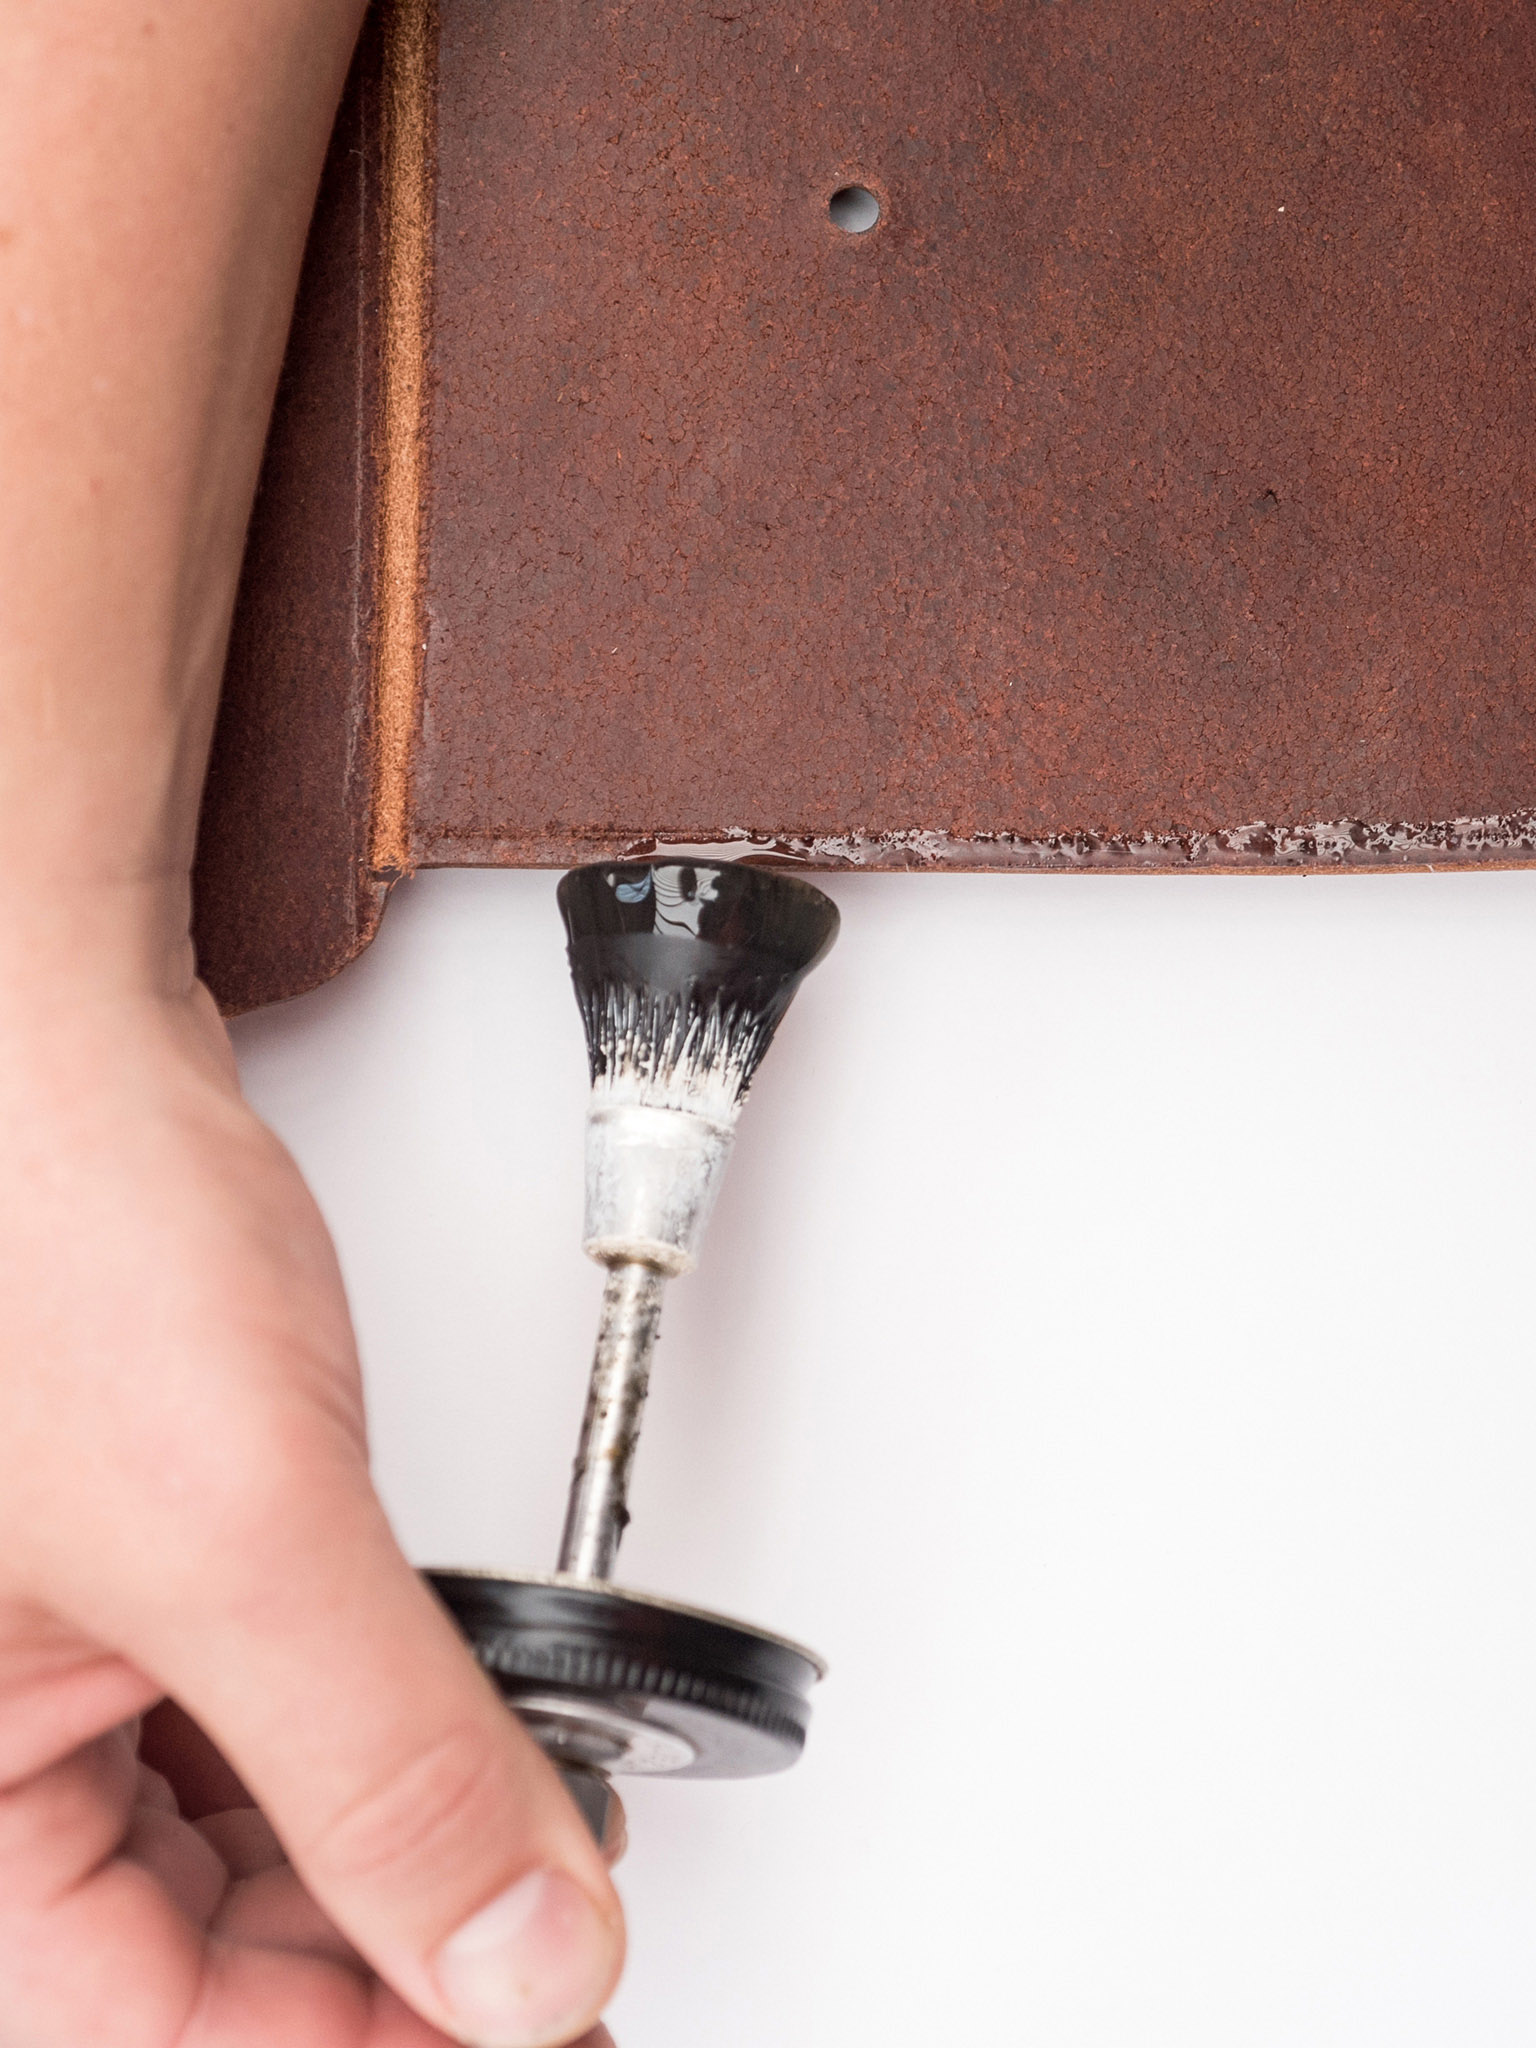
24 Burnish the lid. Apply wax to the lid’s beveled edges and burnish to a glossy shine.
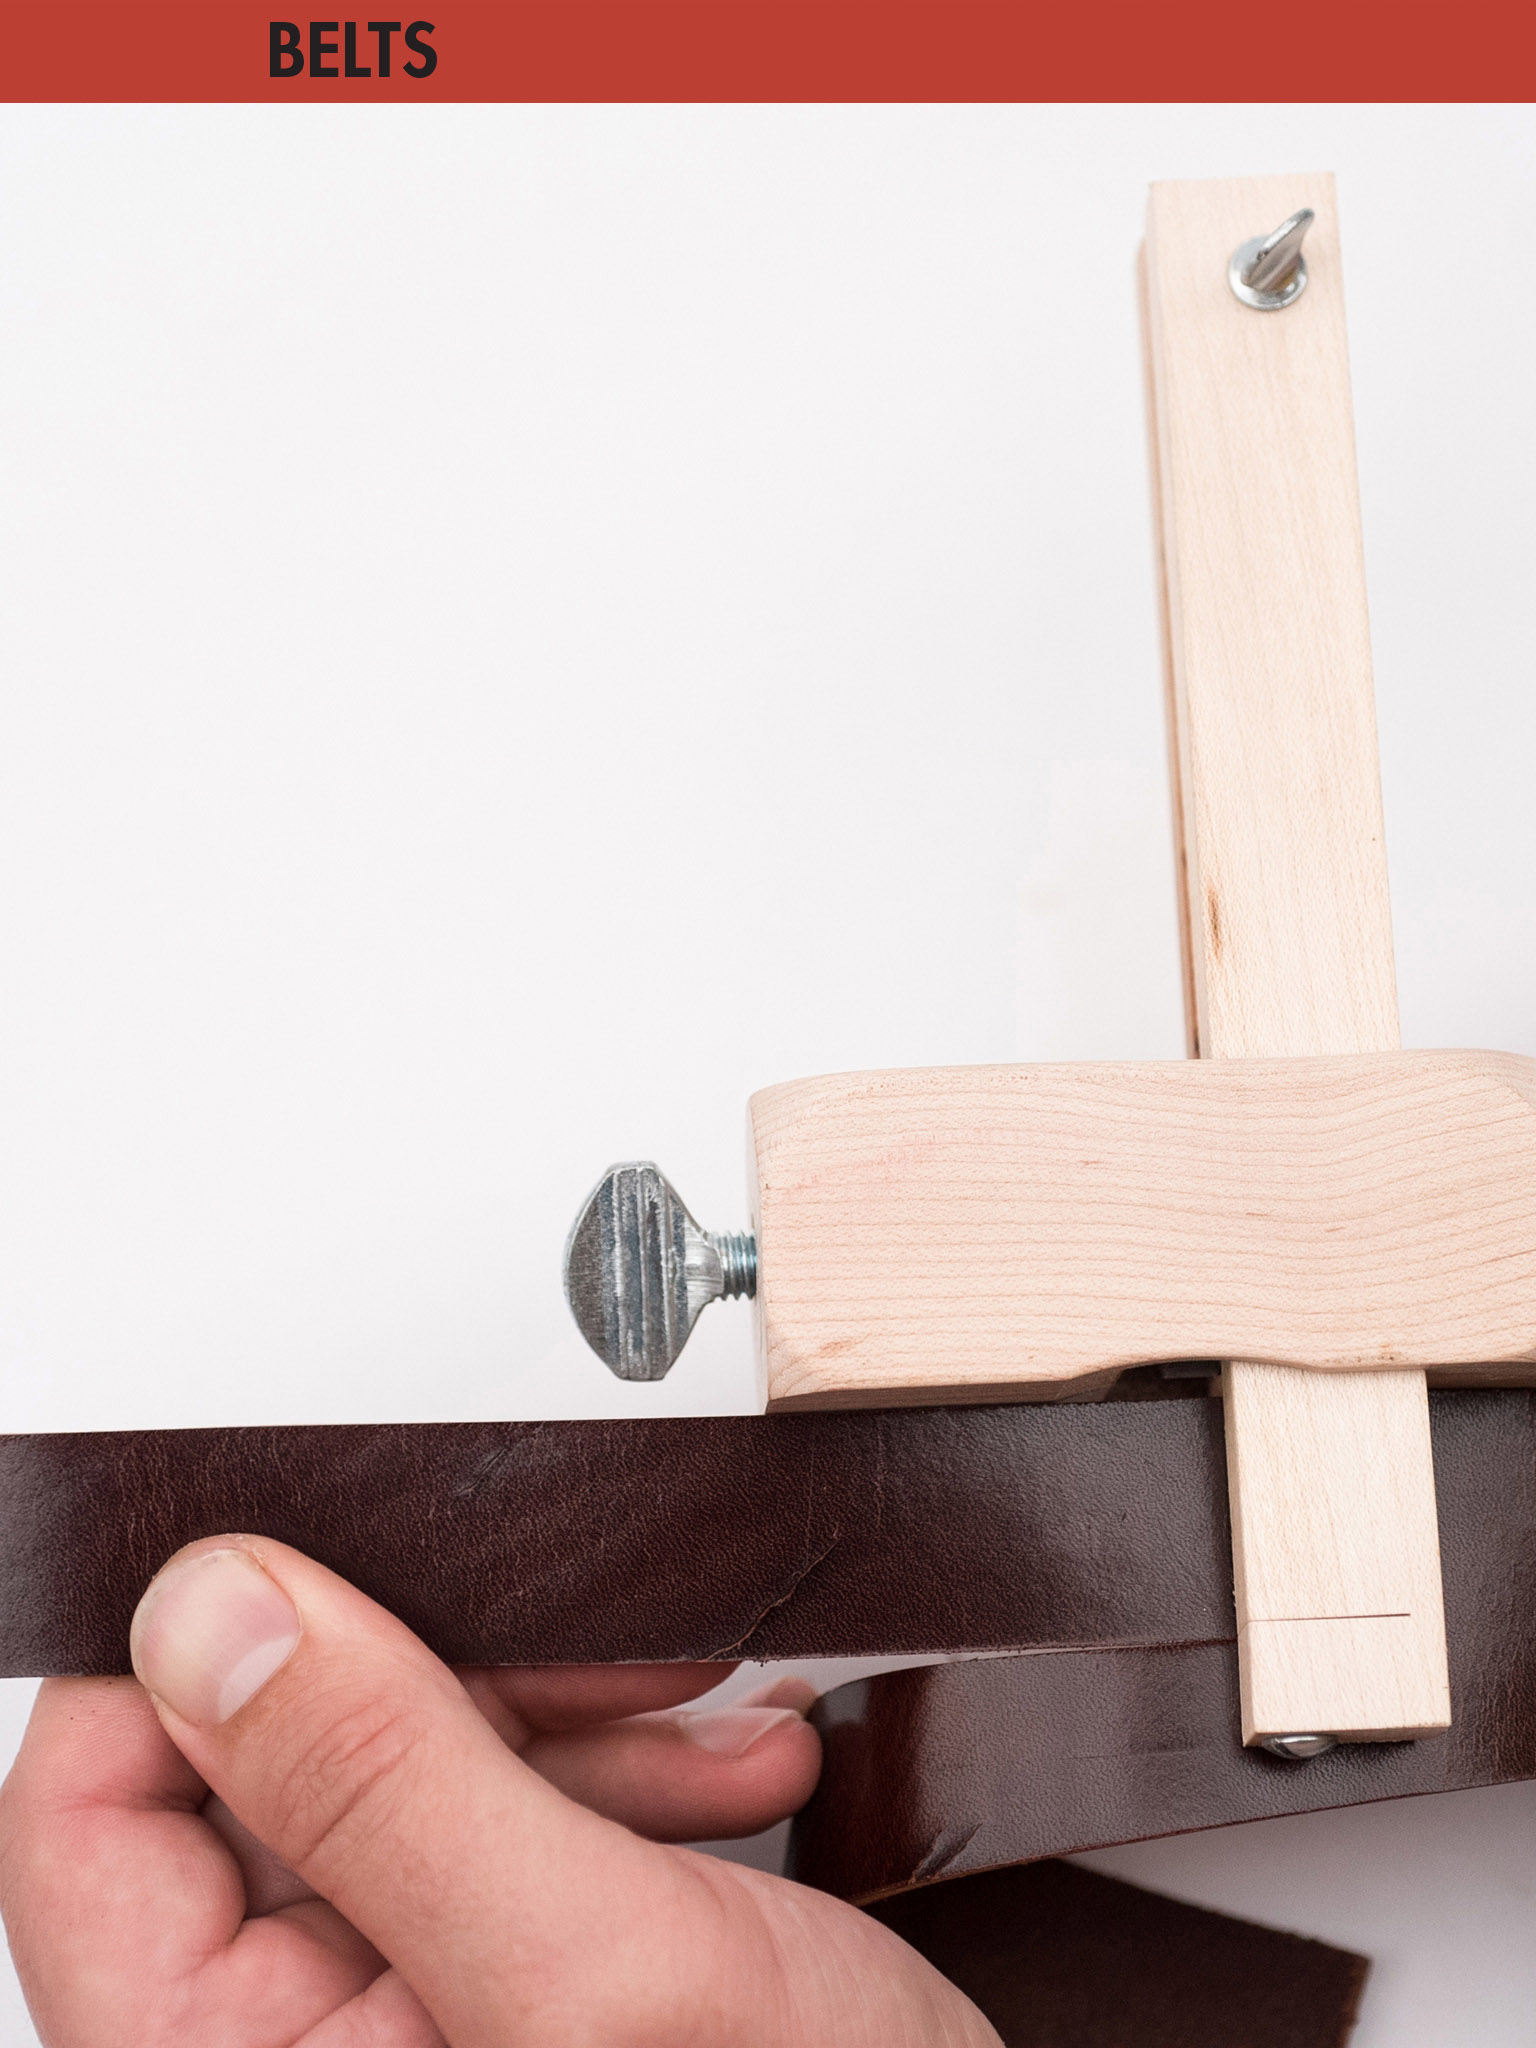
25 Cut the straps. Set the strap cutter to 1 inch (2.5cm) wide. Cut three straps of bridle leather, two at least 31¼ inches (79.4cm) long and one at least 7½ inches (19cm) long.

26 Trace the template onto the belts. Using the mechanical pencil, trace the belt template onto the two long straps cut in Step 25.

27 Punch the belt ends. Cut the belts to length on both ends using the 1-inch (2.5cm) rounded end punch.

28 Bevel the strap edges. Using the #2 edge beveler, bevel the front and back sides of all the straps.
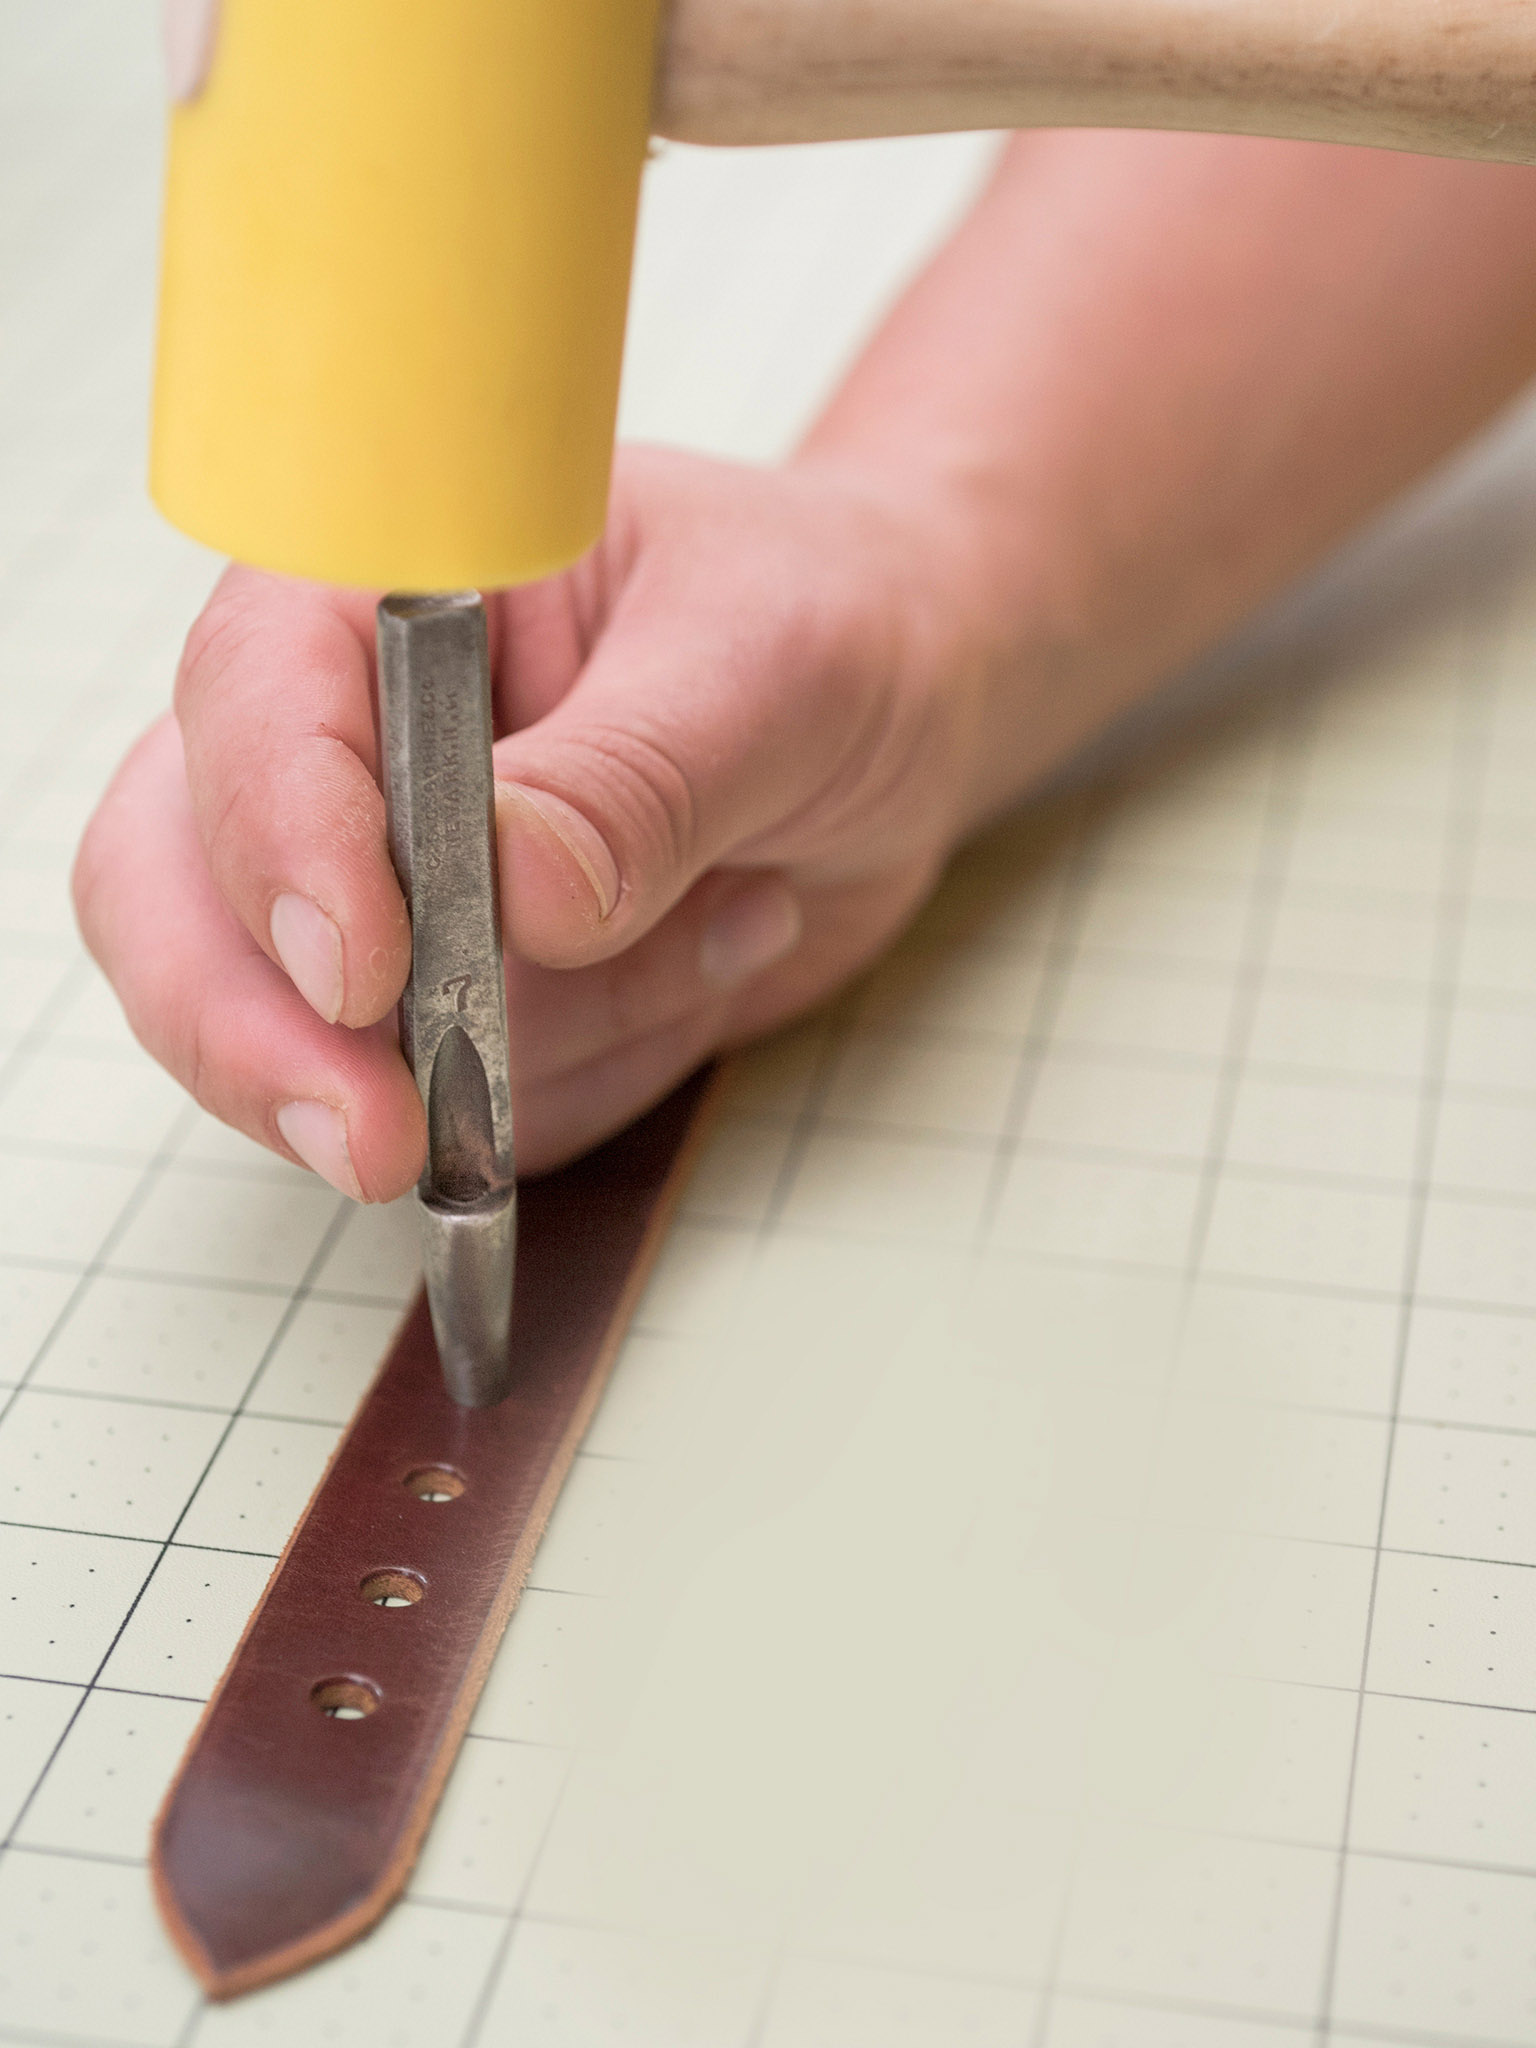
29 Punch the belt holes. Punch the belt holes using the #2 hole punch, #7 hole punch, and 1-inch (2.5cm) bag punch, as shown on the template.
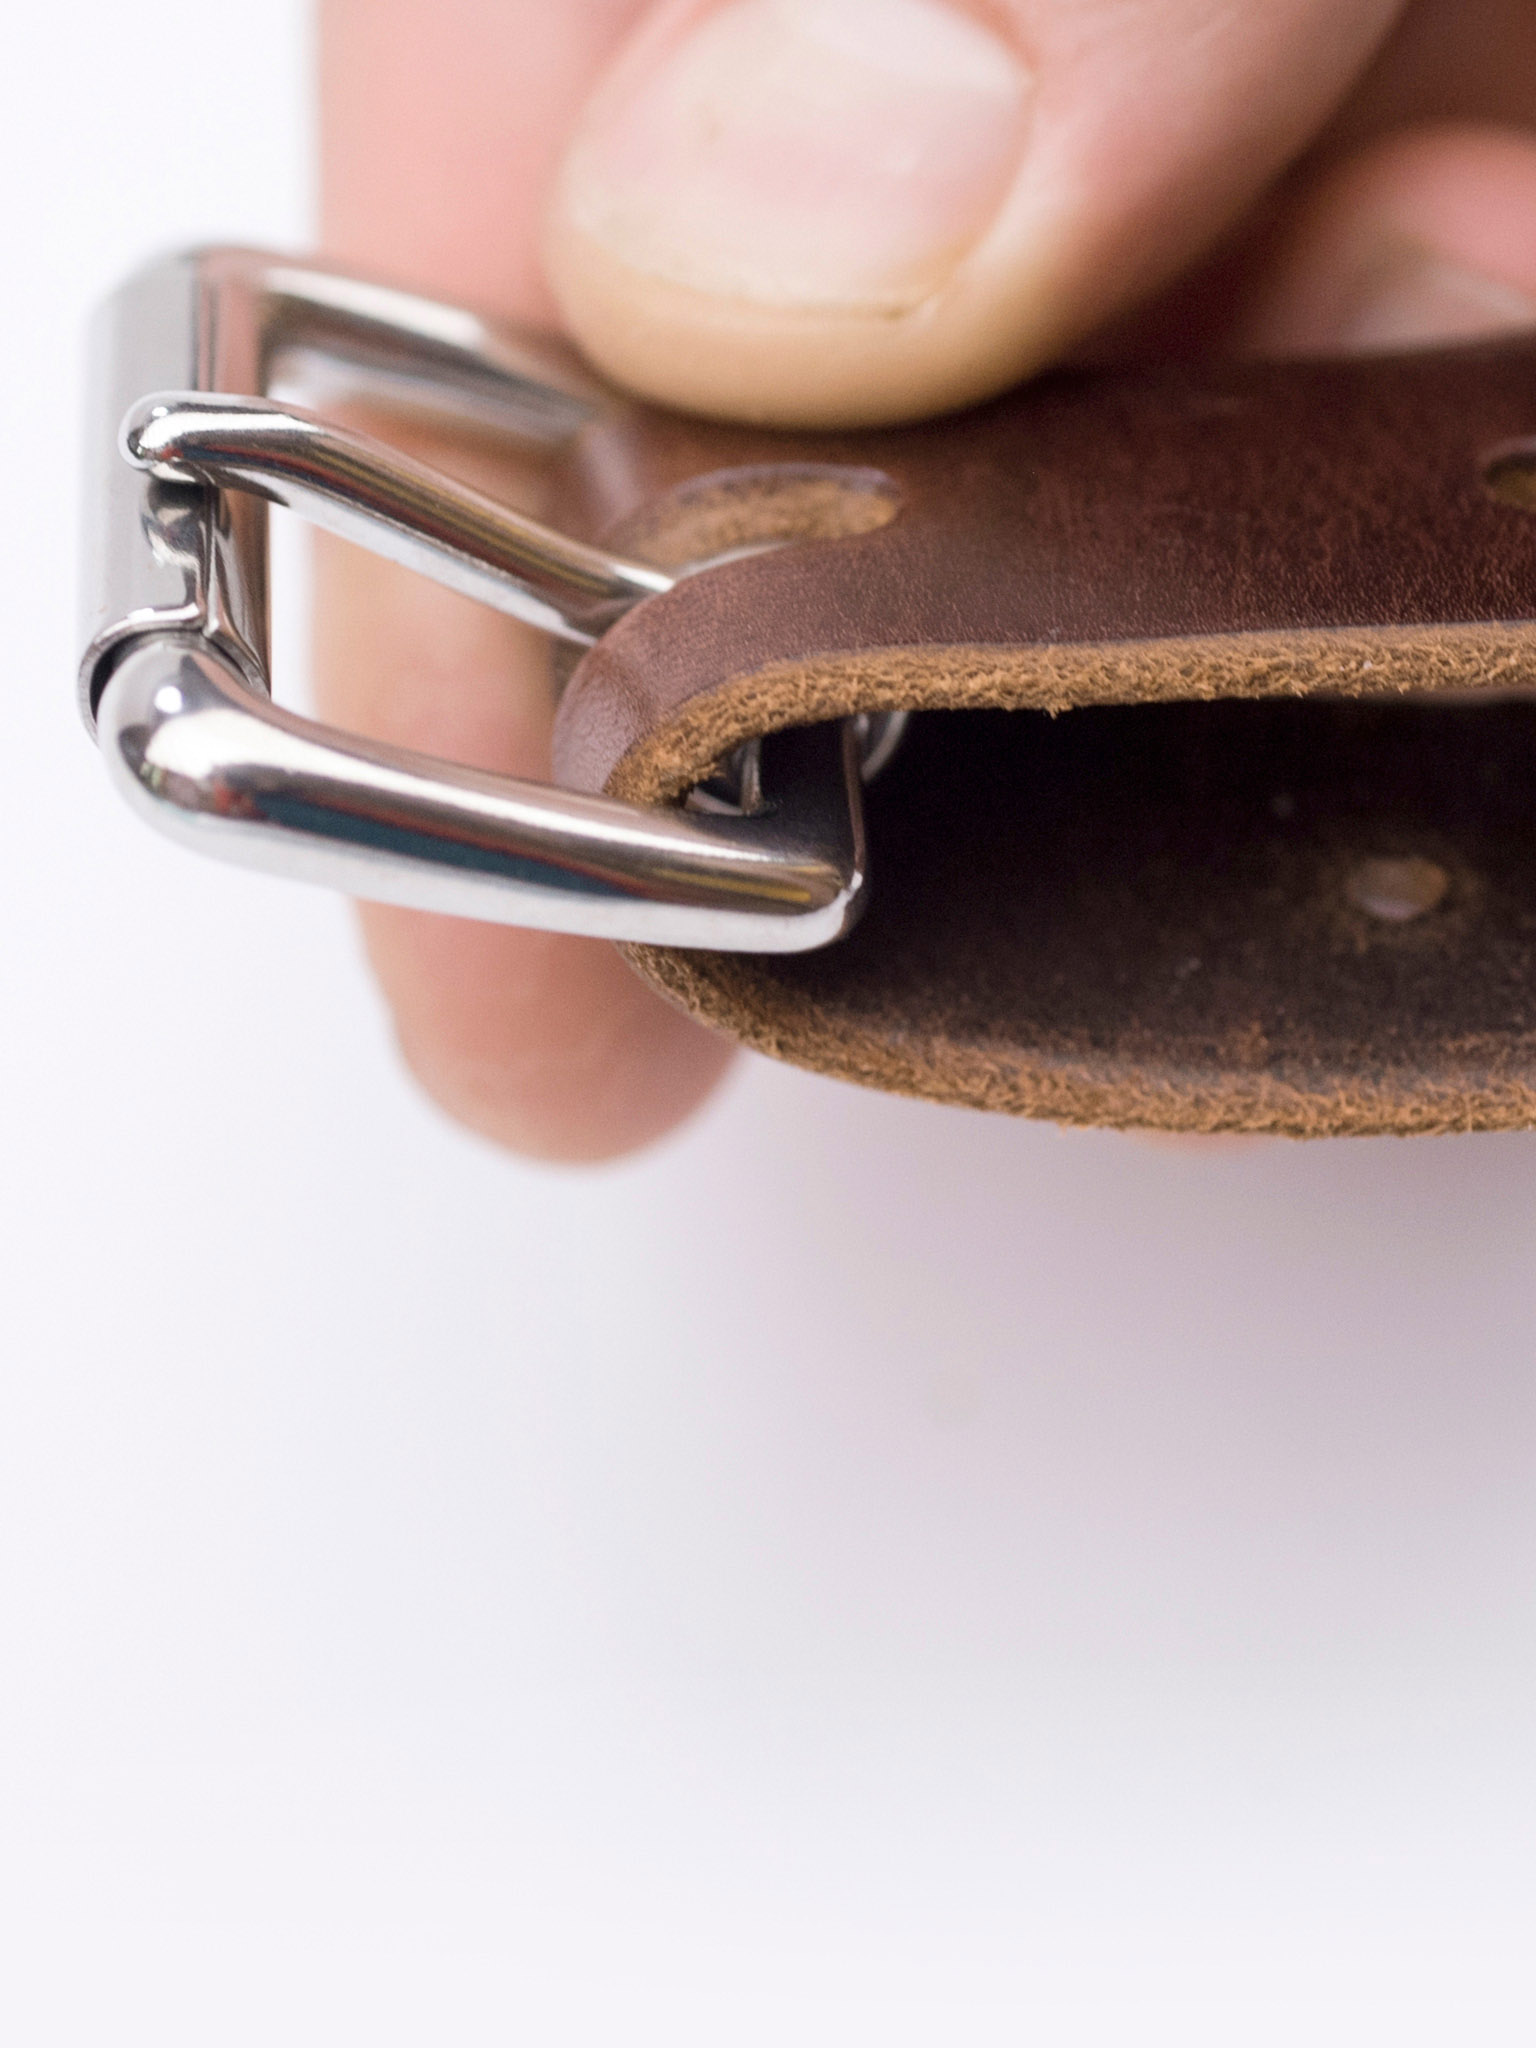
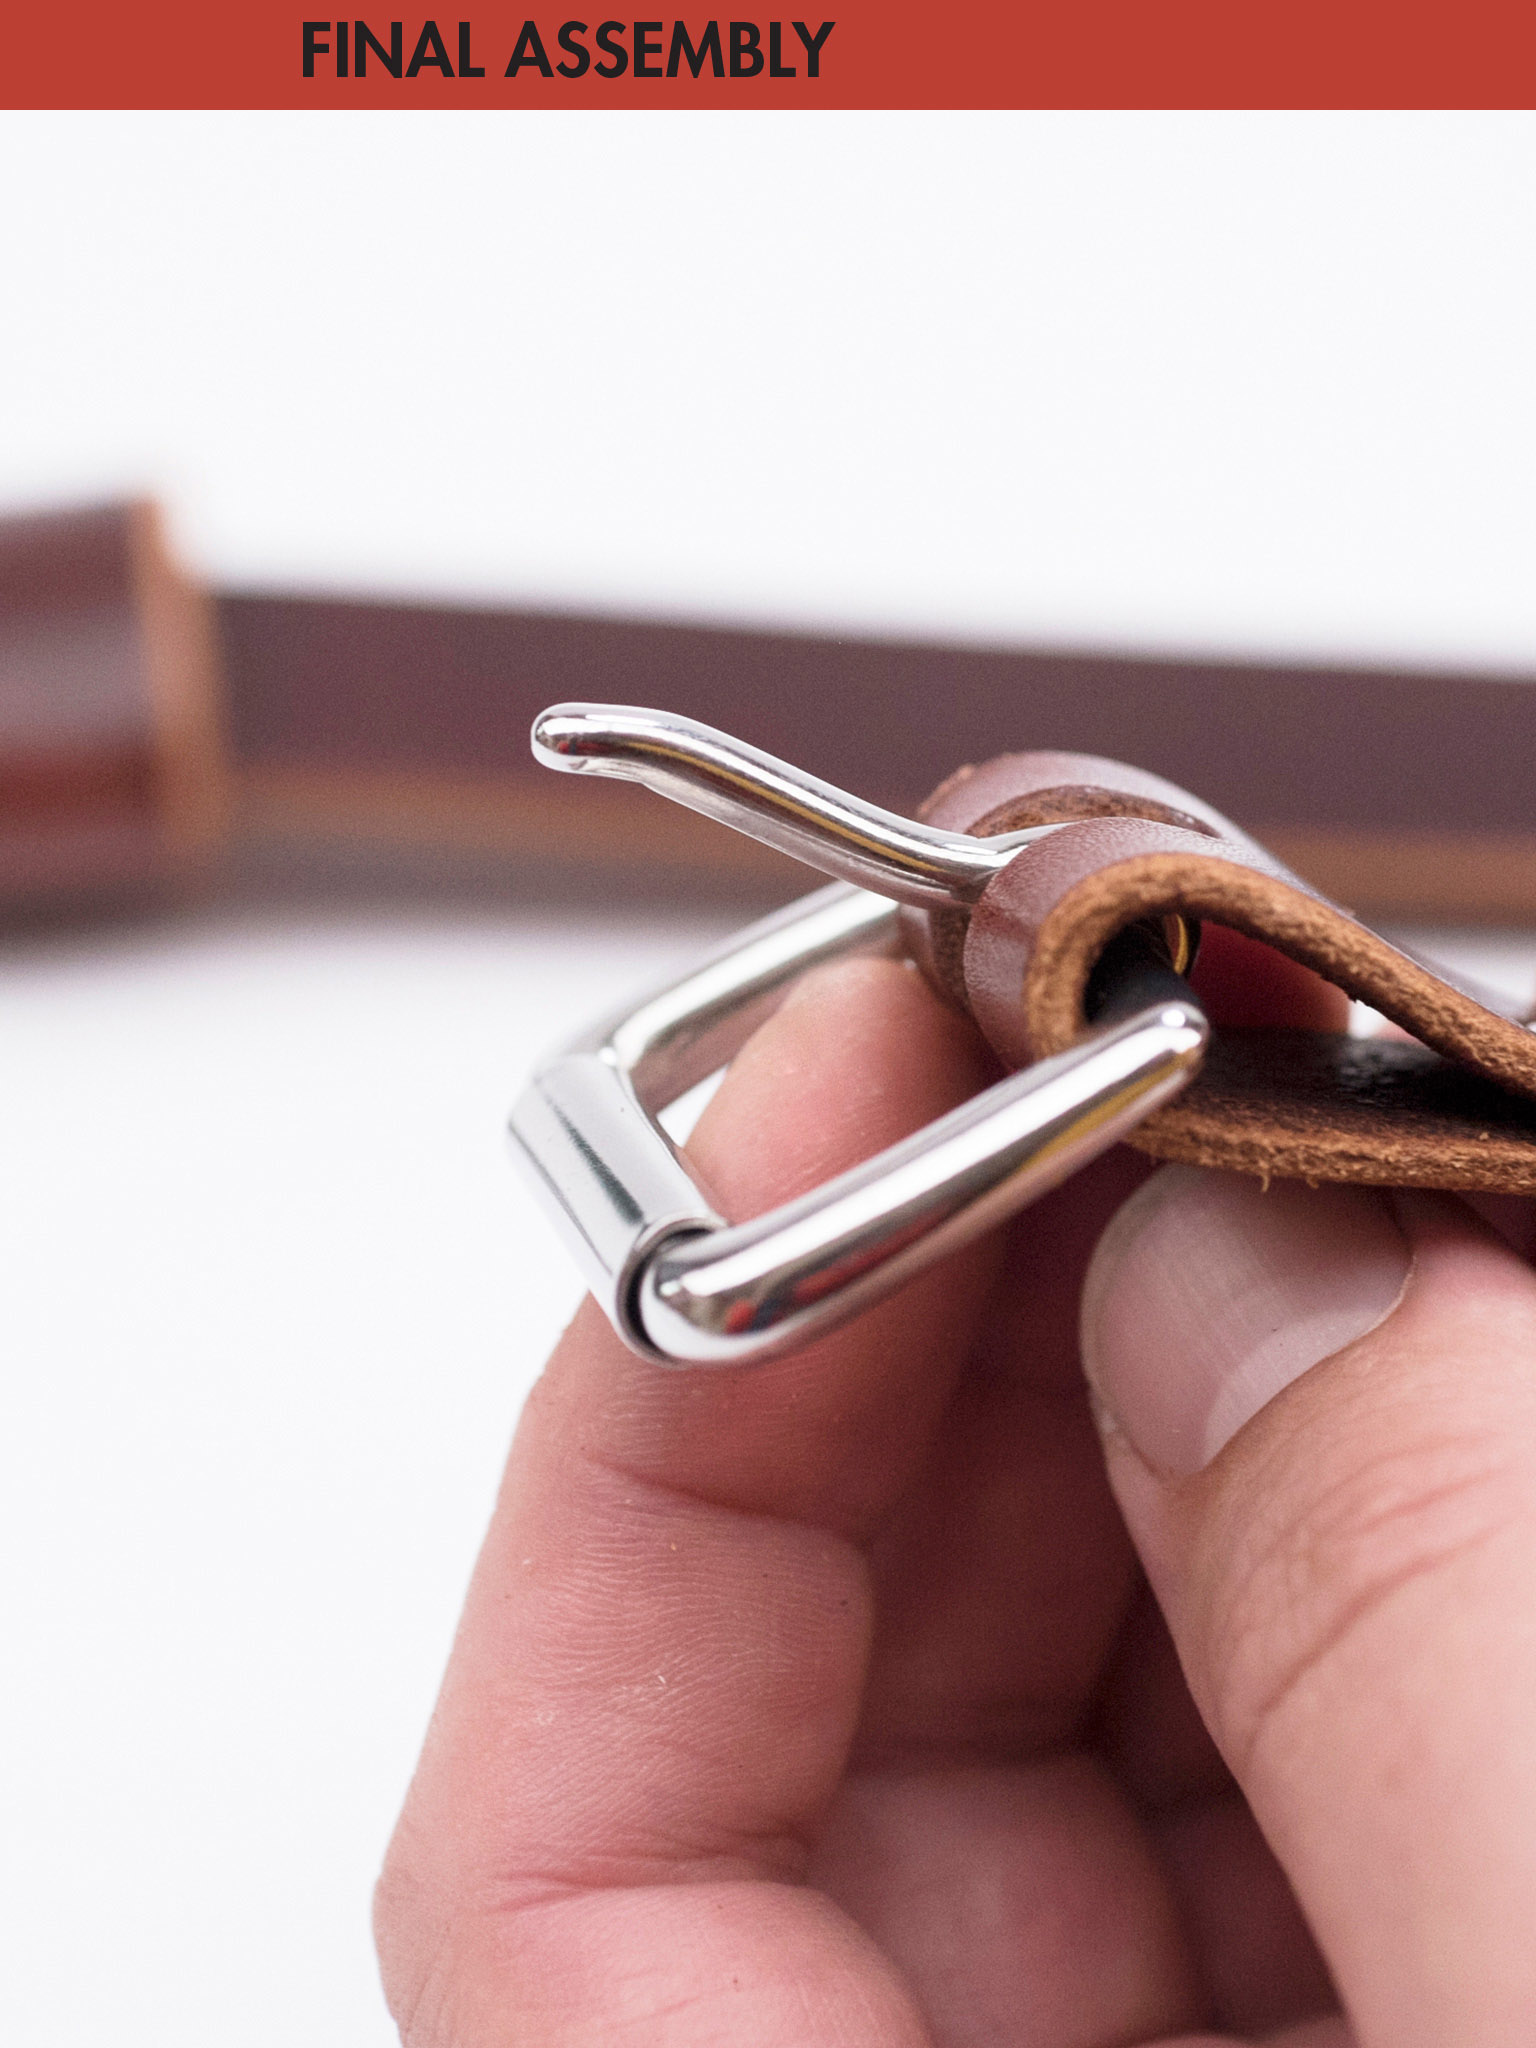
30 Install the buckles. Fold the end of each long belt around a buckle, making sure the buckle tongue protrudes through the bag punch hole.

31 Rivet the buckles. Align the rivet holes next to the buckle, and install a 9mm double cap rivet through the aligned holes using the mini sledge hammer to secure the buckle in place.

32 Cut the belt loops. Using the precision knife and straightedge, cut the 7½-inch (19cm) strap in half to make two 3¾-inch (9.5cm) belt loops.

33 Prepare the belt loops for hand stitching. Using the adjustable stitching groover at ⅛ inch (0.3cm) and the single-prong pricking iron, punch three stitch holes evenly spaced along the short sides of the belt loops.

34 Stitch the belt loops. Stitch together the belt loop using a baseball stitch.
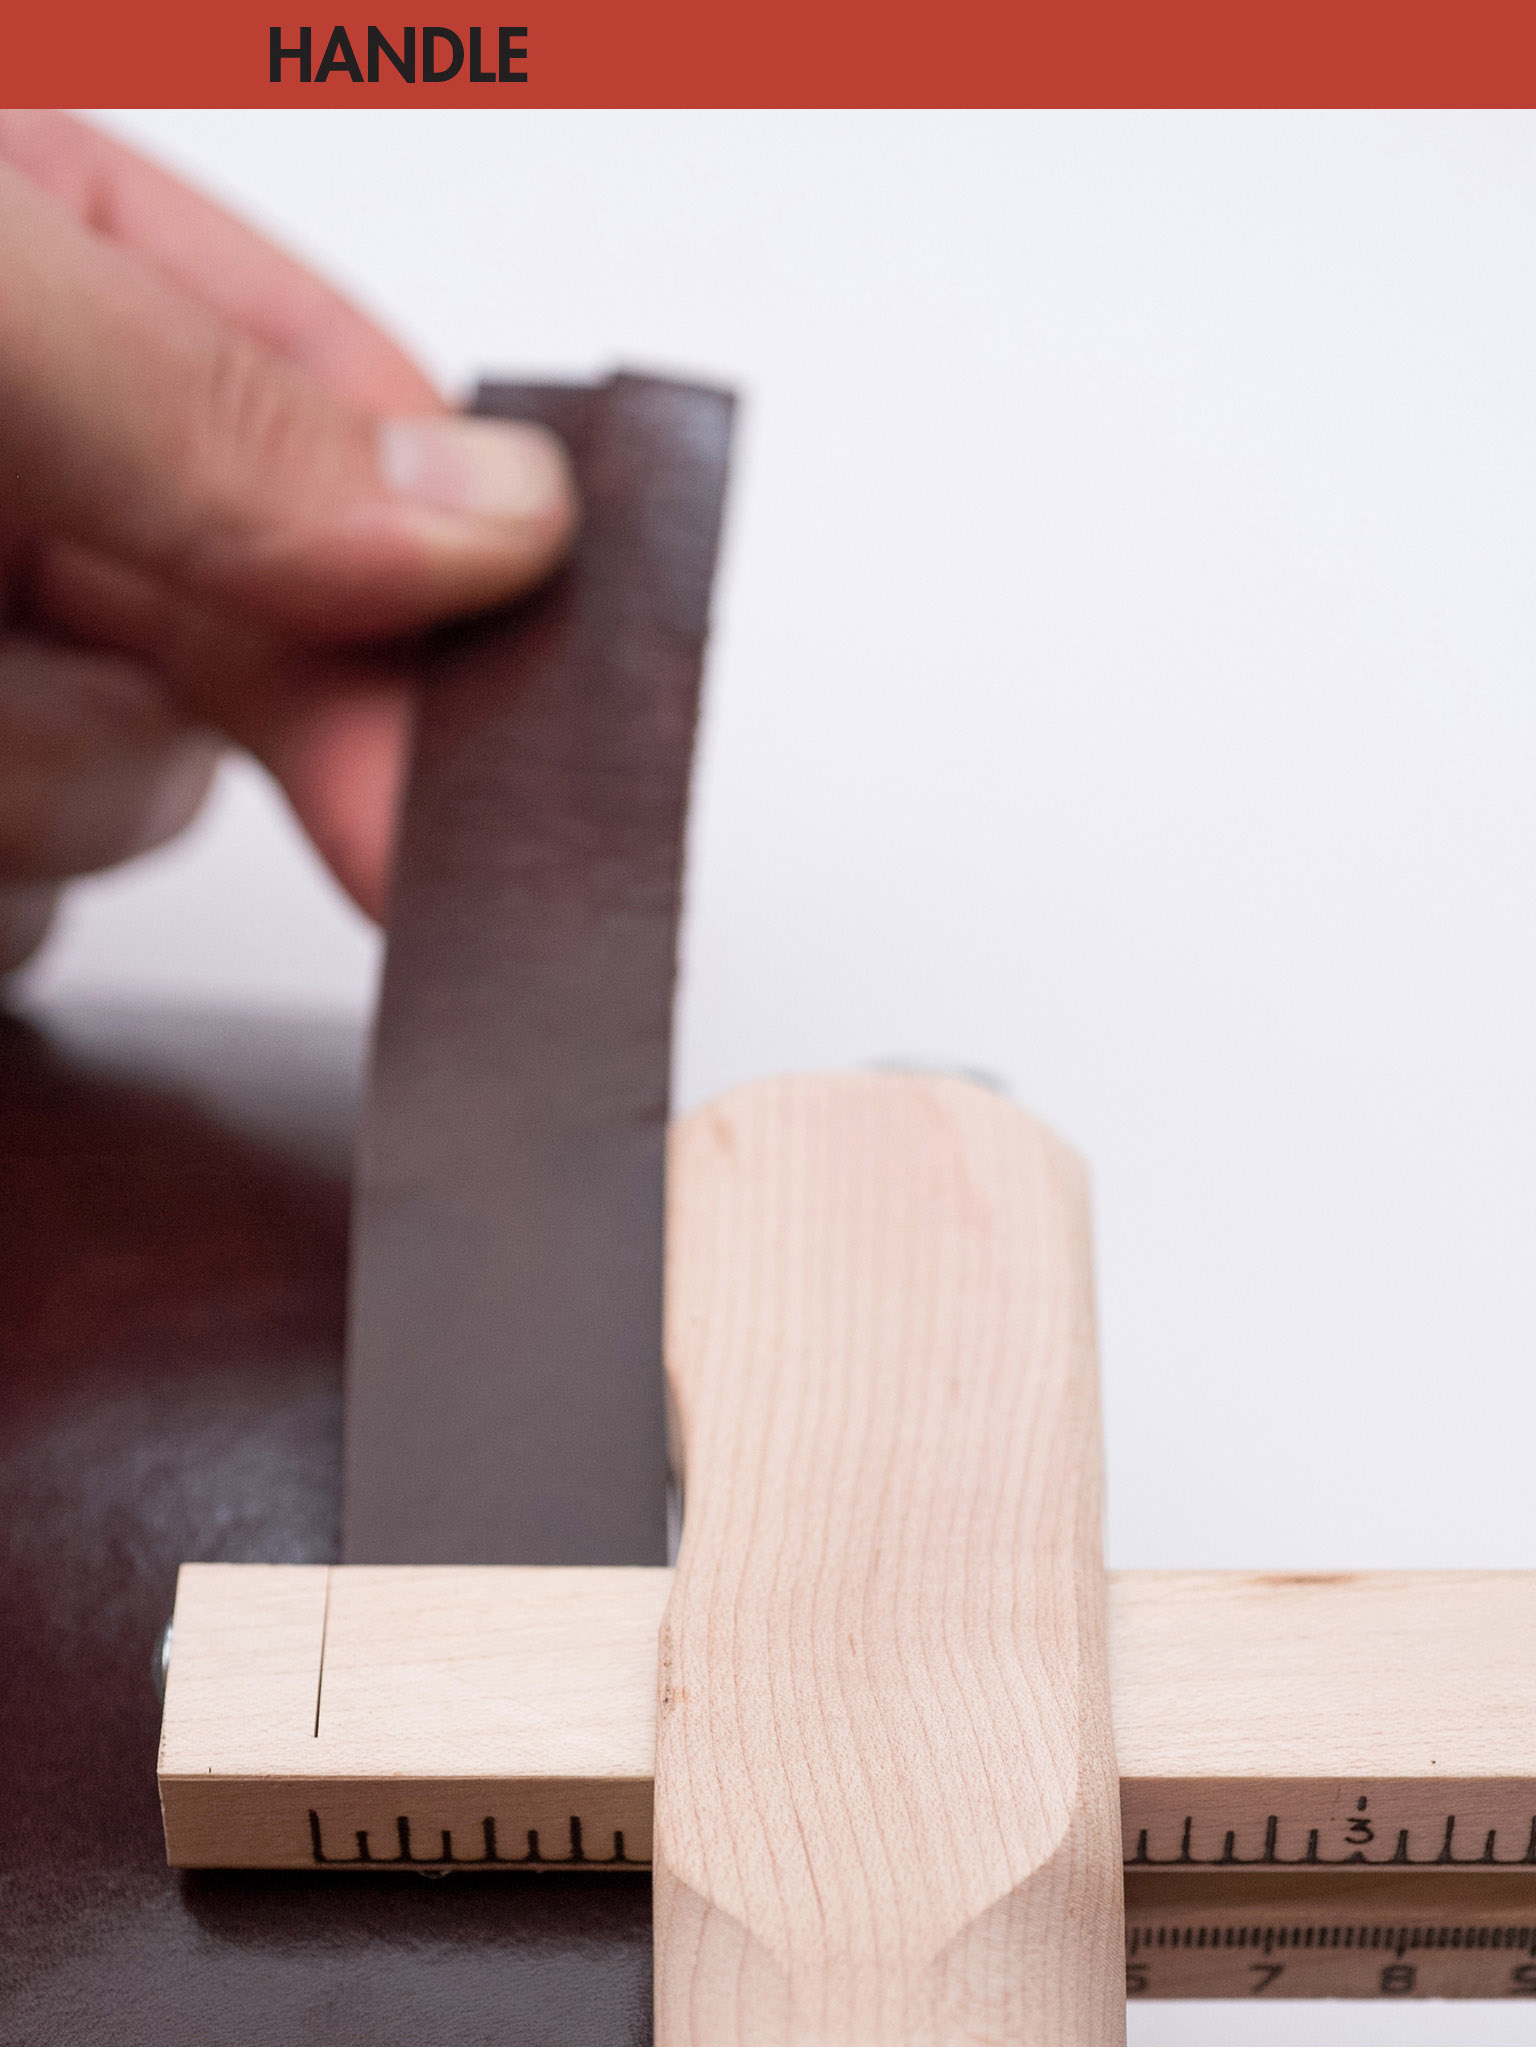
35 Cut the handle strap. Set the strap cutter to 1 inch (2.5cm). Cut a strap of the bridle leather at least 217/8 inches (55.6cm) long.

36 Bevel the handle strap. Using the #2 edge beveler, bevel the front and back of both sides of the handle strap.

37 Trace the handle template. Using the mechanical pencil, trace the holes on the handle template to the strap cut in Step 35.
38 Punch the holes in the handle. Punch the holes in the handle as shown on the template with the #7 hole punch.

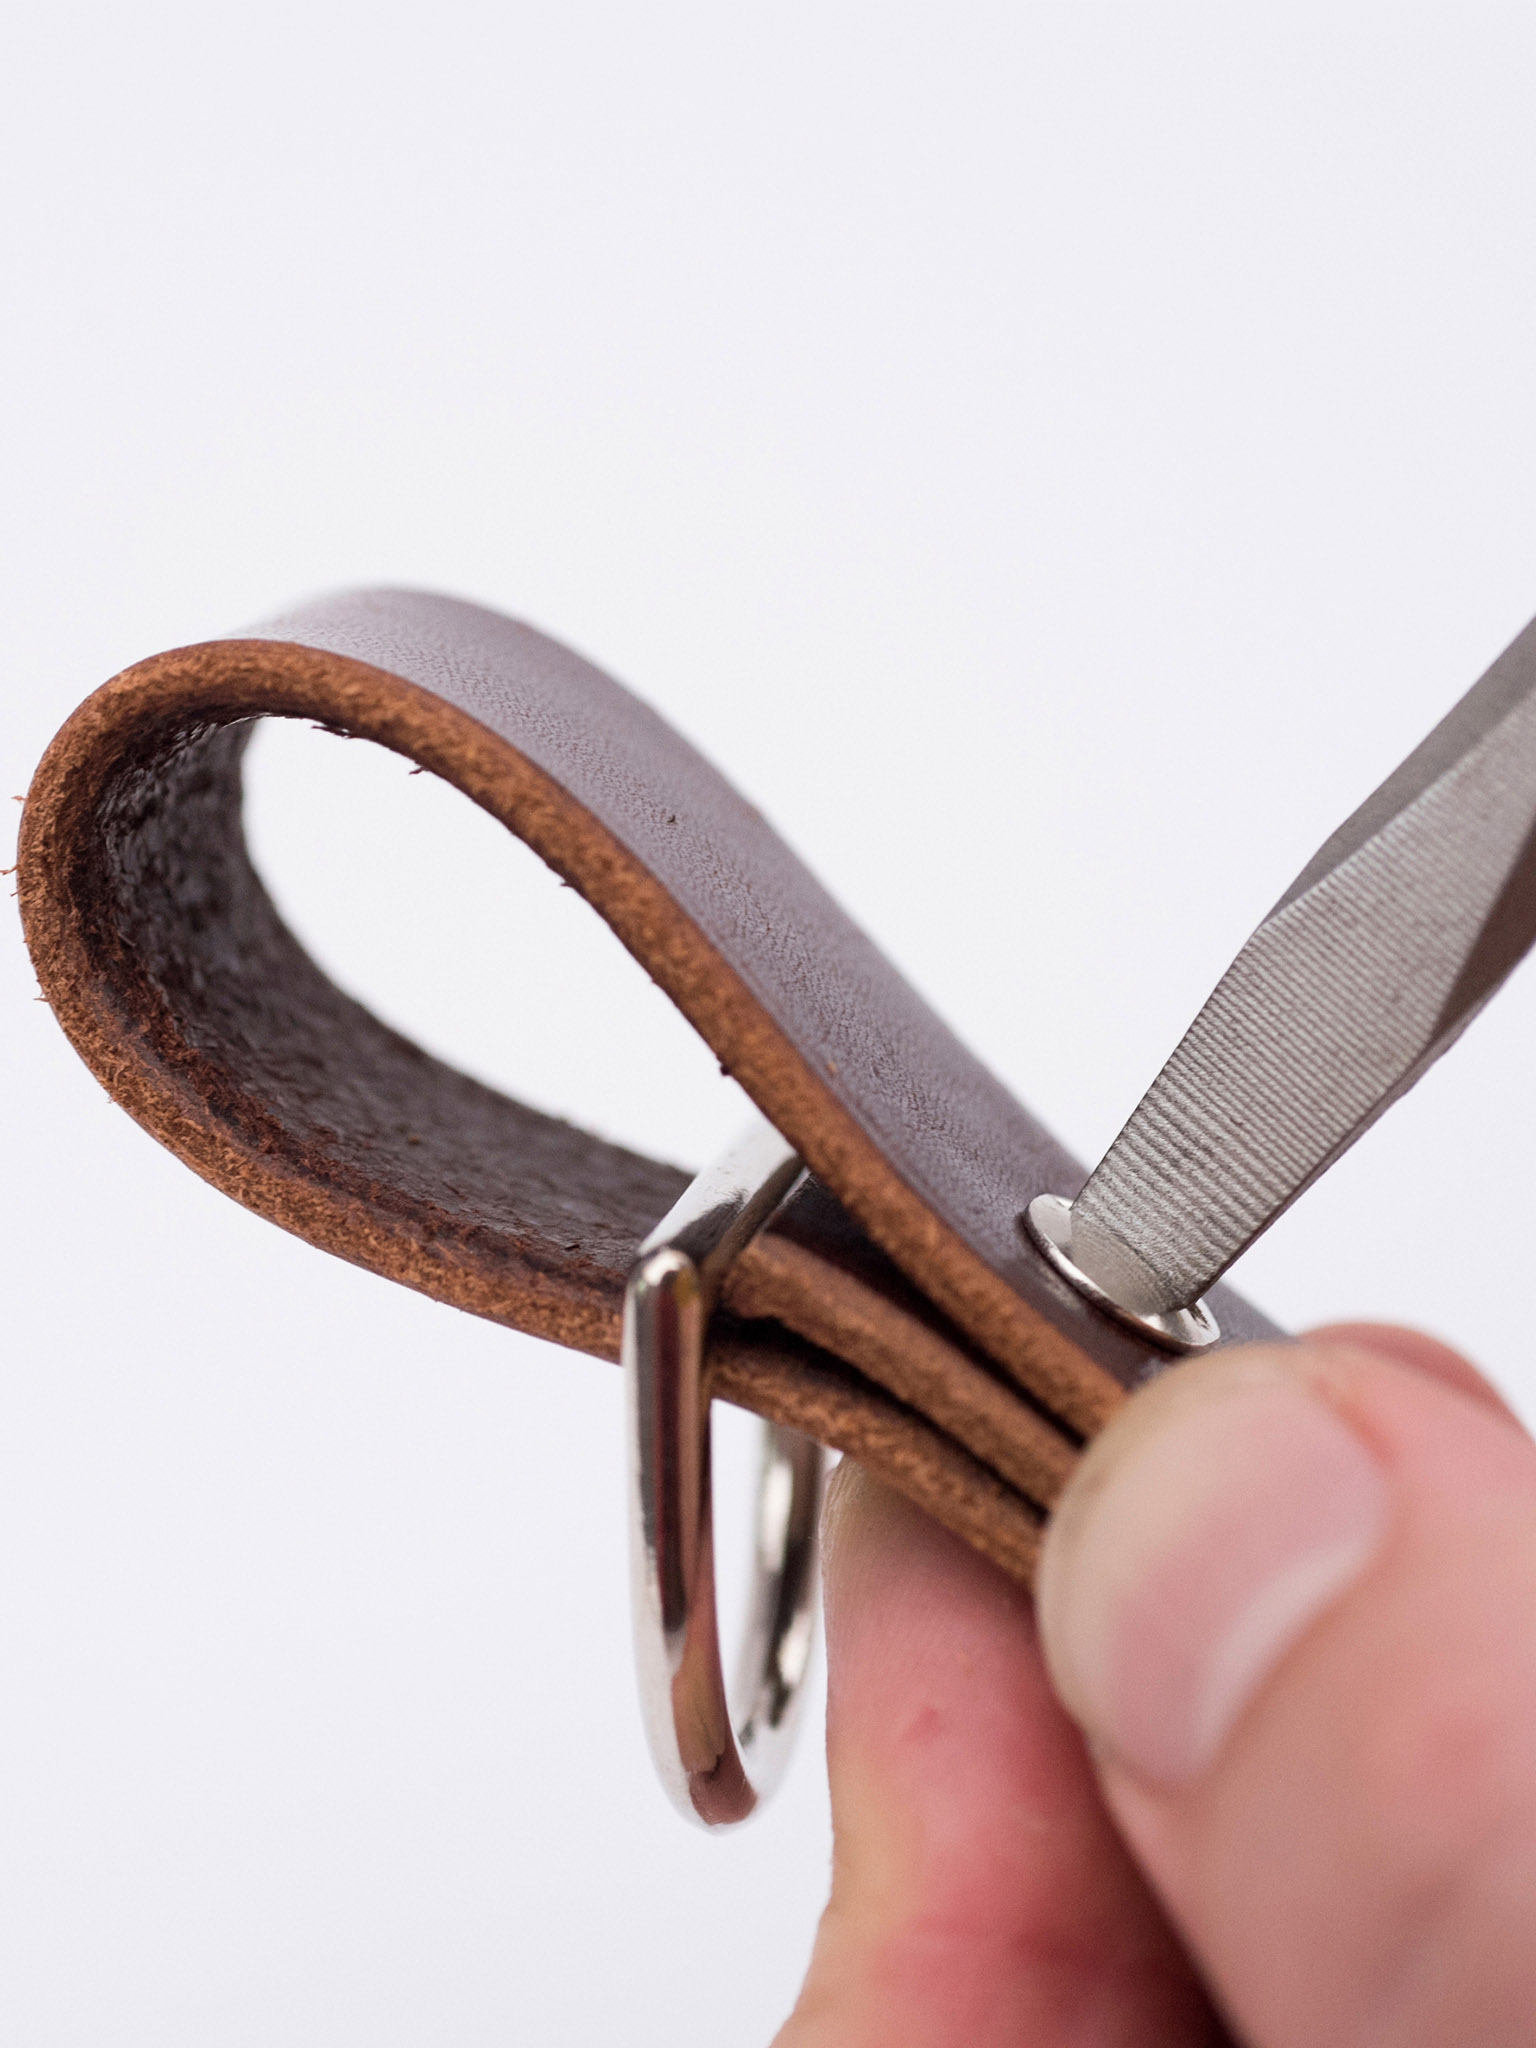
39 Install the first D-ring. Slide a D-ring on one side of the handle between the second and third holes. Fold over the strap end to align the second and third holes.

40 Temporarily secure the first D-ring. Insert the barrel half of the ¼-inch (0.6cm) Chicago screw into the aligned holes, through the two layers of leather, with the finish cap going from the third hole to the second, loosely binding the D-ring in place.

41 Install the second D-ring. Repeat Steps 39 and 40 on the other side of the handle with the second D-ring, folding the strap over a second time and aligning the holes to make a leather sandwich.
42 Assemble the handle. Insert the threaded half of the Chicago screws through all three layers of leather on both sides of the handle and screw tight using the flathead screwdriver to finish the handle assembly.
43 Install the belt loops. Slide the belt loops onto both belts up to the buckle.

44 Anchor the first belt. Align the first hole after the buckle on one belt with the hole in the project body on the base of the bag, closest to the front. Connect the two pieces using a 3/16-inch (0.48cm) Chicago screw, with the finished face on the finished side of the leather.

45 Attach the first belt. Repeat Step 44 for the next two holes down the first belt and the project body to attach the belt to the bag, moving from the front of the bag to the lid.
46 Attach the second belt. Repeat Steps 44 and 45 to attach the second belt to the bag.

47 Attach the handle. Slide the handle loops on both ends through both belts up to the third set of Chicago screws.

48 Secure the handle. Fasten the final row of holes attaching both belts to the lid using the last set of Chicago screws.

49 Final assembly. Buckle the straps to close the lid.
You can make a matching shoulder strap out of the same bridle leather and install a clip at the ends to attach to the D-rings.
