
We can use similar techniques to make the background really cool. Select the ElementBG layer. Reset the Element plugin so that we can start from scratch. We're going to be using tons and tons of objects to construct the environment sphere. So, let's choose a low polygon object.
- In Scene Setup, assign Sphere_Low to group 1.
- Also, apply the "chrome" surface to it.
- Turn the diffusion color to a
50percent gray with1.25diffusion. - Also, change the reflectivity to
162percent with a Fresnel of-0.84with a bias of1. This will let the object take on some color attributes and still stay reflective. - Now, in the particle replicator, make the particle count
10000(like I said, tons and tons). - Use a replicator shape of the sphere. We're going to make the environment sphere a bunch of balls! And guess what? They'll react to the music!
- Scale the shape up to
142.80and scale the particles down to4.79. - Finally, make the color tint pure white and turn on the ambient occlusion with an intensity of
9.5. - In Render Settings, enable glow from Luminance with an intensity of
2.1and radius of1.4.
The result should look like the following screenshot:
In the downloadable content, you'll find an audio file called iPhoneSong-Drums.wav. This is really just the bass drum with some effects so that it has a taper on its intensity. We'll use this to create an expression to animate our background.
- Import
iPhoneSong-Drums.wavand place it in the timeline. Be sure to turn off this layer's audio (by clicking on the little speaker). We want this file used but not heard on output. - Right-click on the new audio layer and select Keyframe Assistant and then select Convert Audio to Keyframes. This will create a new layer with three effects in it. The new layer is named
Audio Amplitude. The effect we'll be using to drive our expression is the Both Channels expression. This effect essentially just has a value that corresponds to the amplitude of the audio file we generated from keyframed on every frame of video. Cool eh?
The result is what you see in the following screenshot:

Now, under the ElementBG layer's Element effect, create an expression on the Scatter parameter. It should read as follows:
thisComp.layer("Audio Amplitude").effect("Both Channels")("Slider")/2This expression takes the Both Channels slider, divides the value in half, and assigns it to the Scatter parameter. Now, on the Surface Offset parameter (two items above the Scatter parameter), use the following expression:
effect("Element")("1. Scatter")This expression ties the surface offset to the Scatter parameter's value. There we have a cool background!
Finally, add the following expression to the "Glow" "Intensity":
thisComp.layer("Audio Amplitude").effect("Both Channels")("Slider")/2This method can be used for any parameter and any effect. You can use audio to control all kinds of cool stuff in AEX.
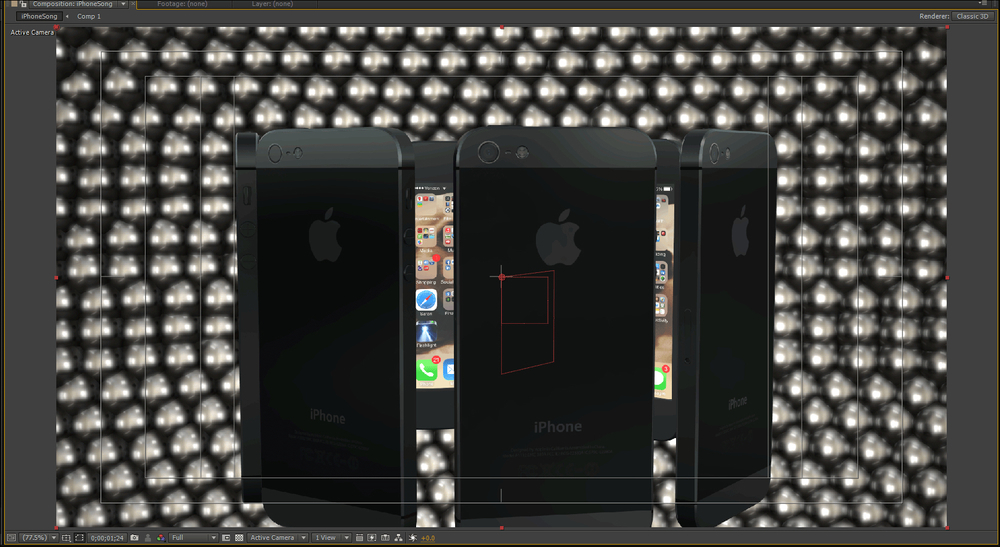
Finally, let's change the comp's background color to white and turn on the depth of field. The result should look like the following screenshot:
