If you’re upgrading to Mac OS X Snow Leopard from a previous version of Mac OS, this appendix describes how to prepare and install Mac OS X Snow Leopard. The temptation is to insert the Installation DVD and start the installation, but you can avoid problems by making sure your computer is ready for Mac OS X Snow Leopard. Before you install Snow Leopard, you need to check your computer hardware and software and make several setup decisions that relate to your computer. The Mac OS X Snow Leopard Installer walks you through the installation process. If your computer doesn’t have an optical drive, you can use Remote Install Mac OS X to install Mac OS X using another computer’s optical drive.
The Apple Installer guides you through many of the choices you need to make, but there are some decisions and actions you need to make before you start the installation. In order to run Mac OS X, you’ll need at least 1 GB of physical RAM, and at least 5 GB of available space on your hard disk for the installation. And your Mac needs to be one of the models that can run Mac OS X.
Mac OS X Snow Leopard Version 10.6 requires a Macintosh with an Intel processor, a DVD drive, at least 1 GB MB of physical RAM and a built-in display or a display connected to an Apple-supplied video card supported by your computer. Mac OS X does not support processor upgrade cards.
While the amount of disk space required depends on your computer and the way you are installing Mac OS X, you are recommended to have at least 5 GB (New!) of available space on your hard drive (which is less than half of the space of Leopard), or 8 GB of disk space if you install developer tools.
You may need to update your computer’s firmware. You can check the Apple Software Updates web site at www.apple.com/support/downloads to see if your computer needs it.
Third Party Hardware. Mac OS X Version 10.6 Snow Leopard includes out-of-the-box functionality for many hardware devices. Mac OS X will automatically configure itself to support most hardware. However, some devices may need additional driver support from the manufacturer. Please check with the manufacturer of your product to see if Mac OS X Version 10.6-compatible drivers are available.
Third Party Hardware Specifics. If you have a third-party SCSI card or video card attached to your computer and the installer or Mac OS indicates there are problems, try removing the cards or adding a terminator or disk drive to the SCSI card.
If you have a UFS-formatted volume, you cannot install Mac OS X Snow Leopard as a new installation or as an upgrade from an older version to Snow Leopard. You need to back up your computer hard disk, and then reformat your startup volume. To perform the install, start the installer, click the Utilities menu, click Disk Utility, click Restore, drag your startup volume to the Source field, drag the external disk to the Destination field, click Restore, and then Quit the Disk Utility. Continue with the installation using the Erase and Install option.
If you have problems with your installation and want to reinstall the Mac OS X Snow Leopard software to correct it, insert the Mac OS X Install DVD, start the installer, and then click Options in the Select a Destination pane to use the Archive and Install option to save your existing system files or the Erase and Install option to erase the destination volume and install a new copy of Mac OS X.
Unfortunately, there isn’t any clean way, like an uninstall application, to uninstall Mac OS X10.6. The only real way is to backup your Home folder, Applications folder, Library folder, and anything else you want to save, and then erase the hard drive and install the operating system you want to use.
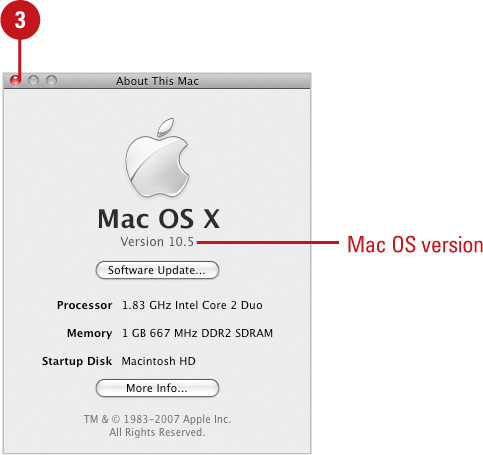
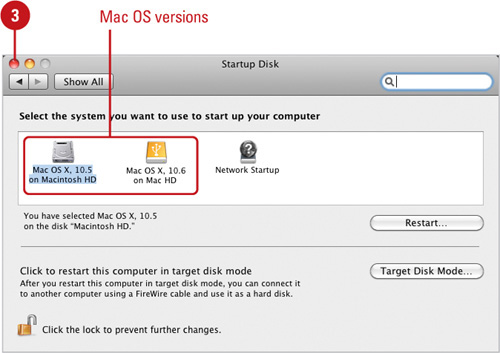
If you’re not sure what version of the Mac operating system you’ve currently installed on your computer, you can use the About This Mac command or the Startup Disk utility to find out. The About This Mac command on the Apple menu displays the currently installed version and provides access to Software Update to upgrade it and More Info about the hardware with the System Profile application. If you have multiple versions installed on different drives, you can use the Startup Disk Utility to quickly find out what is installed. You can access the Startup Disk utility from System Preferences in the Dock.
There are several different kinds of installation: clean (new or erased disk), upgrade from Mac OS 10.0 through 10.5, reinstall Mac OS 10.6, or restore Mac OS 10.6 using Time Machine. If you don’t have a drive, you can also use DVD or CD Sharing to upgrade a Mac to Snow Leopard using another computer’s drive. The Installer guides you step-by-step through the process of installing Mac OS X Snow Leopard no matter what the installation type. You insert the installation DVD, and then follow the on-screen instructions (read the instructions, select options, and then click Continue) to complete the process. As you go through the process, you can click the Go Back button at any time to change option in previous screens. The installation process takes about 45 minutes if all goes well (New!), which is faster than Leopard.
 Insert the Mac OS X Snow Leopard installation disc into your DVD drive.
 Double-click the Install Mac OS X icon in the DVDs window.
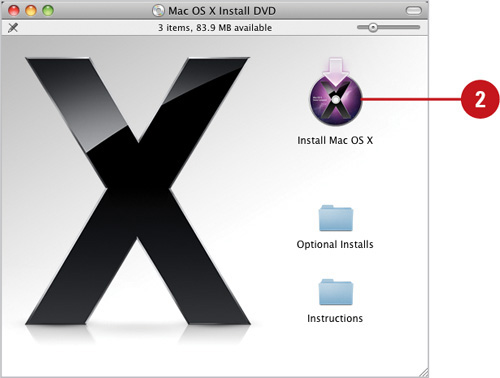
 To perform a clean install, click Utilities, click Restart. In the Language screen, select a language, and then click Continue.
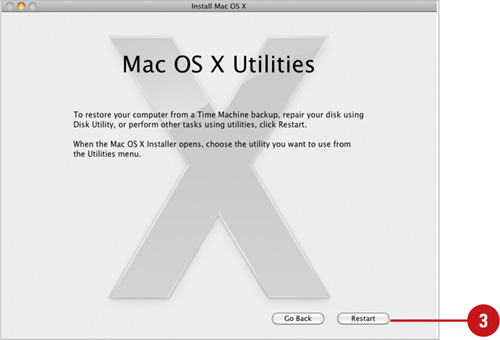
 Step through the intro screens:
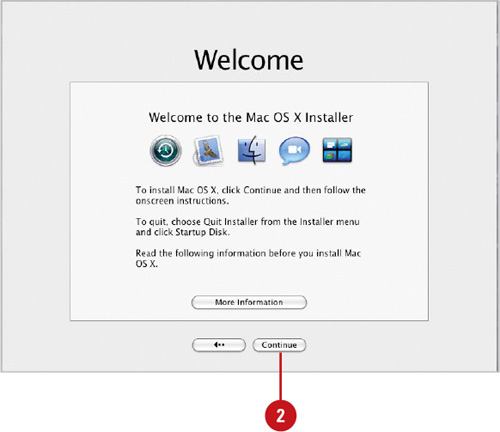
Welcome. Read, and then click Continue.
Software License Agreement. Read, click Continue, and then click Agree.
 If an Authenticate dialog appears, enter the administrator name and password, and then click OK.
 In the Select Destination screen, click to select the icon for the disk or partition to install Mac OS X.
A green arrow appears on the disk or partition. If a yellow exclamation appears, there is an install issue with the drive.
 To perform a custom install, click Customize, and then select or clear the components you want or don’t want, and then click OK.
 Click Install, and then wait for the Installer to copy files.
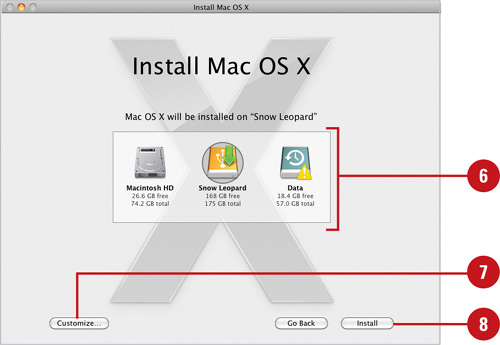
 Follow the on-screen instructions to complete the process. Your computer restarts and displays the first screen for the Setup Assistant.
Did You Know?
You can use Time Machine to back up and restore your Mac OS X. After you have created a back up using Time Machine, you can use it to restore everything on your computer. Insert the install DVD, double-click the Install icon, and click Utilities, click Restart. Select a language, click Continue, click the Utilities menu, click Restore System From Backup, click Continue, select a backup source, and then follow the on-screen instructions.
You can use another computer’s drive to upgrade Mac OS X. Connect both computer to the same network, install DVD or CD Sharing software (available at apple.com for Mac or Windows) on the computer with the drive, turn on DVD or CD Sharing in Sharing preferences. Insert the install DVD in the drive. On the computer where you want to install Mac OS X, select the Remote Disc under Devices in a Finder window sidebar. On the computer with the install DVD, click Accept, select the disc, open the installer, and then follow the onscreen instructions.
After you install Mac OS X Snow Leopard, your computer restarts and displays the Setup Assistant, which helps you configure Snow Leopard to your specific needs. The Setup Assistant is a program that steps you through the process using a simple question and answer format. The information you enter is automatically used in System Preferences to customize your Mac OS X environment. The Setup Assistant allows you to configure options for personal identification, Internet account, telephone or DSL modem connection, network usage, e-mail account, and the date & time. Unfortunately, there is not a way to take screen shots of the configuration process, so illustrations are not available for the configuration parts.
- Install Mac OS X Snow Leopard.

Your computer restarts and displays the first screen for the Setup Assistant.
- In the Welcome window, select a country or region, and then click Continue.
- Select a transfer information from another Mac option, click Continue, and then follow the on-screen instructions to complete the transfer.
- Select a keyboard layout, and then click Continue.
- Specify the requested Apple ID information, and then click Continue.
Already have an Apple ID. Type your Apple ID and password (if you registered for a .Mac account or on the Apple Web site).
Create an Apple ID for me. Creates an Apple ID for you later. Leave the Apple ID and password blank.
- Step through the following screens:
Registration. Read, and then click Continue.
A Few More Questions. Read, and then click Continue.
- Step through the following screens:
Create Your Account. Specify the requested information to create your user account, and then click Continue.
Select a Picture For This Account. Take a snapshot or select a picture, and then click Continue.
- When the Thank You window appears, click Go to complete the process.
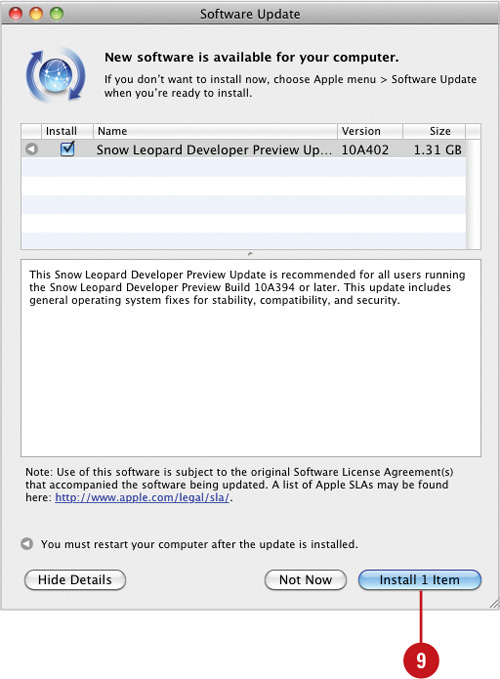
- The Software Update utility may automatically start after installing Mac OS X Snow Leopard if there are any software updates available from Apple. Select the items you want to install, and then click Install X Items.
 To eject the Install DVD, right-click or Option-click the Mac OS X Install DVD icon on the desktop, and then click Eject “Mac OS X Install DVD.”
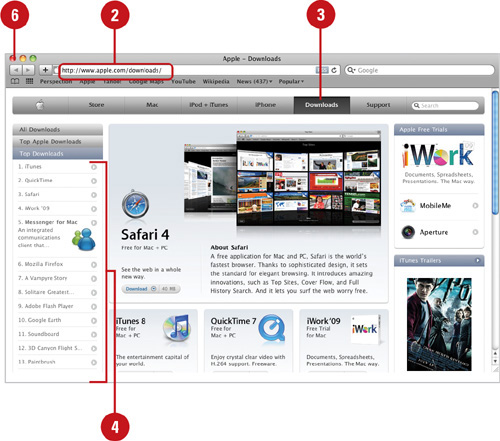
Mac OS X provides additional programs and tools you can download from the Web that may not be included in the Automatic Software Update. These programs include the non essentials that are not required by the system, but make computer life easier and much more fun. You can download screen savers, icons, system/disk utilities, productivity tools, games, and much more. Developers are continually upgrading applications, utilities, and games, so check the Apple Web site from time to time for the latest and greatest stuff.
- Open your Web browser.
- Go to www.apple.com.
- Click the Downloads tab.
- Click a category link to narrow down the list of downloads.
- Explore the page, and then click any of the links to find out more about a product and download it to your computer.
- When you’re done, quit your Web browser.