
It's a sad fact that all image editing is virtually worthless if the monitor on which you make all your creative decisions doesn't actually represent the correct color, brightness, and contrast accurately. Color management—the process of making sure that what you see onscreen is both accurate to life and will be correctly reproduced online and in print—is I think, an unnecessarily complex operation. Although Elements' calibration is not nearly as controllable as that found in Photoshop, it's presented in a reasonably easy format that should work well in most situations. And if you are sending your work into a commercial print environment, you can always let them handle the finer complexities of color reproduction, which allows you to pay more attention to the editing process.
One area where Photoshop Elements really cannot compete with Photoshop CC is in serious color management.
What you'll find in the program's Color Settings dialog box are four simple questions:
- No Color Management
- Always Optimize Colors for Computer Screens
- Always Optimize for Printing
- Allow Me to Choose
Essentially, this means that if you choose to ignore, Elements will discard existing color space settings, but if you choose to optimize colors, the color range will be kept within the sRGB color range.
If you go for the printing option, it would be best to set AdobeRGB (1998) in your camera. The Allow Me to Choose option permits the user to make a choice between sRGB or AdobeRGB (1998), as shown in the following Color Panel:

Another important technique for ensuring that what you see onscreen is accurate is to calibrate your monitor with a hardware calibration device. These sensors plug into the USB outlet on the computer and are hung over the screen. Run the associated software and the sensor will determine whether the RGB colors displayed really are 100% red, green, blue, white, grey, and black. If the screen is different to a known value, the software adjusts the brightness and color to make it display correctly. Screens need calibrating every six months or so, especially if used a lot:
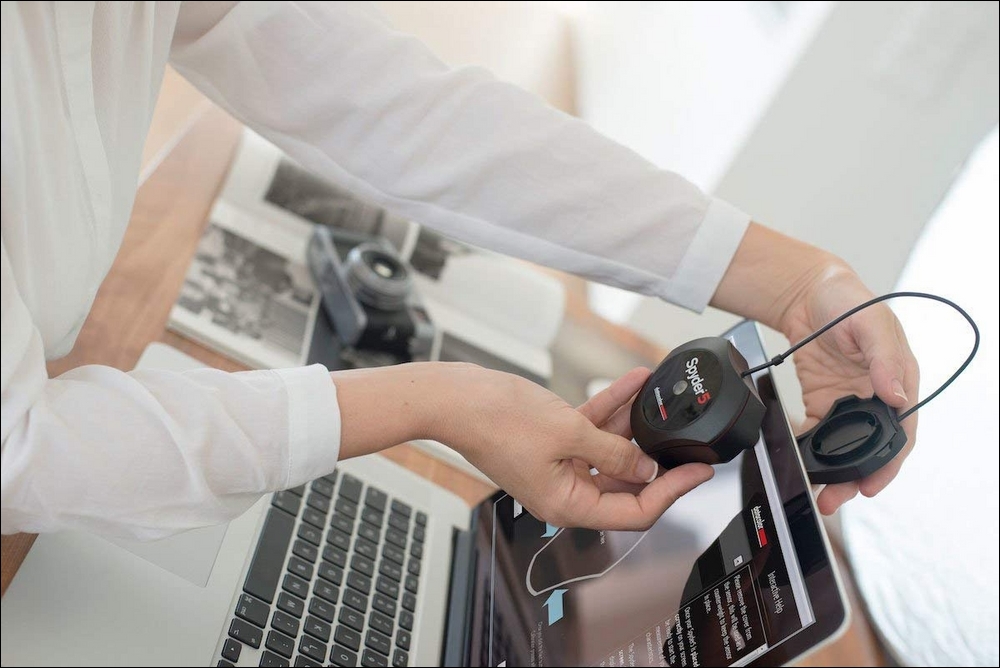
Attaching a USB-powered hardware calibrator to the laptop screen as shown in the preceding image is the ColorVision Spyder 5. This process needs to be done probably once every six months or so, just to ensure that what you see onscreen is a realistic representation of the original image.
I always provide my students with a list of 10-20 keyboard shortcuts. I can usually see that most are not happy with having yet more stuff to remember. But if you limit yourself to using some of these, instead of relying on the mouse all the time, you'll not only reduce the risk of RSI, but you'll find many repetitive tasks so much safer and faster to execute. Two hands are always better than one:
|
Operations |
Windows / Mac keyboard shortcut |
|---|---|
|
Undo last operation |
Ctrl/Cmd + Z |
|
Redo last operation |
Ctrl/Cmd + Y |
|
Copy |
Ctrl/Cmd + C |
|
Paste |
Ctrl/Cmd + P |
|
Select all |
Ctrl/Cmd + A |
|
Deselect |
Ctrl/Cmd + Shift + D |
|
Rotate image 90 degrees left |
Ctrl/Cmd + Left arrow |
|
Rotate Image 90 degrees right |
Ctrl/Cmd + Right Arrow |
|
Adjust date and time |
Ctrl/Cmd + J |
|
Edit in Expert Edit Mode |
Ctrl/Cmd + I |
|
Edit in Premiere Elements Editor |
Ctrl/Cmd + M |
|
Zoom in |
Ctrl/Cmd + '+' |
|
Zoom out |
Ctrl/Cmd + '-' |
|
OK |
Enter |
|
Cancel |
Esc |
|
Display metadata properties |
Alt + Enter |
|
Add caption |
Ctrl/Cmd + Shift + T |
|
Update thumbnails |
Ctrl/Cmd + Shift + U |
|
Set photo as desktop wallpaper |
Ctrl + Shift + W |
|
Open Color Settings dialog box |
Ctrl/Cmd + Alt + G |