The campaign feature in Microsoft Dynamics CRM lets you create a group of marketing activities in an organized format from which you can easily run reports.
If you are about to introduce a new product offering, you might create a new campaign to advertise the offering. The campaign might consist of a number of planning tasks, mass letters, mass e-mails, postcards, phone calls, and more. By creating a campaign for this marketing effort, you can create a structure that allows for tracking the progress of the campaign.
Outlook 2010/Internet Explorer:
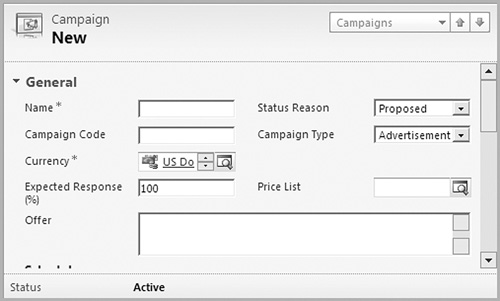
In the Navigation Pane, click Marketing and then Campaigns.
On the Campaigns tab in the Records group of the ribbon, click the New button.
Give your campaign a name and click the Save button.
Enter information into the other fields for the campaign.
On the left, you can set up planning tasks, campaign activities, and campaign responses. All of these are covered later in the chapter.
Click the Save and Close button.
Outlook 2003/2007:
In the Navigation Pane, click Marketing and then Campaigns.
On the Campaigns menu, click the New button.
Give your campaign a name and click the Save button.
Enter information into the other fields for the campaign.
On the left, you can set up planning tasks, campaign activities, and campaign responses. All of these are covered later in the chapter.
Click the Save and Close button.
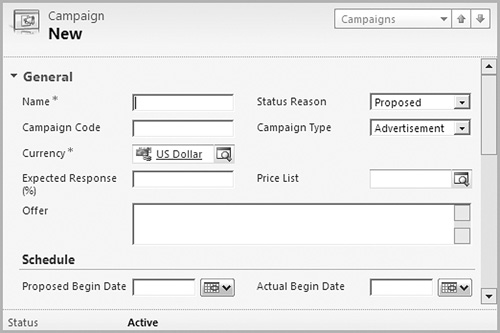
There’s not much difference between a campaign and a campaign template. Functionally, they’re the same. A campaign is a collection of tasks and activities related to a marketing effort. So is a campaign template. You’d create a template, however, as an example marketing campaign to be used as the basis for other campaigns. In other words, in the future, you can create a new campaign from a campaign template, and the structure of the template is copied to the new campaign.
Outlook 2010/Internet Explorer:
In the Navigation Pane, click Marketing and then Campaigns.
On the Campaigns tab in the Records group of the ribbon, click the New Template button.
Give your campaign template a name and click the Save button.
Enter information into the other fields for the campaign.
On the left, you can set up planning tasks, campaign activities, and Target Marketing Lists. All of these are covered later in the chapter.
Click the Save and Close button.
Outlook 2003/2007:
In the Navigation Pane, click Marketing and then Campaigns.
On the Campaigns menu, click the New Template button.
Give your campaign template a name and click the Save button.
Enter information into the other fields for the campaign.
On the left, you can set up planning tasks, campaign activities, and Target Marketing Lists. All of these are covered later in the chapter.
Click the Save and Close button.
After creating a campaign, you’ll want to add planning tasks and campaign activities to the campaign. If you have a template already created, the easiest way to do this is to add the existing template to your campaign.
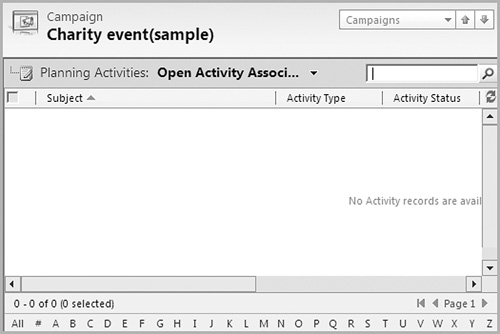
Planning activities are often the key to a successful campaign. Planning activities are the activities that you need to perform before your first communication with the customer takes place. Examples of planning tasks might be:
Finalize the target marketing lists.
Get bids from the printer for your sales slicks.
Get approval for the marketing materials to be sent.
Have the design department create special landing pages on your website.
Outlook 2003/2007/2010/Internet Explorer:
In the Navigation Pane, click Marketing and then Campaigns.
Double-click a marketing campaign to open it.
Click the Planning Activities option on the left.
In the Records group of the ribbon, click the Add New Activity drop-down, then select an activity type.
Repeat steps 3 and 4 until all of your planning tasks have been added.
Campaign activities are the customer interactions that are all tied to the campaign. Campaign activities can include letters, e-mails, trade shows, advertisements, phone calls, and just about any other type of sales activity.
Outlook 2003/2007/2010/Internet Explorer:
In the Navigation Pane, click Marketing and then Campaigns.
Double-click a marketing campaign to open it.
Click the Campaign Activity option on the left.
In the Records group of the ribbon, click the Add New Campaign Activity button.
Enter details for the activity.
Click the Save and Close button.
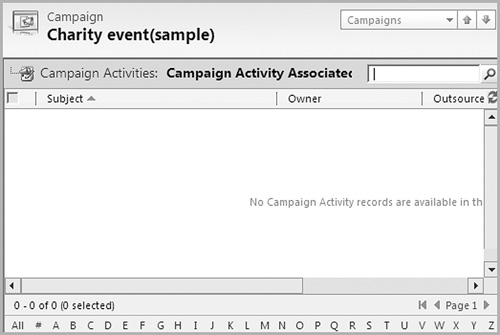
You probably won’t target your entire database for every part of every campaign. Because of this, you can target specific campaign activities to just contacts that are in specific marketing lists.
Outlook 2003/2007/2010/Internet Explorer:
In the Navigation Pane, click Marketing and then Campaigns.
Double-click a marketing campaign to open it.
Click the Target Marketing Lists option on the left.
In the Records group of the ribbon, click the Add Existing Marketing List button and click OK.
Check the box to add the marketing lists to open undistributed campaign activities. Click OK.
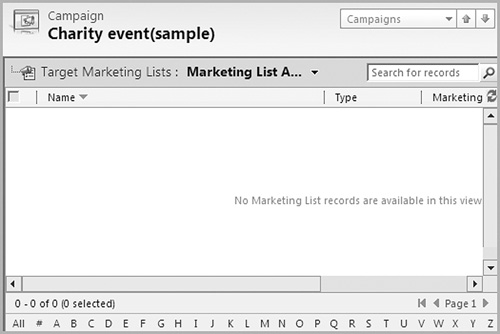
Quick campaigns are like mini campaigns that you run without significant planning. Where campaigns might be made up of many planning tasks and campaign activities, quick campaigns only contain one activity. If you want to send a mass e-mail to everyone in a marketing list, for example, you can run a quick campaign for those contacts to send the e-mails.
You can create a quick campaign from just about any list view of customer data. In the accounts, leads, and contacts views, you’ll see a Create Quick Campaign button on the Actions toolbar. After completing an Advanced Find, you also have an option to run a quick campaign for the results of the search.
Outlook 2010/Internet Explorer:
In the Navigation Pane, click Sales and then Contacts. (You can create quick campaigns on other record types as well.)
Highlight the contacts that should be included in the quick campaign. (You might switch to a different view or run an Advanced Find to make it easier to narrow down your list of contacts.)
On the Add tab in the Marketing group of the ribbon, click the Create Quick Campaign drop-down and select a range of contacts. (Selected records, All records on the current page, or All records on all pages.)
Click Next.
Give your campaign a name and click Next.
Choose the type of activity, assign ownership to a user in the system, and click Next.
Add details for your activity and click Next.
Click the Create button.
Outlook 2003/2007:
In the Navigation Pane, click Sales and then Contacts. (You can create quick campaigns on other record types as well.)
Highlight the contacts that should be included in the quick campaign. (You might switch to a different view or run an Advanced Find to make it easier to narrow down your list of contacts.)
On the Record menu, highlight Create Quick Campaign drop-down and select a range of contacts. (Selected records, All records on the current page, or All records on all pages.)
Click Next.
Give your campaign a name and click Next.
Choose the type of activity, assign ownership to a user in the system, and click Next.
Add details for your activity and click Next.
Click the Create button.
Campaign responses track the effectiveness of a campaign. A campaign response is the record in Microsoft Dynamics CRM that tracks the type of response a customer has to a campaign. Reports are included that track campaign responses, so it’s easy to make sure your team knows how a customer has responded to your campaign.
You can create a campaign response manually from within the Campaign edit screen. It’s important to understand that the campaign response that gets created through this process only notes within Microsoft Dynamics CRM that a customer has responded to your campaign. Unless a workflow has been created, campaign responses do not send any sort of communication to the customer.
Outlook 2003/2007/2010/Internet Explorer:
In the Navigation Pane, click Marketing and then Campaigns.
Double-click a campaign to open it for editing.
On the left, click the Campaign Responses option.
In the Records group of the ribbon, click the Add New Campaign Response button.
Enter the details of your campaign response.
Click Save and Close.
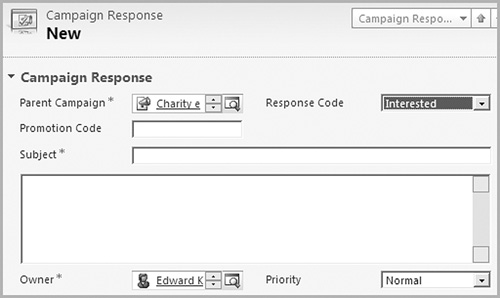
If you get the same response from a dozen contacts at the same company that were included in a campaign, you can duplicate their response.
Outlook 2003/2007/2010/Internet Explorer:
In the Navigation Pane, click Marketing and then Campaigns.
Double-click a campaign to open it for editing.
Click the Campaign Responses option on the left.
Double-click the campaign response you’d like to copy.
In the Action group of the ribbon, click the Copy Campaign Response button.
A copy of the campaign response will appear. Make any changes.
Click Save and Close.
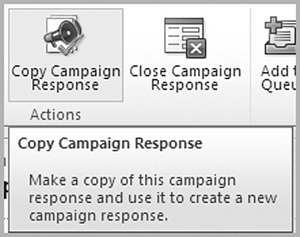
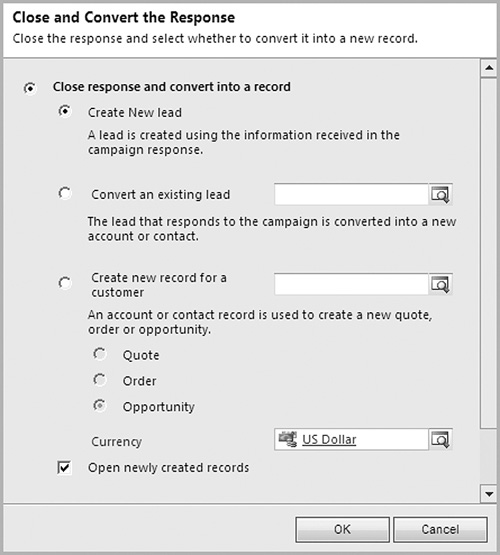
If someone responds to your marketing campaign, and if they are interested in buying one of your products or services, it’s a good idea to convert that campaign response to a lead or opportunity. Once the marketing group within your company has gotten the campaign response, they can convert the response to a lead, and then the sales department takes over.
Outlook 2010/Internet Explorer:
In the Navigation Pane, click Marketing and then Campaigns.
Double-click a campaign to open it for editing.
Click the Campaign Responses option on the left.
Double-click the campaign response you’d like to convert.
In the Actions group of the ribbon, click the Convert Campaign Response button.
Choose to convert to a new lead, an existing lead, or a new record for a customer.
Click OK.
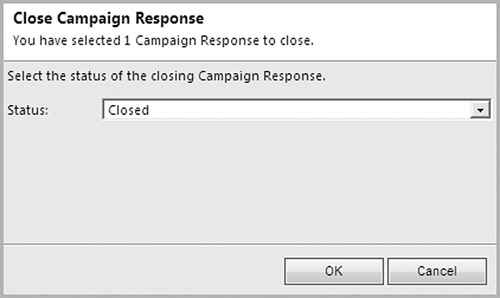
If a customer included in your campaign makes it clear that he or she is not interested in your product or service, you can close the campaign response. Closing the campaign response does not convert it to a lead, opportunity, or any other sort of record. It simply disqualifies the response.
Outlook 2003/2007/2010/Internet Explorer:
In the Navigation Pane, click Marketing and then Campaigns.
Double-click a campaign to open it for editing.
Click the Campaign Responses option on the left.
Open a campaign response you’d like to close.
In the Actions group of the ribbon, click the Close Campaign Response button.
Choose a status (either Closed or Cancelled) and click OK.
