In this section:
Define Custom Lists and Sort Using Those Lists
Limit Worksheet Data Using Filters
Guide Data Entry with Validation Rules
After you’ve added data to your worksheets, you may want to change the order in which the worksheet rows are displayed. For example, if you had a worksheet listing orders for a week, you might want to list the orders for each customer, or perhaps reorder the rows in your worksheet so the most expensive orders were at the top of the list and the least expensive at the bottom. You could also hide any rows that didn’t meet your criteria, which would be particularly useful if you work with a large data set.
Just as you can change or limit how your worksheet data is displayed, you can control what data is entered into your worksheets. By setting validation rules for groups of cells, you can check each value and, if the value you or your colleague enters falls outside the accepted range, you can display an error message informing you or your colleague what went wrong and what sort of value should be entered.
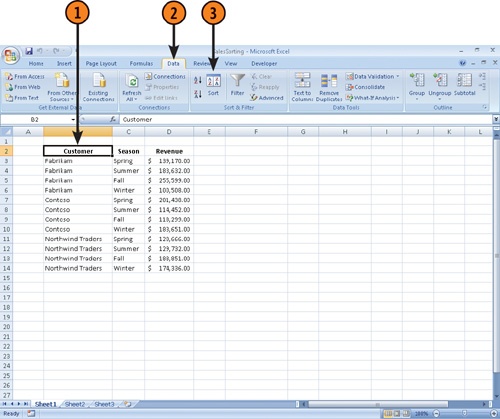
You can sort a group of rows in a worksheet in a number of ways, but the first step is identifying the column that will provide the values by which the rows should be sorted. When you’ve selected the column by which you want to sort the worksheet, you can choose whether to display the sorted values in ascending or descending order. For example, if you have a list of products your company sells with each product’s sales in the same row, you could sort the worksheet by the contents of the sales column in descending order to discover which products generated the most revenue for your company. You could also sort the worksheet rows in ascending order to put the lowest-revenue products at the top of the list. If you want to sort by the contents of more than one column, you can create a multi-column sort. One handy use for a multi-column sort would be to sort your products by category and then by total sales.
 Click any cell in the column by which you want to sort your data.
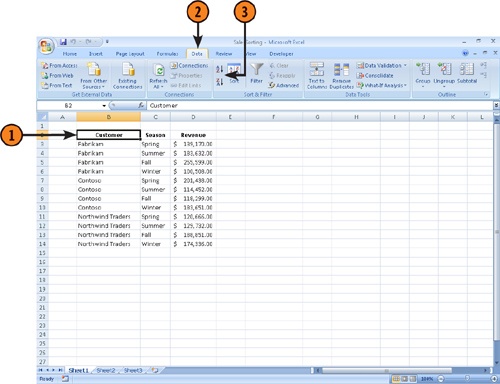
Click the Sort Ascending button in the Sort & Filter group on the ribbon.
Click the Sort Descending button in the Sort & Filter group on the ribbon.
Tip
The names of the sorting buttons in the Data tab’s Sort & Filter group change to reflect the type of data in the column to be sorted. If the column contains numbers, the buttons are named "Sort Smallest to Largest" and "Sort Largest to Smallest;" for text, the buttons are named "Sort A to Z" and "Sort Z to A;" for dates, they are named "Sort Oldest to Newest" and "Sort Newest to Oldest."
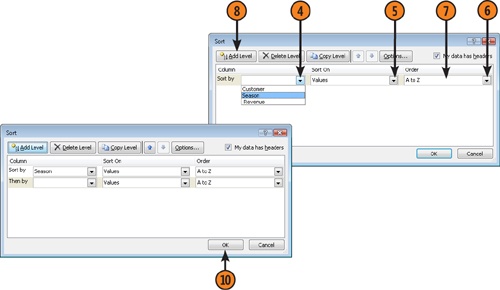
 Click the Sort By down arrow and then click the first column by which you want to sort.
 Click the Sort On down arrow and then click the criteria by which you want to sort.
 Select the A to Z item or the Z to A item to indicate the order into which the column’s values should be sorted.
 If necessary, repeat steps 4–8 to set the columns and order for additional sorting rules.