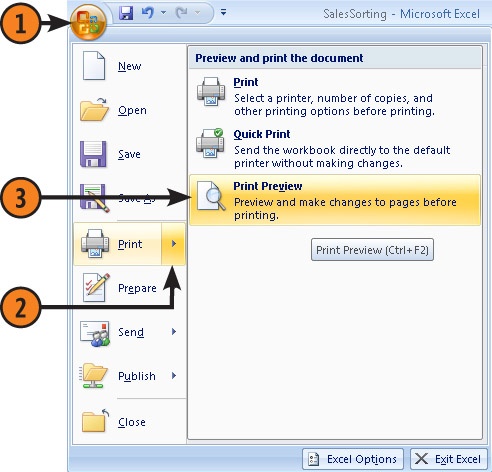
After you have created your worksheet, you can print a copy for reference, backup, or to distribute to your colleagues. Although you might be tempted to print your worksheet as soon as you have completed it, it’s usually a good idea to check your work first. All you need to see how your worksheet will look when printed is to display the worksheet in Print Preview mode. If you want to change how your worksheet will appear on the printed page, you can do anything from changing the orientation of the printout (that is, printing in a vertical format, called portrait mode or a horizontal format, called landscape mode) to scaling the worksheet to fit within a specific number of pages. It’s easy to fine-tune margins, adjust headers and footers, and customize a variety of other print options as well.
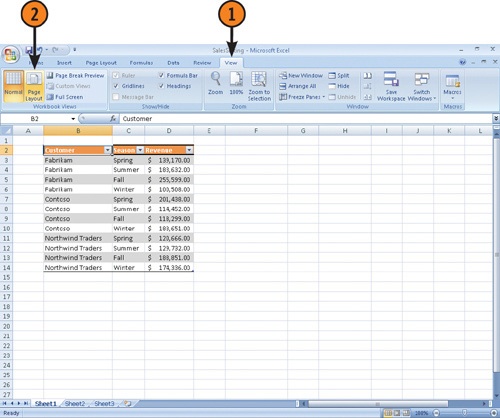
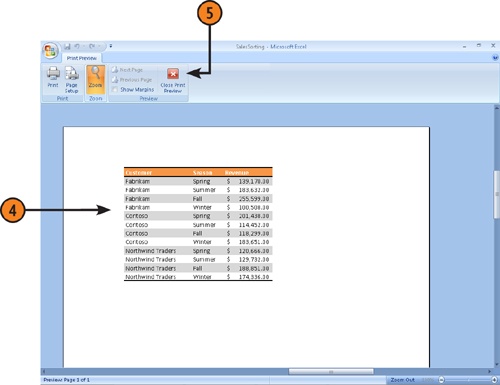
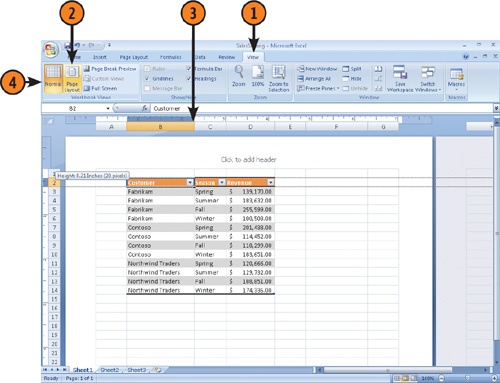
Before you print a worksheet, it’s helpful to take a step back and look at how your data will appear on the printed page. To do that in Excel, you display your worksheet in Print Preview mode. While you have your workbook open in Print Preview, you can zoom in to see cell contents clearly without altering printing size. You can also adjust the widths of any columns in Print Preview, saving you the trouble of switching between Print Preview and the standard Excel window. Excel 2007 also enables you to view your workbook in Page Layout View, which displays your workbook as it will be printed while still enabling you to edit the workbook’s contents easily.