
Chapter at a glance
Get
Getting comfortable with Office on a tablet
Use

Select

Work

IN THIS CHAPTER, YOU WILL LEARN HOW TO
Get comfortable with Office on a tablet.
Use touch mode.
Select content with touch.
Work with ink in Office.
One of the biggest enhancements made to Microsoft Office Home and Student 2013 is the addition of touch mode. Though you can use previous versions of Office on a touch-enabled device, the previous Office applications didn’t include features that optimized touch input and focused more on using inking features, such as annotating files in your own handwriting. The new touch mode and better gesture support makes using touch in Office as easy as using a mouse and a keyboard.
In this chapter, you’ll get an overview of using Office Home and Student 2013 on a tablet, such as Microsoft Surface. You’ll learn how to adapt the exercises in this book to touch gestures, and how to select text and multiple objects. At the end of this chapter, you’ll use inking tools.
For using Office on a tablet, two editions of Windows 8 are available. The tablet edition of Windows 8, called Windows RT, comes with Microsoft Office Home and Student 2013 RT, which includes Microsoft Word 2013 RT, PowerPoint 2013 RT, Excel 2013 RT, and OneNote 2013 RT. Tablets that support the full edition of Windows 8, such as Surface with Windows 8 Pro, also support the installation of a full edition of Office, such as Microsoft Office Home and Student 2013.
Regardless of the edition you’re using, using Office on a tablet isn’t too different from using Office on your desktop or laptop computer. In fact, the user interface and your Office files look almost identical when viewed on a tablet device.
If you’re using a tablet that has the Office Home and Student 2013 RT edition preinstalled, it’s important to note that it doesn’t have all of the same features as the full editions of Office. This is primarily due to security and mobility requirements. The following is a list of the primary unsupported features, along with any available workarounds.
Macros and add-ins. Programs created in Microsoft Visual Basic for Applications (VBA) to automate various tasks or to add additional functionality to an application are not supported. Developers are creating apps for Office, available from the Microsoft Office Store, as an alternative.
Email features. Emailing from inside an application isn’t supported, because Microsoft Outlook and other desktop email applications aren’t supported on Windows RT. These commands include the Email options on the Share page in the Backstage view and email-related commands on the ribbon. The commands are still present in the user interface, but they are either unavailable or result in an error message when you try to use them. An alternative is to create a new email message by using the Windows RT email app, or another email app from the Windows Store, and manually attach your documents or links.
Flash video and recording narrations in PowerPoint. Inserting or playing back Flash videos isn’t supported, and you can’t record audio narrations. However, presentations that already include audio narrations will still play correctly.
Audio and video recordings and inserting from a scanner in OneNote. Recording and scanning through OneNote isn’t supported, but you can use other third-party software for these types of content and then insert the file into a OneNote page.
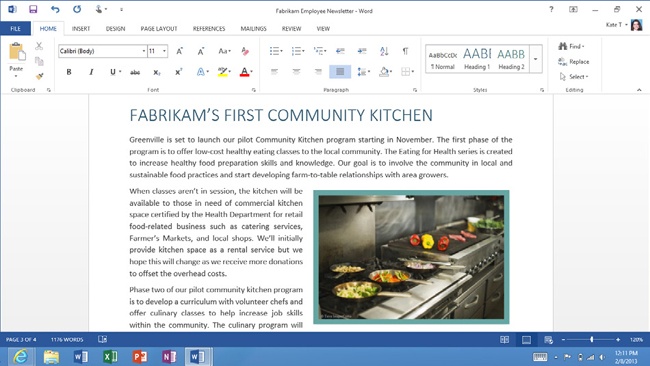
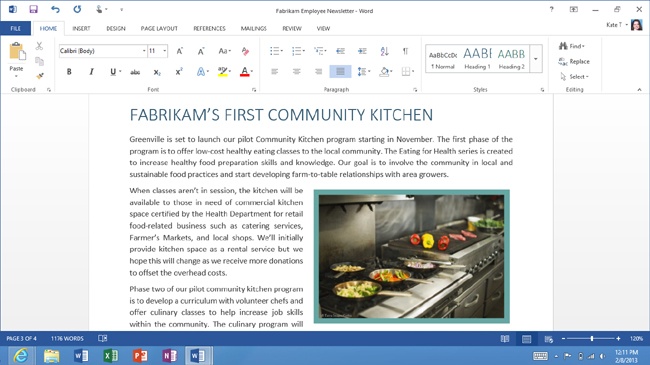
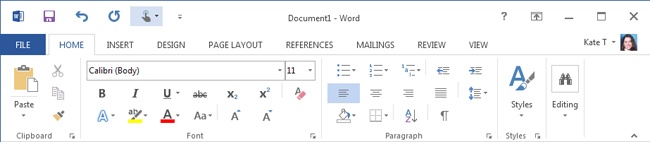
The primary difference with using touch mode in Office is that the user interface is optimized for touch commands. When touch is enabled, the user interface increases in size, and more space is added between the buttons on the ribbon and Quick Access Toolbar.
Tip
To enable or disable touch mode, tap the Touch Mode button on the Quick Access Toolbar. When you enable or disable touch mode, it takes effect across the Office applications. If the Touch Mode button isn’t visible, tap the arrow at the end of the Quick Access Toolbar, and then in the Customize Quick Access Toolbar list, tap Touch Mode.
You can work through the majority of the exercises provided in this book by using touch input and gestures, if you opt to use them instead of keyboard and mouse input. The following list provides the primary methods you can use to adapt the exercises to touch, along with additional touch tips.
Substitute tap or double-tap for click and double-click.
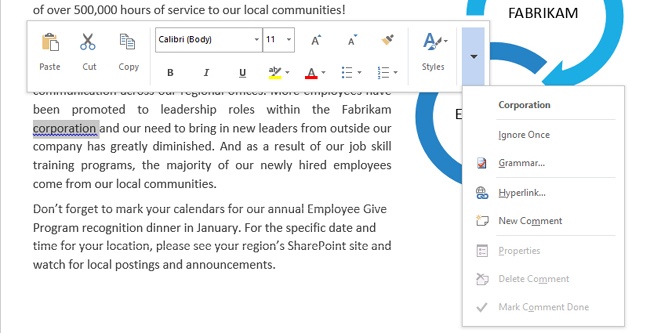
To right-click, press and hold until the shortcut menu is displayed. One exception to this is for spelling errors that appear in most applications that check your spelling as you type. When you tap a word to correct a spelling error, the list of spelling suggestions is displayed at the same time.
To enter information, you can type on a keyboard or tap the On-Screen Keyboard. You can also use voice or handwriting recognition if your device supports these capabilities. Additionally, many of the applications, such as Word and PowerPoint, offer word completion when you enter text by using the On-Screen Keyboard. When the correct suggested word is displayed, tap the suggestion to insert it.
To move the cursor or in Excel, the cell pointer, tap the desired location on the screen. Depending on your device, after you tap to move the cursor, the On-Screen Keyboard may appear. If you’re not entering text, you can tap the X in the upper-right corner of the On-Screen Keyboard to dismiss it. If the On-Screen Keyboard doesn’t appear, tap the keyboard icon located in the Windows taskbar.
To scroll, swipe your finger up, down, left, or right, in the direction you want to navigate.
To zoom in by using pinch gestures, use two fingers and stretch them apart. To zoom out, pinch your fingers together. You can use more than two fingers to pinch and stretch, but using only two fingers typically produces the best results.
To move or resize an object, such as a shape, tap it once to select it and then drag it to another location, or drag a sizing handle to change its size.

Additionally, some features may work a little differently when you are using touch. For example, when you insert a shape, the shape you tap is inserted directly into your file in a predetermined size, rather than drawn with the mouse. The majority of the differences are minor and you may need to modify your steps slightly, but they shouldn’t prevent you from completing a task by using touch.
If you’re having difficulty adapting an exercise, you can use a mouse instead. For example, if you use your mouse to select a shape instead of tapping it, you can draw it the same way you would do it on a non-touch enabled device.
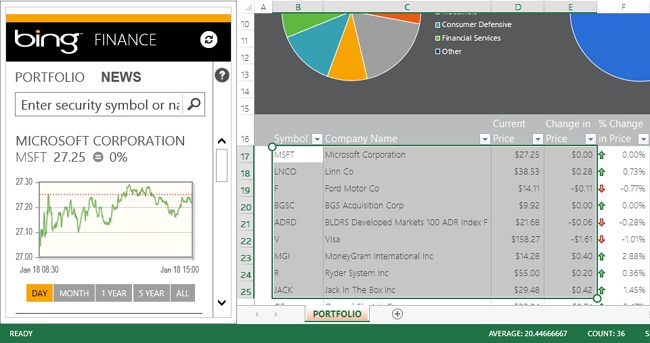
Selecting content by using touch is similar to using the mouse. The main difference is that your finger or stylus is your mouse pointer, and you drag it on the screen. First, you tap to start your selection, and then you drag the selection handle below the cursor, called a gripper, through the area you want to select. In Excel, the active cell has grippers in the upper-left and lower-right corners, and you can drag either of them to select a range. When text or a cell range in Excel is selected, grippers are displayed at the beginning and end of the selection, and you can use them to adjust your selection at any time.
To remove a selection, tap in an area that’s not part of your selection.
To select multiple objects by using touch, such as shapes or pictures, keep your finger on one object and then use another finger to tap each object you want to include in your selection. Note that not all applications support this selection method, and that you can also hold the Shift key on the keyboard and tap each object you want to select.
Tip
In PowerPoint, you can select multiple slides in the Slides pane or in the Slide Sorter view by dragging them slightly to the right.
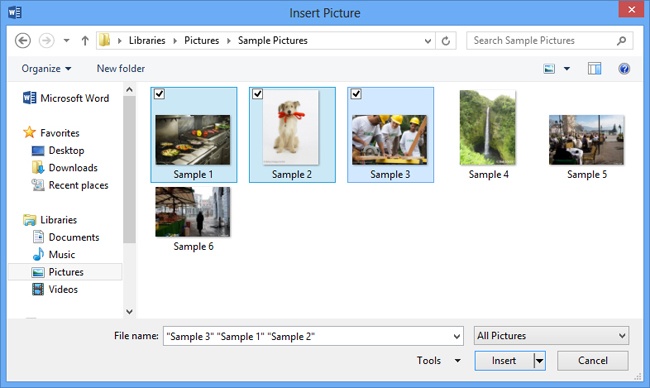
When you are working with dialog boxes, such as the Insert Picture dialog box, to select multiple files, tap the check boxes that appear in the upper-left corner for each file you want to select.
When Office is installed on a device that supports ink, tools for inking are enabled. In Word, Excel, and PowerPoint, the Start Inking button is located at the end of the Review tab, in the Ink group.

Tip
Using ink isn’t the same as using handwriting recognition, which converts your handwriting to digital text characters as you write.
After you tap the Start Inking button, the Ink Tools Pens tool tab is displayed on the ribbon. Prior to inking, you can choose a different pen style, color, or pen thickness. Then, use your finger or stylus on the screen to add inked handwriting or drawings in your file.

Tip
In OneNote, the inking tools are located on the Drawing tab, and you don’t need to use a Start Inking command in order to use them. You start inking by selecting a pen style. Additionally, the ink tools in OneNote are also enabled on devices that don’t support touch, because you can also use a mouse to add ink.
The following list provides a few ways you can incorporate ink in your Office files:
Add drawings and handwritten annotations.
If your touch device supports the full version of Office, you can send handwritten email messages in Outlook.
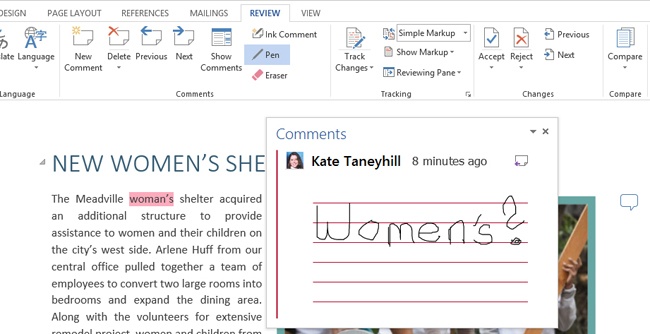
Add handwritten comments in Word while reviewing a document.
In PowerPoint, notate slides while creating your presentation or while presenting it on-screen.
In OneNote, use handwriting to capture your notes during a meeting or sketch your ideas to capture them.
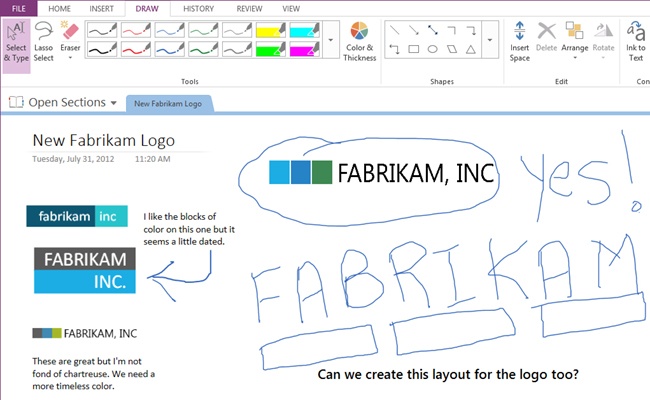
The available ink tools also include commands to select your inked handwriting or drawings as well as an eraser to remove them. Additional inking tools vary across the Office applications. For example, in PowerPoint, you can convert your drawings to shapes as you draw them in ink. In OneNote, you can convert your handwriting to text.
In this exercise, you’ll convert an inked drawing to a shape in PowerPoint, move the converted shape, and resize it by using touch.
Set Up
You don’t need any practice files to complete this exercise. Start PowerPoint, create a blank presentation, and then follow the steps.
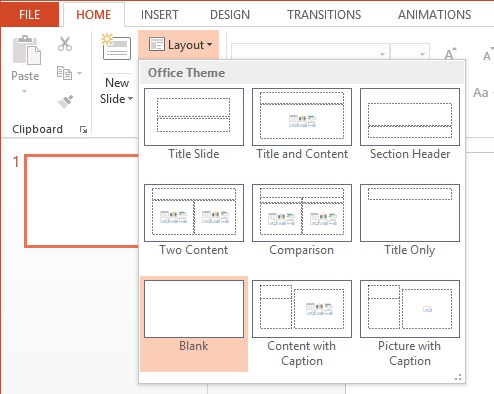
To change the layout to a blank slide, on the Home tab, in the Slides group, tap Layout, and then tap Blank in the gallery.
To activate the ink tools, on the Review tab, in the Ink group, tap the Start Inking button.
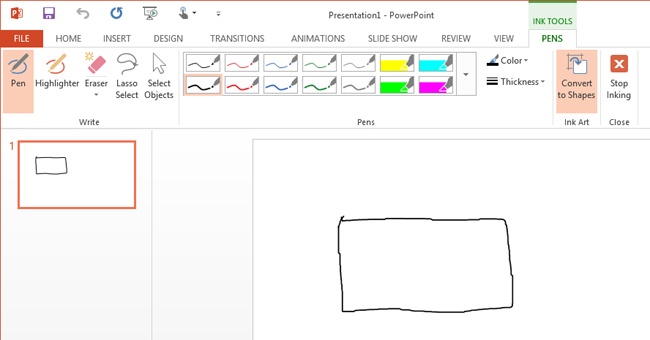
Before drawing a shape, on the Ink Tools Pen tool tab, in the Ink Art group, tap the Convert to Shapes button.
Using your finger or stylus, draw a rectangle on the slide.
Lift your finger off the screen after the drawing is complete.
The inked rectangle is converted to a shape.
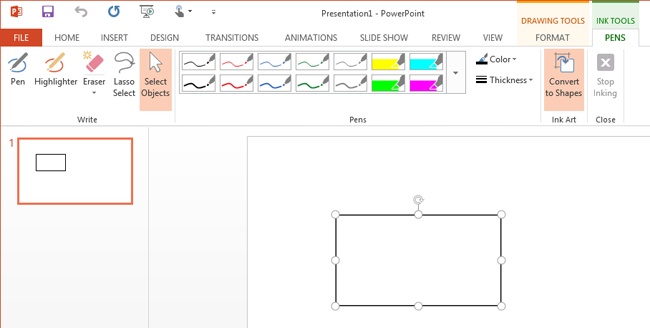
To move the converted shape, on the Ink Tools Pens tool tab, in the Write group, tap the Select Objects button.
Tap the border of the converted rectangle to select it.
Place your finger or stylus on the border of the rectangle between the sizing handles and drag to move it.
To change the size, place your finger or stylus on the sizing handle in the lower-right corner and drag to resize the rectangle.
The tablet edition of Windows 8, called Windows RT, includes Microsoft Office Home and Student 2013 RT.
The Office Home and Student 2013 RT edition doesn’t support all features available in the full edition of Office.
Tablets that support the full edition of Windows 8, such as Surface with Windows 8 Pro, also support the installation of a full edition of Office, such as Microsoft Office Professional 2013.
To adapt the exercises in this book to touch gestures, substitute tap for click and double-tap for double-click. To right-click, press and hold, and to scroll, swipe the screen in the direction you wish to navigate.
You can add handwritten comments in Word, convert handwriting to text in OneNote, and convert ink drawings to shapes in PowerPoint.
Using ink in Office applications isn’t the same as using handwriting recognition, which converts your handwriting to digital text characters as you write.