
Chapter at a glance
View
View the normal view of OneNote, Exploring the OneNote interface
Dock
Use OneNote in Docked To Desktop view, Tip
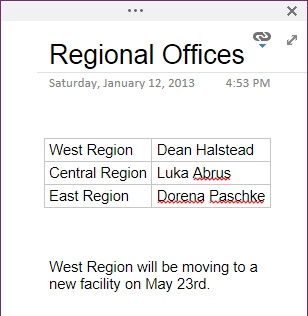
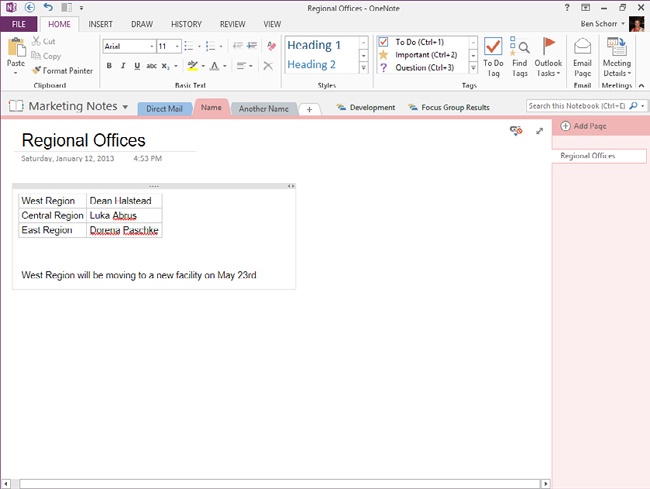
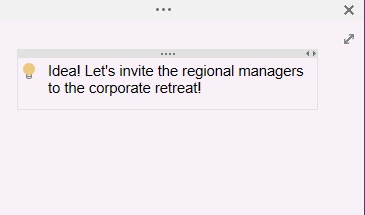
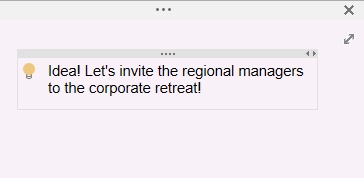
Capture
Capture ideas with a OneNote Quick Note, ???
IN THIS CHAPTER, YOU WILL LEARN HOW TO
Get started with OneNote 2013.
Explore the OneNote 2013 user interface.
Modify the way OneNote looks.
Identify new and improved features in OneNote 2013.
Microsoft OneNote 2013 is a free-form note-taking, collaboration, and research tool. It’s a powerful place to capture all of your notes in the classroom or in business meetings, or even just random ideas that come into your head. You can share your notes with coworkers, family members, or anybody else you’d like to. You can also synchronize your notes across a wide variety of devices from desktops to laptops, tablets, and even your smartphone.
In this chapter, you’ll explore the OneNote 2013 interface and learn about new and improved features.
You typically start OneNote 2013 from the Start screen in Windows 8 or the Start menu in Windows 7.
The very first time you start OneNote, it will walk you through a quick process to create your first notebook. Every time you start OneNote after that, the new OneNote main screen will appear.
From the main screen, you can access your opened notebooks, create new notes, or open other notebooks.
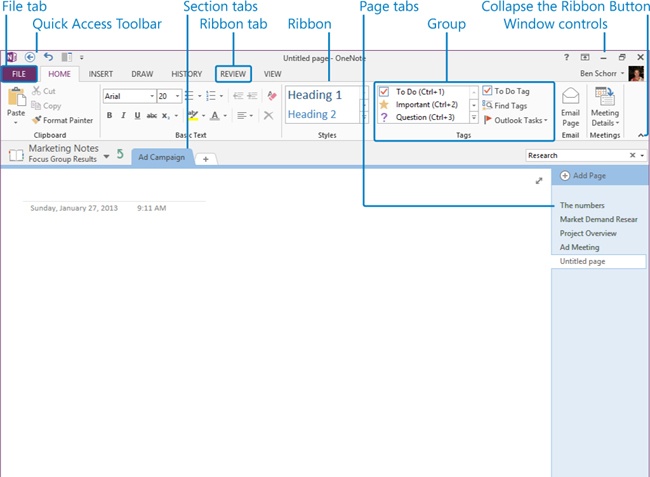
Ribbon. The main component of the OneNote interface and where you’ll find the primary commands for working with the content of your notes. The ribbon is made up of task-oriented tabs, and each tab has groups of related commands. For example, on the Home tab, the Clipboard group contains commands for copying and pasting information in your OneNote notebooks.
Important
The screen shots of the ribbon were captured with a screen resolution of 1024 x 768, at the default 100% magnification. If your display settings are different, then the ribbon will appear differently on your screen due to its dynamic capabilities. For example, buttons may appear stacked vertically instead of horizontally. If you notice these differences, you can either adapt the exercise instructions to your screen or modify your display settings to match ours.
See Also
For instructions on how to modify your display settings and adapt exercise instructions, see Chapter 1.
File tab. The first tab on the ribbon. Unlike other ribbon tabs, the File tab displays the Backstage view, where commands for working with the entire contents of a notebook, such as New, Print, Share, and Export, are located. The Backstage view is also where application options are located, and where you can find information about your user account and your version of Microsoft Office.
Quick Access Toolbar. Holds your most frequently used commands. By default, Back, Undo, and Dock to Desktop have already been added.
Tip
To add other commands you use the most to your Quick Access Toolbar, right-click the command you want on the ribbon, and then click Add To Quick Access Toolbar. To remove a command from the Quick Access Toolbar, similar to adding a command, you right-click the command you wish to remove and then click Remove From Quick Access Toolbar.
Title bar. Appears at the top of the window and displays the name of the active page along with the application name.
Notebook pane. Appears at the left side of the screen and provides access to your open notebooks and sections.
Section tabs. Appear across the top of the page and provide another means of access to your sections and section groups.
Page tabs. Appear at the right side of the screen and give you access to your individual pages.
See Also
For a more comprehensive list of ribbon and user interface elements, along with detailed instructions on how to customize your user interface, including the ribbon and Quick Access Toolbar, see Chapter 1.
OneNote 2013 has a few options that let you control how it looks, which can significantly change your experience with the product. Most of these options can be found on the View tab of the ribbon in OneNote.

Normal view. A bit self-explanatory; this is the view you’ll normally use in OneNote with the ribbon, Notebook pane, section, and page tabs all accessible.
Full Page view. Pushes all of the tools off the screen so that you have the maximum amount of room for notes. This is most often used on small screens or tablets, or if you just really want to minimize distractions and like to work on a “clean canvas.” To exit Full Page view, click the Normal View button that appears as a double-headed arrow in the upper-right corner of the screen.
Dock to Desktop. A handy view when you want to work on other things but keep your notes visible to the side of the screen. Dock to Desktop will appear as a column on the right side of your screen (by default) where you can read, edit, and create your notes while leaving the rest of the screen free for other applications. To return to Normal view, click the Normal View button, which appears as a double-headed arrow at the upper-right of the window.
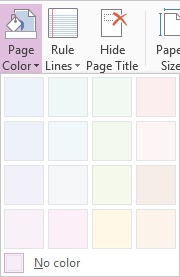
Page Color. Enables you to choose different background colors for your pages. The colors you can choose from are very subtle but can be handy for differentiating different types of pages in your section. These colors apply only to the “paper” of your page, not to the page tab.
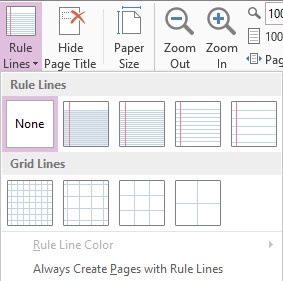
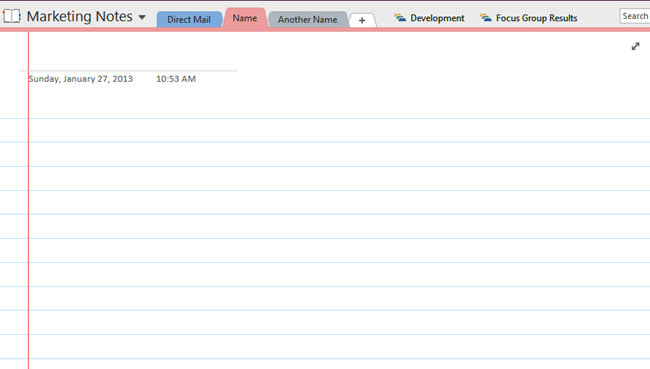
Rule Lines. This button lets you turn on or off line guides on the background of your page; this is essentially turning your clean sheet of blank paper into a college-ruled page or graph paper. They are mostly helpful if you’re using ink to take notes and want the guides to align your writing or sketching. For typed notes, they’re often a hindrance, because it’s difficult to align your typing with the lines.
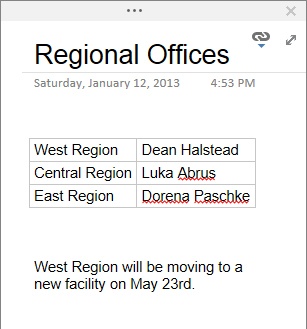
Hide Page Title. A surprisingly dangerous option. In fact, it should more properly be called “Remove Page Title,” because it doesn’t just hide the title. It actually removes the title, not only from the top of the note page, but from the page tab as well. If you use this option, your page will take on the name of whatever the first thing you’ve written on the page is. If you attempt to rename the page from the page tab, the page title area that you previously hid will reappear with that new name.
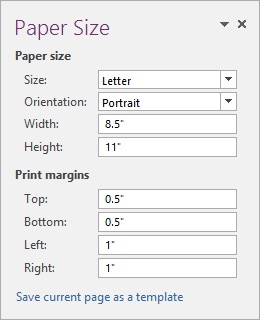
Paper Size. Lets you specify the size of your note page. Unless you’re planning to print your notes, there is rarely any need to change the paper size.
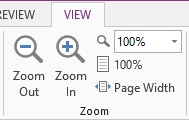
Zoom group. The options in this group let you display your notes larger or smaller so that you can read them more easily or display more of them on the screen at a time.
New Window. Opens an additional OneNote window. By default, the new window will have the same note page that you’re currently looking at, and you would typically then navigate in that new window to a different page so that you could have multiple OneNote pages open at the same time. You can use New Window to open as many windows as your computer has resources to display.
New Docked Window. Opens an additional OneNote window as a docked window that sits along the side of your screen, so you can have another application visible on the rest of the screen. Unlike the Dock to Desktop button we talked about earlier, this one opens an additional OneNote window instead of changing the view of your existing OneNote window.
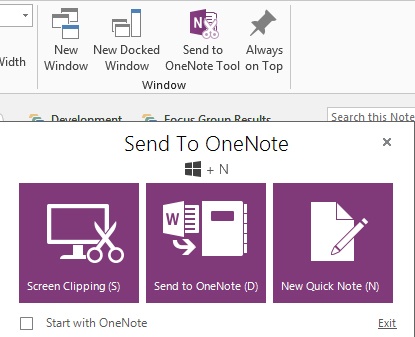
Send to OneNote Tool. Perhaps this seems a little out of place on the View tab, since the dialog box it launches doesn’t immediately appear to have much to do with viewing OneNote. Look all the way to the right side of the dialog box, however, and you’ll find the New Quick Note command. That opens a small window similar to a sticky note on the screen, where you can quickly capture notes or ideas much as you might scribble on a scrap of paper.
Always on Top. Pins the current note page so that it always appears on top of any other applications you have running. Obviously, this works best when OneNote is running in a window, rather than full screen, so that you can still view and work with other applications while OneNote is in the foreground on part of the screen.
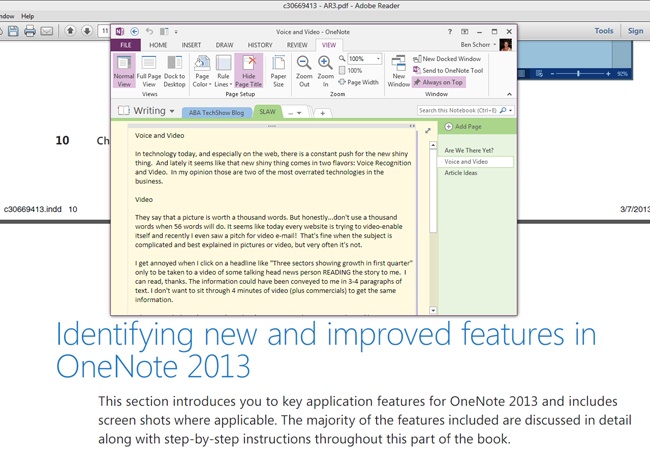
This section introduces you to key application features for OneNote 2013 and includes screen shots where applicable. The majority of the features included are discussed in detail along with step-by-step instructions throughout this part of the book.
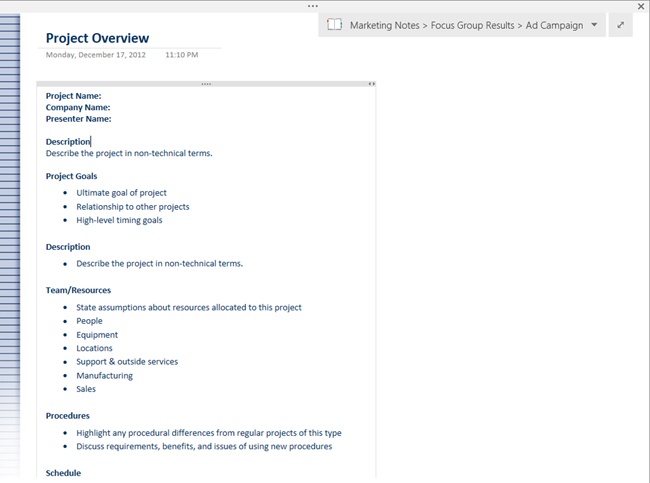
Full Screen Mode. In Full Screen Mode, OneNote tucks almost all of the user interface out of the way.
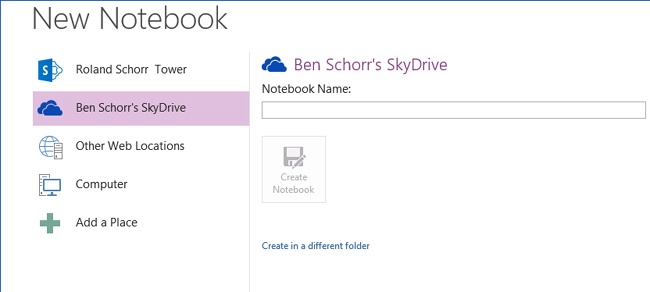
Tighter Microsoft SkyDrive Integration. When you create a new notebook, OneNote now defaults to offering to store it on your SkyDrive, where it can be easily shared with your other devices, colleagues, or family.
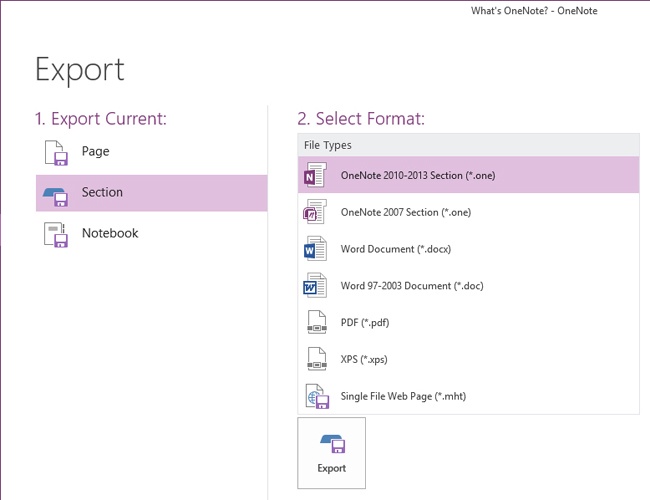
Enhanced Export. OneNote can export your notes into a variety of formats, including PDF and .docx (Microsoft Word).
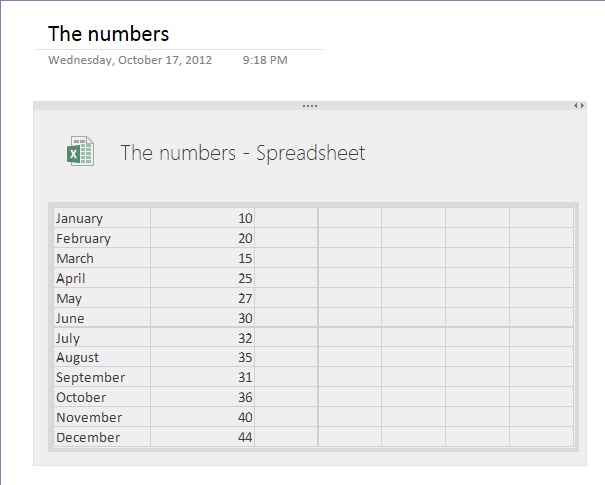
Embedded Content. OneNote 2013 has the ability to embed Microsoft Excel or Visio content. That content is dynamic, meaning that as it changes in the original file, the changes will be reflected in OneNote. The files can’t be directly edited in OneNote, but a handy Edit button will open the file in Excel or Visio where it can be easily updated.
OneNote 2013 is a free-form note-taking and research software product. You can use it to capture notes, ideas, or web content; record audio or video; annotate images; and draw with ink or shapes—everything you can do with a paper note pad and more.
There are a number of new features in OneNote 2013, including increased integration with SkyDrive for improved sharing and synchronizing; new views like Full Screen Mode; and improved integration with Excel and Visio for integrating dynamic content.