|
Name |
Map module |
|
Module Type |
Activity |
|
Author |
Ted Bowman |
|
Released |
2008 |
|
Maintained |
Actively |
|
Languages |
English, Spanish |
|
Compliance |
Good |
|
Documentation |
Online documentation |
|
Errors |
None displayed |
The Map module makes use of online map services from Google Maps, or a combination of OpenStreetMap and OpenLayers. It allows teachers and/or students to add locations with other information to a map. The map can be used to show the locations of students around a country or around the world, or it can be used for a variety of other applications.
Unlike most other modules, the Map module needs to access information from outside your server. Information about the cURL library and how to enable it, is available in the initial chapter of this book.
It is assumed that you will generally want to use Google Maps unless access is restricted by the Google Maps API terms and conditions.
To access Google Maps from your server you will need an access key and before you can get an access key you will need a Google account. If you don't have one, you will need to set one up.
Download and install the map/ directory into the /moodle/mod/ directory and visit the Notifications page. After the module's tables are set up, you will be shown the global options for the Map module. In order to use Google Maps, you need to add a key.

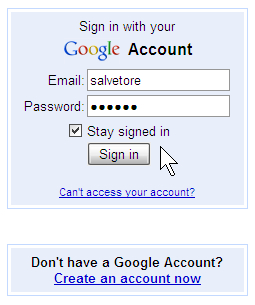
At this stage, it would be wise to open a new browser tab and log into your Google account. This will save us running around in authentication circles later. If you don't have a Google account, you might want to set one up now.
On the Map module's global settings page there is a link to Find info and obtain API Key here. Open this link in a new tab so we don't lose track of the Map module's settings page.
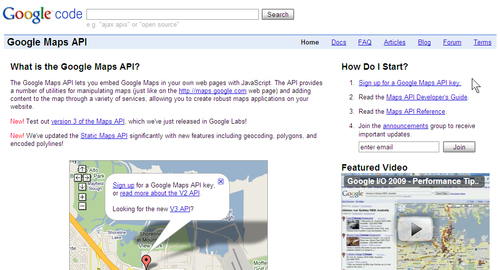
At the top-right of this page under How Do I Start? the first link leads you to the start of the key sign-up process.
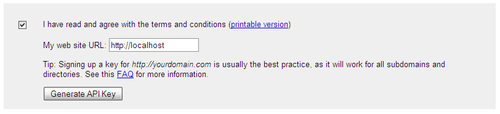
There are a number of conditions associated with applying for a Google Maps API key, and you will want to read these carefully. You need to acknowledge Google's terms and conditions by enabling the tick-box.
Under this is a textbox labeled My web site URL. If you are running on a test server, or just around your local LAN, then use http://localhost. If you have a site with a registered URL or just an IP address, use that instead.

After this you will be given a key, which is presented in a number of formats. Copy the value of the first to your clipboard:
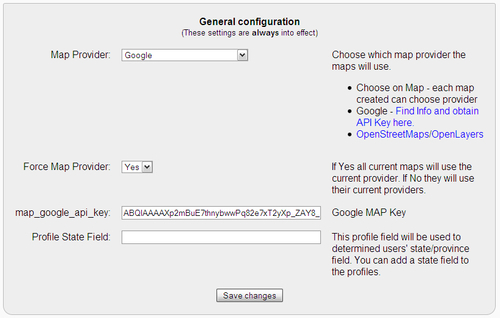
Returning to the Map module's global settings, set the Map Provider to Google. Set the Force Map Provider to Yes and paste the Google Maps API key in the appropriate textbox. Click on the button labeled Save changes.
Once the Maps module is installed and the Google Maps API key is set in the module's global settings page, you will be able to set up maps within courses.
Select Map from the Add an activity… menu and you will be asked to complete settings for this instance of the Map module in your course.
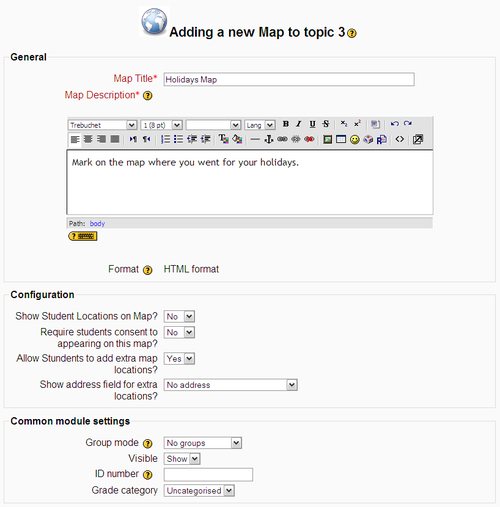
Add a title and description. The title will become the link text on the course page. The description field can be utilized if you are using the map for an activity with students.
Under Configuration, the first two settings relate to showing student locations on the map. Student locations are drawn from each student's profile, assuming they are set correctly. Choose Yes for the first setting to show student locations. If privacy is a concern, you can require students to volunteer their consent before their location is shown on the map.
For other purposes, for example showing important locations around the world, you will set the first two settings to No.
If you wish to allow students to add locations to the map, either to complement locations you have defined or as part of a task set for them, set the third option to Yes.
If the granularity of street addresses is needed to differentiate locations, for example marking locations within a single town, changing the final setting to Addresses only will allow this. For a finer grain in non-residential areas, co-ordinates can be allowed.
When a Map activity has been added and set up, locations can be added.
Assuming you are identifying important locations for your course, instead of merely showing student locations, you will start off with no locations defined.
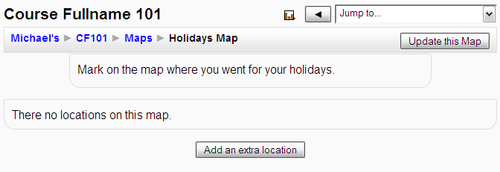
You and possibly your students (depending on the settings for the activity), will now be able to add locations to the map. Click on the button labeled Add an extra location to add location.
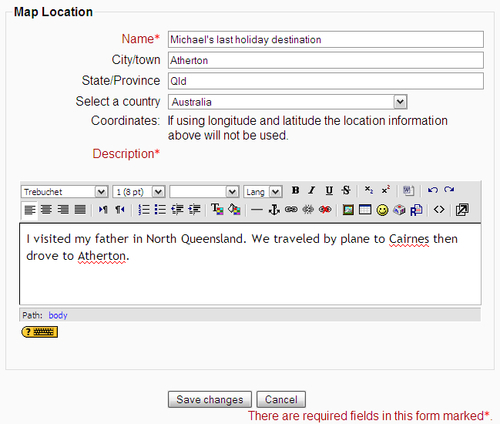
The details for a location can be somewhat incomplete. The Google API does apply some intelligence when finding a location based on the terms provided by a user. The Name field is displayed when a user moves the mouse over a location marker. If the location marker is clicked, the Description is shown.
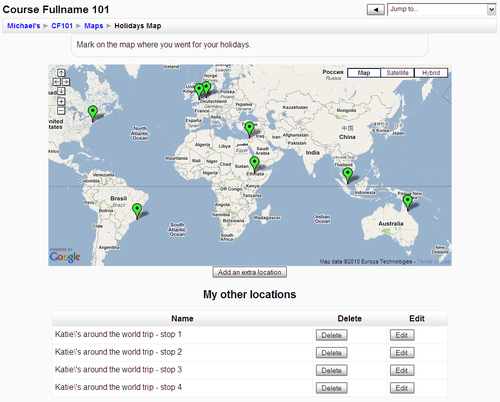
When locations are added to the map, they appear as markers. A user can remove or edit their own location, but not the location of other users. The map can be zoomed and dragged. Satellite images can be overlaid on the map also.
Here are some practical applications for the Map module:
- Countries being studied for geographical, political, or social studies
- Birthplaces of historical persons
- War zones of current and historical battles
- Illustrating travel routes
- Online Users Google Map block Chapter 9.