8. Editing Basics
This chapter explains how to edit your photographs using the basic tools available in the editing window. These tools include Enhance, Rotate, Crop and Straighten, Filters, Retouch, and Red-Eye.
![]() Cropping photos
Cropping photos
![]() Straightening crooked images
Straightening crooked images
![]() Addding filters to your pictures
Addding filters to your pictures
![]() Getting rid of blemishes and reducing red eye
Getting rid of blemishes and reducing red eye
Photos is about 60% photo oprganizer, 20% photo editor, and 20% photo sharer. If you want to be a professional photographer, Photos isn’t your best option for editing your pics. However, for we nonprofessionals, Photos’ editing capabilities are more than we need. Matter of fact, Apple has made many of Photos’ editing tools so easy to use, you can apply them with just a few clicks. Photos does have some advanced editing tools, called the Adjust tools, which are covered in Chapter 9, “Advanced Editing.”
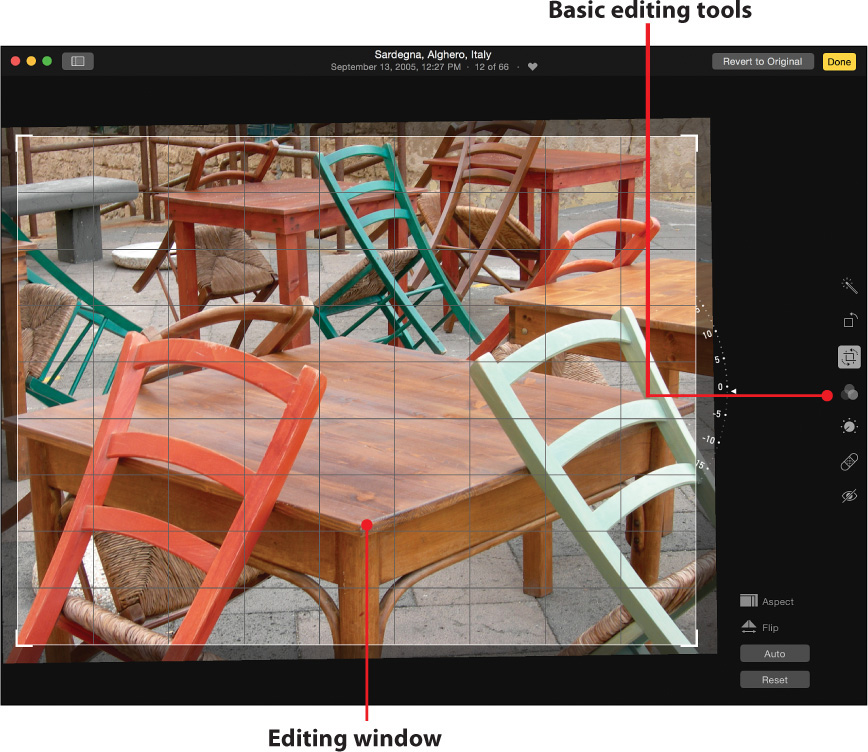
The Editing Window
Before you get started with some editing, let’s take a moment to look at the layout of Photos while in Edit mode.
Switch to Edit Mode
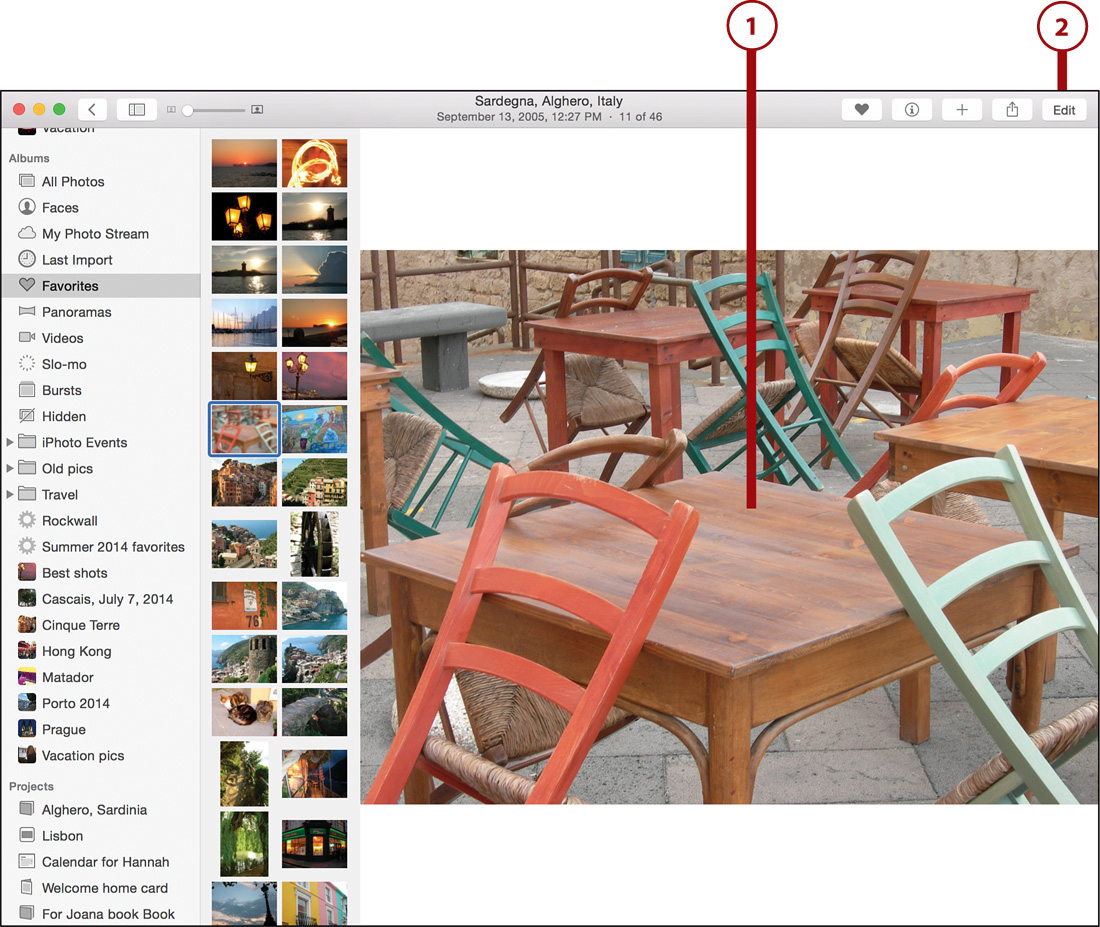
1. Open a photograph you want to edit in the normal viewer window.
2. Click the Edit button.
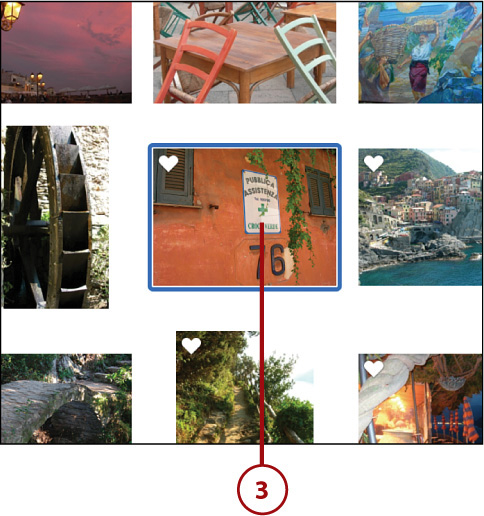
3. Alternatively, enter edit mode at any time when viewing a photo or by selecting a photo thumbnail anywhere in your Photos Library and pressing the Return key on your keyboard. This instantly opens that photo in the editing window.
Edit Mode Features
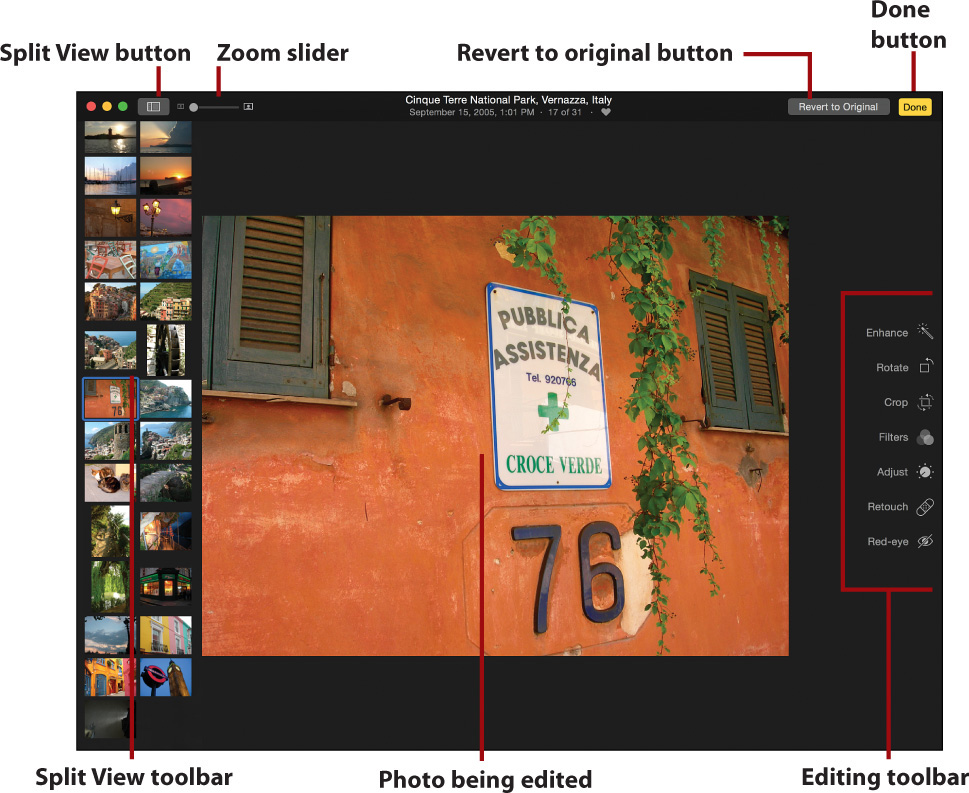
Though the Edit window looks radically different from the regular viewing window, it has a rather simplified layout and features some of the same elements as other windows.
• Split View button: This button hides or shows the Split View toolbar.
• Split View toolbar: This Split View toolbar in the Edit window is just the same as the one in the normal Photos viewer window. The toolbar shows the thumbnails of all the other photos in the selected album or Moment that the picture you are editing is from. It’s handy for quickly skimming through the other pictures associated with the one you are editing.
• Zoom slider: The Zoom slider enables you to zoom into a photograph to see a portion of it in more detail.
• Revert to Original button: No matter how many edits you make to your photo, Photos always keeps a copy of the original image you imported. If this is your first time editing the photo, you can click the Revert to Original button and quickly return your edited photo to its original, imported version no matter how many edits you have performed. The Revert to Original button only shows up if the image you are viewing has had edits applied to it.
• Done button: Click this button to exit editing mode and return to the normal viewer. Alternatively you can press the Return key on your keyboard to exit editing mode.
• Editing toolbar: The editing toolbar is where you access Photos’ various editing tools. It contains the Enhance, Rotate, Crop, Filters, Adjust, Retouch, and Red-eye tools. The Adjust tools are covered in Chapter 9.
• Photo being edited: In the center of the editing window is the photo you are currently editing.
Photos’ Basic Editing Tools
If you are using Photos for editing, you are likely to be someone who is making simple, fast edits to your favorite pictures. Of the seven tools available to you in the Editing toolbar, six are designed with extreme simplicity, allowing you to make quick fixes to your pictures with just a few clicks. Those simple tools are covered in the following tasks.
Exiting Editing Tools
To exit out of any of the editing tools, click the tool’s toolbar icon so the labels next to each tool appear again. Or, while inside a tool’s control, press Return on your keyboard to exit the tool.
Enhance a Photo
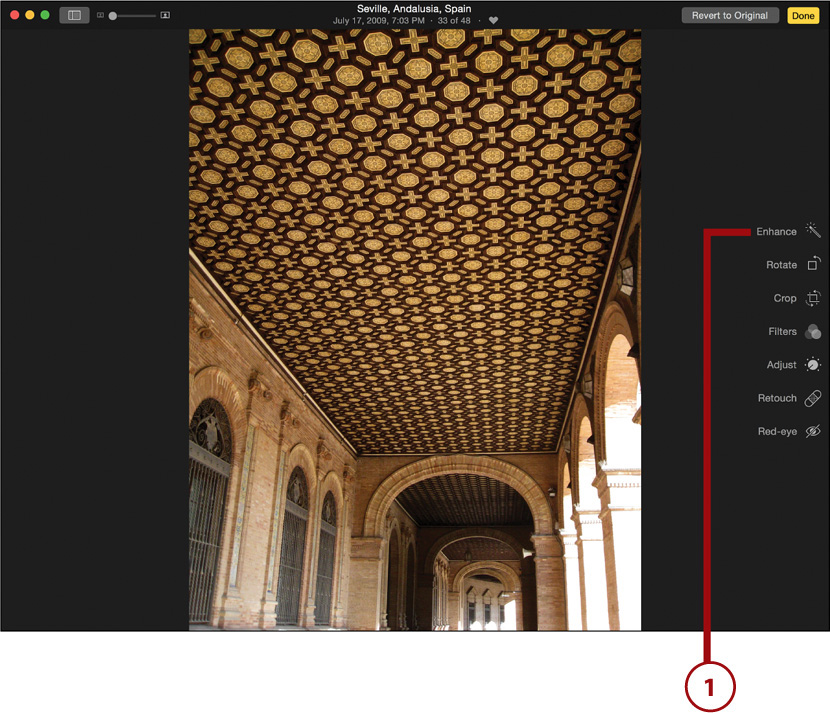
Sometimes you have a beautifully composed photo but the color is off or the photo is too light or too dark. When this happens, there’s no need to panic! Photos has a one-click fix for most photos with ailments such as poor saturation or contrast; it’s called the Enhance button.
1. Click the Enhance button. The photo you are editing is automatically enhanced based on saturation levels, contrast, exposure, and more.
For Your Convenience
The Enhance and Rotate tools can be used even when you are in another tool, such as Crop or Filter. Simply click the Enhance or Rotate tool to use them.
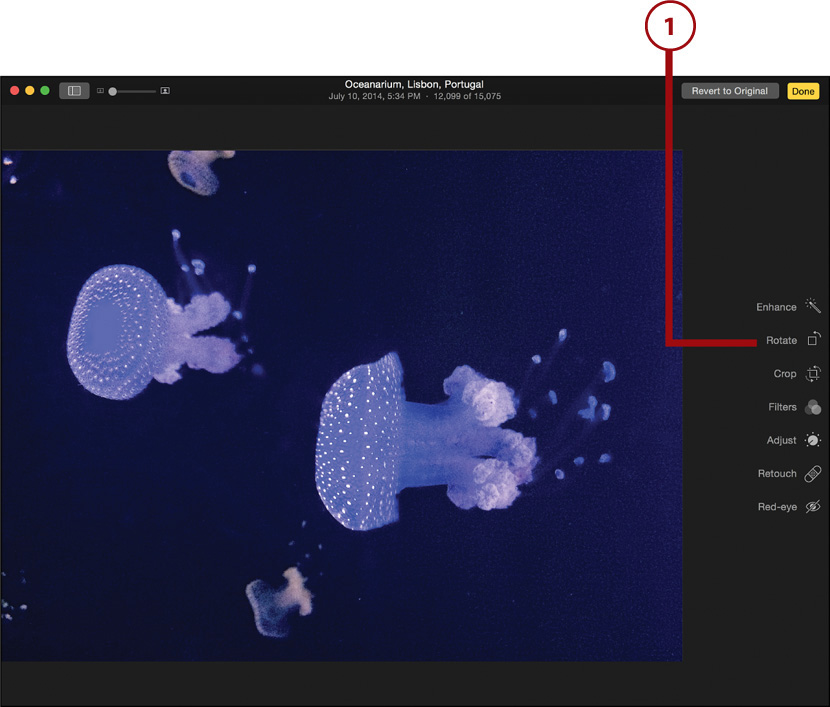
Rotate a Photo
Rotating a photo is something almost everyone has done or will need to do. Usually when a photo needs to be rotated it’s because you took it in portrait (vertical) orientation with your camera, but it was imported in the standard landscape (horizontal) orientation.
1. Click the Rotate button. The selected photo is rotated counterclockwise, 90° at a time, each time you click the button.
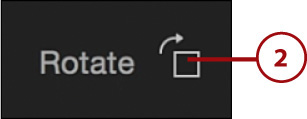
2. Alternatively, rotate a photo clockwise 90° at a time by holding down the Option key on your keyboard and clicking the Rotate button.
Crop a Photo
There are tons of reasons you may want to crop your photographs. Perhaps you want to just simply cut out something, or you might want to crop a photo to bring attention to a certain part of it, perhaps making it more artistic. Whatever your reason, Photos makes cropping your pictures painless and easy.
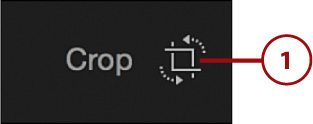
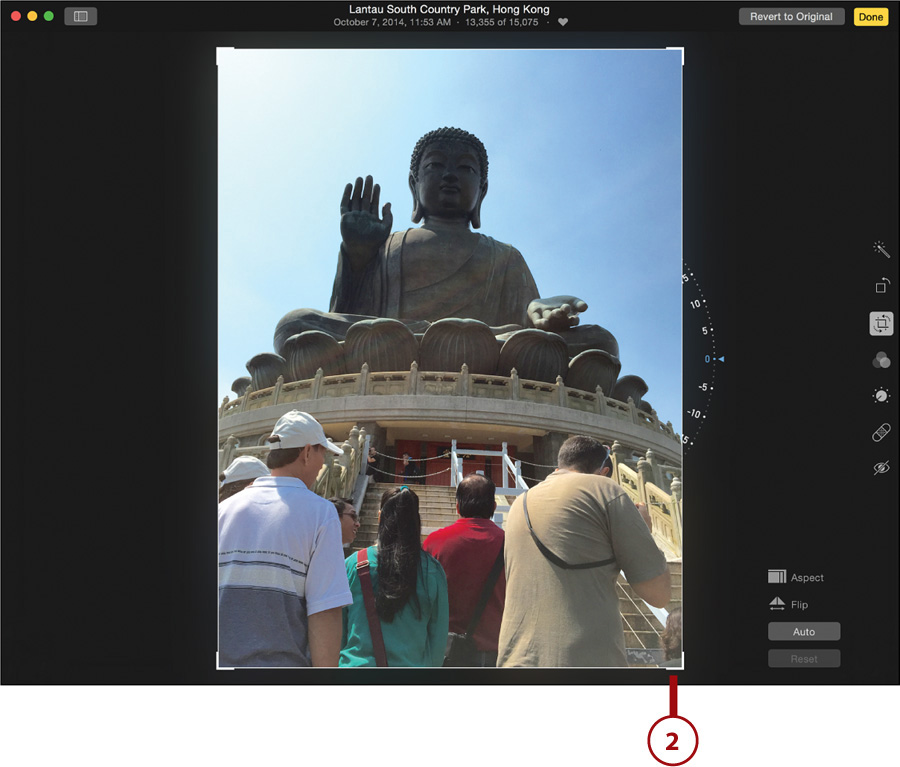
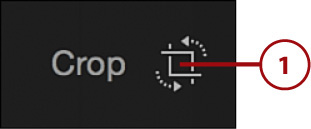
1. Click the Crop button.
2. The picture you are editing sinks back a little in the edit window and a white crop border appears along the borders of your photograph.
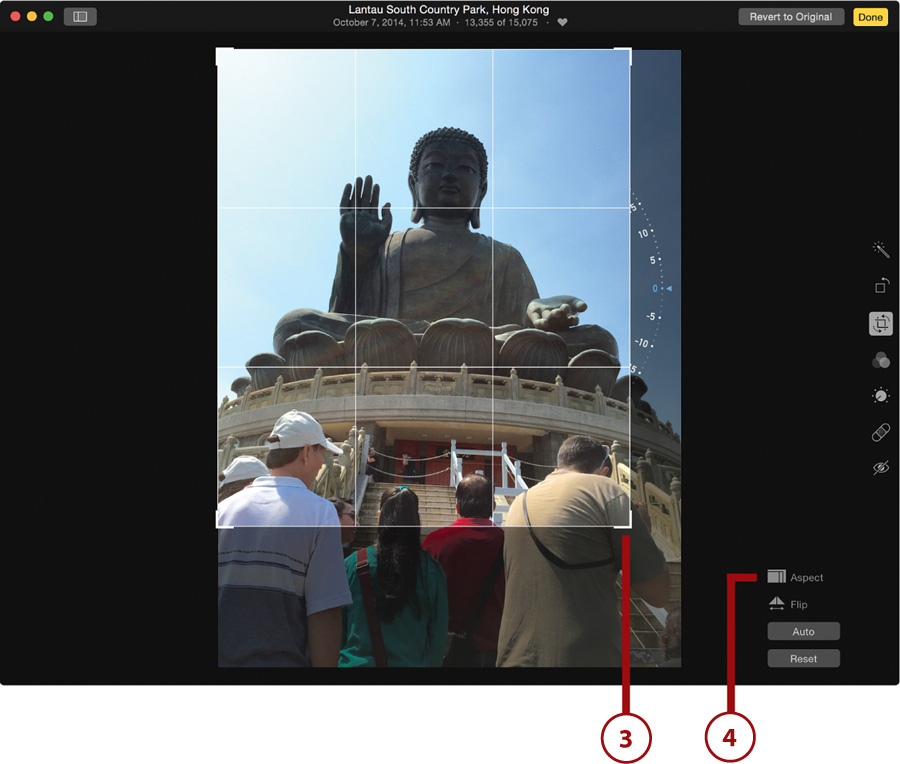
3. Drag the border of the crop box in any direction you want. As you drag, white grid lines appear. These grid lines can help you make aesthetically pleasing crops for your photo (see the “Rule of Thirds” Go Further sidebar for more info).
4. (Optional) Constrain your crop to a specific aspect ratio by clicking the Aspect button.
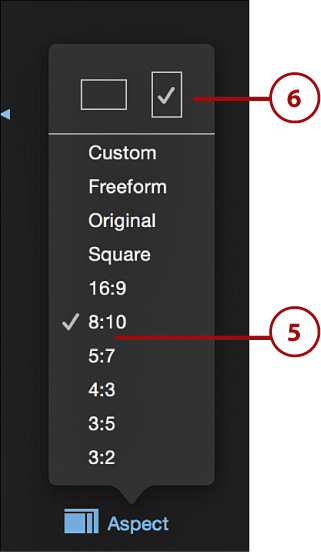
5. Select a ratio from the Aspect pop-up menu. The options include custom, freeform (the selection you were using when manually dragging the crop box around the photo in Step 3), the ratio of the original photograph, a square, or multiple preconfigured ratios from 3:2 to 16:9. Selecting any of these ratios besides Freeform locks your crop box to the specific ratio.
6. For all crops but Freeform and Square, you can also choose to apply the crop ratio as a landscape or portrait crop.
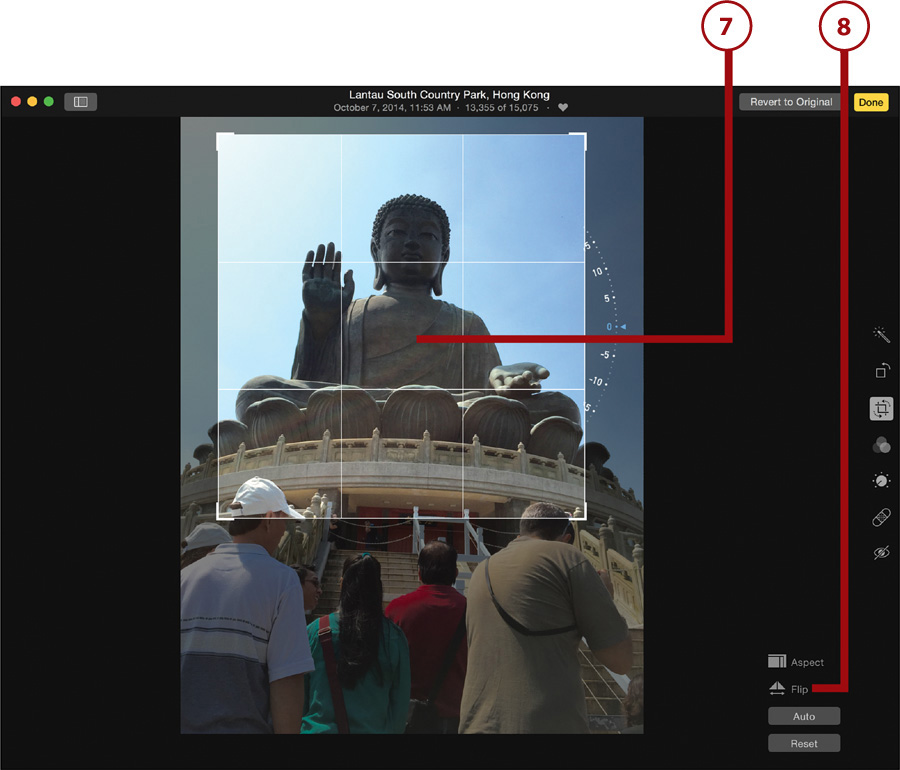
7. (Optional) Click in the crop box and drag it to move it around and adjust it to the right spot without changing the crop’s dimensions.
8. Click the Flip button horizonally to flip your image.
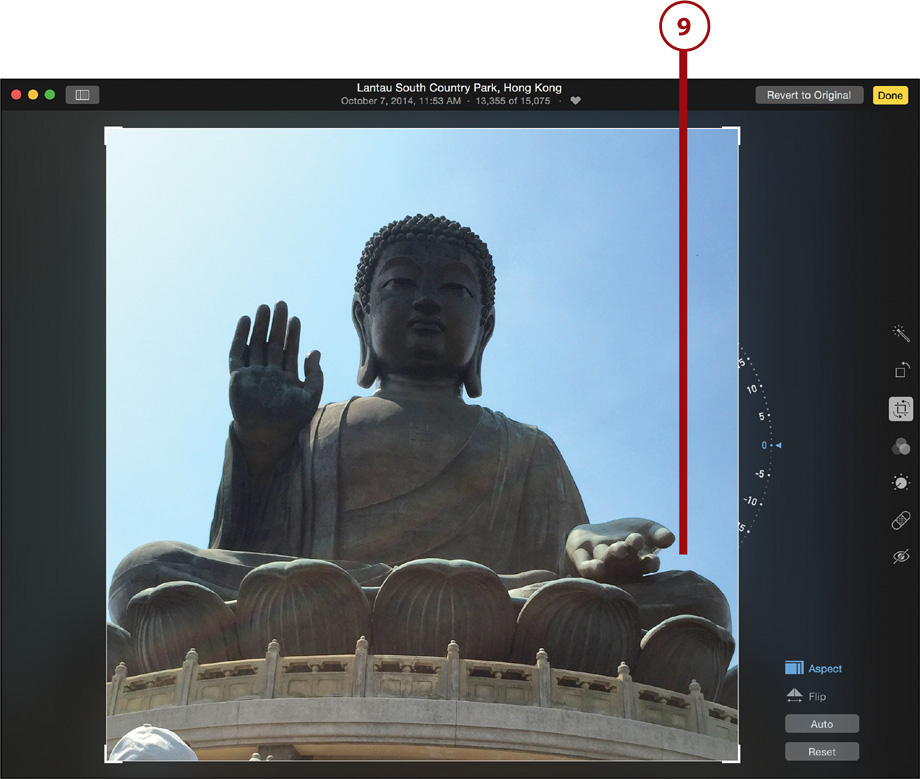
9. The part of the image outside the crop box fades away, which cements the crop in place.
10. Alternatively, click the Auto button to have Photos automatically crop and straigthen your picture for you. It does this by applying algorithms to decide what level and rotation your picture should be based on elements in the photo.
11. Click the Reset button to undo all the crops you made.

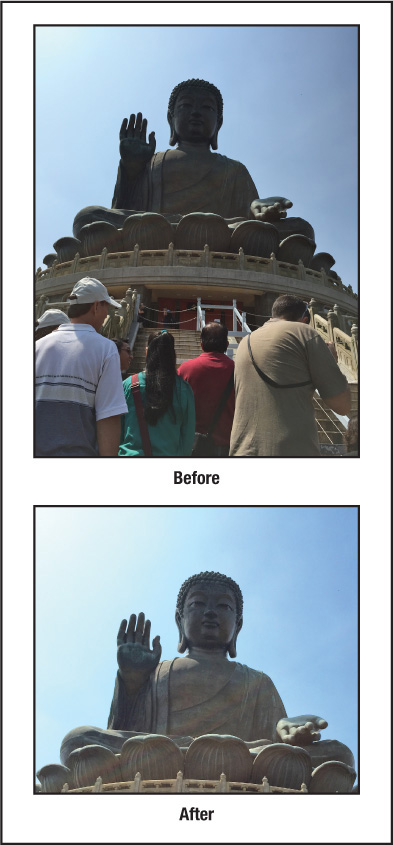
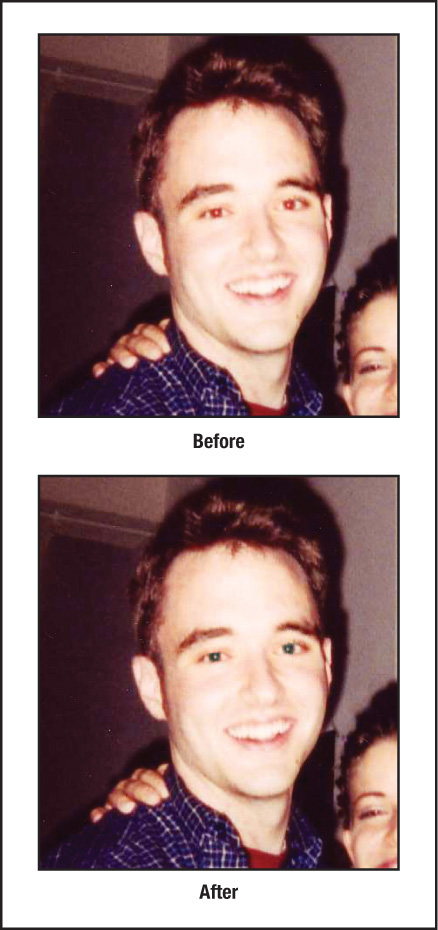
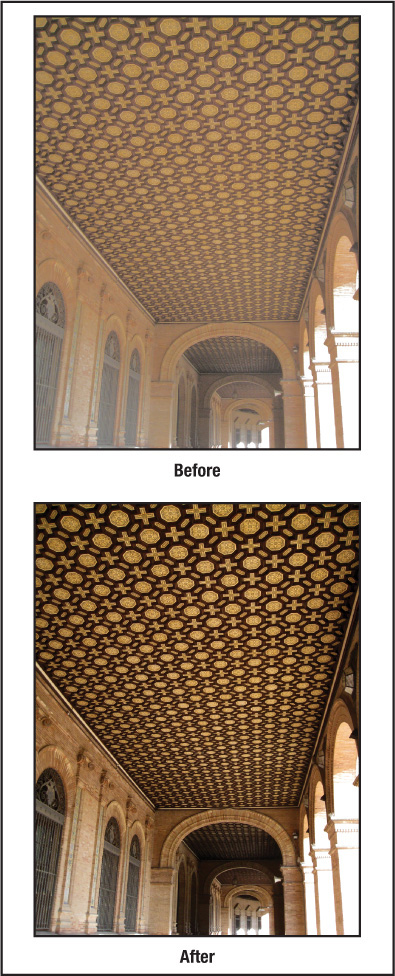
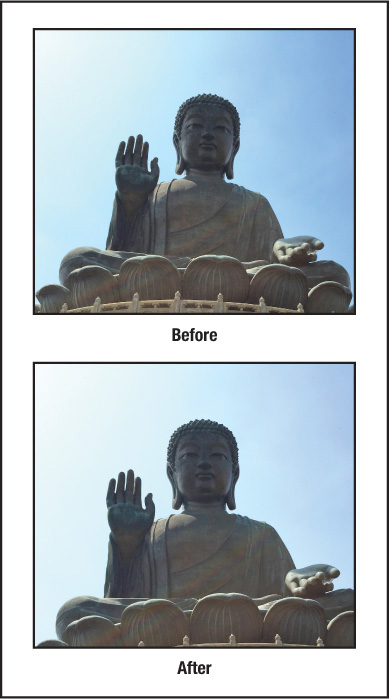
The Benefit of Cropping
As you can see in the before and after shots, cropping helps tighten a photograph and draw the eye to what’s important in the picture. However, although the photo is cropped to focus only on the statue, the statue itself is still a bit crooked. The next task explains how to straighten photos.
Straighten Crooked Photos
Photos lets you easily straighten or level photographs by rotating them up to 45° in either direction. It’s a great feature; just don’t use it on any photos of the Leaning Tower of Pisa.
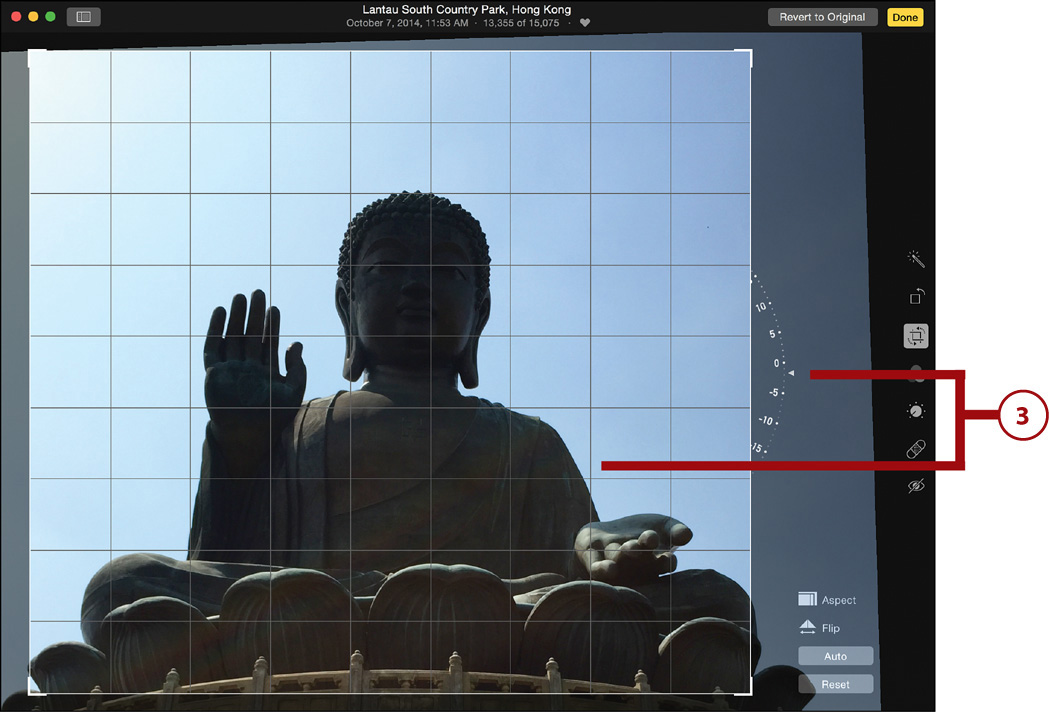
1. Click the Crop button.
2. The picture you are editing sinks back a little in the edit window and a white crop border appears along the borders of your photograph. The round straighten dialer with degrees marked on it displays on the right of the picture.
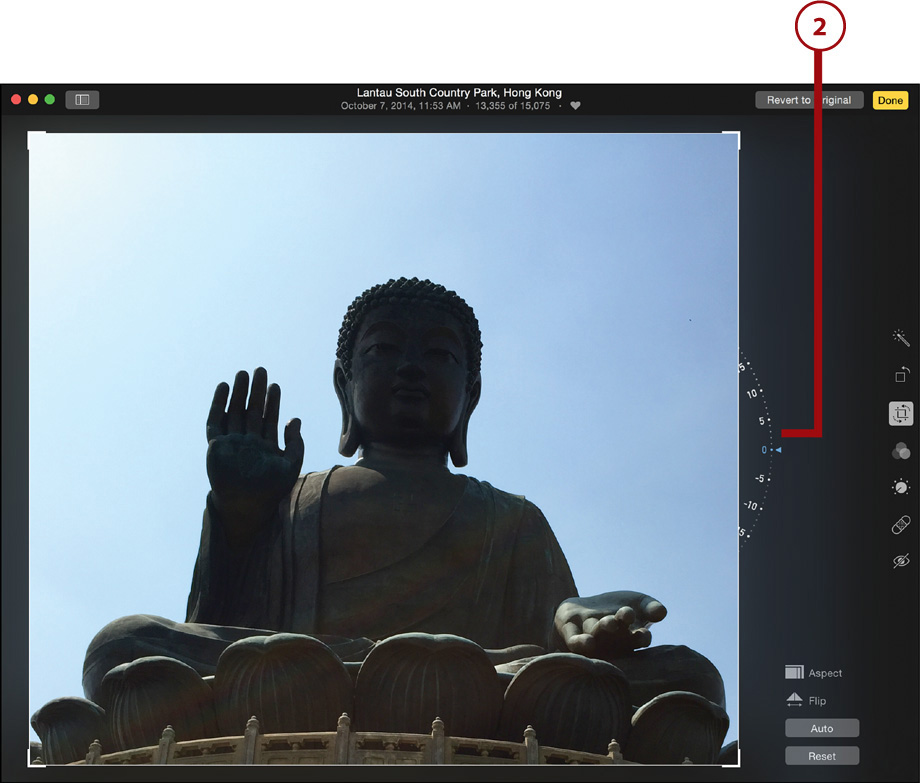
3. Drag the straighten dialer clockwise or counterclockwise and use the grid as a guide to straighten the picture. You can adjust a photo up to 45° in either direction.
The Key to a Straight Photo
The trick for straightening a photo is getting a natural horizon line in the photograph to be parallel to the grid lines.
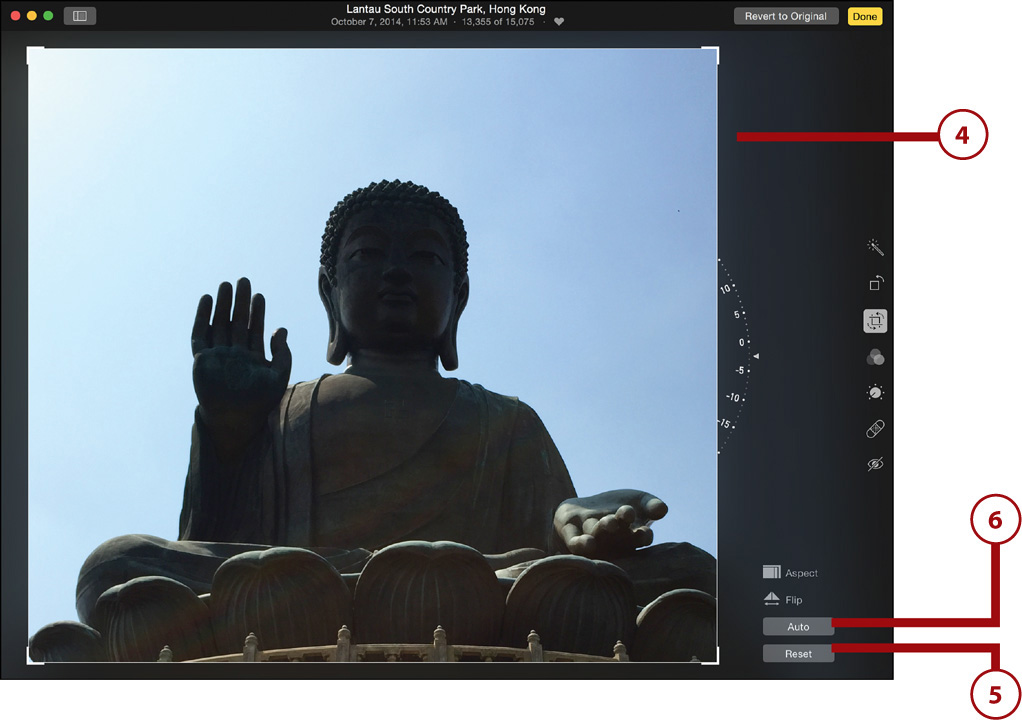
4. A few seconds after you’ve straightened the photo, the rest of the rotated image outside the photo’s aspect ratio box fades away, which cements the changes in place.
5. Click the Reset button to undo all the straightening you made to the photo.
6. Alternatively, click the Auto button to have Photos automatically crop and straigthen your picture for you. It does this by applying algorithms to decide what level and rotation your picture should be based on elments in it.
Apply Filters
Made popular because of apps such as Instagram, filters are all the rage in photography. Filters are basic special effects and overlays that give your images a different look. Apple has included a selection of one-click filters in Photos.
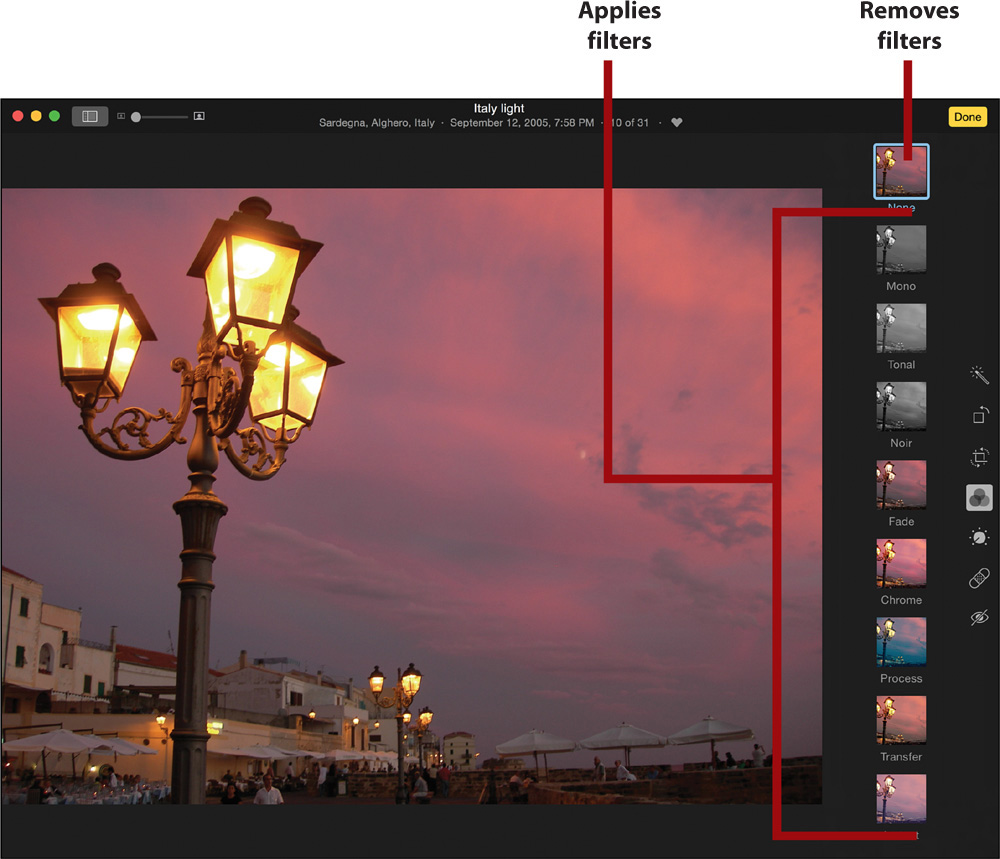
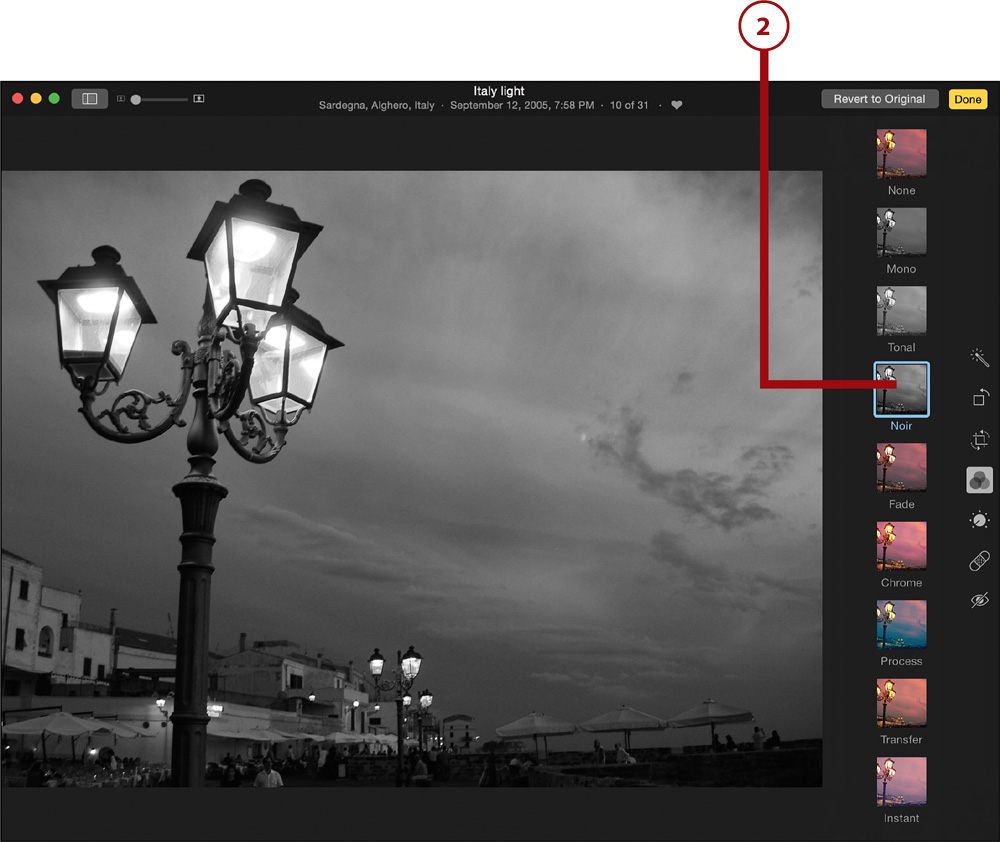
1. Click the Filters button. Nine squares display on the right of the window.

Filter Options
The filters included with Photos are Mono, Tonal, Noir, Fade, Chrome, Process, Transfer, and Instant. The ninth filter, labeled None at the top of the list, isn’t actually a filter at all. Clicking it simply removes any filter you’ve applied to the photograph.
2. Click a filter option, and your photo updates right away. Click a different filter to see what it looks like. Filters can’t be combined. If you click one filter and then another, only the last filter clicked is applied to the photo; it replaces any filter that was previously applied.
Retouch a Photo
We all wish we had a magic wand that could quickly remove our real-life blemishes, but until science comes up with such a device, at least take solace in knowing that Photos has a magic wand of sorts that easily lets you remove blemishes from your photos. This magic wand is called the Retouch tool.
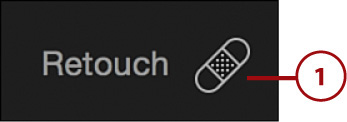
1. Click the Retouch button.
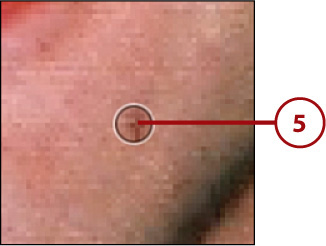
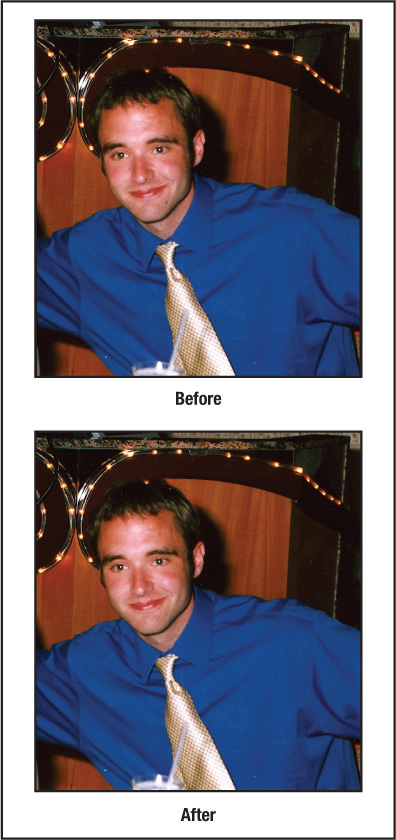
2. Zoom in on the photograph to the location with the blemish you want to remove. In this example, I’m retouching the photo to remove the mole on the man’s chin.
3. The retouch tool appears on the photo.
4. Adjust the slider to the brush size you want to use for the retouch tool. Alternatively, you can change the brush size by pressing the left bracket and right bracket ([ and ]) on your keyboard. The size of the tool should be adjusted to best match the size of the blemish you want to retouch.
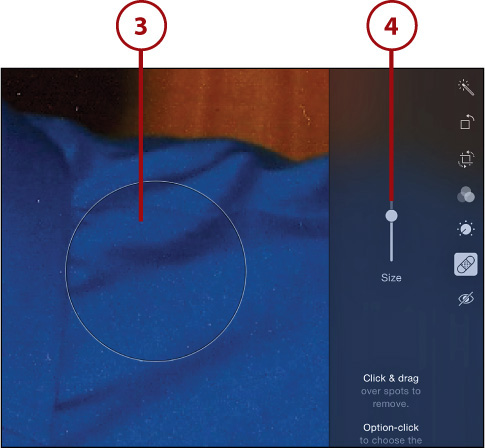
5. Move the brush over the mark or blemish you want to remove, and then click the mark with your mouse button. Alternatively, you can drag the cursor across the blemish while holding down the mouse button. If the mark or blemish is small, click it a few times. If that doesn’t remove it, drag the brush in short strokes to blend it with its surrounding colors.
6. Click the Reset button if you want to undo any of the retouches you have made to the photo.
Reduce Red-eye
Red-eye—the red halo in people’s eyes that is caused by the biology of the human iris and the camera’s flash—is the scourge of photographers everywhere. Most cameras on the market today offer built-in red-eye reduction, but if you still have pictures in which someone looks like he or she is about to unleash some heat vision, Photos makes it easy to remove the red-eye.
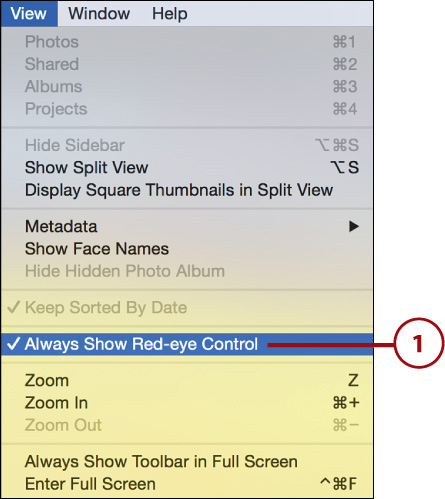
1. Select View, Always Show Red-eye to make the Red-eye option visible. You have to do this only the first time you use the tool.
2. Click the Red-eye button.
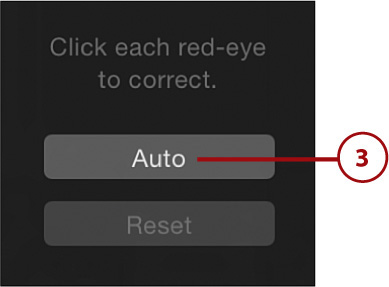
3. Click the Auto button to let Photos try to remove the red-eye effect automatically. If it works, you’re done. If not, proceed with the other steps to perform manual red-eye removal.
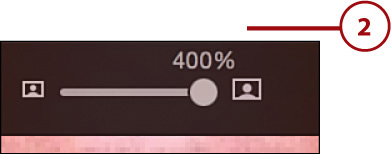
4. Zoom in to the face of the person with red-eye.
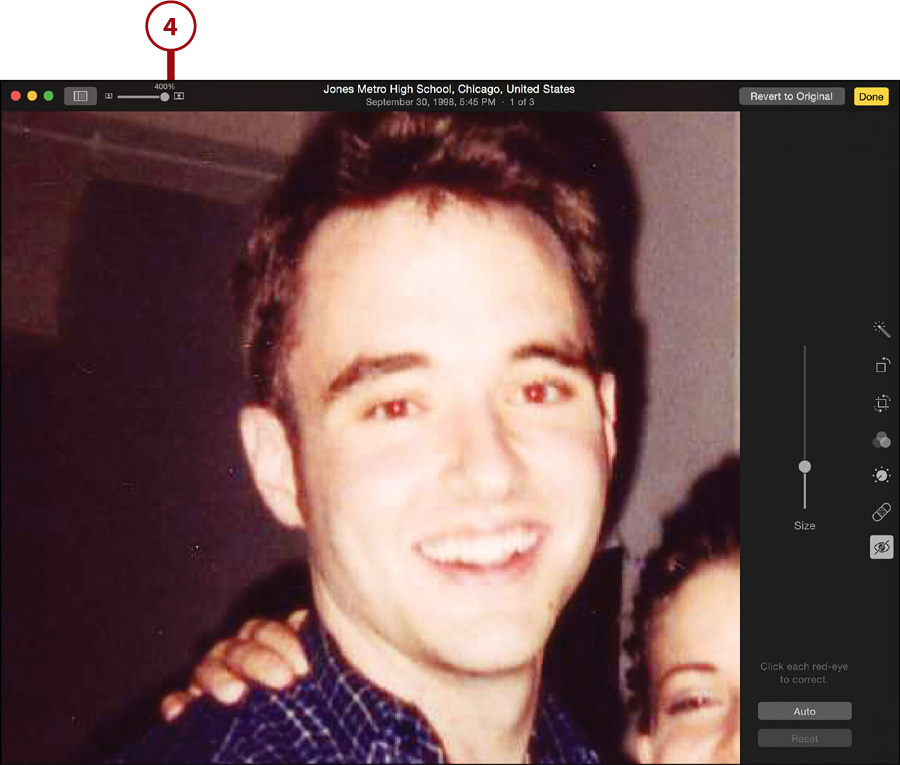
5. Drag the slider in the red eye tool until the diameter of the tool matches the diameter of the person’s eyes. Alternatively, you can also change the tool’s diameter size by pressing the left bracket and right bracket ([ and ]) on your keyboard.

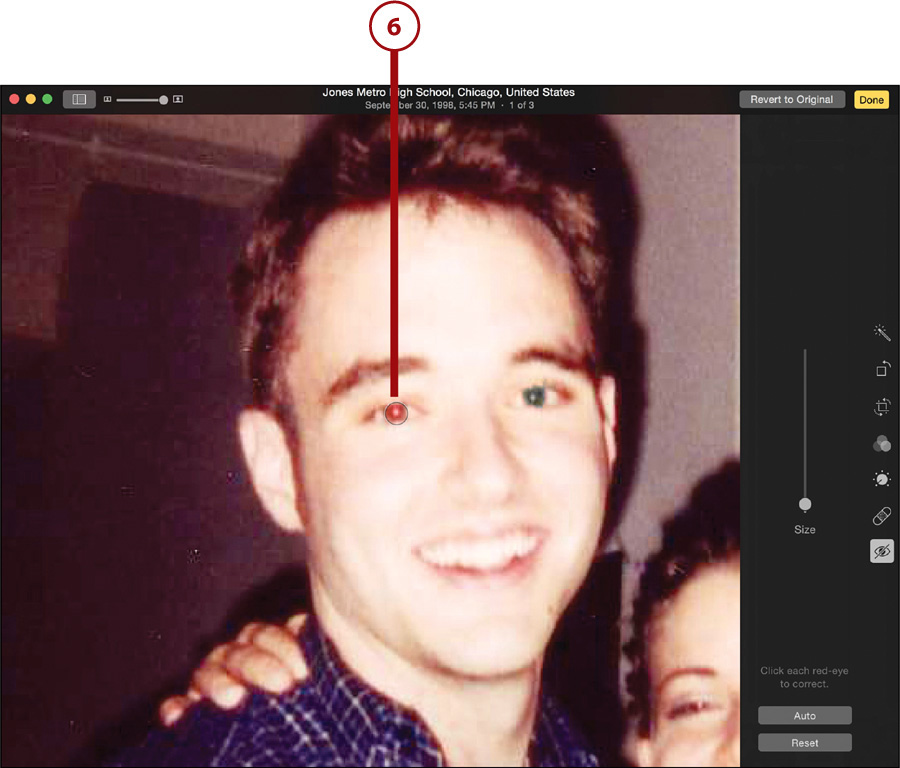
6. Move the red-eye selector over each eye and click. The red eye is removed.
7. Click the Reset button if you want to undo any of the Red-eye removals you have made to the photo.