3. Setting Up the Galaxy Tab 4
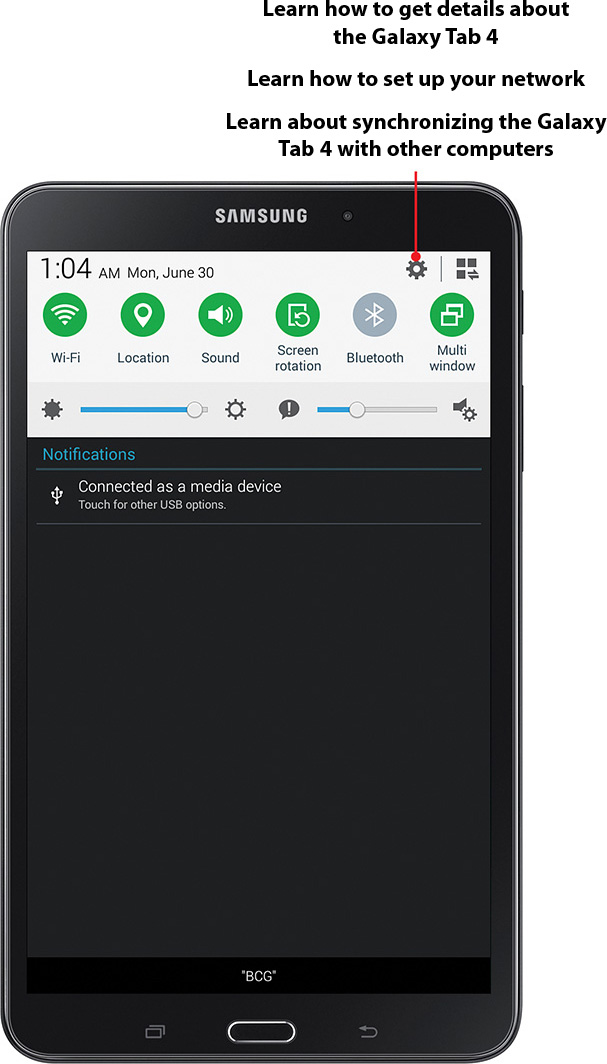
In this chapter, you discover more about your Galaxy Tab 4 and how to connect it with other computers and networks, including:
![]() Getting details about the Galaxy Tab 4
Getting details about the Galaxy Tab 4
You can easily find information about the Galaxy Tab 4 so you can make changes as needed. When you finish making general changes to the Galaxy Tab 4, it’s time to set up the network so your Galaxy Tab 4 can connect with the Internet. Finally, you find out how to synchronize your Galaxy Tab 4 with other devices, such as your desktop or laptop PC.
Getting Details About the Galaxy Tab 4
If you want to get information about the features in your Galaxy Tab 4 from one place, you can use the About Device section within the Settings app.
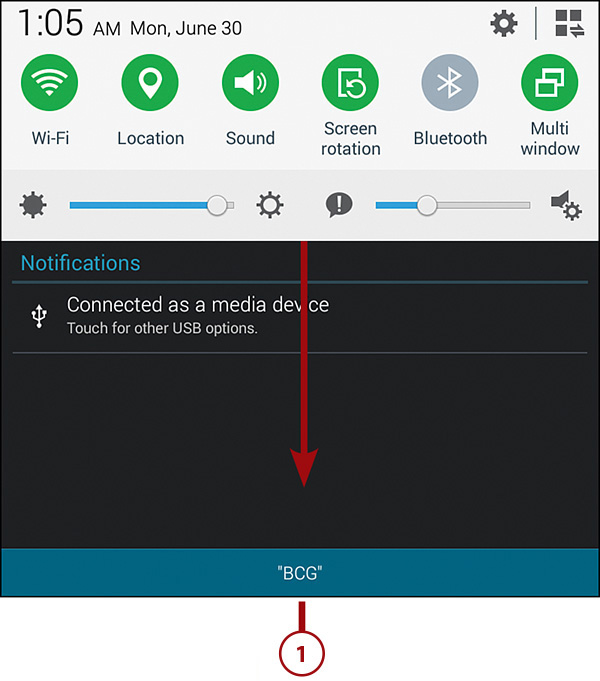
1. Open the Quick Settings and Notifications screen by tapping and holding your finger on the top edge of the screen and swiping your finger down.
2. Tap the Settings icon.

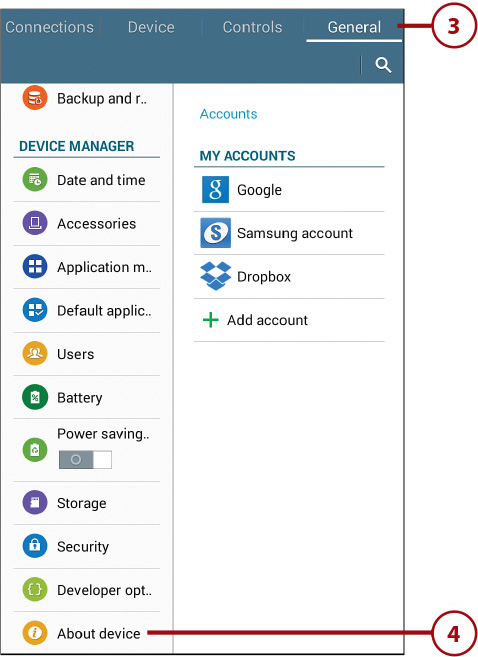
3. Tap General in the menu bar at the top of the screen.
4. Scroll down the Settings list and then tap About Device.
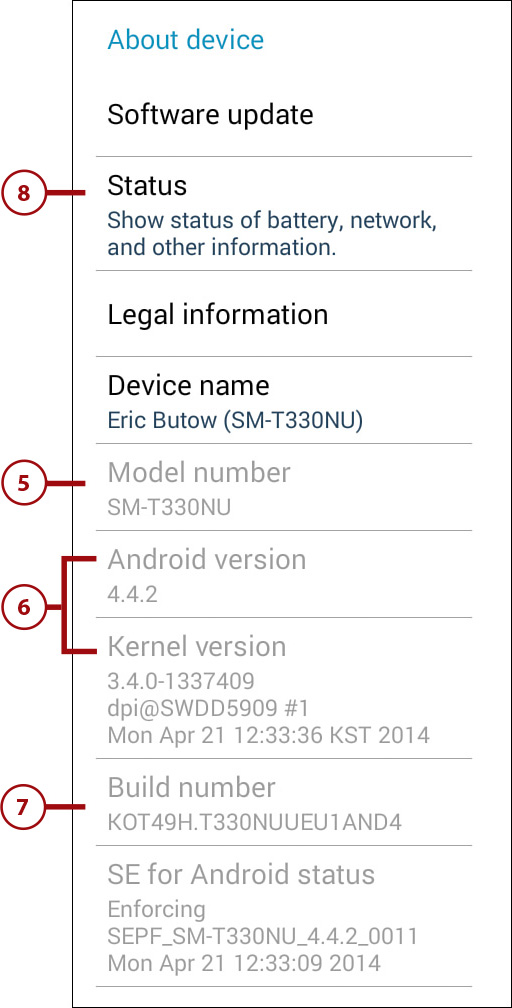
5. See the model number for your Galaxy Tab 4.
6. See the Android and Kernel versions.
7. Scroll down (if necessary) to see the build number for your Galaxy Tab 4.
8. Scroll back up (if necessary) and tap Status.
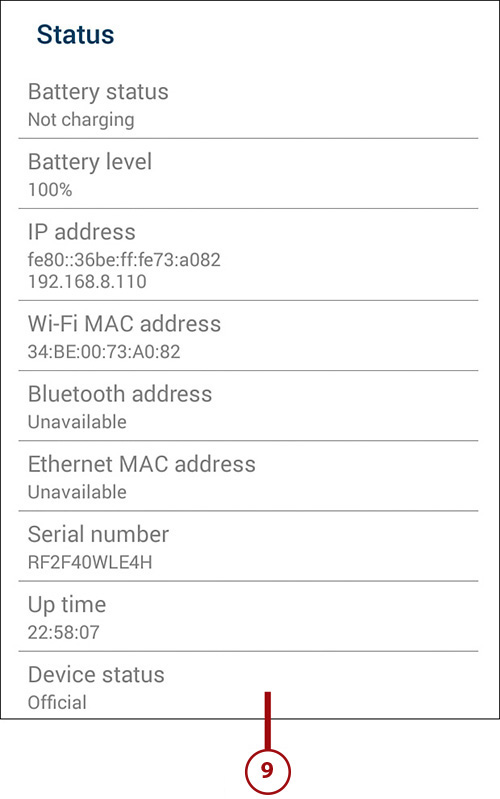
9. View the status of your Galaxy Tab 4, including battery status and battery charge level, IP address, your Wi-Fi MAC address, Bluetooth address, and the current up time (that is, how long your Galaxy Tab 4 has been on continuously).
10. Tap the Back touch button.

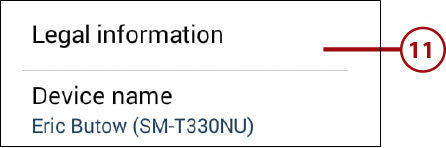
11. Tap Legal Information to view a menu that shows Galaxy Tab 4 legal information, privacy information, and license settings.
Setting Up Your Network
Now that you’re familiar with the details about your Galaxy Tab 4 and accessing the Settings app, you need to use the Settings app to do one very important setup task: connect your Galaxy Tab 4 to the Internet. Depending on the phone carrier you use, you can connect with the Internet through a Wi-Fi connection. You also can connect to other devices and networks using a Bluetooth connection or through a Virtual Private Network (VPN).
Set Up Wi-Fi
1. On the Home screen, tap the Apps icon.

2. On the Apps screen, tap Settings.

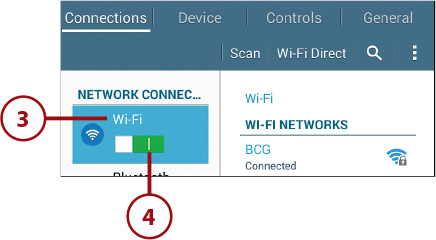
3. Tap Wi-Fi if Wi-Fi is not selected already.
4. If Wi-Fi is turned off, you see a slider button within the Wi-Fi entry in the settings list. Turn Wi-Fi on by sliding the button to the right.
5. Tap Add Wi-Fi Network in the list of Wi-Fi devices on the right side of the screen. You might need to scroll down the list of Wi-Fi devices to view the Add Wi-Fi Network entry in the list.

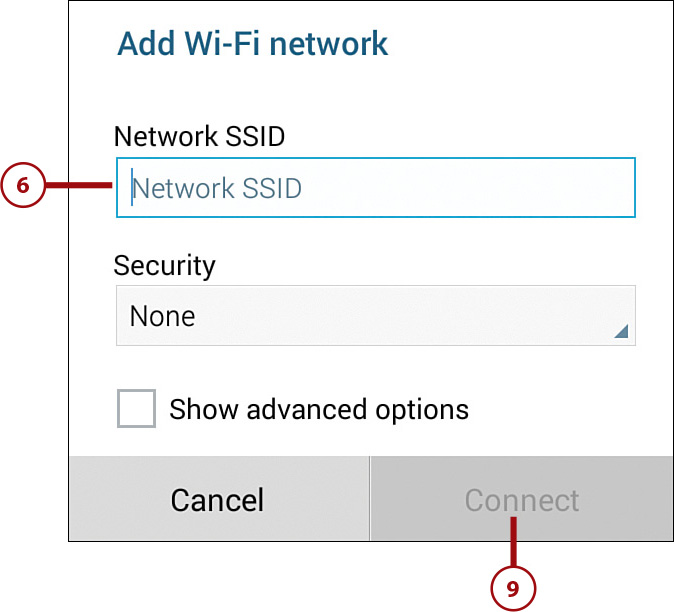
6. Type the network SSID.
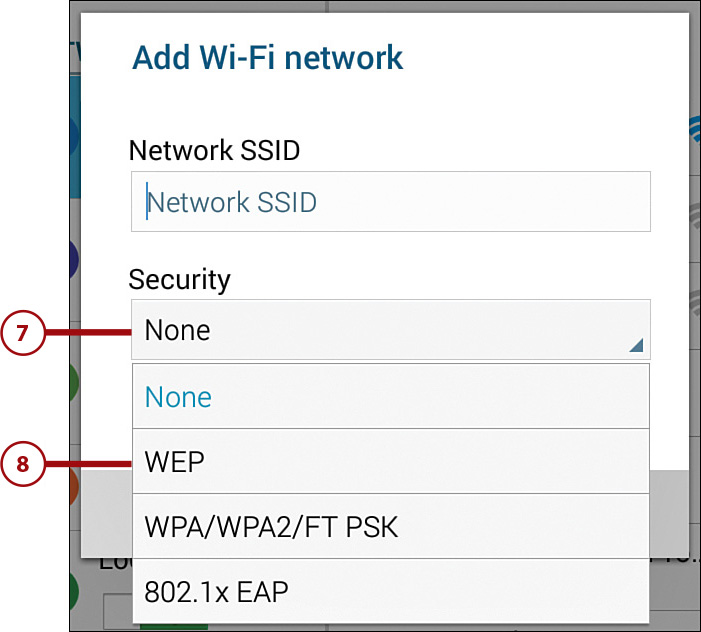
7. Tap the Security field to set the security level.
8. Select the security level; the default is None.
9. Tap Connect.

2. In the Apps screen, tap Settings.
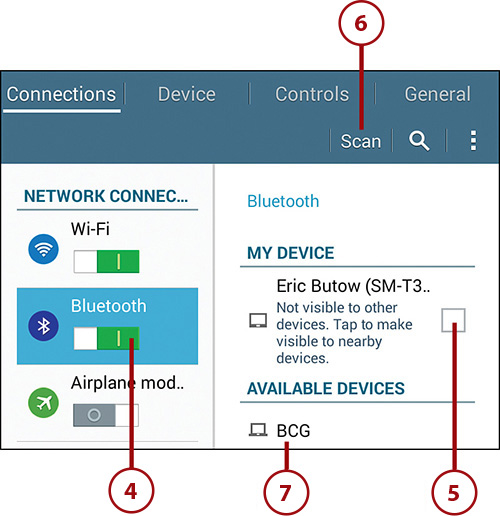
3. Tap Bluetooth.
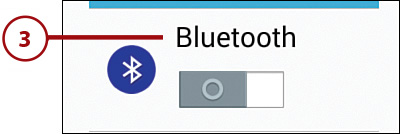
4. Turn on Bluetooth by sliding the Bluetooth slider button to the right.
5. Tap the check box to the right of the device name if you want your Galaxy Tab 4 to be discovered by other computers and/or devices that you can connect to using a Bluetooth connection. The Galaxy Tab 4 scans for available devices.
6. If the Galaxy Tab 4 doesn’t find one, turn on the Bluetooth device to which you want to connect and then tap Scan in the Settings toolbar.
7. Tap a found device to connect with that device. You can rescan for devices by tapping Scan.
Set Up a VPN
A VPN enables users in a public network (such as the Internet) to transfer private data by making it appear to the users that they’re in a private network of their own. For example, you can set up a VPN between yourself and your boss at the office so you can securely send private company data.
1. Tap the Apps icon on the Home screen.

2. In the Apps screen, tap Settings.
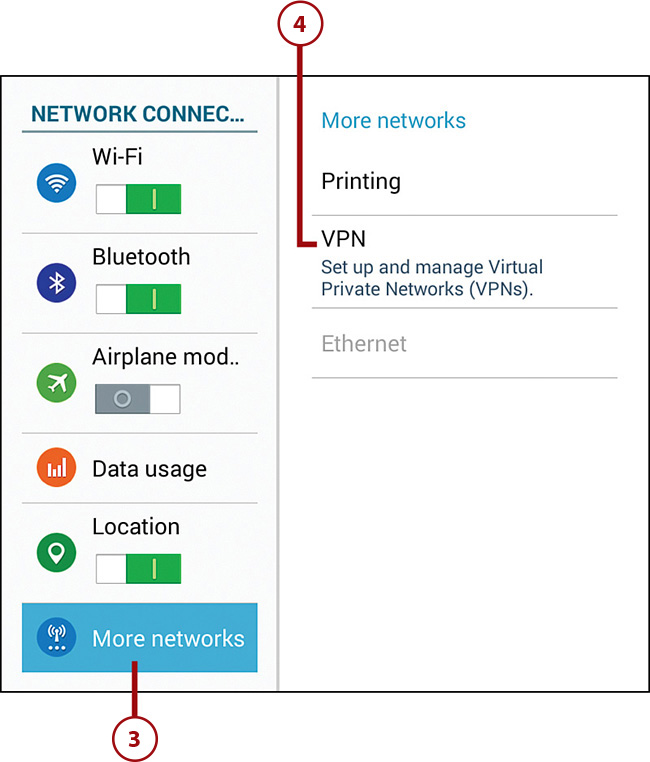
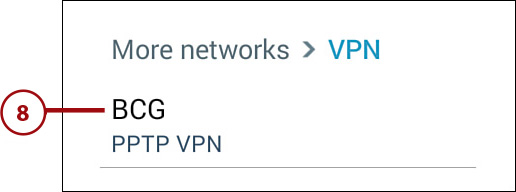
3. Tap More Networks.
4. Tap VPN. If your Tab 4 is not protected by a password or similar encryption method, you see a dialog box that tells you to set a screen unlock pattern, PIN, or password. Open the Screen Unlock Settings screen and add a password, pattern, or PIN by tapping OK. Refer to Chapter 4, “Customizing Android to Your Liking,” for more information about how to add a password, pattern, and PIN.
5. Tap Add in the Settings menu bar.

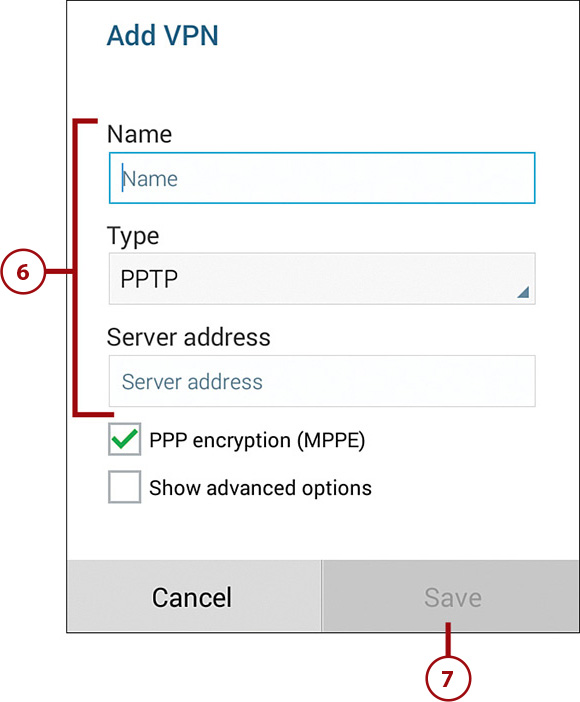
6. Enter the VPN information including the VPN name, type, and server address.
7. Tap Save.
8. Tap the VPN name in the list.
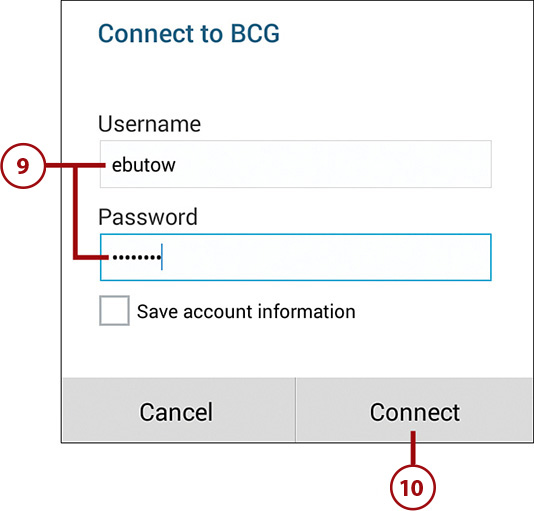
9. Type the VPN username in the Username field and the password in the Password field.
10. Tap Connect.
Syncing the Galaxy Tab 4
Synchronizing your Galaxy Tab 4 with your desktop or laptop computer has a number of advantages.
The Galaxy Tab 4 stores a backup of its contents on your desktop or laptop every time you sync both devices, so if you lose your data on the Galaxy Tab 4—or lose the Galaxy Tab 4 itself—you can restore the data from the backed-up copies on your computer. What’s more, if you have music, photos, or video on your computer, you can choose and copy a selection of those files onto your Galaxy Tab 4.
Because Windows is the leading operating system for desktop PCs by far, this chapter describes how to sync music with the Galaxy Tab 4 in Windows. Later chapters cover how to sync other types of data, such as contacts.
It’s easy to sync music files in Windows Media Player, the default music and multimedia player in Windows, to any model of the Galaxy Tab 4.
1. Connect the Galaxy Tab 4 to your computer with the USB cable that came with your Galaxy Tab 4 if you haven’t done so already. After a short while, your Windows PC informs you that it has installed the drivers to connect with your Galaxy Tab 4.
2. Launch Windows Media Player on your Windows PC.
3. Tap the Sync tab; the Galaxy Tab 4 sync area appears on the right side of the window.

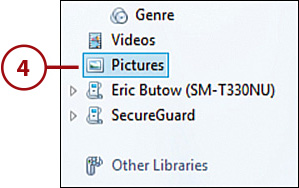
4. Click the folder in the tree that contains the files you want to sync with the Galaxy Tab 4.
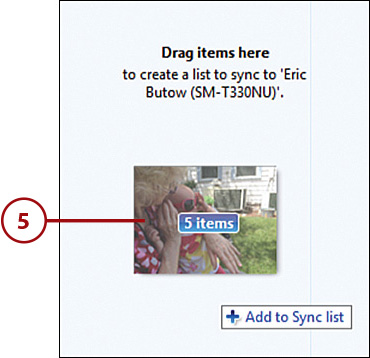
5. Select the file(s) you want to move and then click and drag the files to the sync area.
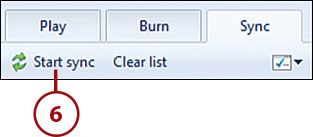
6. Click Start Sync.
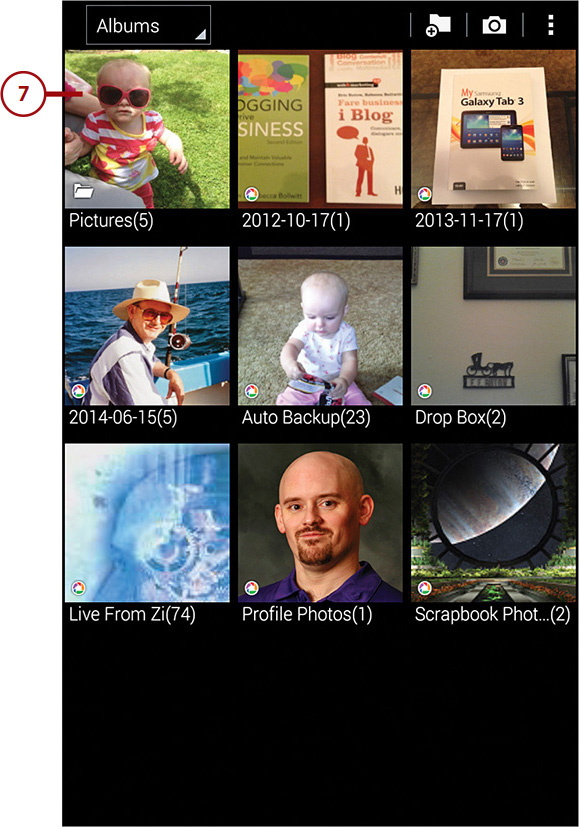
7. After Windows Media Player syncs with your Galaxy Tab 4, open the app associated with the type of file(s) you synced on the Galaxy Tab 4. For example, if you synced image files, open the Gallery app; the Pictures tile shows one of the images you synced. You find out how to use the Gallery app in Chapter 11, “Capturing and Managing Photos.”