15. Using Apps for Learning, Creating, and Sharing
The Galaxy Tab 4 has plenty of preinstalled apps that you can use to stay productive and get the latest information on the go. You can get updates sent to you by the Google Now service and connect with other users through instant messaging and social networking apps. What’s more, you can view and create document, spreadsheet, and presentation files. This chapter covers the following:
![]() Getting updates from Google Now
Getting updates from Google Now
![]() Creating documents and presentations with Hancom Office
Creating documents and presentations with Hancom Office
Staying Up to Date with Google Now
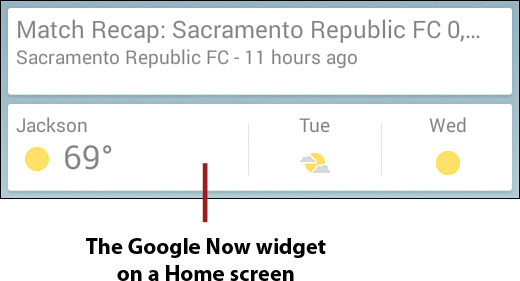
Google Now is a new feature that monitors your activity on your Galaxy Tab 4 and shows you features in various tiles, called cards, that Google Now thinks you’ll be interested in based on your past activity. For example, you might see cards with your local weather, upcoming appointments, and current traffic conditions where you live.
Start Google Now for the First Time
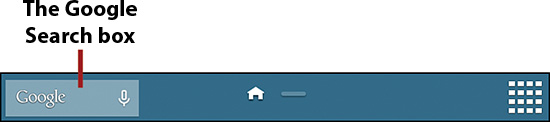
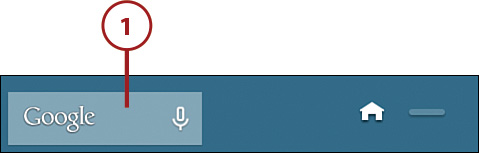
You start Google Now by pressing and holding on the Home button for two seconds or by tapping the Google Search box in the lower-left corner of any Home screen.
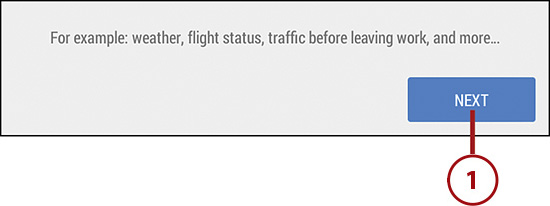
After you release your finger, the Google Now setup screen appears so you can set up and get more information about the app.
1. Tap Next.
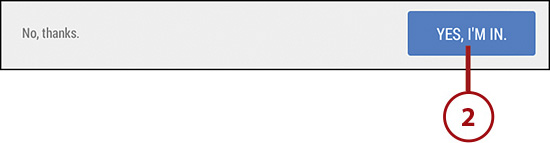
2. Tap Yes, I’m In to continue the setup process as described in the rest of this task. The opening Google Now screen displays.
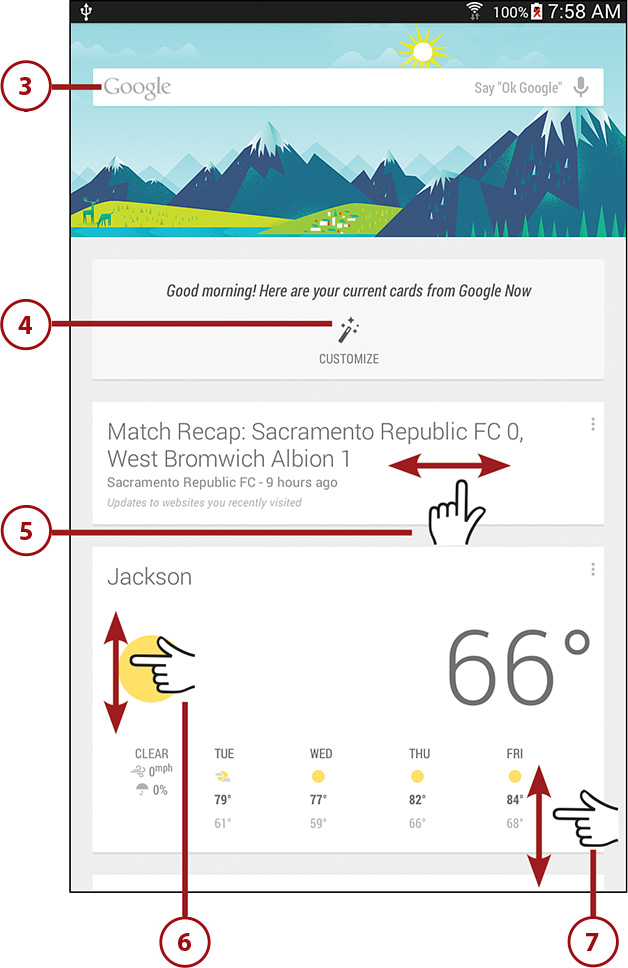
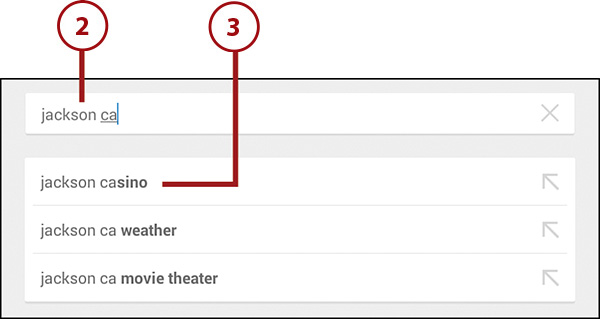
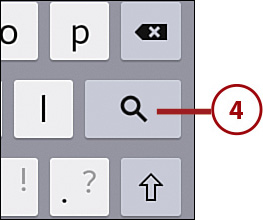
3. Search Google by tapping the Search field, typing your search term(s), and then tapping the Search button in the keyboard.
4. Tap Customize to change card settings.
5. Delete cards by tapping and holding on a card and then swiping to the left or right.
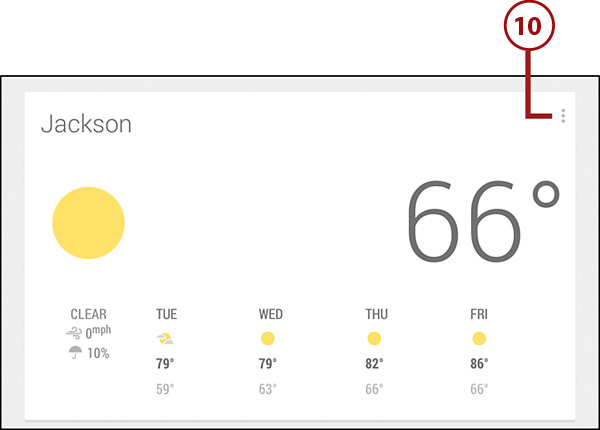
6. View the current weather information for your city or area by swiping down the screen.
7. Swipe down the screen to see more options.
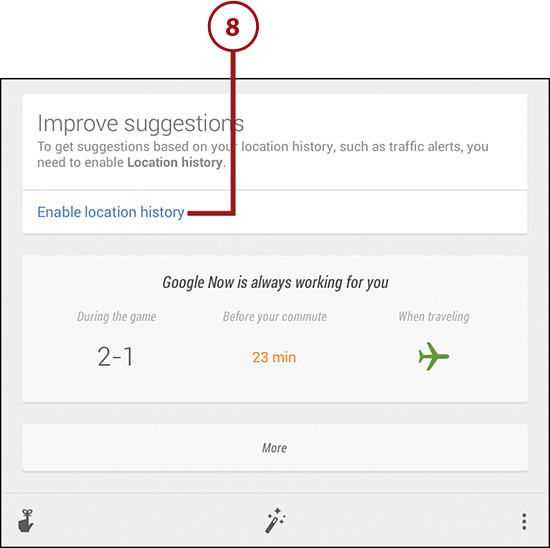
8. Enable location history by tapping Enable Location History.
9. Press the Home button to return to the Home screen.
Use Google Now
After you finish setting up Google Now, you can access it by tapping the Google Search box in any Home screen. The Google Now screen looks a little different than when you set up the app for the first time.
1. Tap the Google Search box.
2. Type any search term(s) in the Search field. As you type, the first three search results display below the Search field.
3. Tap an item in the result list to open a search result. If you search for a name and/or location, any search results in your Contacts database appears in the list of contacts. View more contact information by tapping the name of the contact. You can also search for more contacts by tapping Search Tablet.
4. View more search results by tapping the Search button in the keyboard.
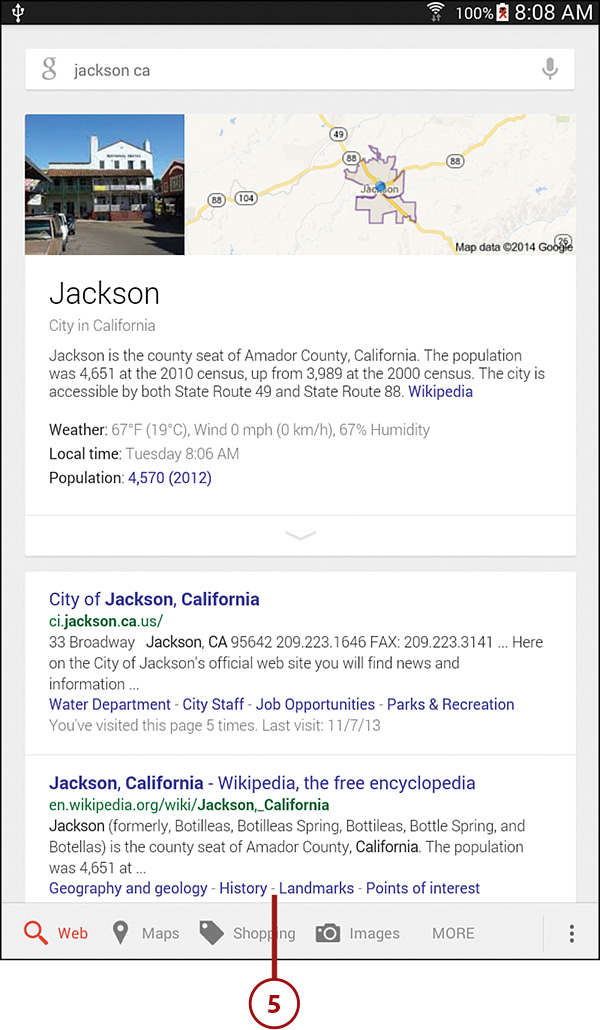
5. The Search results page appears on the screen. Swipe up and down the screen to view the entire list of results on the page.
6. Tap the Back touch button to return to the Google Now screen.
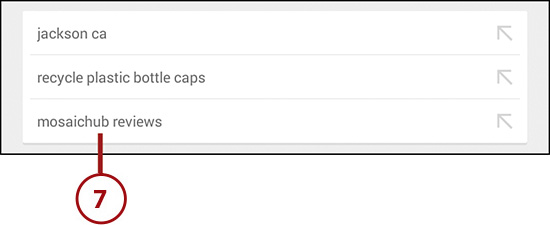
7. Even if you don’t search for anything, Google Now remembers your last three searches on the Google search engine and displays them underneath the Search field.
8. Hide the keyboard by tapping the Back touch button.
9. Swipe up and down the page to view all the other cards on the screen.
10. Tap the Menu icon within each card’s section to change the Google Now settings. The type of card for which you want to change settings determines the available options in the Setting screen. This example uses the Weather card.
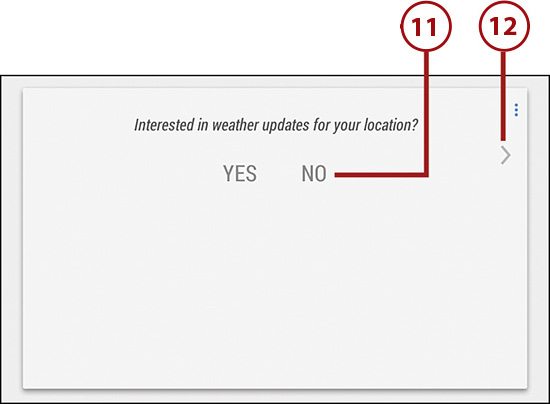
11. By default, the Weather card is visible within the Google Now screen. You can hide the Weather card and tell Google Now you’re not interested in weather updates for your location by tapping No.
12. Keep the Weather card visible and change more settings by tapping Yes or tapping the right arrow icon.
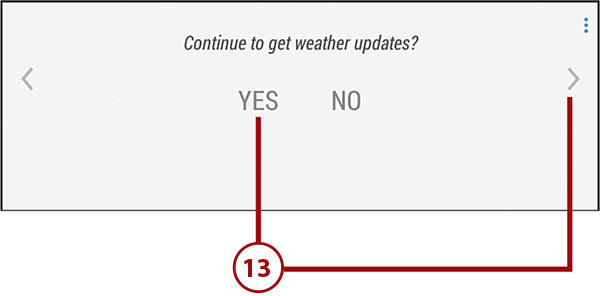
13. Turn off weather updates in the Weather card by tapping No. Otherwise, tap Yes or the right arrow icon.
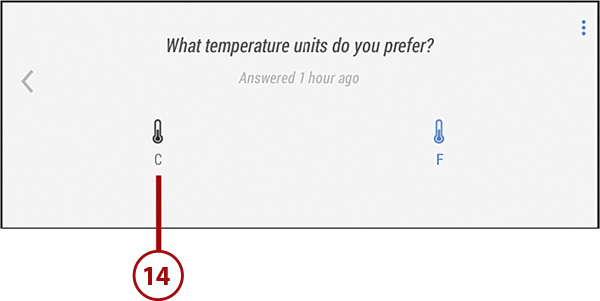
14. Change the temperature unit to Celsius by tapping the C icon. The default unit is Fahrenheit as shown by the blue F icon.
15. Return to the Google Now screen by tapping the Back touch button.
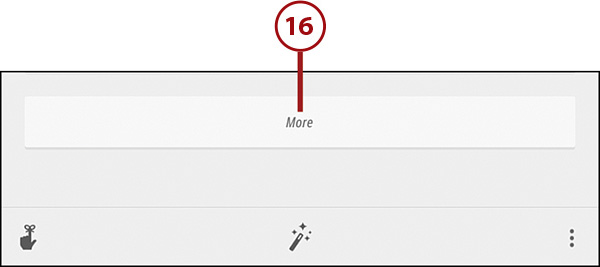
16. View other cards by swiping up and down in the screen. View more cards by tapping the More button. If no other cards are available, the button says, “Not available” and then the button disappears.
Using ChatON
Samsung’s ChatON service is an instant messaging app for the web and mobile platforms that’s preinstalled on your Galaxy Tab 4. Instant messaging, better known by its acronym IM, is a category of apps that enable you to chat with one or more people in real time by typing text messages and/or using your webcam to talk with each other. Some IM apps are available on the Web only, such as Google+ Hangouts. Others are proprietary apps such as Microsoft’s Skype and Samsung’s ChatON.
1. Tap the Apps icon on the Home screen.

2. Swipe to the second page in the Apps screen and then tap ChatON.
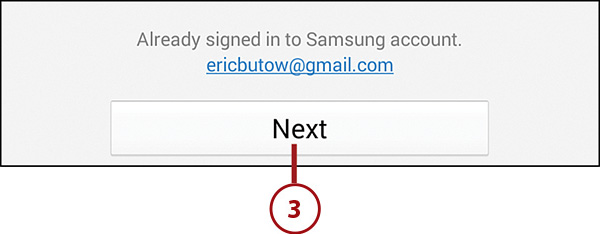
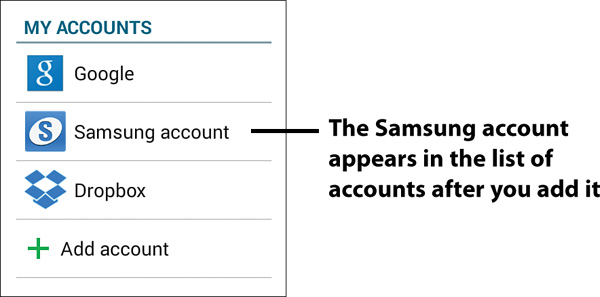
It’s Not All Good: What If I Don’t Have a Samsung Account or I’m Not Logged Into My Samsung Account?
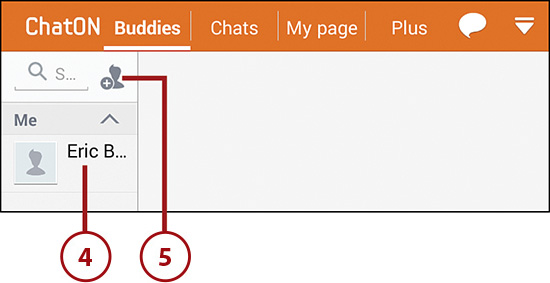
4. The ChatON window opens with the Buddies tab open. (On the Tab 4 7.0, the tab name is Contacts instead of Buddies.) If you don’t have any buddies then the buddies list shows only your name.
5. Tap the Add Contact button to add a buddy.
6. Tap Search by ID in the Add Buddy window.

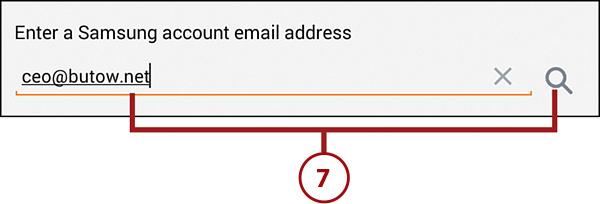
7. Tap in the Email field, type the Samsung account email address of the person you want to add as your buddy, and then tap the Search icon.
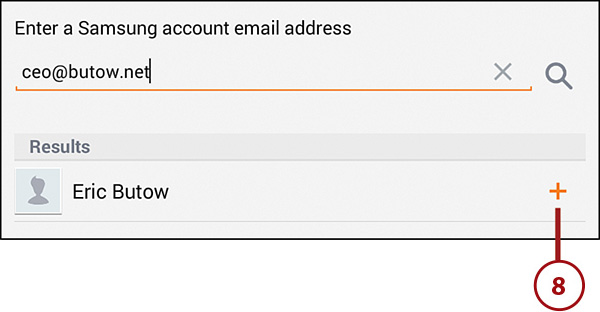
8. Tap the Add button to add a buddy from the Results list. After a second or two, a pop-up box appears at the bottom of the screen that informs you the app has added the contact. After a few seconds, that pop-up box disappears.
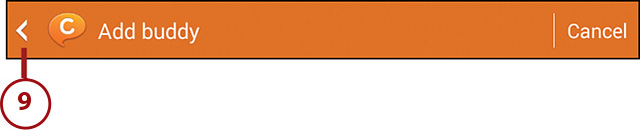
9. Tap the arrow at the left side of the menu bar to go back to the main ChatON screen.
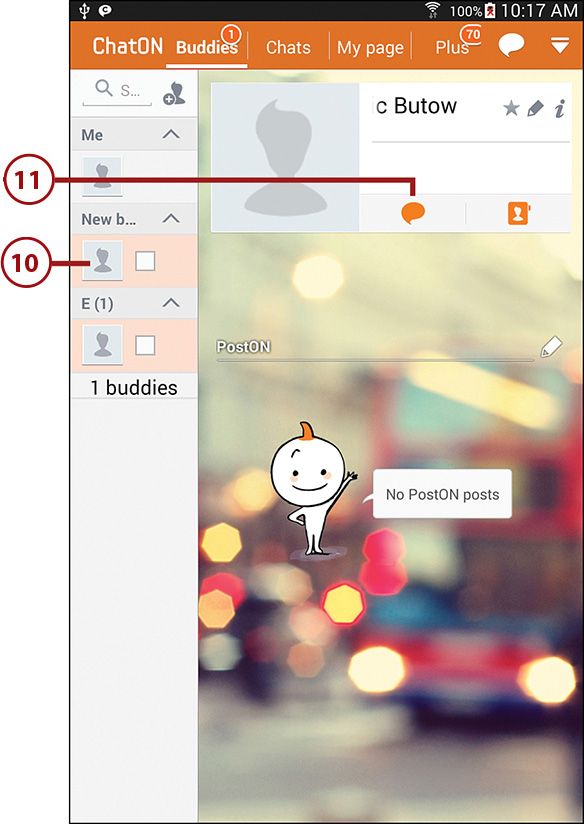
10. Tap the name of your new buddy in the New Buddies list.
11. Tap the Chat button in the contact information that displays on the right side of the screen.
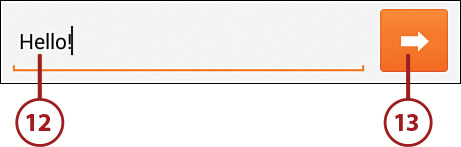
12. Tap in the Enter Message field and type your message.
13. Tap the Send button.
14. Your message appears in the Chat area. Any responses appear below your initial message.
15. Type a response in the Enter Message field.
16. The app saves your chats and displays them in the Chats list. You can view past chats at a later time by tapping Chats in the menu bar and then tapping the chat you want to view in the list. The entire chat appears in the Chat area.

Connecting to Google+
The Google+ social networking website is the fifth most popular such website in the world with an estimated 120 million monthly visitors as of August 2014 (www.ebizmba.com/articles/social-networking-websites). It might come as no surprise that Google is pushing its social networking service by preinstalling its Google+ apps on the Android operating system, and the same is true for KitKat on the Galaxy Tab 4.
Set Up Google+
1. Tap the Apps icon on the Home screen.

2. Tap Google+.
3. When you start the Google+ app, it logs you in automatically using your Google account name and password. If you have more than one Google+ account, the Choose Account screen appears so you can tap the button to the right of the account name with which you want to log in, and then tap Next.
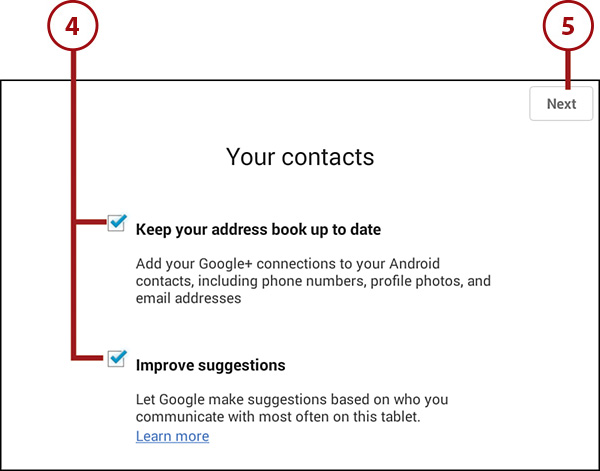
4. The Your Contacts screen asks if you want to keep your address book up to date by adding your Google+ connections to your Android contacts. This screen also asks if you want Google to make suggestions about adding new Google+ connections based on who you communicate with most often on your Galaxy Tab 4. The check boxes for these two options are checked by default, which means Google+ enables both of these options. You can disable one or both options by tapping the check box to the left of the option name.
5. Tap Next.
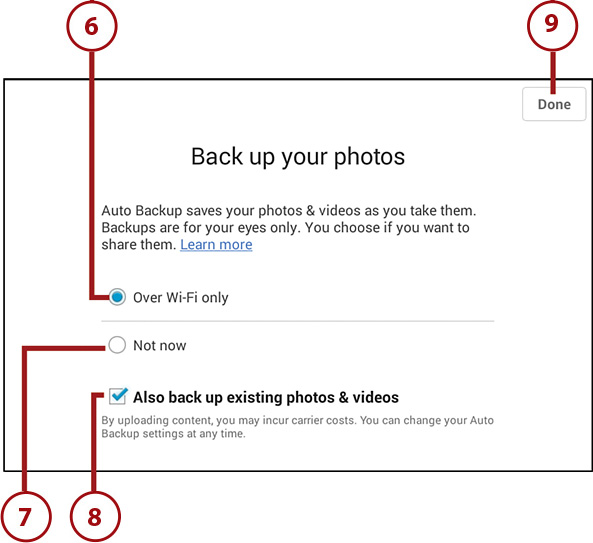
6. The Back Up Your Photos screen appears so you can back up the photos on your Galaxy Tab 4 to a private account on Google+. You can’t share this private account with anyone else, and no other Google+ user can see these photos except you. The Over Wi-Fi Only option is checked and highlighted by default.
7. Tap Not Now if you don’t want to back up the photos on your Galaxy Tab 4 to your Google+ account.
8. By default, you will also back up any existing photos and videos stored on your Galaxy Tab 4. If you don’t want to do this, tap the check box to clear it.
9. Tap Done.
Use Google+
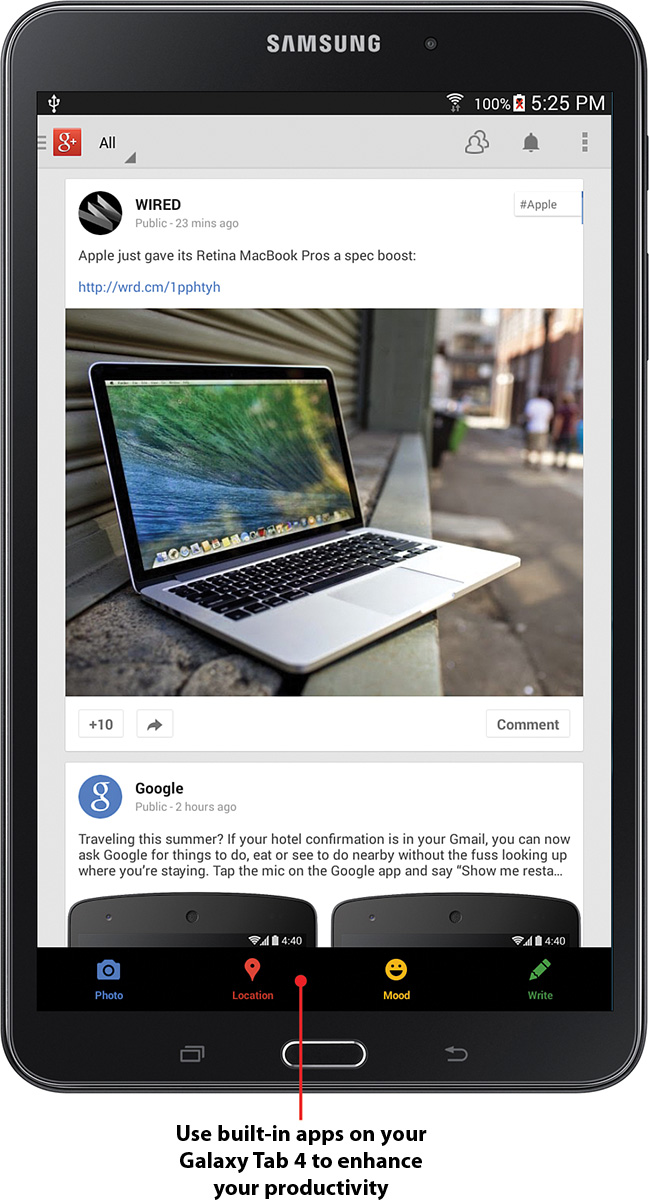
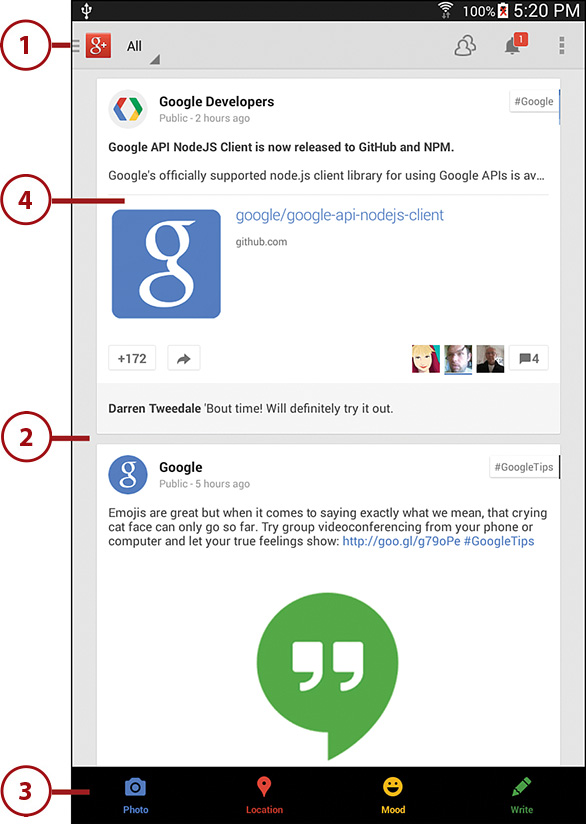
After you set up Google+, the main Google+ screen appears and the latest message from one of your Google+ friends appears at the top of the screen.
1. The gray menu bar appears at the top of the screen so you can access the menu, change the updates you view, refresh the screen, and also see how many updates you have.
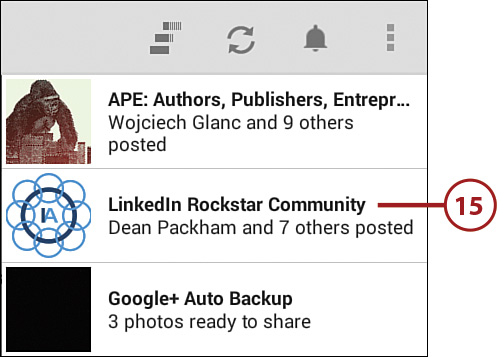
2. The latest updates appear as tiles on the screen. Swipe up and down the screen to read more updates.
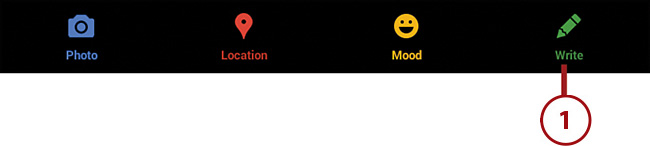
3. The black message bar contains four icons so you can share a photo you took on your Galaxy Tab 4, send your current location to your Google+ friends, send a message to your friends about your current mood, or write and post a message to your contacts.
4. Tap a tile to open the post on the entire screen.
5. Tap the Add a Comment field and use the keyboard to type your message to comment on the post.
6. Tap the Send icon.
7. Tap the Google+ icon to return to the Google+ home screen.

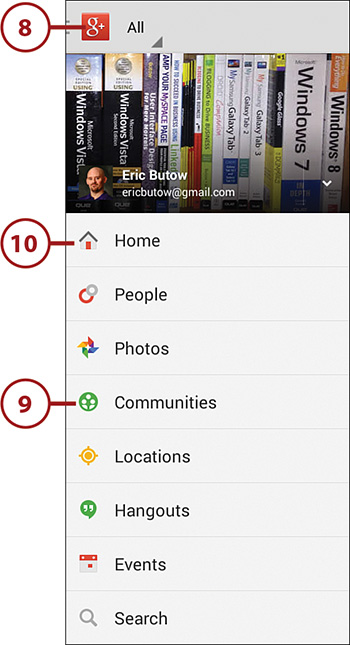
8. Tap the Google+ icon to open the side menu that shows a variety of options for accessing different parts of Google+.
9. Scroll up and down the list to view all of the options. For example, if you want to create a Google+ Hangout that enables you to set up a video chat with several other users, tap Hangouts in the list to open the Hangouts screen. You can learn more about using Hangouts in Chapter 8, “Sending Email and Instant Messages.”
10. Tap Home to return to the Home screen.
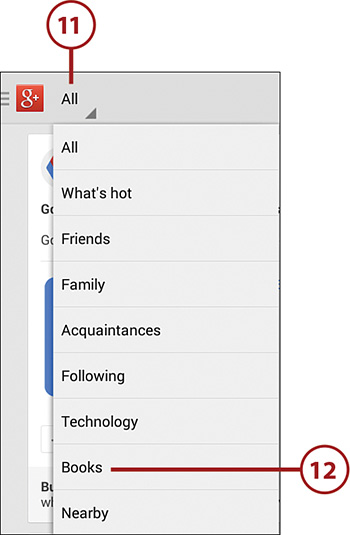
11. By default, you view posts from all of your “circles”, which are groups of your Google+ friends that you can modify. View members of only one circle—for example, only people in the Family category—by tapping All to see the menu of circle categories.
12. Tap the circle that contains users whose posts you want to view. After you tap the circle, the screen refreshes and displays the latest posts from Google+ users in that circle.
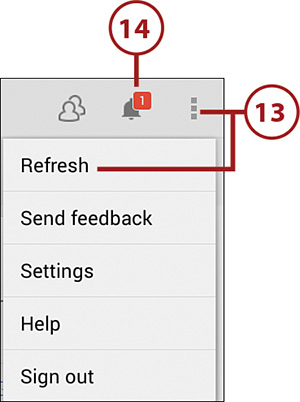
13. Tap the Menu icon and then tap Refresh to refresh the posts on the screen. The icon is blue if there are new posts for you to read.
14. View new and recent notifications in the Notifications list by tapping the Notifications icon. The number of new notifications you have received, such as a new post in a group, appears next to the Notification icon as an orange box with the number of new messages inside it. If there are no new messages, no box appears.
15. New notifications appear at the top of the list. If you see a notification you want to view on the screen then tap it in the list.
16. Close the Notifications list by tapping the Back touch button.
Write a Post
You can write a new post at any time to transmit to circles of friends that you want to receive the message.
1. Tap Write on the Google+ home screen.
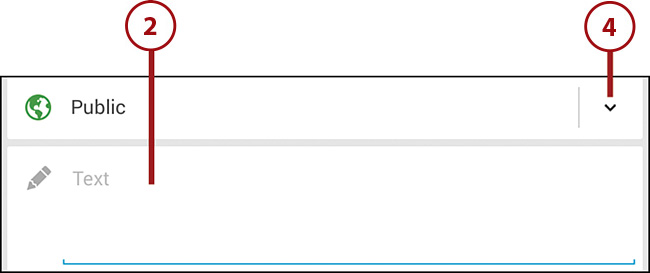
2. Type your message in the Text field.
3. Close the keyboard by tapping the Back touch button.
4. Tap the down arrow icon to the right of the list of circles to specify one or more circles with which you will share your post. Otherwise, your message will be sent to all your circles as well as to everyone in the Public circle—that is, all Google+ users.
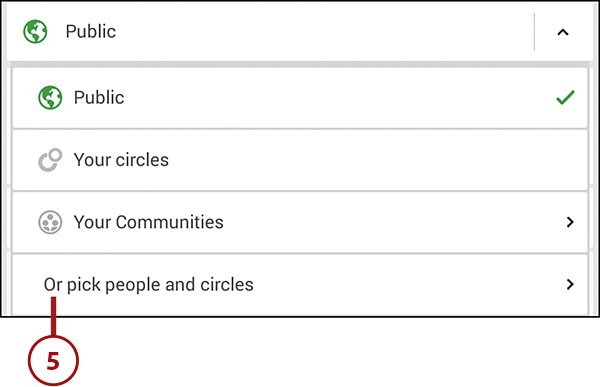
5. Tap the circle(s) that will view your post from the list. You can also tap Or Pick People and Circles in the menu to open the Share With screen and pick your circles or specific contact name from the list.
6. Tap the Location field if you want to share your location of your post with your viewers.

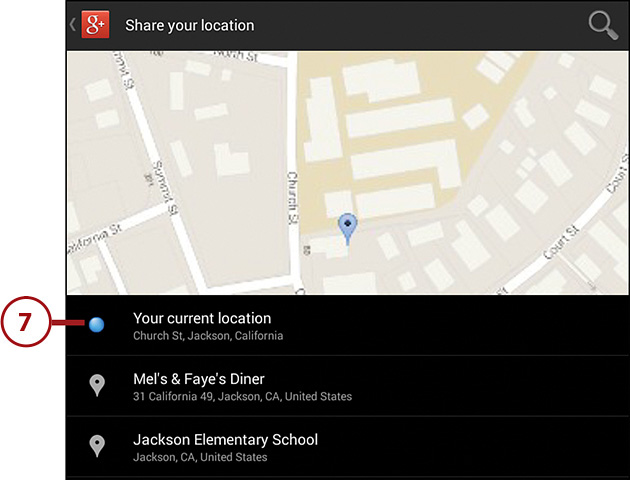
7. Select your location from the Share Your Location screen. After you select your location, you might see a window reminding you how to delete your location. If you do, tap OK.
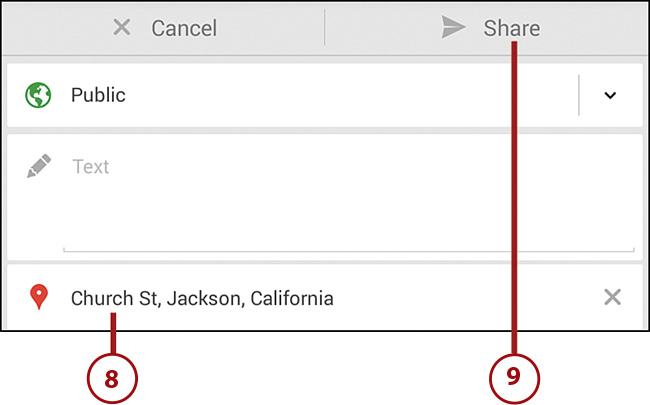
8. The location name you selected appears in the Write Post screen.
9. Tap Share when you’re finished writing your post. After a second or two the main Google+ screen appears and your post appears as a tile on the screen.
Creating Documents and Presentations with Hancom Office
Hancom Office Viewer is a productivity app from Hancom that’s preinstalled on your Galaxy Tab 4 so you can view Word, PDF, Excel, and PowerPoint files on your Tab 4. You can send those files to yourself and others by email or an online file-sharing service such as Dropbox. You can also print your documents.
If you want to edit your documents, Hancom makes it easy for you to install the full version of Hancom Office for free so you can edit Word, Excel, and PowerPoint files right on your Tab 4.
Start Hancom Office Viewer for the First Time
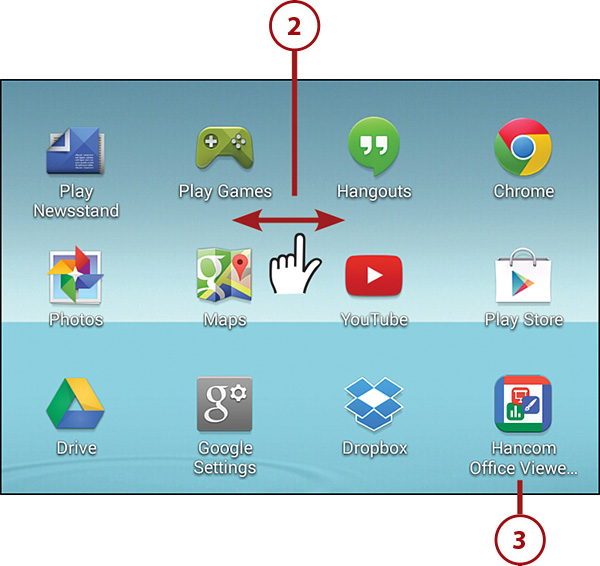
1. Tap the Apps icon on the Home screen.

2. Go to the second page of the Apps screen by swiping from right to left on the screen.
3. Tap Hancom Office Viewer.
4. When you start the app for the first time, the app takes a few seconds to install on your Tab 4.
5. The Hancom Office Viewer screen appears and shows that no recent documents have been opened.
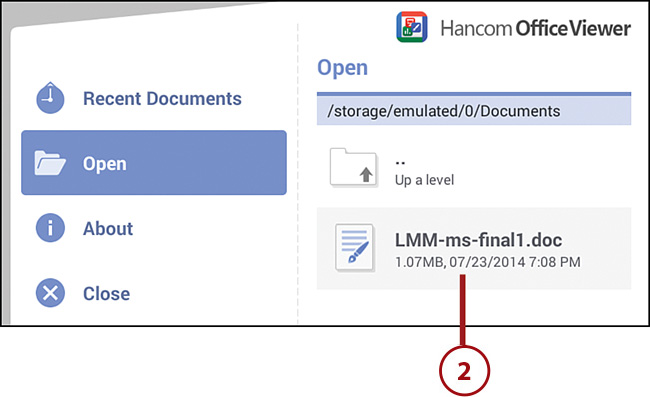
2. Navigate to the folder that contains the file you want to open. When you find it, tap the filename. In this example, I’m opening a document in Hancom Office Viewer.
3. Scroll up and down the document in the screen to read it.
4. Tap the Menu icon in the menu bar.
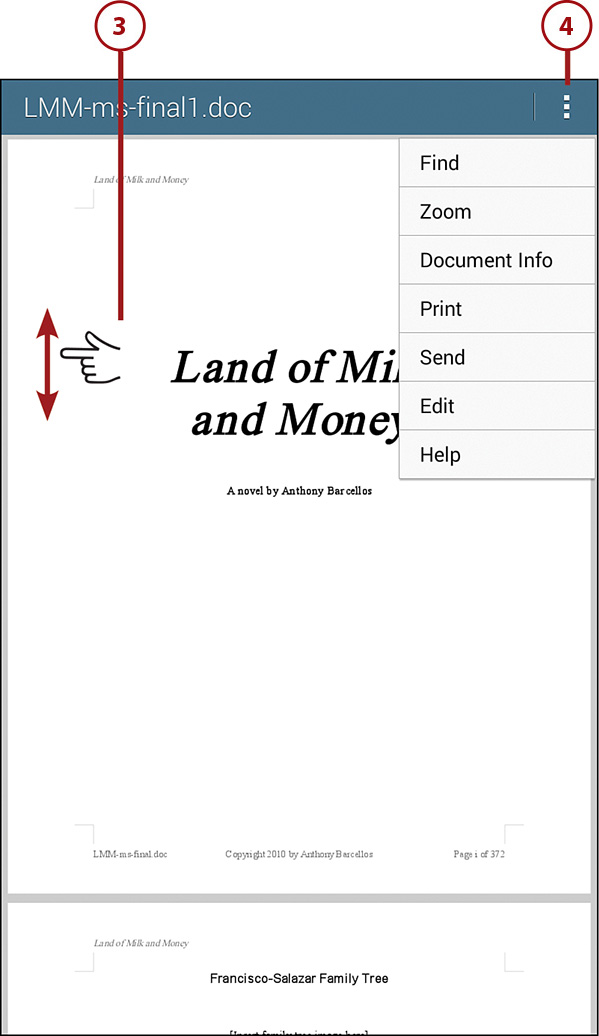
5. Tap to find text in the document that matches your search term(s).
6. Tap to change the view of your file so you can zoom in and get a close-up view of the document or zoom out to see more of the document.
7. Tap to get information about the document including the file size and the last time the file was modified.
8. Tap to print one or more pages in the document.
9. Tap to send the document to your Dropbox or Google Drive account, to someone else in an email or Gmail message, or to another device connected via Bluetooth or Wi-Fi Direct.
10. Tap to edit the document, which you find out how to do later in this chapter.
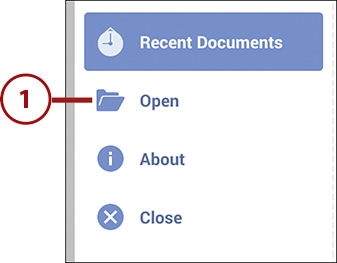
11. Tap to get online help for the app from the Hancom website or get information about the app.
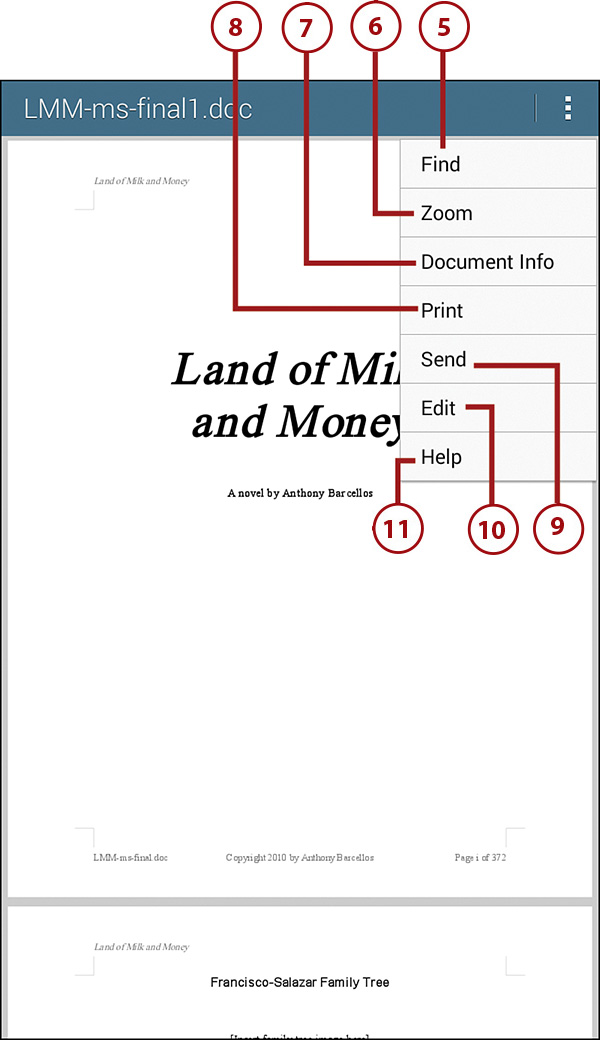
12. Close the menu by tapping the Back touch button; close the document and return to the main Hancom Office Viewer screen by tapping the Back touch button again.
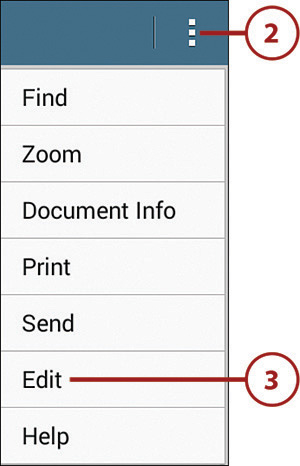
2. Tap the Menu icon in the menu bar.
3. Tap Edit.
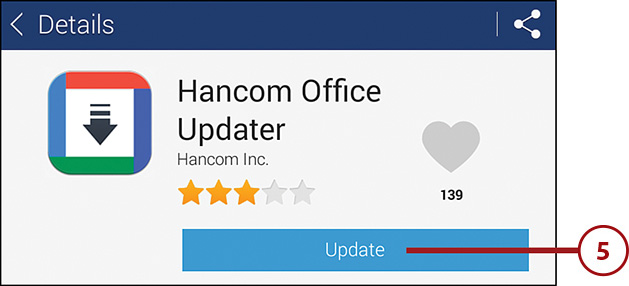
4. If you see a screen telling you a new version of Samsung Apps is available, tap Update. When Samsung Apps finishes updating, you return to the document screen; repeat Steps 2 and 3.
5. Tap Update in the Hancom Office Updater app information screen.
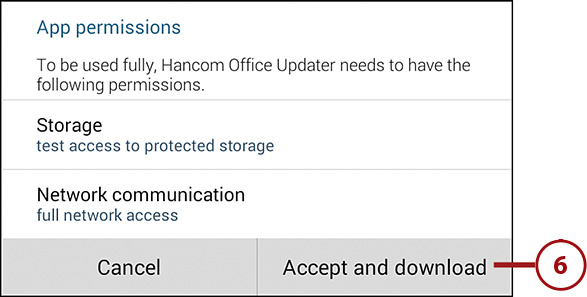
6. Tap Accept and Download in the App Permissions window.
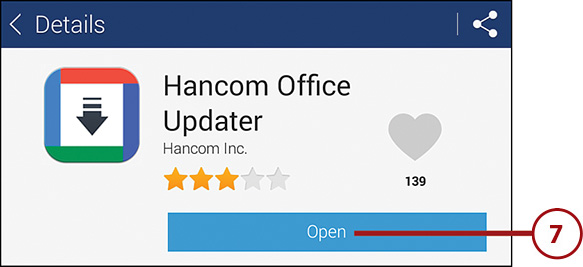
7. After the Tab 4 installs the app, tap Open.
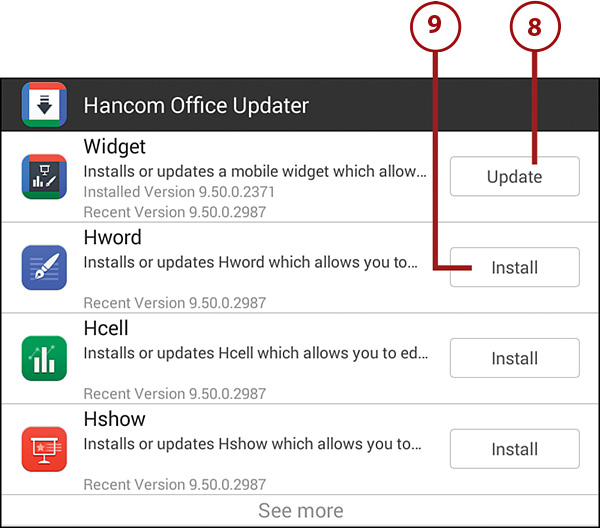
8. In the Hancom Office Updater screen, tap Update to update the Hancom Office widget.
9. Tap the Install button to install the Hword word processing app, the Hcell spreadsheet app, or the Hshow presentation app. This example describes viewing a document so tap the Install button for the Hword app.
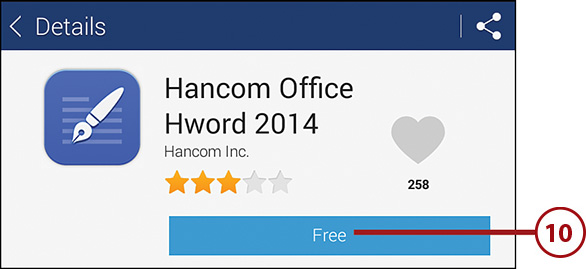
10. Tap Free to install the Hword app.
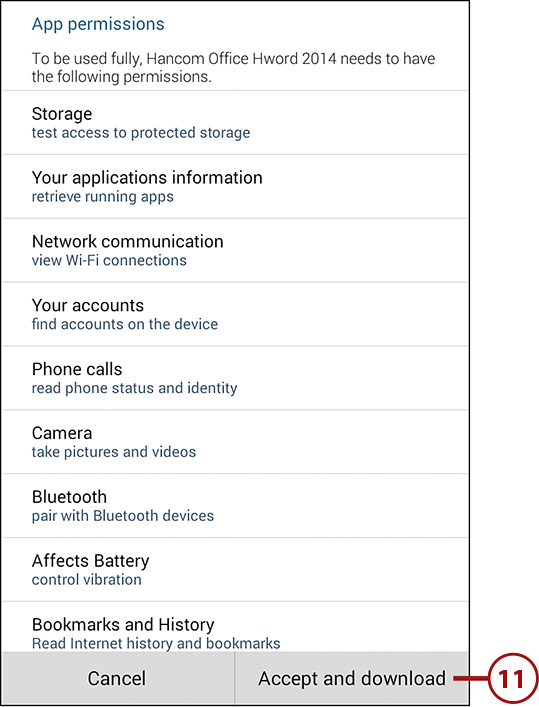
11. Tap Accept and Download in the App Permissions window.
12. After the Tab 4 installs the app, tap Open.

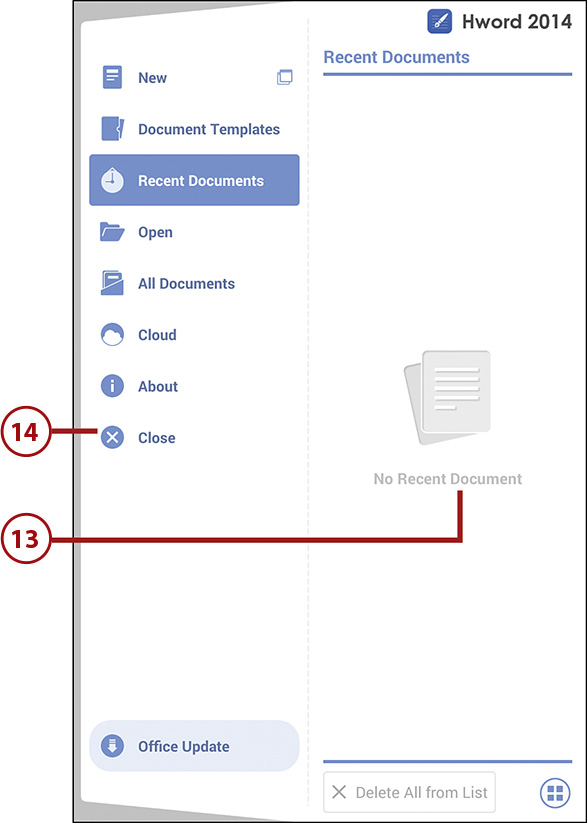
13. The Hword app screen opens documents in the Recent Documents list. As there are no recent documents open, the No Recent Document icon appears in the Recent Documents list on the right side of the screen.
14. Close the app by tapping Close.
Open a Document in Hword
Now that you’ve installed Hword on your Tab 4, you can open a document and edit it within the Hword app.
1. Tap the Apps icon on the Home screen and then go to the second page of the Apps screen by swiping from right to left on the screen.

2. Tap Hword 2014.
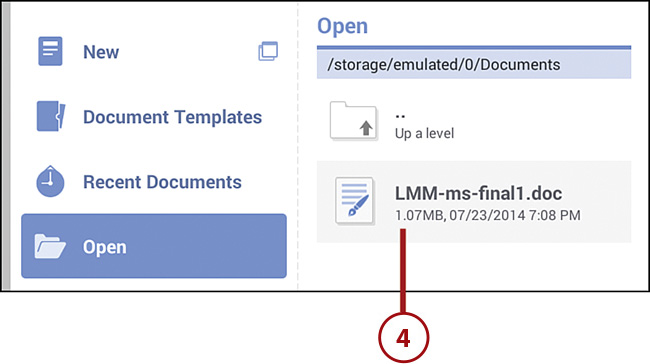
4. Navigate to the folder that contains the file you want to open. When you find it, tap the filename.
5. Tap a location in the document to open the keyboard and begin editing it; a blue handle appears below the blinking cursor to help show you where you are.
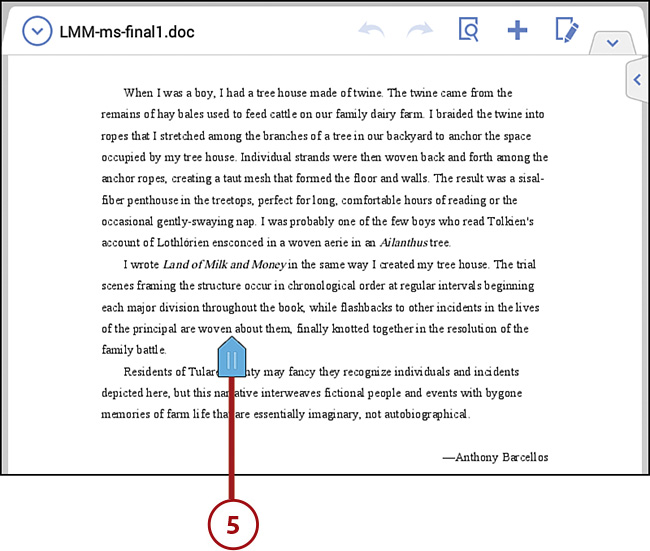
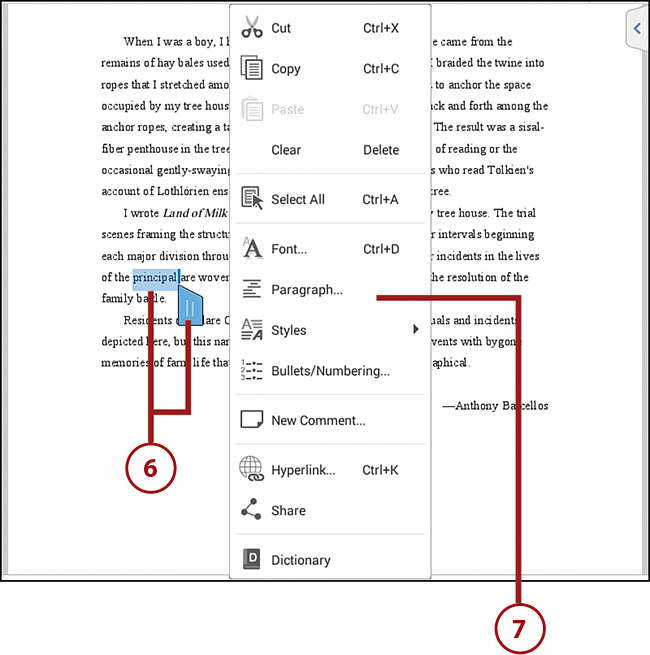
6. Select a word to edit by tapping on the word twice. The word is highlighted and a blue handle appears after the word.
7. Tap an option in the menu to cut or copy the word; select all the text on the page; change the formatting; add a comment; add a hyperlink; share the text with a device, in an email message, or with another app; or spell check the word.
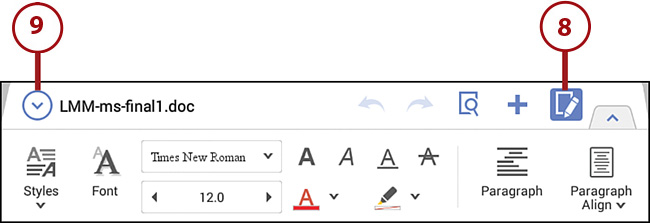
8. Open the formatting toolbar by tapping the Format icon in the menu bar.
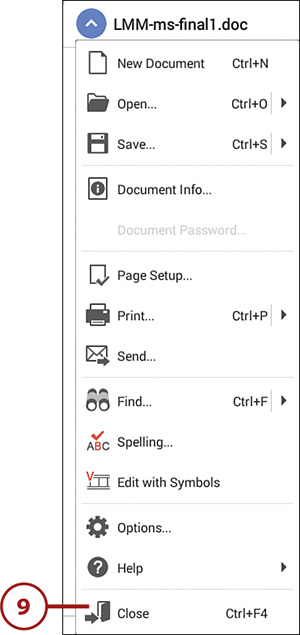
9. Close the document by tapping the down arrow at the left side of the menu bar and then tapping Close in the menu.
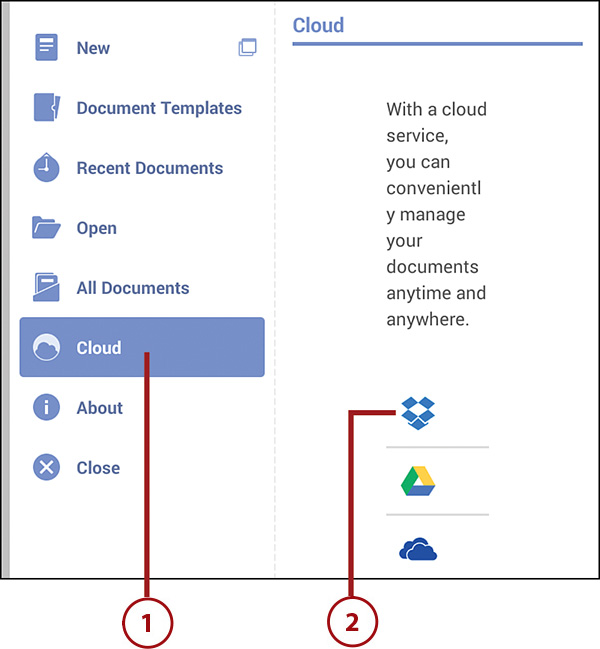
Access Files from a Cloud Service
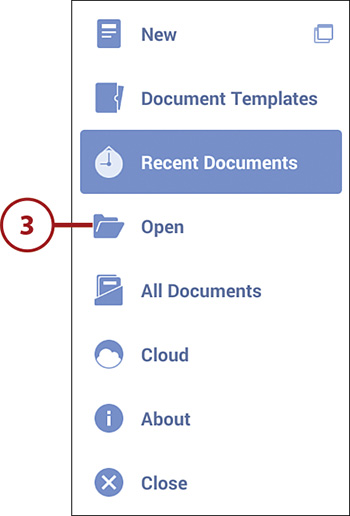
1. Tap Cloud in the Hword home screen to access an online file-sharing service, including Dropbox, Google Drive, or Microsoft OneDrive.
2. Tap the service you use in the menu. After you tap a service, you might be asked to install the cloud service app specifically designed for use with Android. This example uses Dropbox.
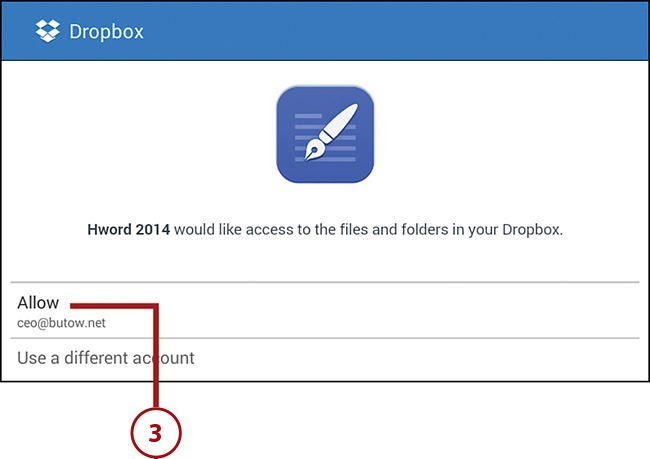
3. Allow Hword to access the files and folders in your Dropbox account by tapping Allow.
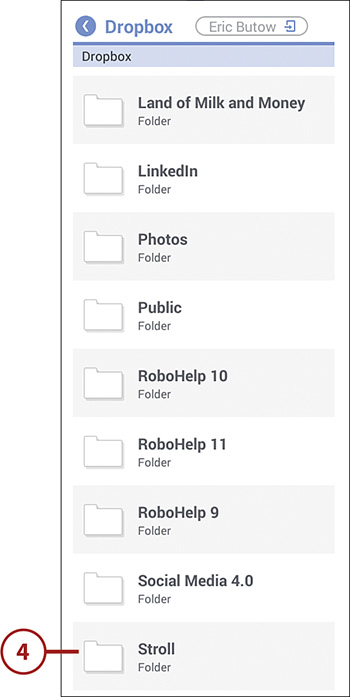
4. Folders within your Dropbox folder appear at the right side of the Hword screen so you can open the file you want within the appropriate folder or subfolder.
5. Navigate to the folder that contains your file and then open the file by tapping the filename.
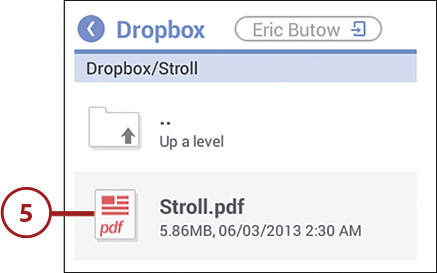
6. The first page in the document appears in the Hword screen so you can read through it by swiping up and down on the screen.

Create a New Document
Hword makes it easy for you to create a new document. This example describes how to create a Word-format document.
1. Open the Hword app as described earlier in this chapter.
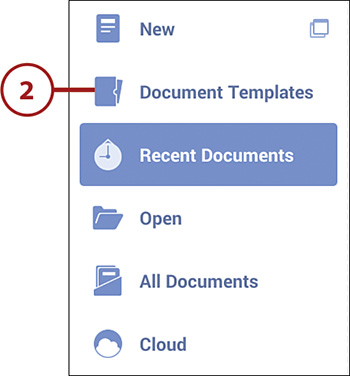
2. Tap Document Templates on the Hword home screen.
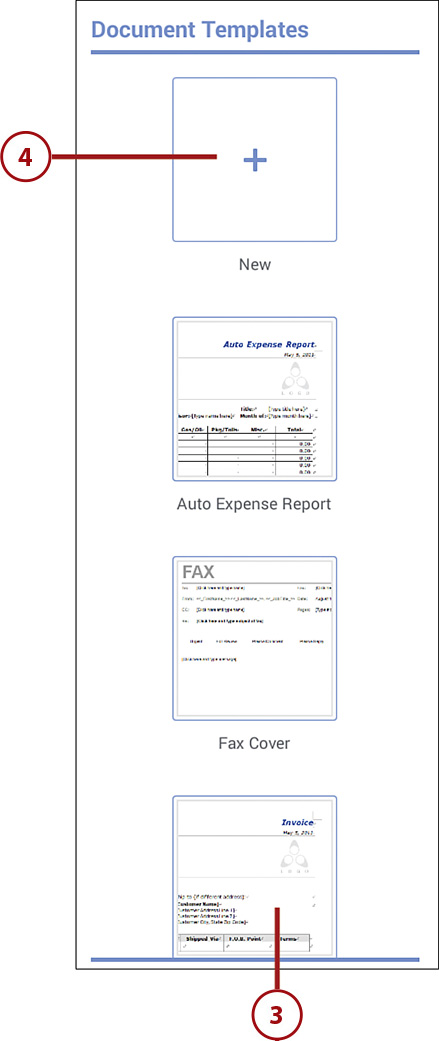
3. View all available document templates by swiping up and down in the Document Templates list on the right side of the screen.
4. Tap the New tile.
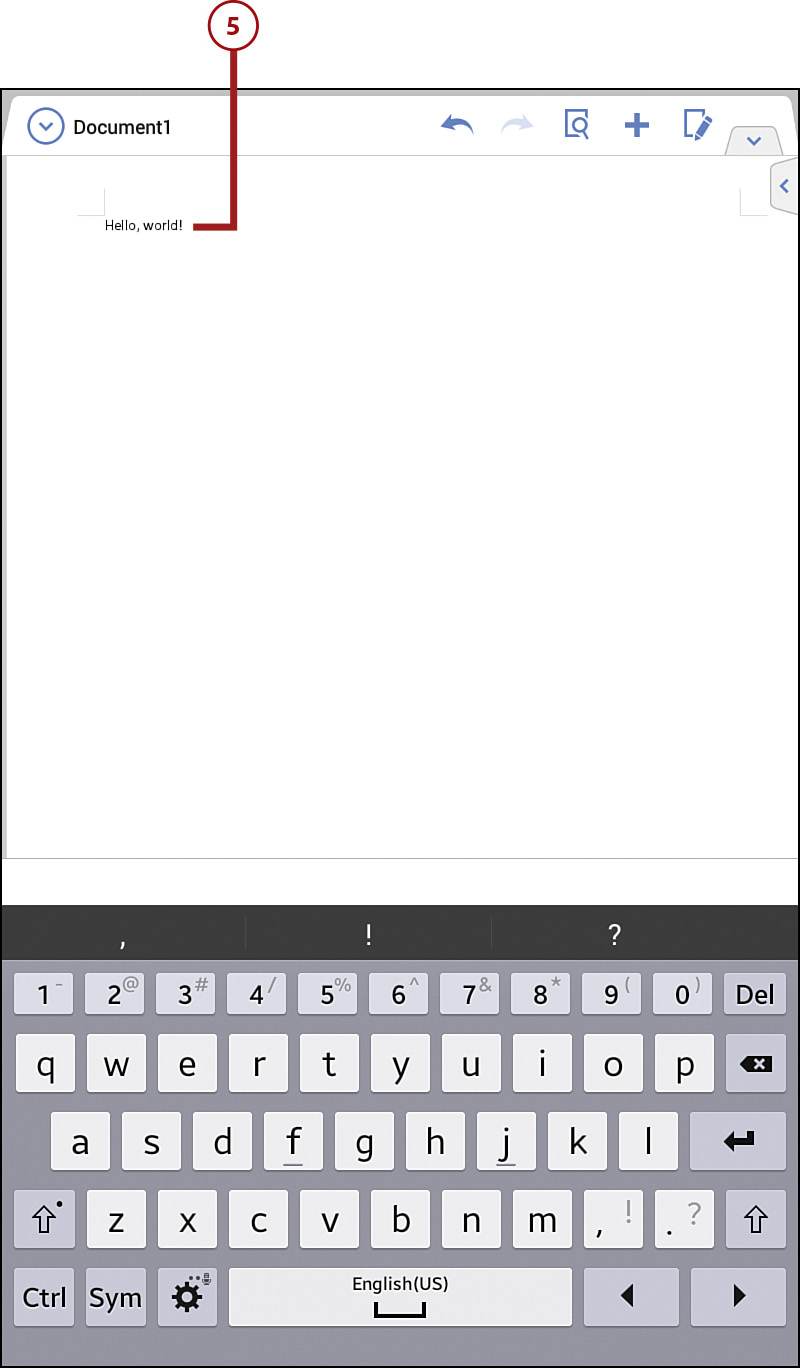
5. The new document appears on the screen with the keyboard at the bottom of the screen. As you type, your text appears in the default document font.
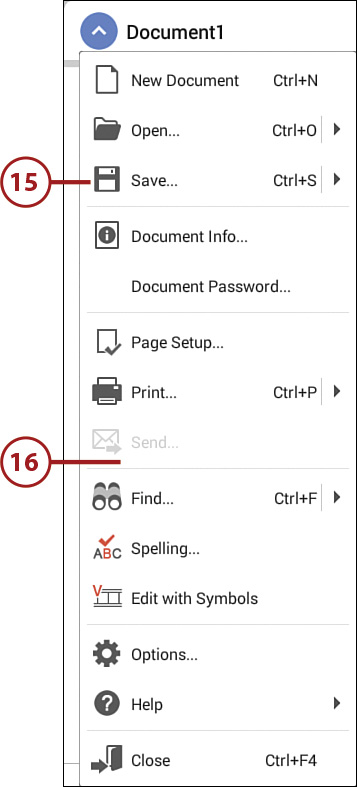
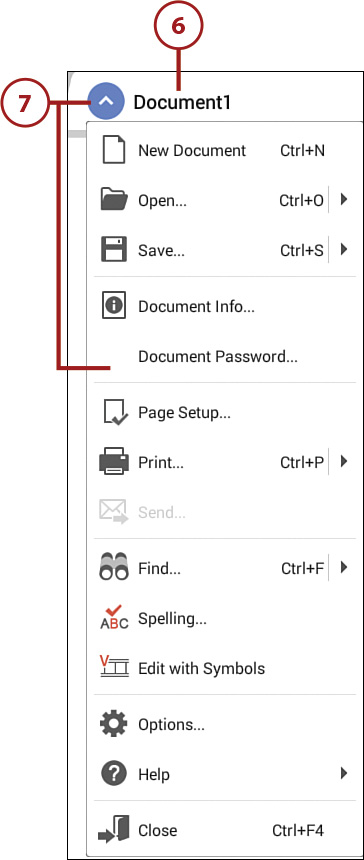
6. The default document title name shows Document1, which is the default name of the document.
7. Tap the down arrow icon to the left of the document title name to open the Tasks menu and perform specific tasks including opening another document and changing document and app settings. After you tap the down arrow icon, the icon changes to a white up arrow icon inside a blue button.
8. Close the menu by tapping the Back touch button.
9. Tap the Back touch button to go back to the Hword home screen. If you haven’t saved the document, a Close window appears that asks if you want to save changes. If you want to return to editing the document, tap Cancel in the window.
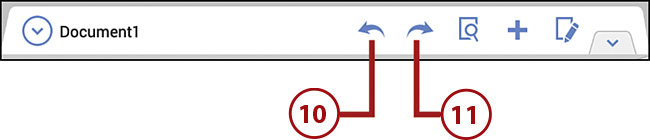
10. Tap Undo to reverse the previous action, such as deleting a word.
11. Tap Redo to reapply the previous action you previously undid. For example, if you tapped the Undo icon after deleting a word, tap the Redo icon to delete the affected word again.
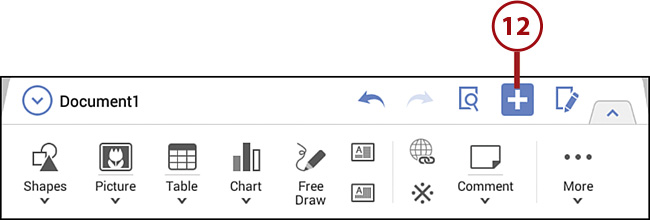
12. Tap the Add Object icon to select an object to add to your document. Objects include a saved image, a table, and a symbol such as a multiplication sign.
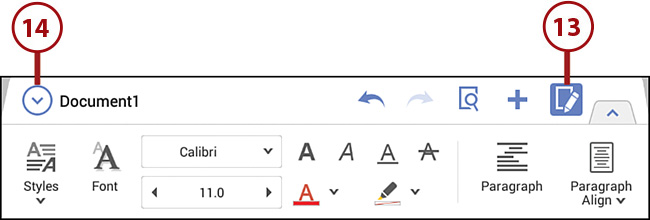
13. Tap the Format icon to open the formatting toolbar and change the font size, style, and color; change the appearance and alignment of the selected paragraph; and apply a text style to a selected area of text. For example, you can apply the Title style to a word you want as the document title.
14. Open the Task menu by tapping the down arrow.
15. Tap Save to save the document with its current name in your chosen folder or subfolder.
16. In this menu, you can also assign a password to the document that you’re required to enter in Hword before you can open the document, find and replace text, and print your document if you’re connected to a printer via a Bluetooth or Wi-Fi connection.